Menu Close

Blog

Slide 1

Microsoft Business Applications Blogposts, YouTube Videos and Podcasts

Helping Businesses with Technology

Slide 2

Microsoft Business Applications Blogposts, YouTube Videos and Podcasts

Helping Businesses with Technology

Slide 3

Microsoft Business Applications Blogposts, YouTube Videos and Podcasts

Helping Businesses with Technology

previous arrow
next arrow

What is the significance of Geofencing on Dynamics 365 Field Service

Hello Everyone,

Today I am going to share my thoughts on a topic which is known by the field service professionals.
Let’s get’s started.

Today when i was demoing Dynamics 365 Field Service to our client, one of the stakeholder asked what is Geofencing in Dynamics 365 Field Service ?

I have answered that the Geofencing used to define the boundaries of the specific geographic areas.

So let me share my thoughts here:
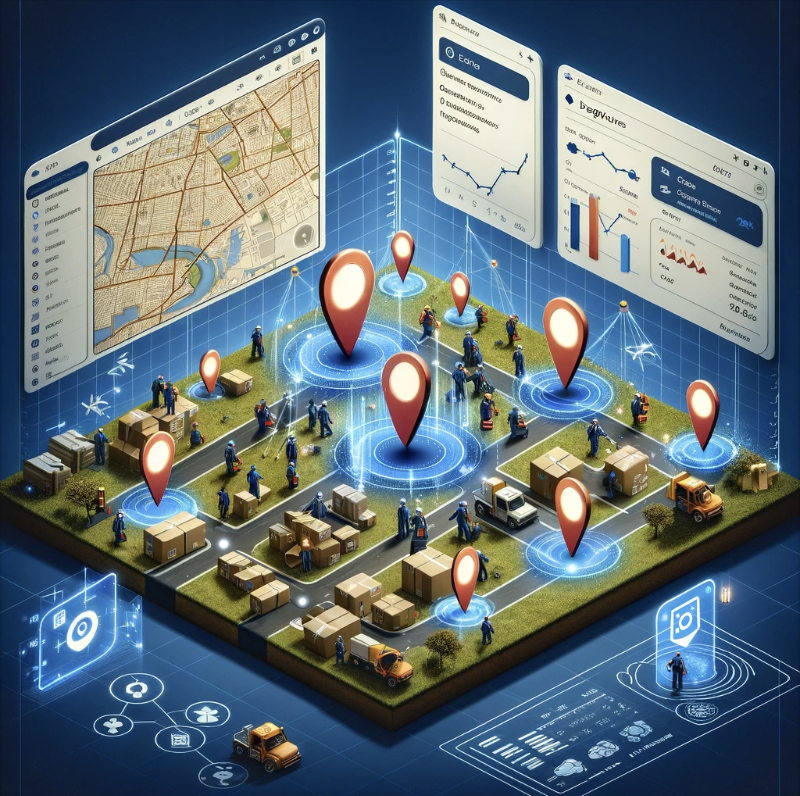
This image illustrates the concept of geofencing in Dynamics 365 Field Service. It visualizes how geofencing can be integrated within a field service management system, showcasing the benefits such as enhanced scheduling, resource management, and real-time tracking of field service technicians. This depiction helps to understand how geofencing technology contributes to more efficient and effective field service operations.

Few Pointers:

Improved Resource Management: Geofencing allows managers to define virtual boundaries around specific geographic areas. This feature can be used to automatically track when field service technicians enter or exit these areas, helping in better managing and allocating resources based on real-time location data.

Enhanced Scheduling and Dispatching: By knowing the exact location field technicians, dispatchers can make more informed decisions when scheduling and assigning jobs. This can lead to reduced travel time, quicker response times and overall more efficient scheduling.

Automated Alerts and Notifications: Geofencing can trigger automated alerts and notifications when a technician enters or leaves a geofenced area. This is particularly useful for keeping customers informed about the technicians arrival time, enhancing customer satisfaction.

Increased Accountability and Time Tracking: With geofencing, organizations can monitor the time spent by technicians in a specific location. This helps in validating work hours, ensuring compliance with service-level agreements(SLAs), and can be used for accurate billing.

Safety and Security: Geofencing can enhance the safety and security of field technicians by alerting supervisors when technicians enter potentially hazardous areas or deviate from their assigned routes.

Data -Driven Insights: The location data gathered through geofencing can be analyzed to gain insights into operational efficiency. This data can be used to optimize routes, reduce idle time, and improve overall field service operations.

Integration with IoT Devices: In advanced scenarios, geofencing can be integrated with IoT(Internet of Things) devices. For example, a piece of equipment can automatically send a service request when a technician with the right skills enters a predefined geographic boundary.

Compliance and Reporting: Geofencing can help ensure that technicians comply with geographic restrictions or regulations, which is particularly important in certain industries or for contractual obligations. It also provides valuable data for reporting and analysis.

In summary, geofencing in Dynamics 365 Field Service enhances operational efficiency, improves customer satisfaction, ensures safety and compliance and provides valuable data for strategic decision-making. These capabilities align with the broader goals of modern field service management, which emphasize efficiency, customer-centricity, and leveraging technology for smarter operations.

That’s it for today.

I hope this helps

Malla Reddy Gurram(@UK365GUY)
#365BlogPostsin365Days

Share this:

{How to} Add a webresource to display text on Dynamics 365 Model Driven App Site Map

Hello Everyone,

Today I am going to show how to add a group and add a page with a webresource.

Let’s get’s started.

Suppose you had a requirement to show a plain text when clicked on the menu of the model driven app.

How do you do that?

Login into www.make.powerapps.com

Go to the solution and filter by App then you will see the apps.

Open the App you want to add the group to the modern site map editor from maker portal.

Then open the Model Driven App and you will see the editor mode of the model driven app and then add the group

Create a Webresource Webpage(html)

Then go to the model driven app site map editor and add the group and add the page as a webresource.

Then save and publish the App.

That’s it for today.

I hope this helps.
Malla Reddy Gurram(@UK36GUY)
#365BLOGPOSTSIN365DAYS

Share this:

{New} Use AI Builder to create GPT prompts

Hello Everyone,

Today I am going to share my thoughts on preview feature Prompt Builder to create GPT prompts.

Let’s get’s started.

The Prompt Builder for creating GPT (Generative Pre-trained Transformer) prompts is a specialized tool designed to assist users in crafting effective and precise prompts for AI models like ChatGPT.

This builder guides users through a structured process, helping them formulate queries that are clear, concise, and targeted to elicit the most relevant and accurate responses from the AI.

It typically includes features like templates for common types of queries, suggestions for refining prompts based on the desired outcome, and examples of well-constructed prompts for various scenarios.

Additionally, the prompts, advising on adjustments to improve clarity or specificity.

This tool is particularly useful for those unfamiliar with how to interact with AI models or for complex queries where the precision of language is crucial.

By streamlining the prompt creation process, the prompt Builder enhances the user experience and maximizes the efficiency and usefulness of interactions with GPT-based AI systems.

That’s it for today.

I hope this helps.

Malla Reddy Gurram(@UK365GUY)
#365BlogPostsin365Days
Share this:

Extend Copilot using AI Plugins to perform specific actions

Hello Everyone,

Today I am going to share my thoughts on Extending Copilot using AI Plugin to perform specific actions.

Let’s get’s started.

Extending a Copilot system with AI plugins to perform specific actions involves integrating specialized AI models or functionalities that enhance its core capabilities.

These Plugins can be tailored to execute distinct tasks, such as language translation, sentiment analysis, image recognition, or even domain-specific actions like financial forecasting or medical diagnostics.

By incorporating these plugins, the Copilot becomes more versatile, capable of handling a broader range of queries and providing more sophisticated responses.

The process typically requires identifying the additional functionalities needed, selecting appropriate AI models or services that fulfill these requirements, and integrating them into the Copilot ‘s existing framework.

This integration must ensure seamless interaction between the core AI and the plugins, maintaining consistency in user experience.

Additionally it’s crucial to regularly update and fine-tune these plugins to adapt to evolving data patterns and user needs. This approach significantly enhances the utiltiy and adaptability of the Copilot. making it a more powerful tool in various scenarios and applications.

Note: To start using AI Plugin discovery and authoring, you can access all of your plugins from a central repository.

That’s it for today.

I hope this helps.

Malla Reddy Gurram(@UK365GUY)
#365BlogPostsin365Days
Share this:

What is the significance of sending proactive messages in Microsoft Teams

Hello Everyone,

Today I am going to share my thoughts on sending the significance of sending proactive messages in Microsoft Teams.

Let’s get’s started.

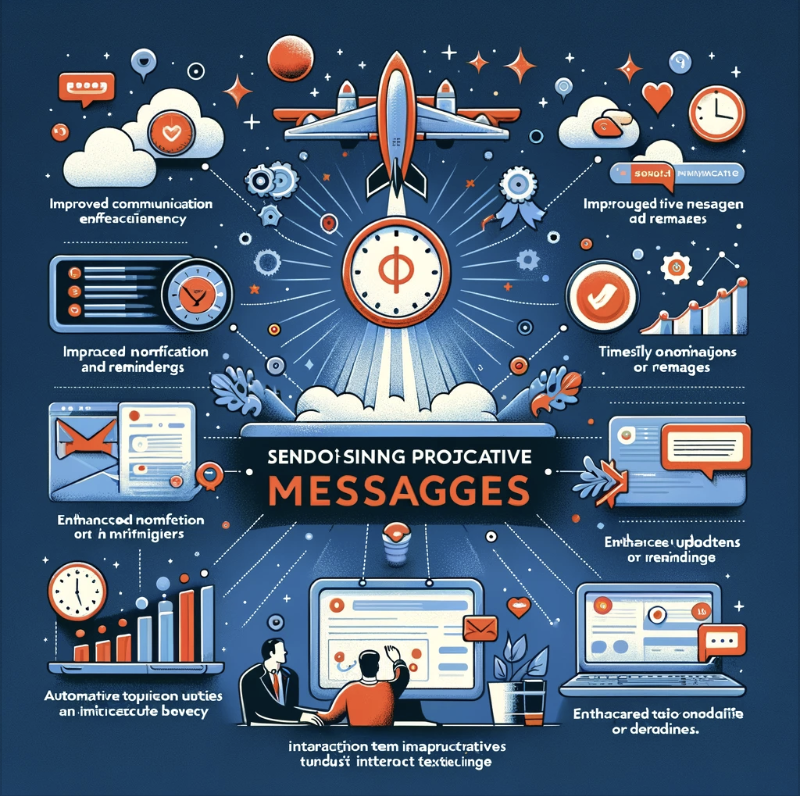
Sending proactive messages in Microsoft Teams involves automating communications to initiate interactions without a user’s immediate prompt, enhancing engagement and efficiency.

To do this, you can use Microsoft Power Automate or a custom bot developed with the Microsoft Bot Framework.

With Power Automate, you can set up flows triggered by specific events or conditions, sending automated messages to Teams channels or users.

For a more advanced approach, a custom bot can use the Bot Framework to send messages based on complex logic or interactions.

This feature is particularly useful for notifications, reminders or updates ensuring that important information is communicated promptly and automatically.

However, it’s crucial to balance the frequency and content of proactive messages to avoid over whelming users, and to adhere to Team’s policies and best practises for bot interactions.

That’s it for today.

I hope this helps.

Malla Reddy Gurram(@UK365GUY)
#365BlogPostsin365Days
Share this: