Menu Close

Tag: #365blogpostsin365days

{Do you know} how to govern data access with business units and role based access control in Dynamics 365 Customer Insights

Hello Everyone,

Today I am going to show how to govern data access with business units and role based access control in Dynamics 365 Customer Insights.

Let’s get’s started.

Role based access control allows administrators to regulate access to customer profile, segments and measures based on business units, because these controls are applied to the data in Microsoft Dataverse the integrity of those controls propagate to all other Dynamics 365 and Power Platform applications automatically.

This functionality allows admins to execute rules quickly and easily for complex data management. It not only saves valuable implementation time, but also ensures that data is available only for the intended users, which increases security and control over data.

So data access definitions are made in Dataverse and therefore flow into the other applications built on top of Dataverse.

Like Dynamics 365 Marketing, or any Dynamics 365 or Power Platform application as well.

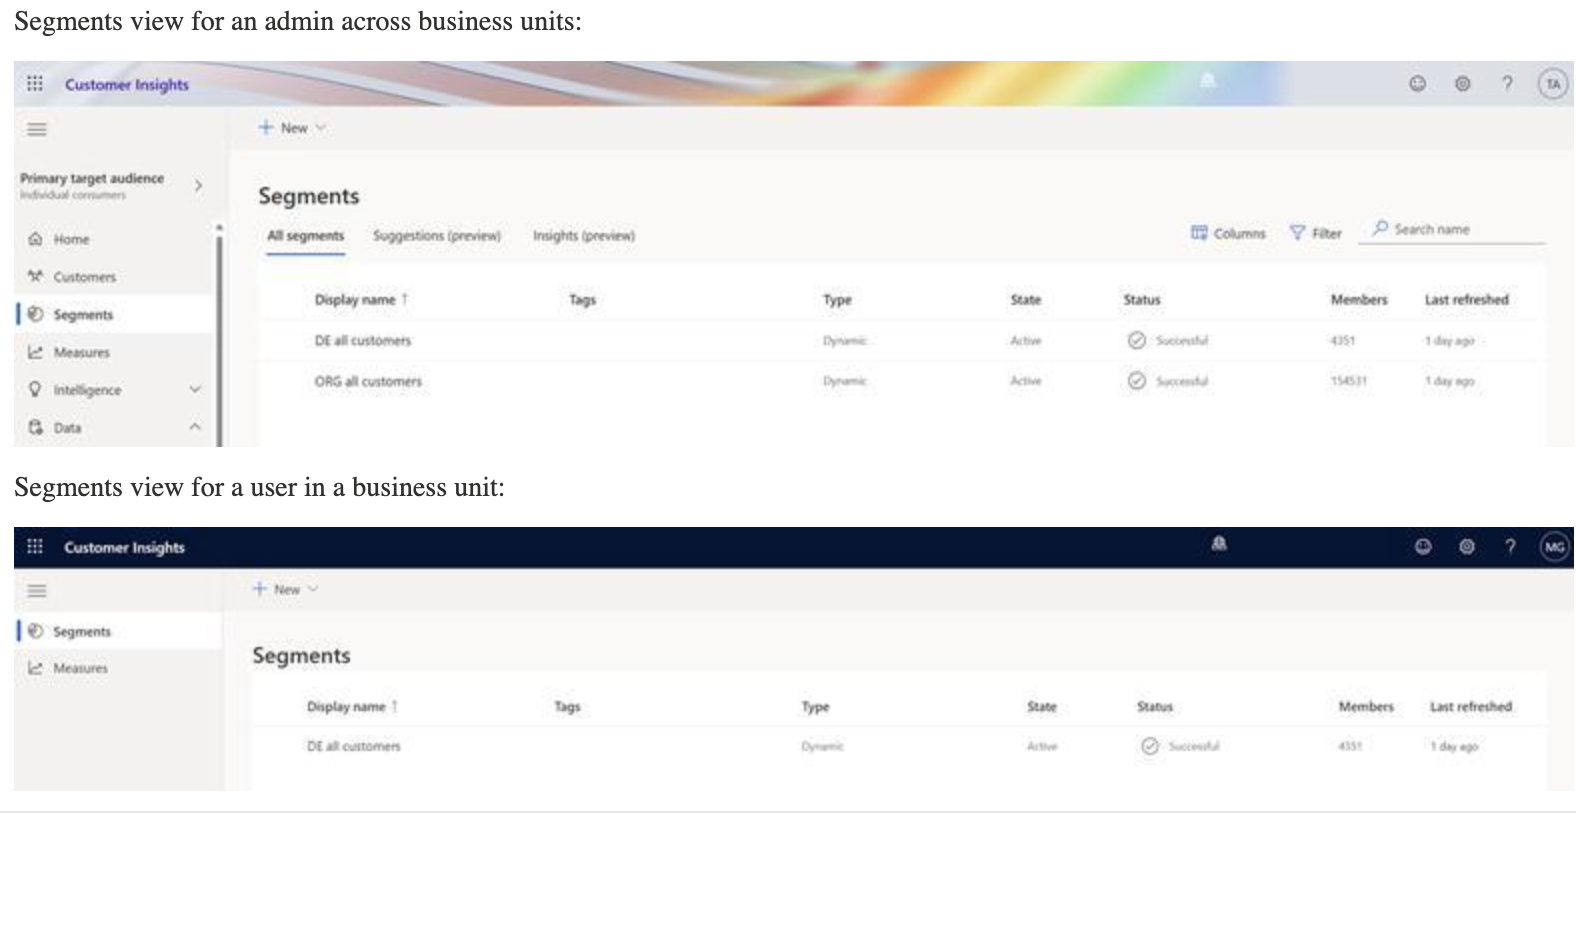
Depending on the user security role, admins and business users have different privileges and access rights.

Business Users:

1.Have access to records belonging to their business unit and can’t access or share data other business unit.

2.Have access to and control of Dynamics 365 Customer Insights segments and measures in their business unit.

3.Can activate segements for use in other Dynamics 365 and Power Platform applications.
Administrators:

1.Own and manage the gobal data estate of an organisation.

2. Configure business units(groupings of related business activities) in the Power Platform admin center

3. Configure deduplication and unification of customer data within data within business units.(not across business units)

4. Define data mappings to assign business unit ownership based on identifiers such as associated brand or geographic location.

5. Have access to segments and measures created for global and business unit usage.

That’s it for today.

I hope this helps.

Malla Reddy Gurram(@UK365GUY)
#365BlogPostsin365Days

Share this:

{How to} track and auto update the task activity using AI-powered tasks in Dynamics 365 Sales

Hello Everyone,

Today I am going to share my thoughts on collaborate with sales teams using AI-powered planner tasks.

Let’s get’s started.

Normally Sales teams are known for their collaborative nature, relying heavily on apps like Microsoft Teams and Dynamics 365 Sales to work together efficiently.

Microsoft releasing new feature which allows progress of tasks to their colleagues, whether they’re using Microsoft Teams or the Sales app, can be tracked efficiently. This capability is whole changer and empowering sales team to remain in complete control of all activities associated with a particular account or opportunity.

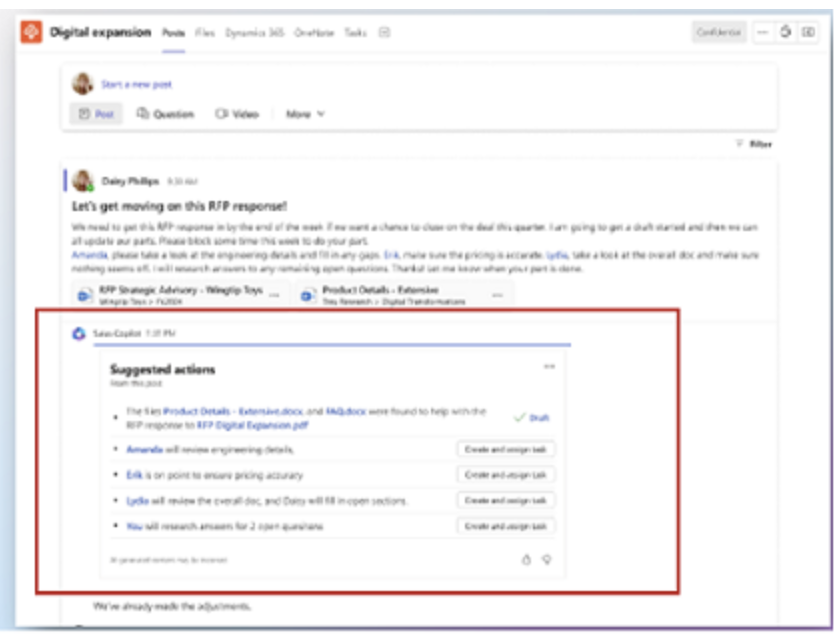
1. Sales Copilot bot monitors conversations in the deal room and suggests relevant tasks from discussions.

2. If a user agrees to create suggested tasks, the tasks are automatically generated with assigned owners.

3. A tasks tab is created in the deal room channel to access these tasks and stay on top of the latest updates.

4. This feature works for both Dynamics 365 and Salesforce CRM Users.

That’s it for today.

I hope this helps.

Malla Reddy Gurram(@UK365GUY)
#365BlogPostsin365Days

Share this:

{How to} Extend Microsoft Copilot Studio(Power Virtual Agent) Trial expired

Hello Everyone,

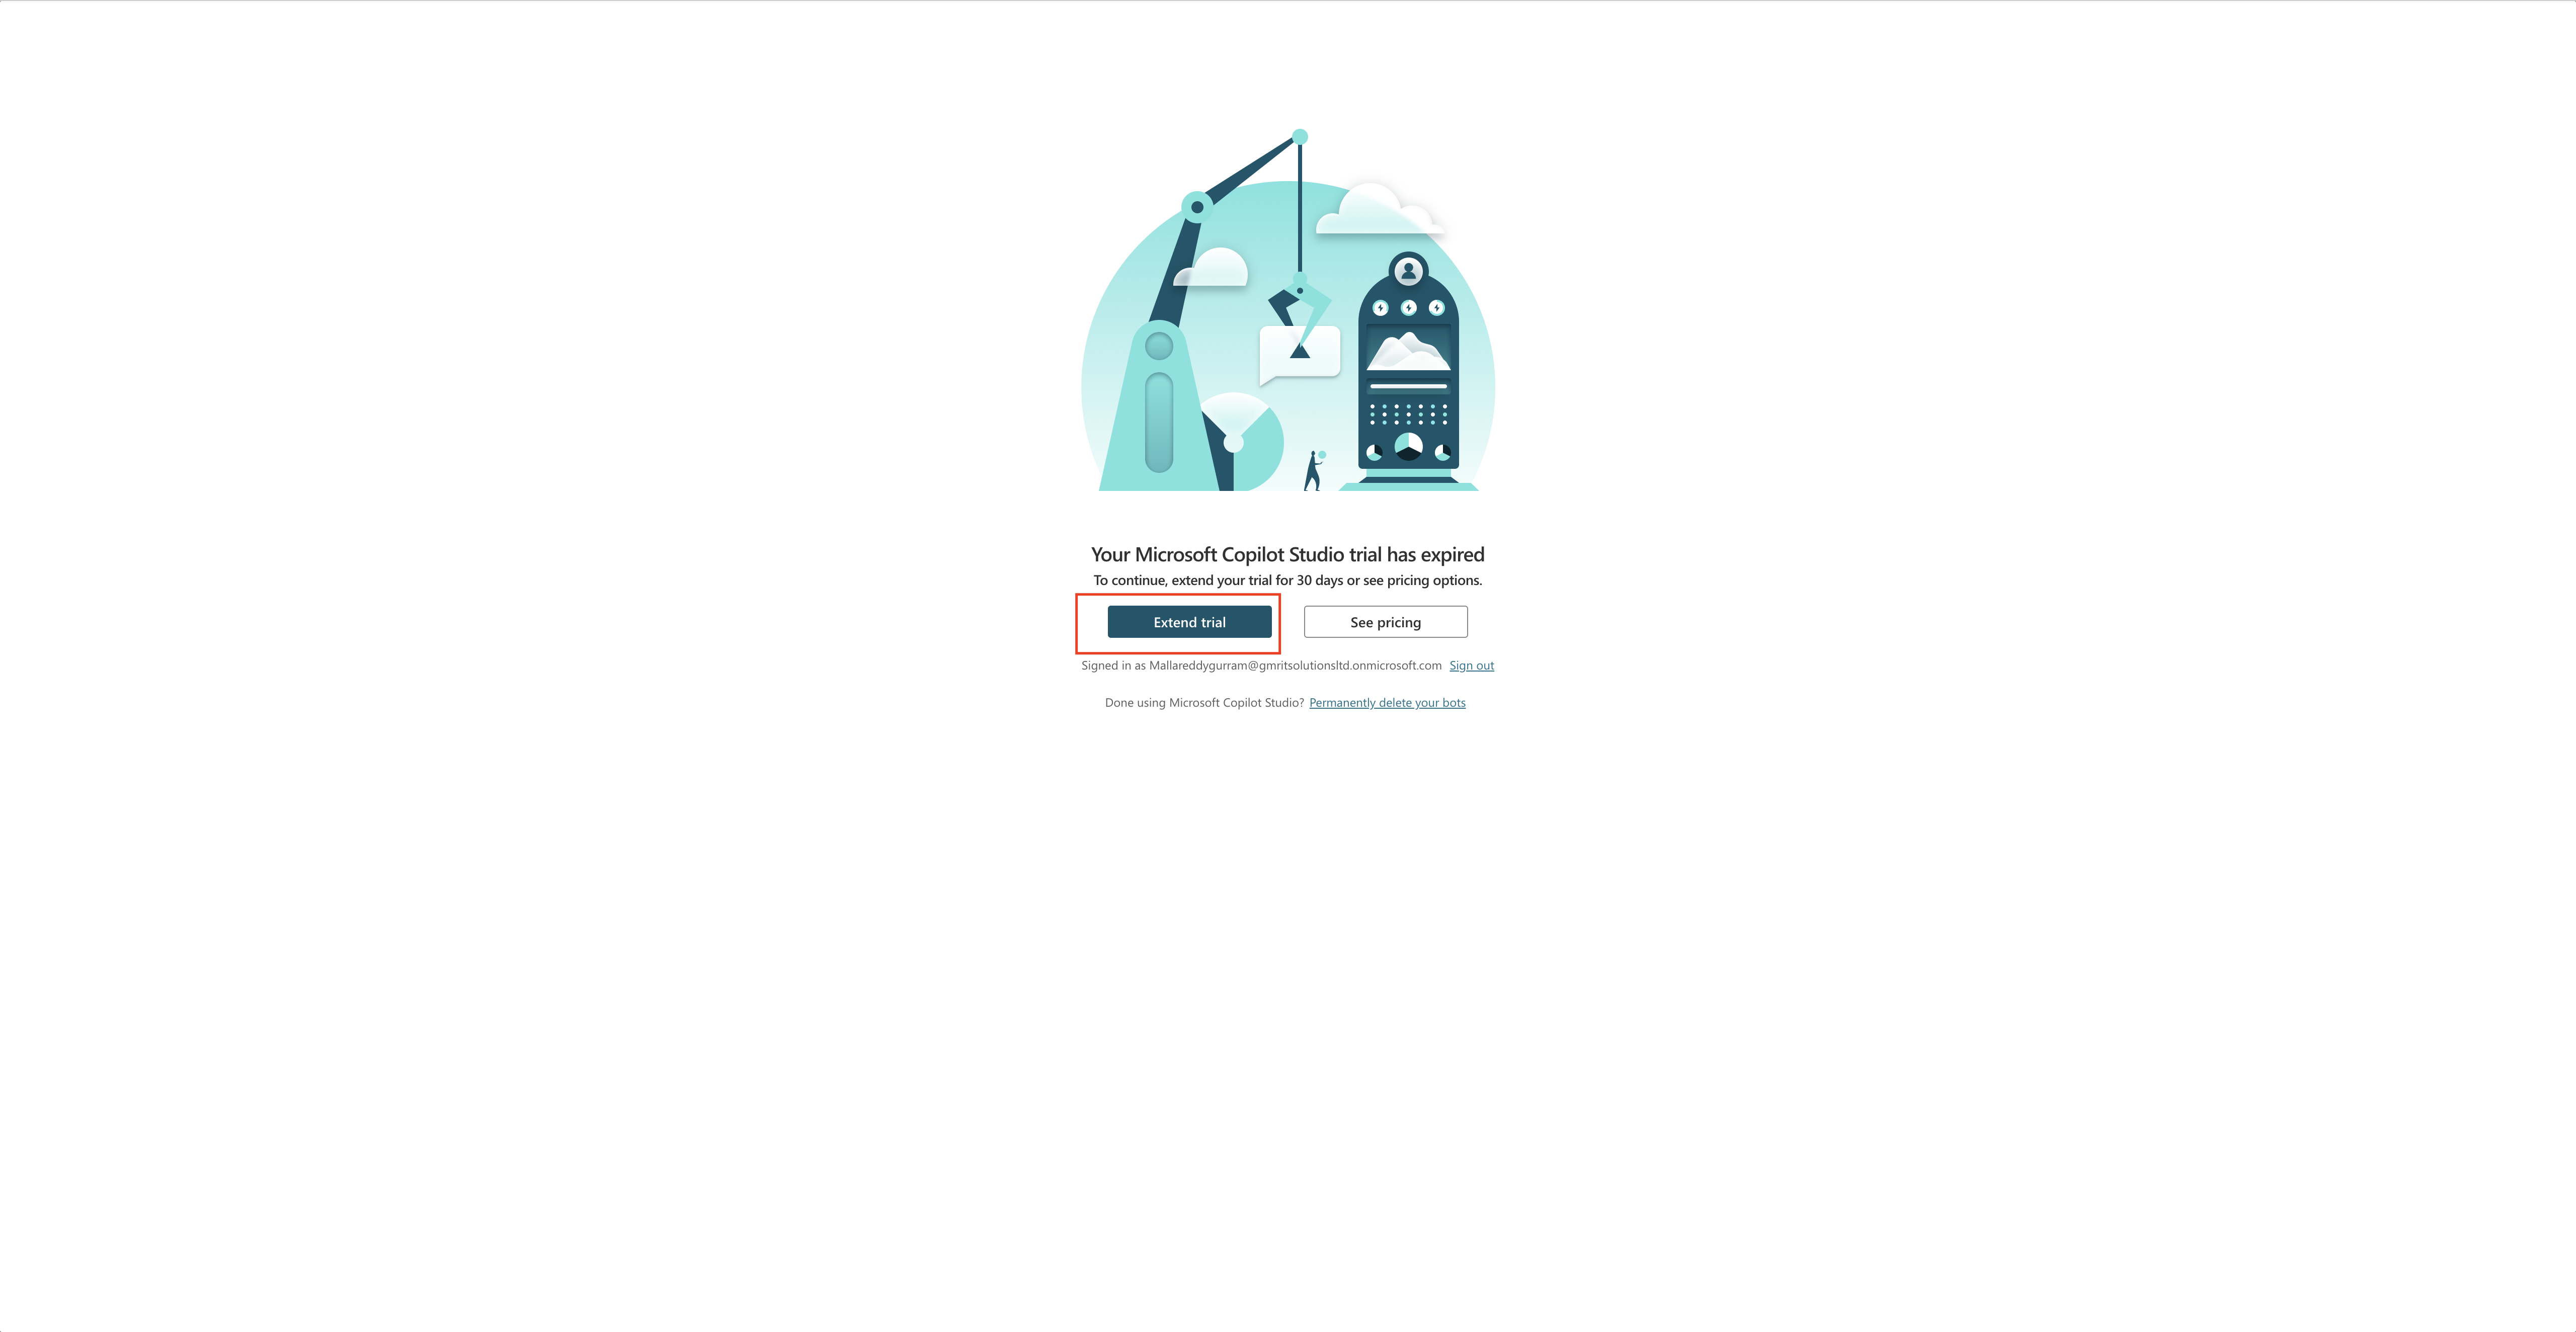
Today i am going to show how to extend the Microsoft Copilot Studio Trial expired.

Let’s get’s started.

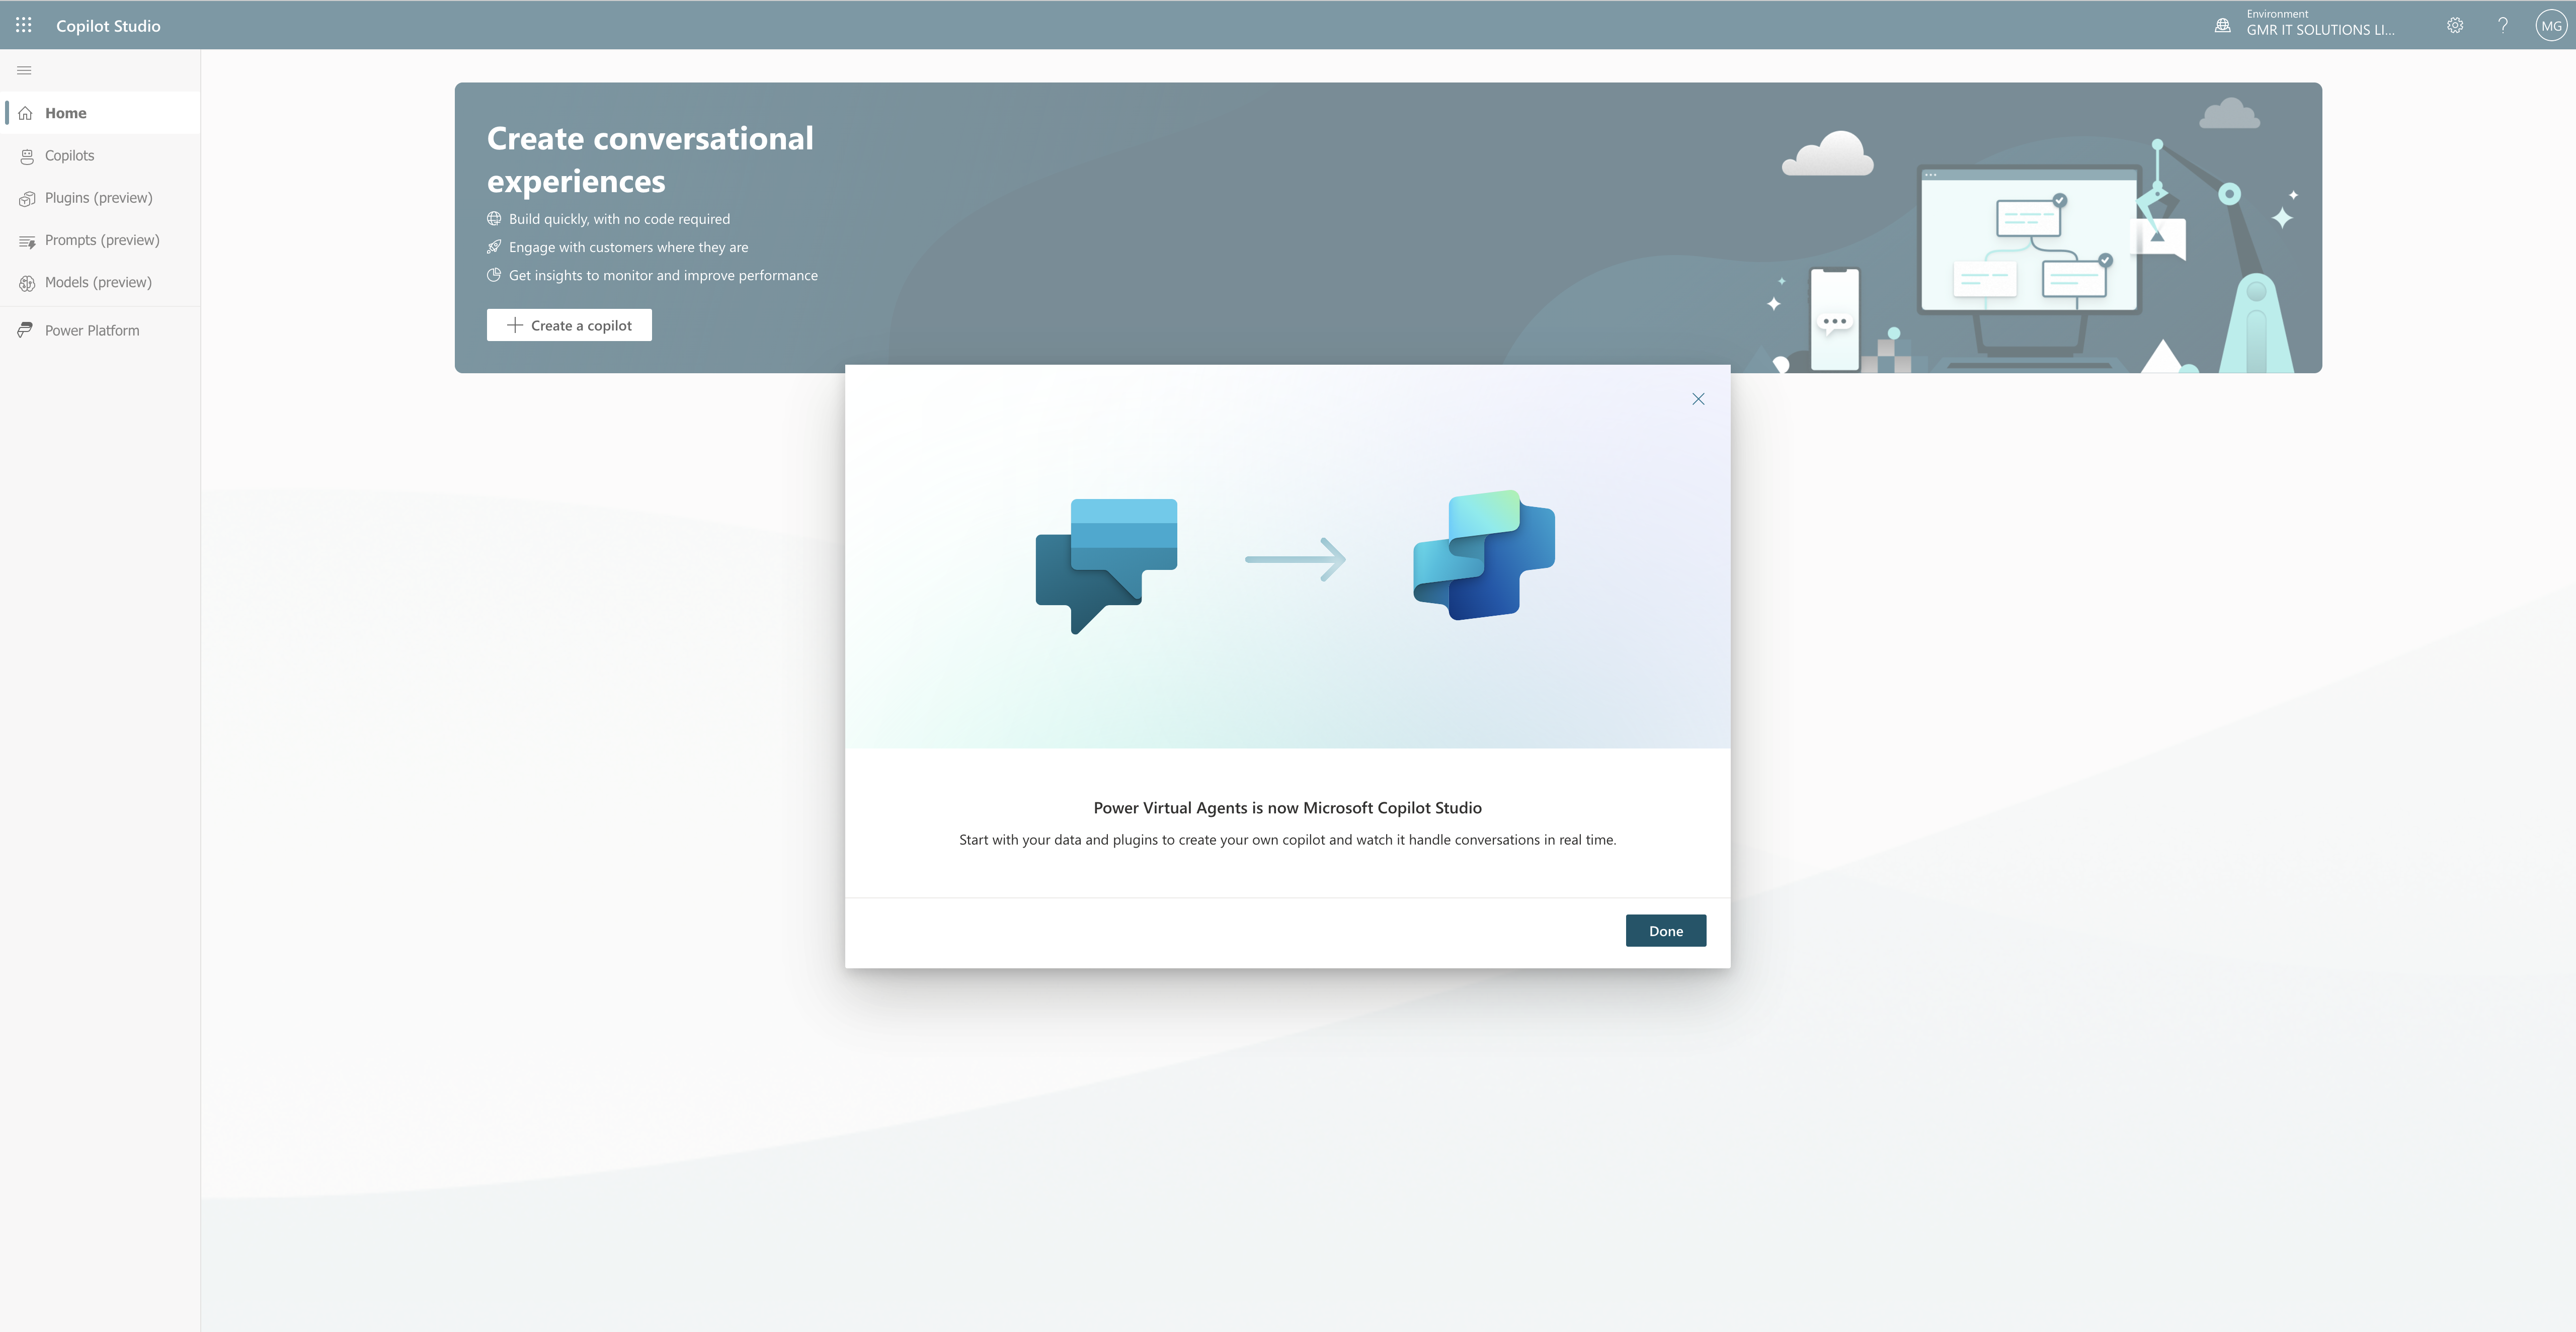
Note: Power Virtual Agent is renamed as Microsoft Copilot Studio.

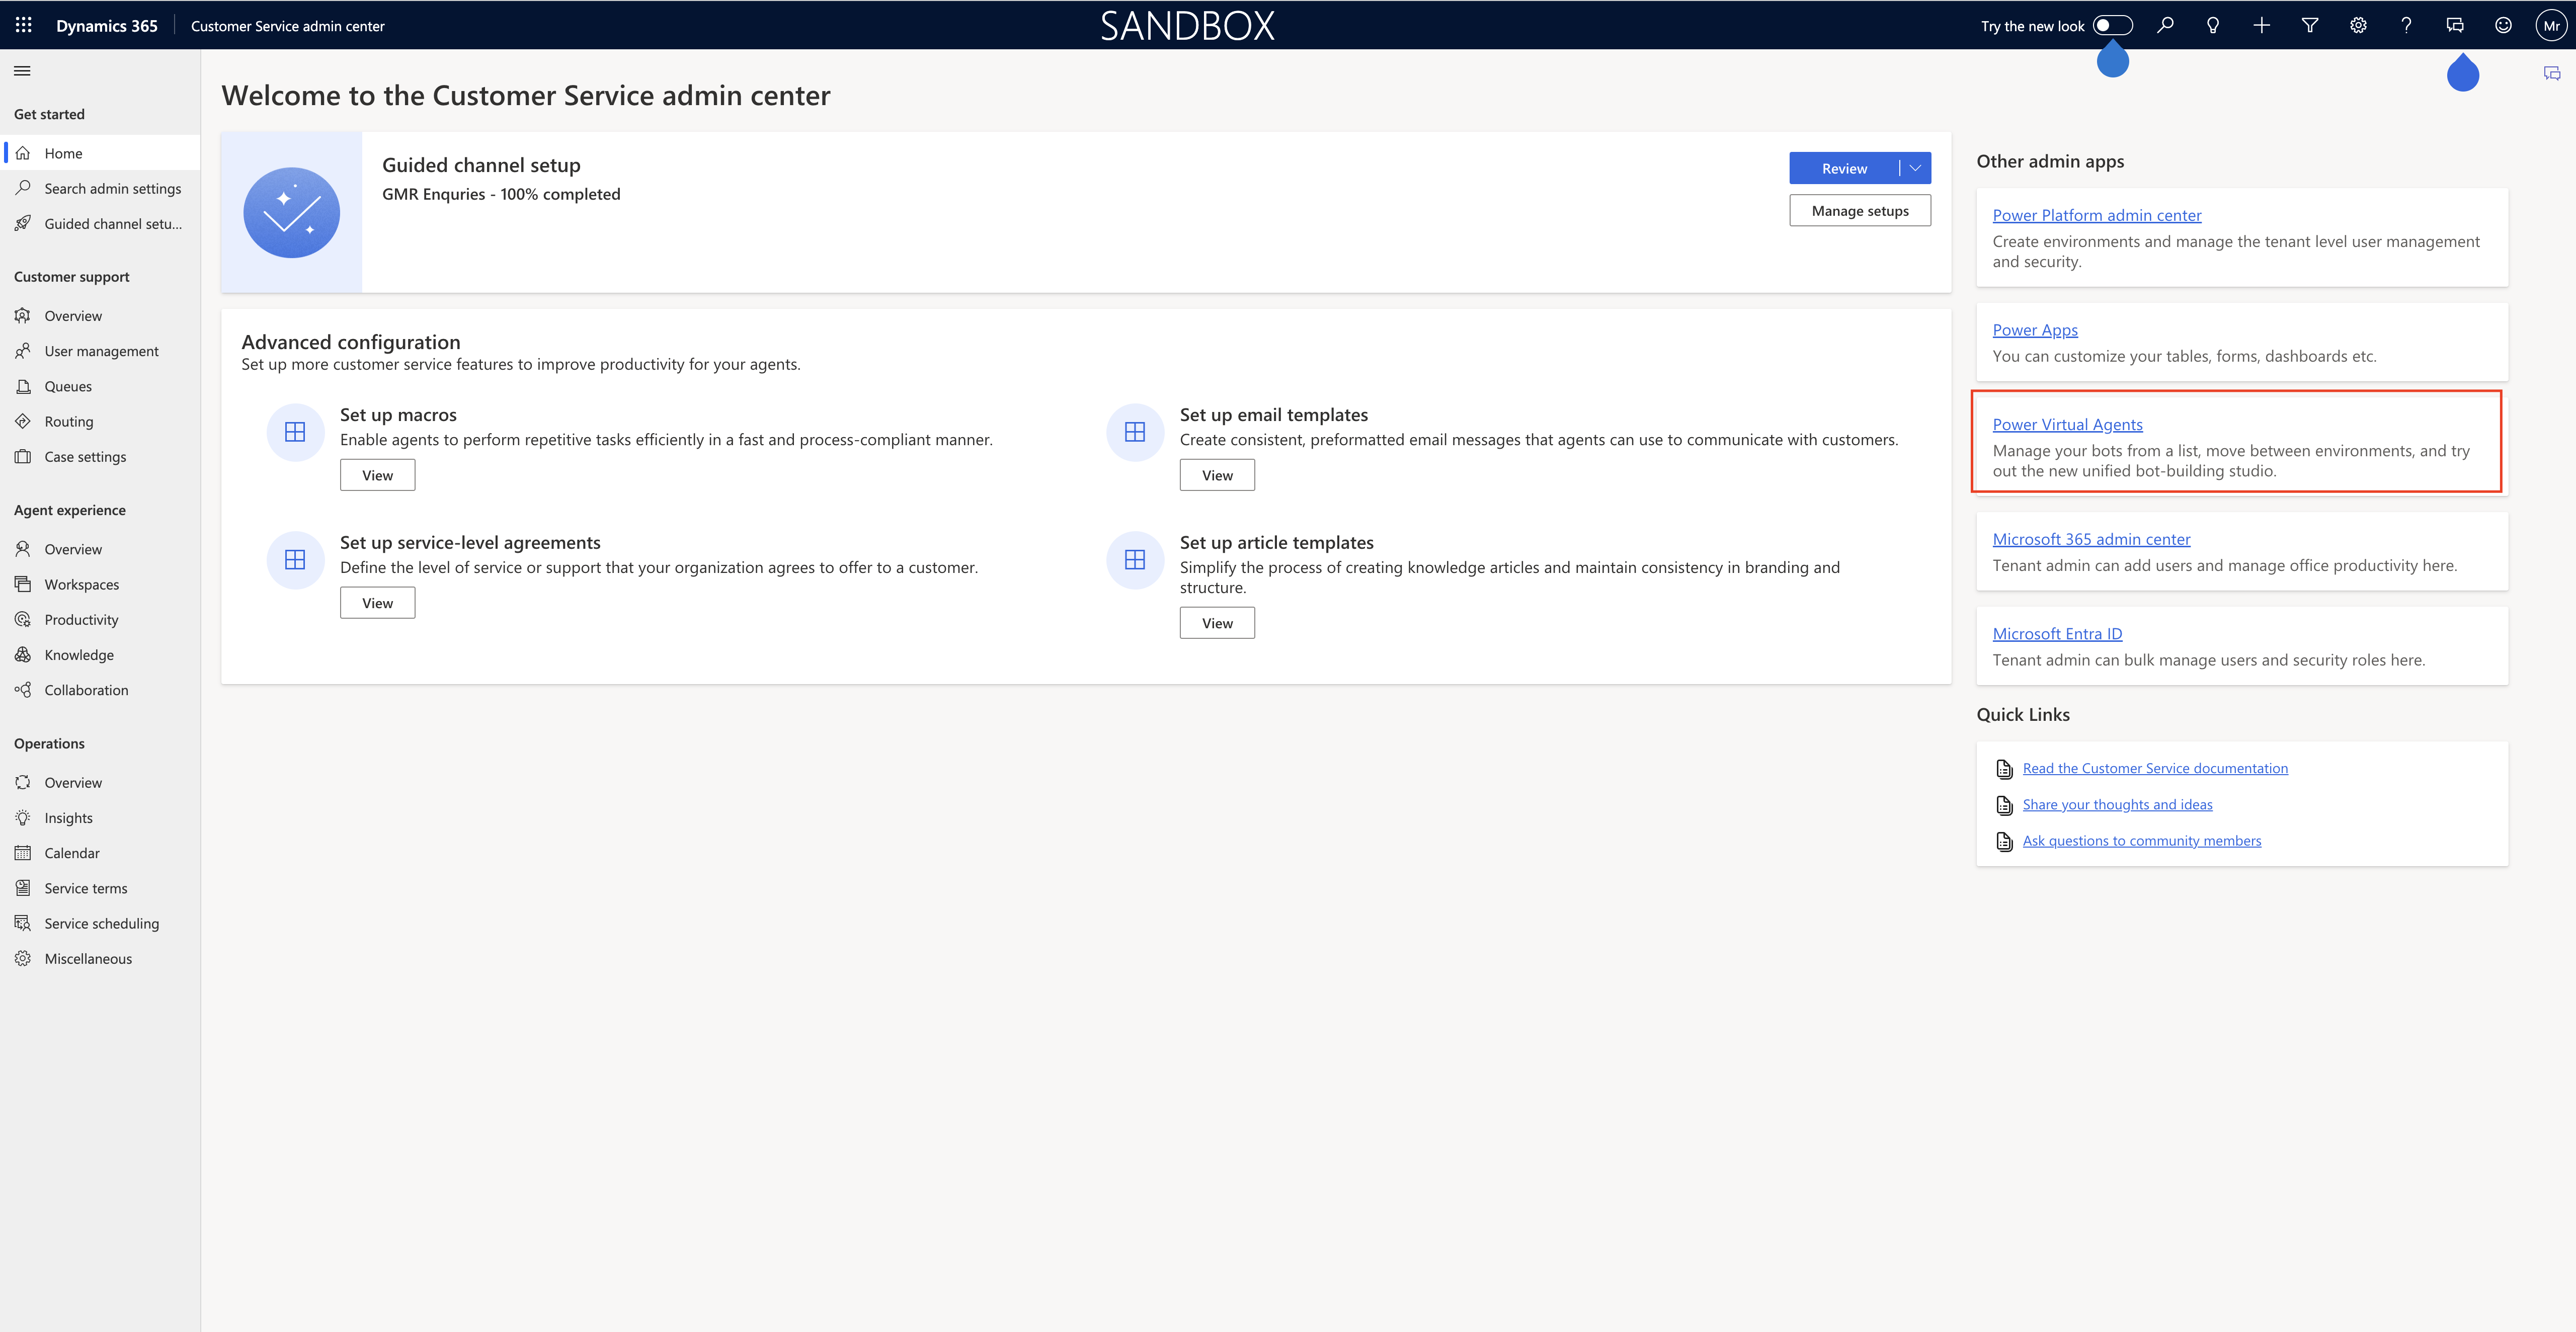
Suppose you have Microsoft Copilot Studio trial subscription and you have run out of the 30 day trial and you would like to extend further.

How do you do that?

Login into Dynamics 365 Customer Service Admin App and click on the Power Virtual Agent.

New window will be opened.

Microsoft Copilot Studio will be opened.

That’s it for today.

I hope this helps.

Malla Reddy Gurram(@UK365GUY)
#365BlogPostsin365Days
Share this:

{Do you know} how the audit log displays when a user access Dynamics 365 through Mobile App

Hello Everyone,

Today I am going to share how the audit log will be displayed when a user access the Dynamics 365 through mobile app.

Let’s get’s started.

Normally Dynamics 365 CE Mobile App users get access through:

1. Login into Dynamics 365 CE

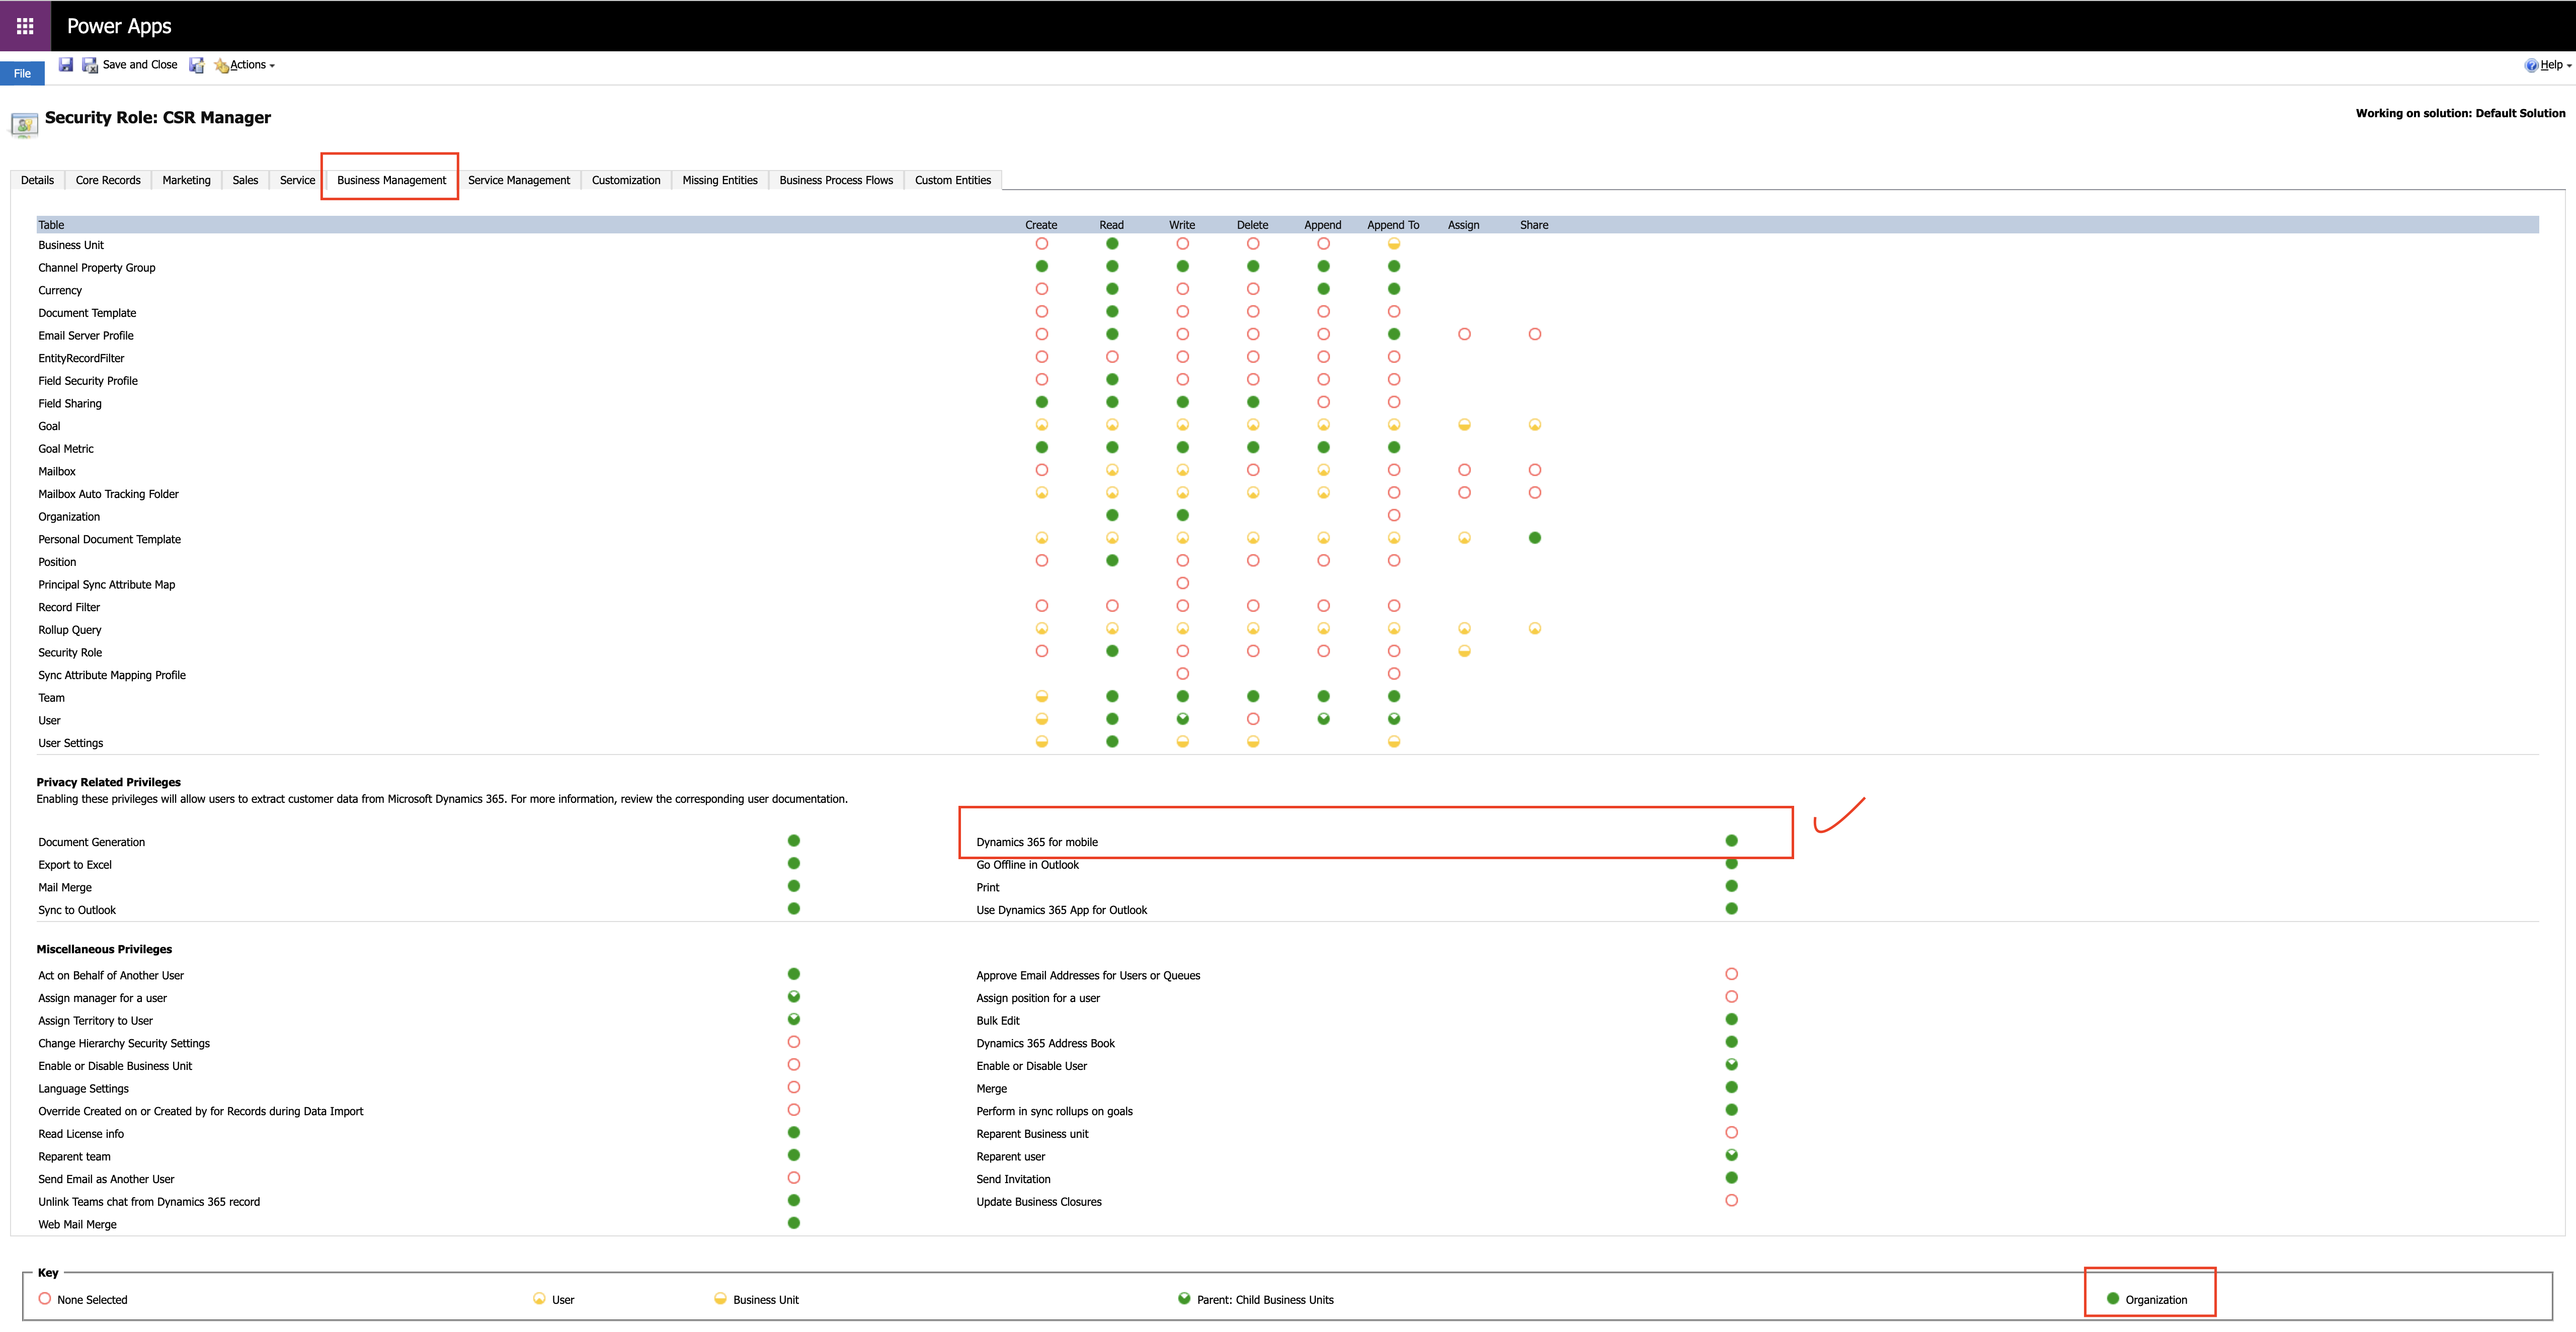
2. Go to Security

3. Security role

4. Business Management tab

5. In the Privacy Related Privileges section, verify that Dynamics 365 for mobile is set to Organization. If not Select Dynamics 365 for mobile.

6. Select Save and Close to save the changes to the security role.

7. Send an email to mobile-enabled users to let them know they can download the mobile app from the app store. Include the organization URL and sign – in information in the email.

Finally:

Dataverse and Dynamics 365 CE include the ability to audit user access.

Audit log is generated when a user access the Dynamics 365 apps through the Dynamics 365 mobile app.

Note: There is not a new event type that indicates the access was through the mobile app. The audit login events would appear as “USER ACCESS VIA WEB”.

That’s it for today.

I hope this helps.

Malla Reddy Gurram(@UK365GUY)
#365BlogPostsin365Days

Share this:

{Do you know} what is the significance of Not to exceed on Dynamics 365 Field Service

Hello Everyone,

Today I am going to show how to enable NOT TO EXCEED and its use on Dynamics 365 Field Service.

Let’s get’s started.

What is NOT TO EXCEED and what is the use of it on Dynamics 365 Field Service?

The main purpose of it is setting financial expectations with customers and vendors is critical for managing the organisation’s bottom line and maintaining successful relationship.

It’s capability helps service providers stay within the preapproved price and cost for work orders.

There are different types of NTE’s:

1. Price

2. Cost

3. Price and cost margin.

How to enable NTE on Dynamics 365 Field Service?

1. Login into Dynamics 365 Field Service.

2. Change to settings.

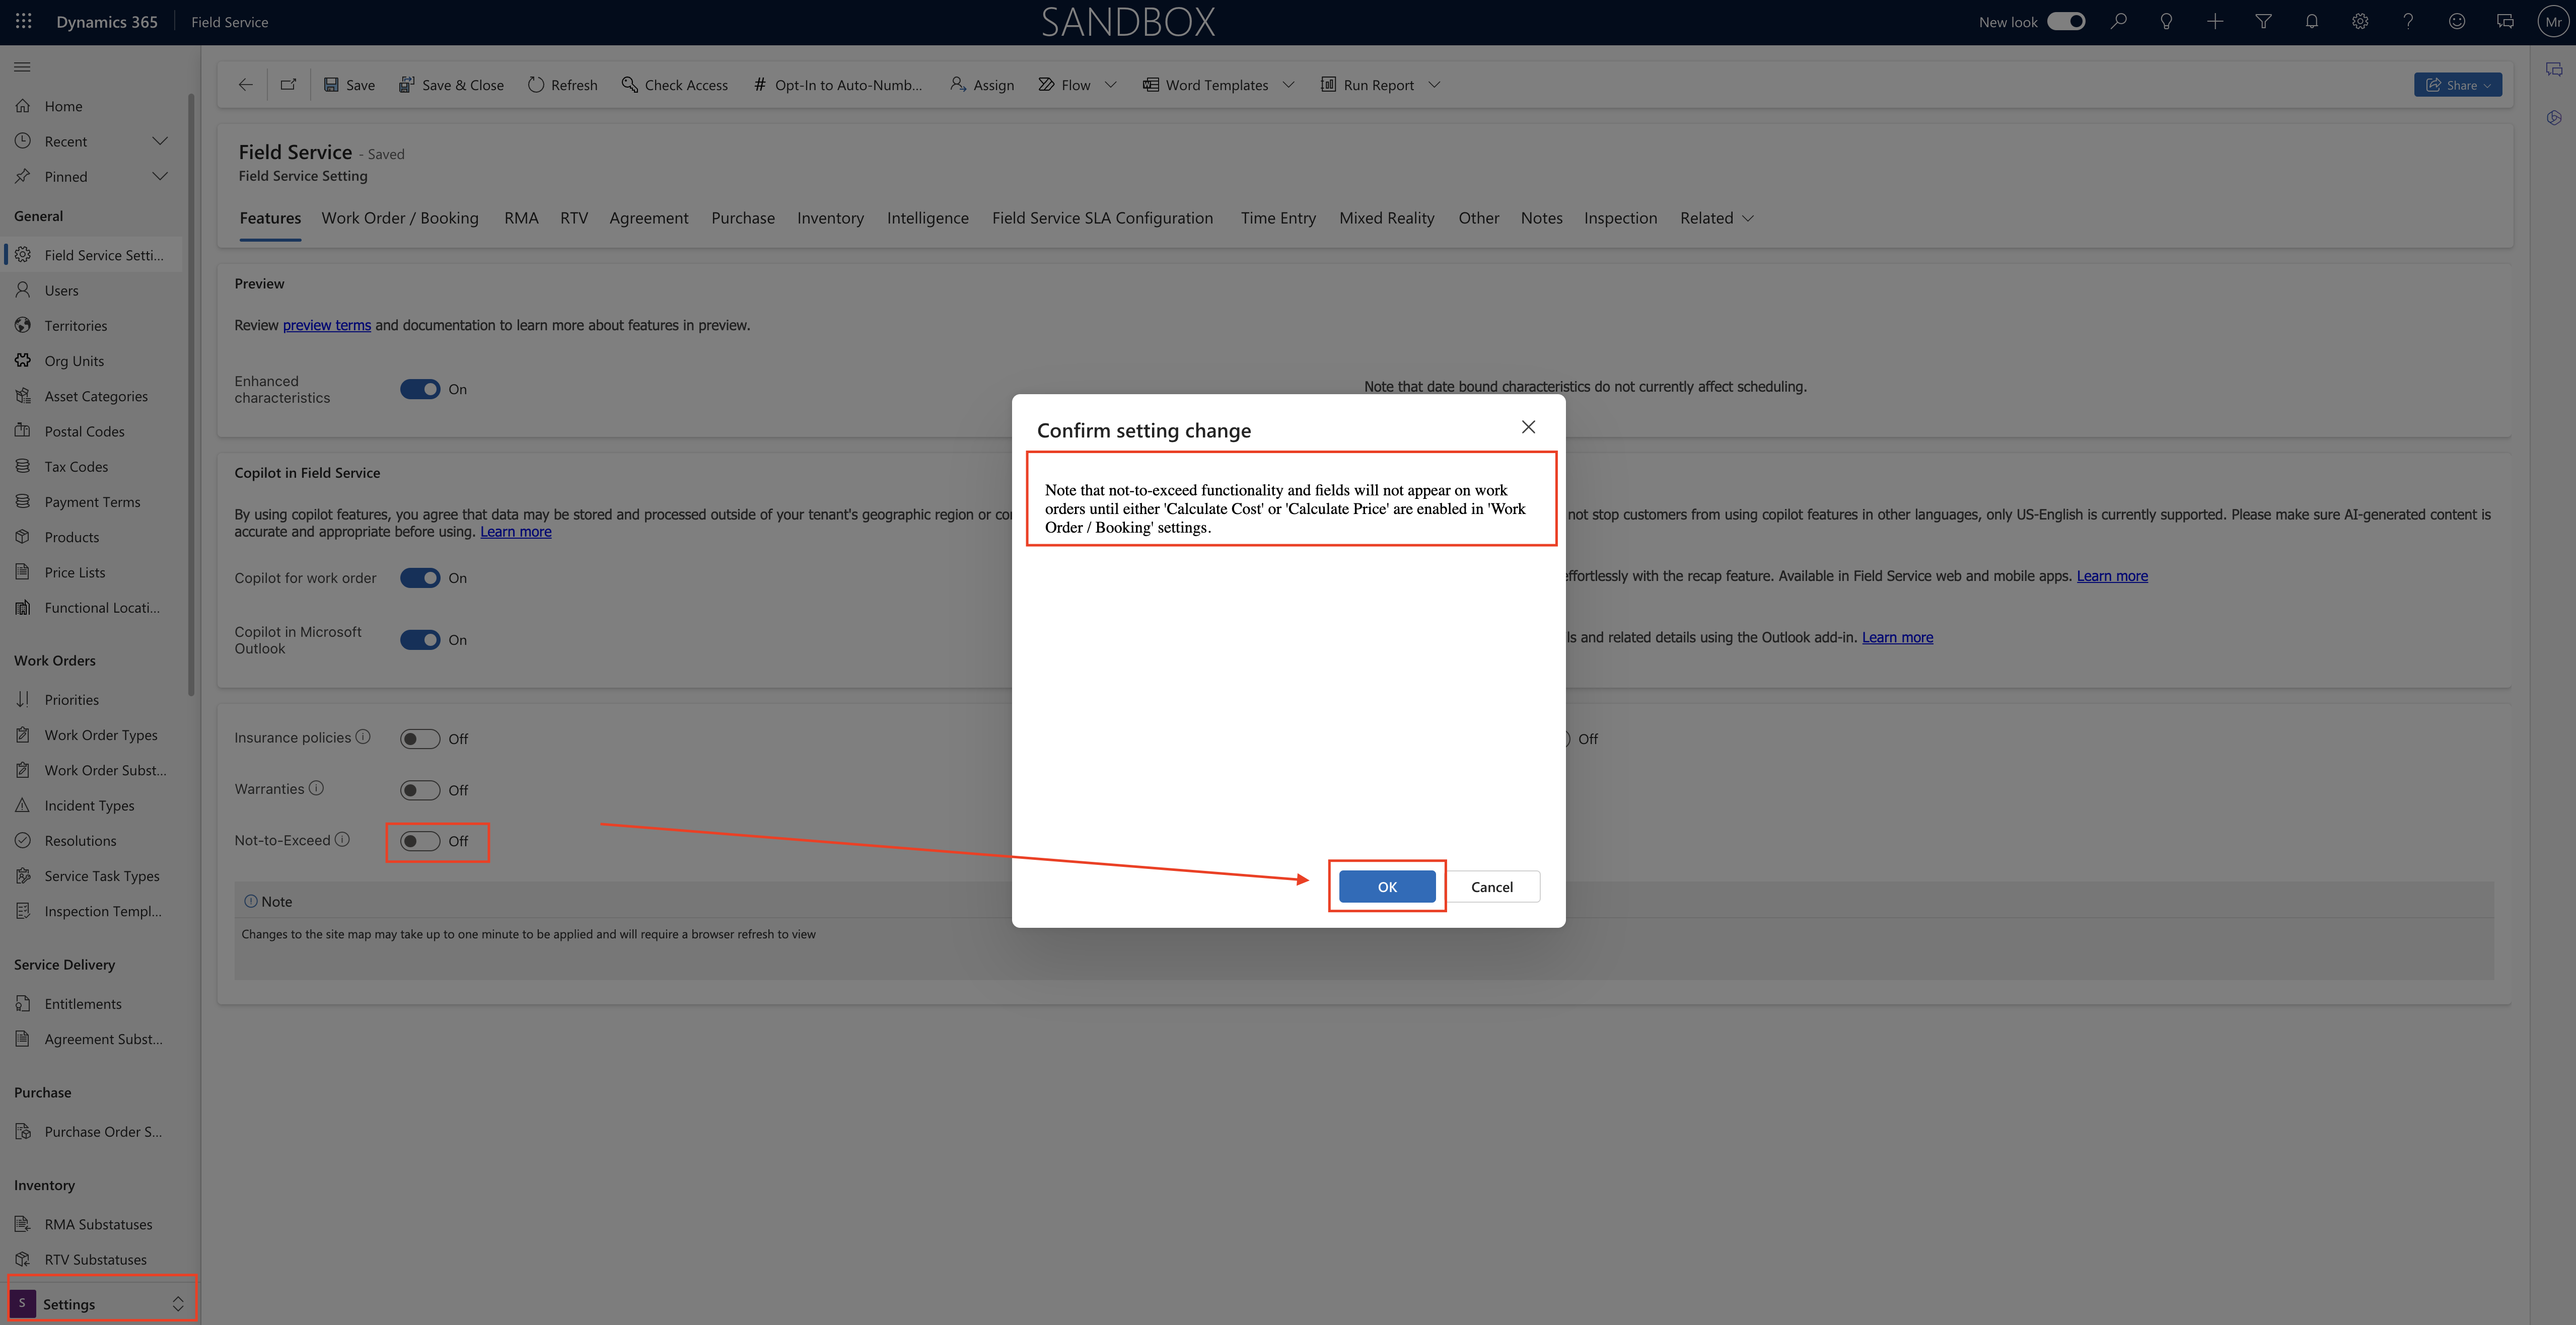
3. Field Service Settings > Enable “Not-to-Exceed”.

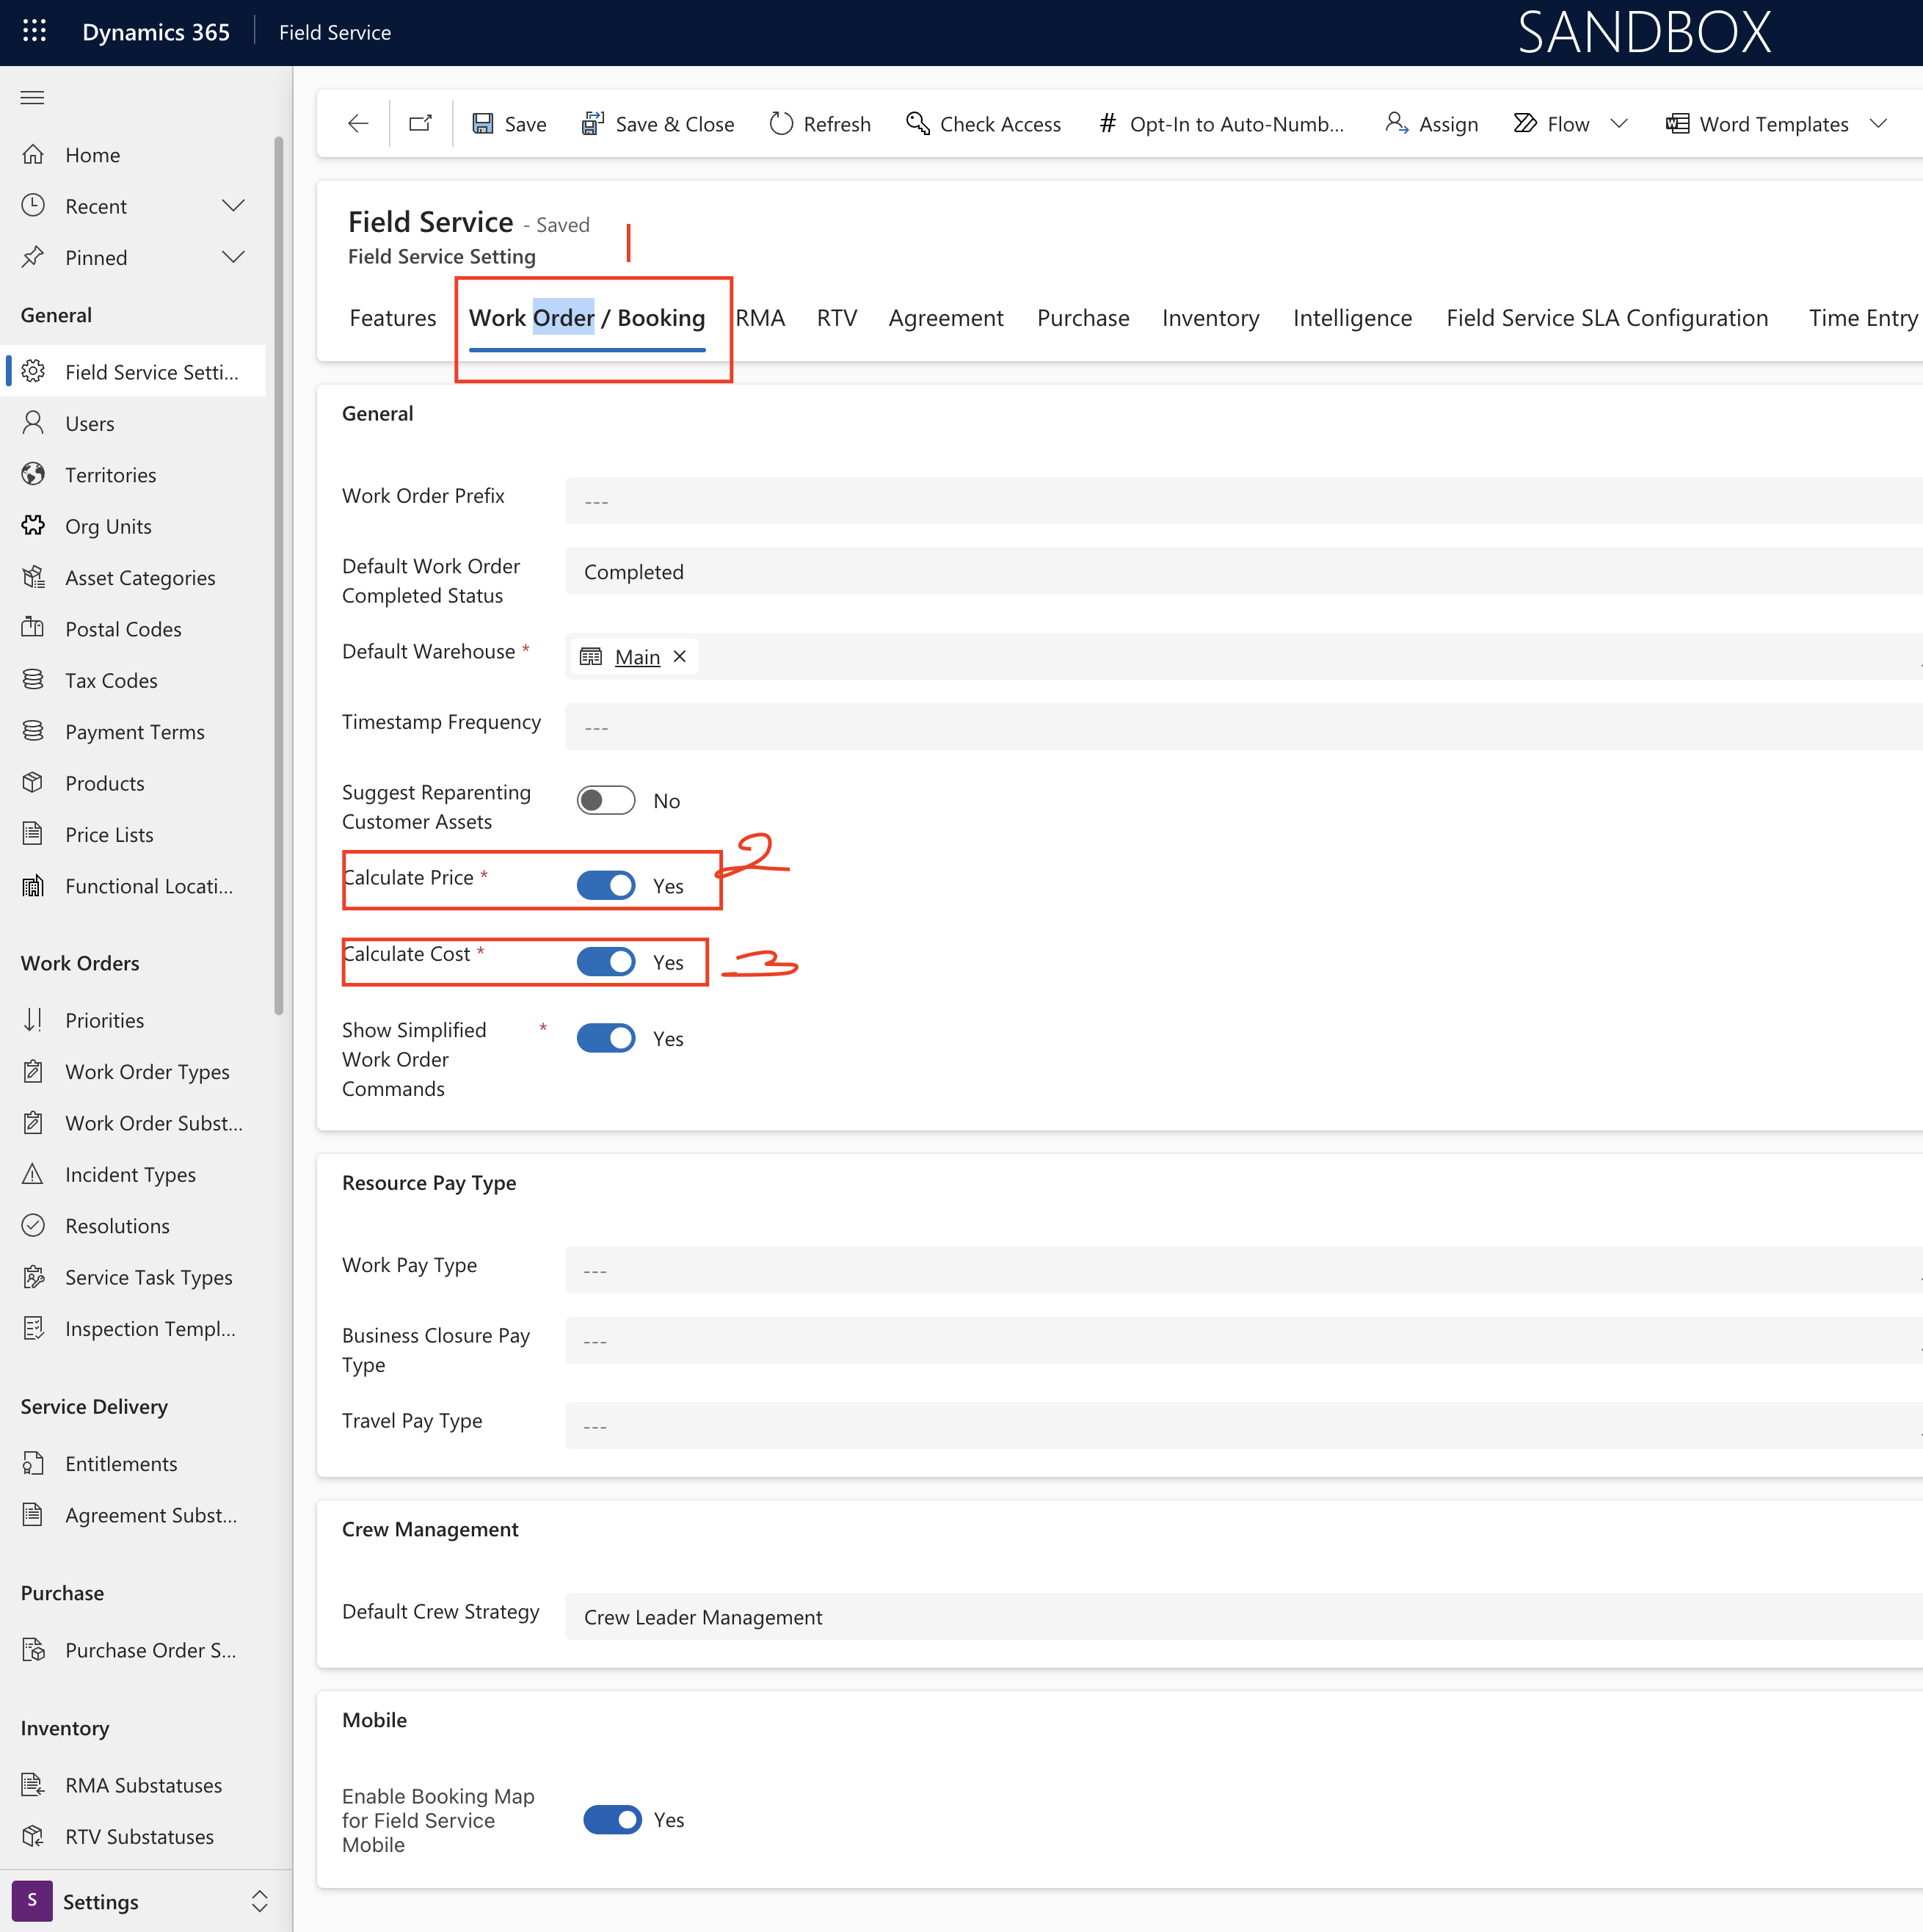
Note: Not to Exceed functionality and fields will not appear on work orders until either “Calculate Cost” or “Calculate Price” are enabled in Work Order/Booking” Settings.

Settings will be updated upton Save.

Note: Service Managers and frontline workers can optionally receive a warning when the Not-to-Exceed value near the limit or exceeds by notfying the users and they need to act.

Who can configure the NTE?

1. Security roles:

A. Field Service – Administrators
B. Other Field Service roles: Read and use permissions for NTE records.

2. Enable cost calculation or price calculations, depending on NTE type you plan to use.

For more information visit here

That’s it for today.

I hope this helps.

Malla Reddy Gurram(@UK365GUY)
#365BlogPostsin365Days
Share this: