Hello Everyone,
Today I am going to share my thoughts on how to capture azure service bus queue and send email from Dynamics 365 Marketing.
Let’s get’s started.
Suppose there is a requirement to send emails from Dynamics 365 Marketing by capturing queues from Azure Service Bus Queue.
Where would queues coming from ? They will come from a Web App.
How do you do that integration of Azure Service Bus with Dynamics 365 Marketing.
Certainly! To capture Azure Service Bus Queue messages and send emails from Dynamics 365 Marketing, you can follow these steps:
1. Azure Service Bus Setup:
Set up an Azure Service Bus Queue.
Obtain the connection string for the Service Bus.
2.Power Automate Flow:
Create a Power Automate Flow.
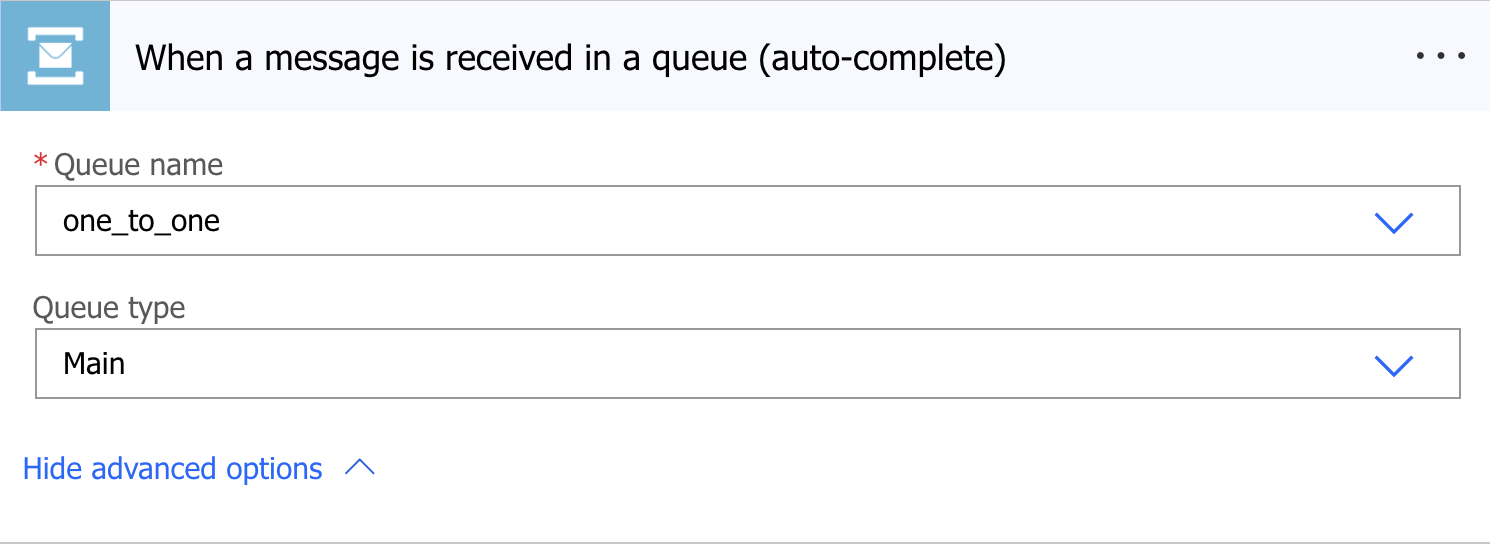
Use the “When a message is received in a queue(Azure Service Bus)” trigger .
Configure the connection using the Service Bus Connection String.
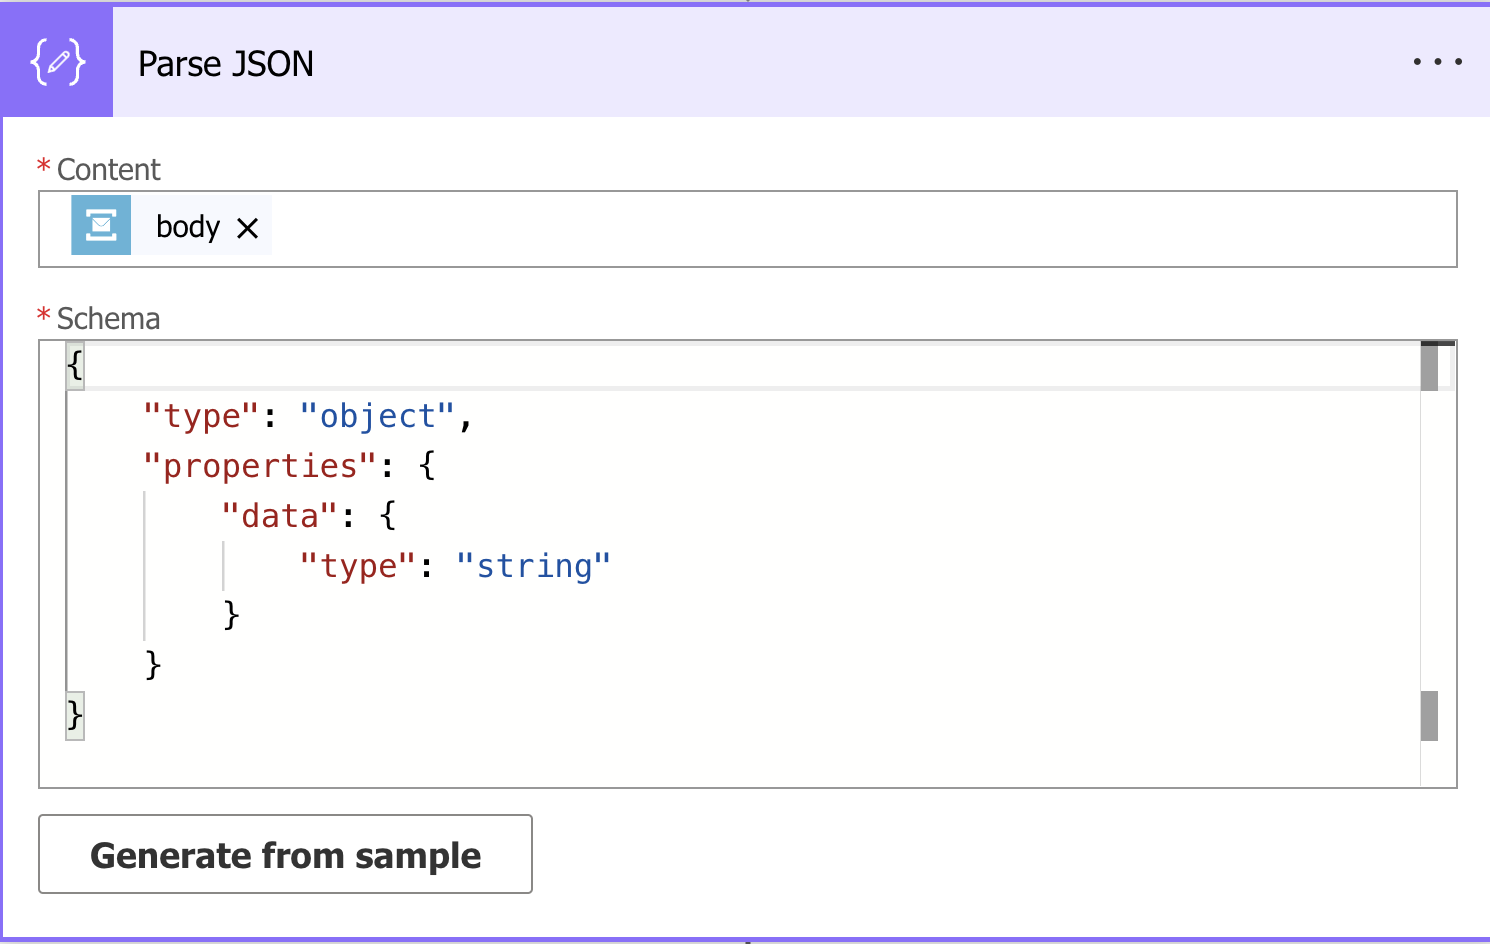
Define actions to process the message, e.g extract relevant information.
3. Dynamics 365 Marketing Integration:
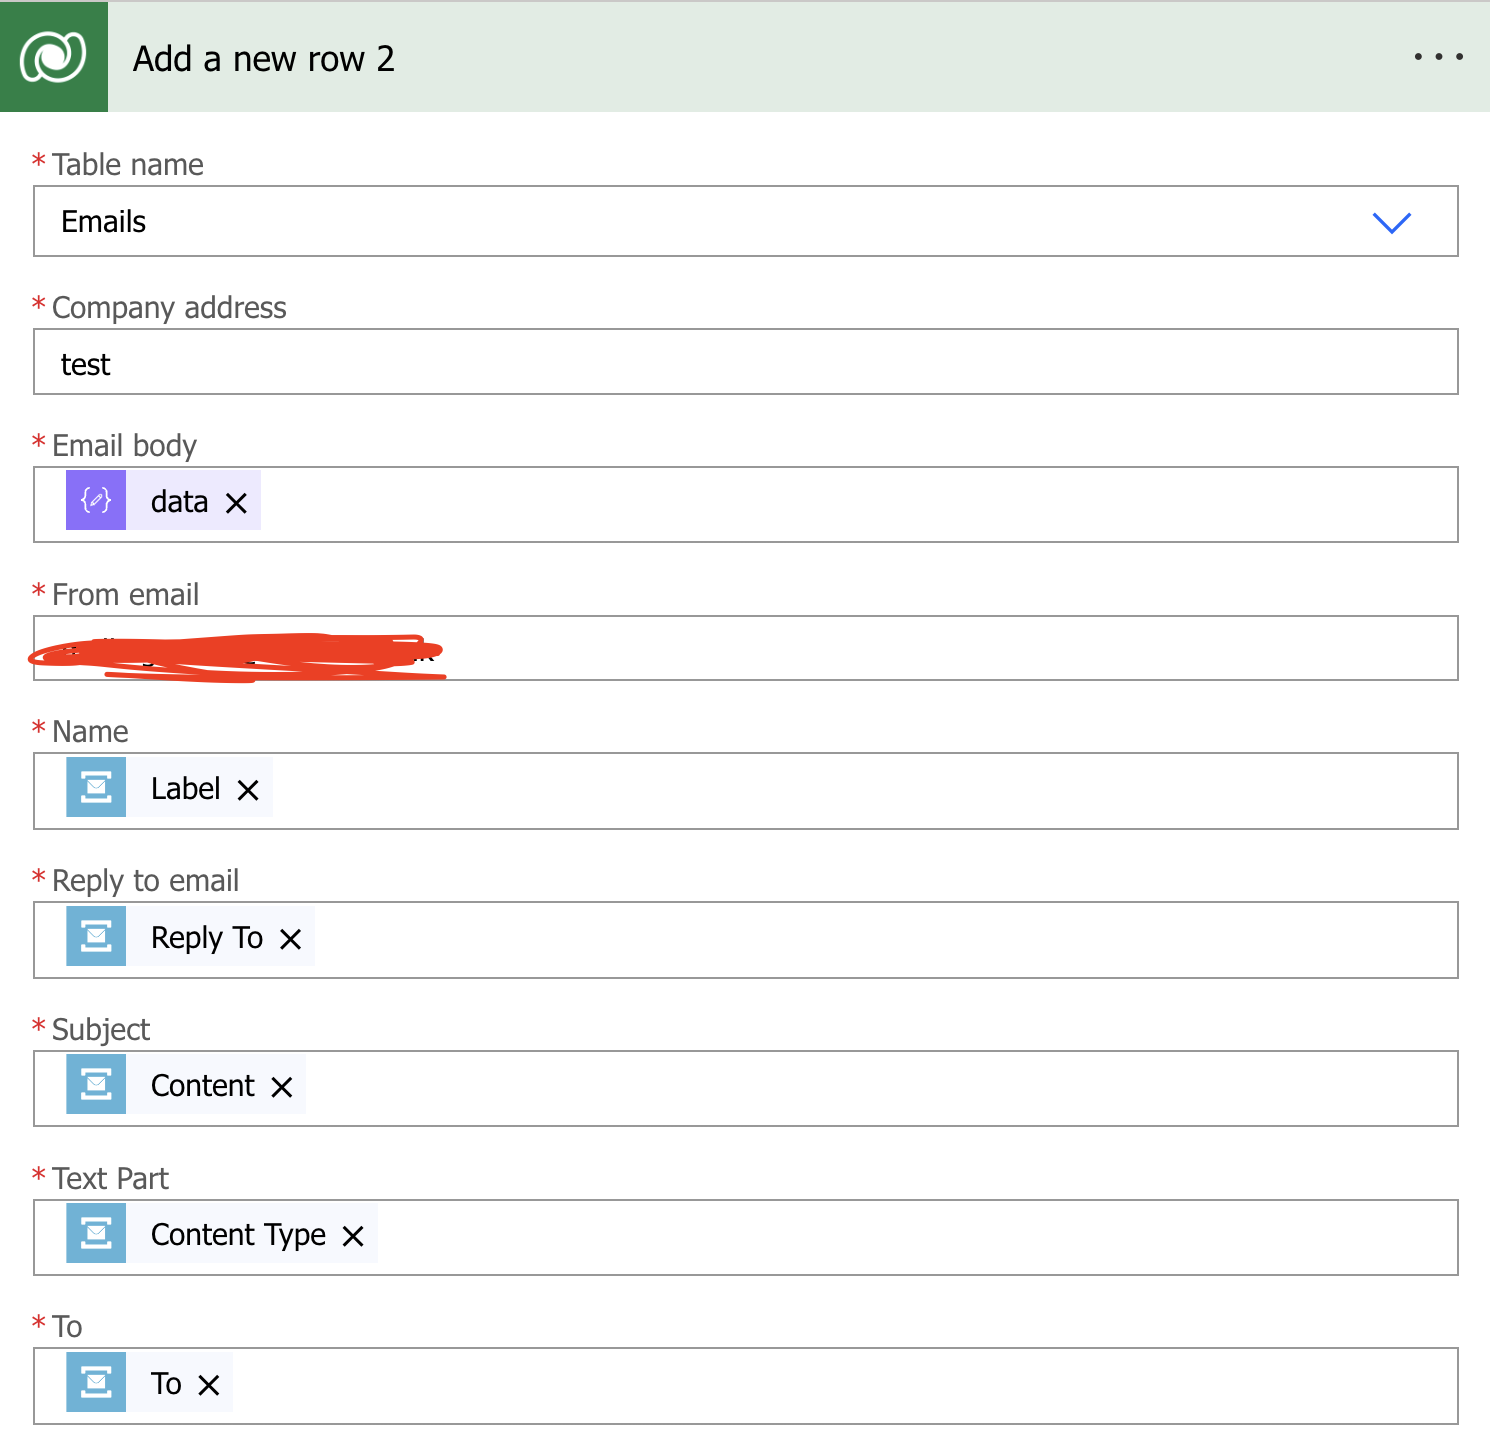
Add an action in the Power Automate flow to create or update a record in Dynamics 365 Marketing.
Use the “Create a record” or “Update a record” action based on your requirements.
Populate the necessary fields with data from the Azure Service Bus message.
4. Send Email in Dynamics 365 Marketing:
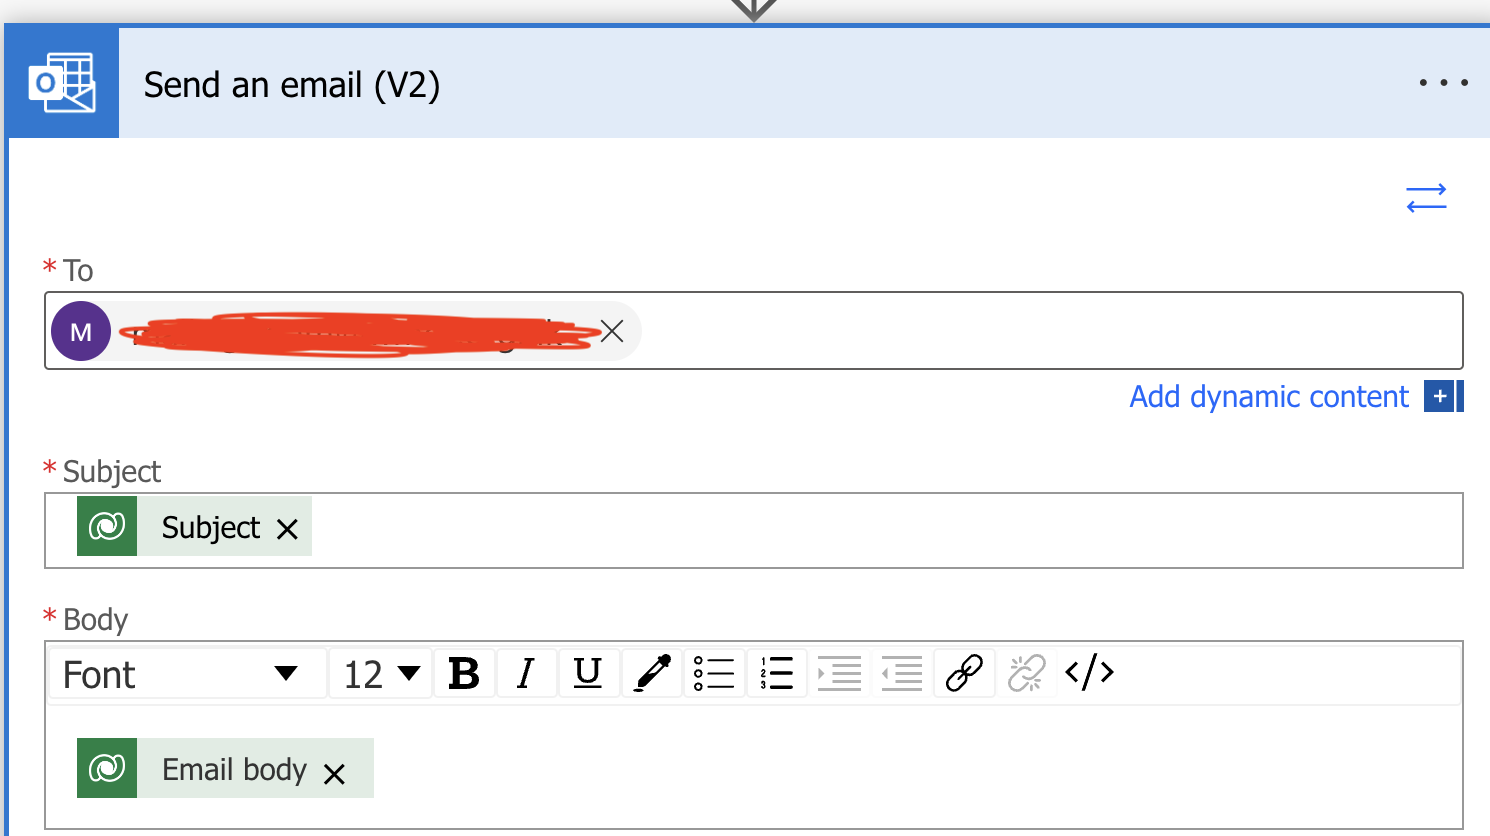
Add another action to the Power Automate flow to trigger the email sending process in Dynamics 365 Marketing.
You may use the “Send an Email(V2)” action or a similar one depending on your Dynamics 365 Marketing version.
5. Authenticate and Permissions:
Ensure that the authentication between Azure Service Bus, Power Automate, and Dynamics 365 Marketing is set up securely.
Grant the necessary permissions to the service accounts or users involved in the integration.
6. Testing and Monitoring:
Test the end to end flow to ensure that messages from the Azure Service Bus Queue trigger the desired actions in Dynamics 365 Marketing.
Implement monitoring and logging to track the flow execution and handle any errors.
By following these steps, you can create a seamless integration between Azure Service Bus Queue and Dynamics 365 Marketing, allowing you to capture messages and trigger email sending processes.
That’s it for today.
I hope this helps.
Malla Reddy Gurram(@UK365GUY)
#365BlogPostsin365Days
