Hello Everyone,
Today i am going to show how to enable and add the chat bot to your canvas app.
Lets gets started.
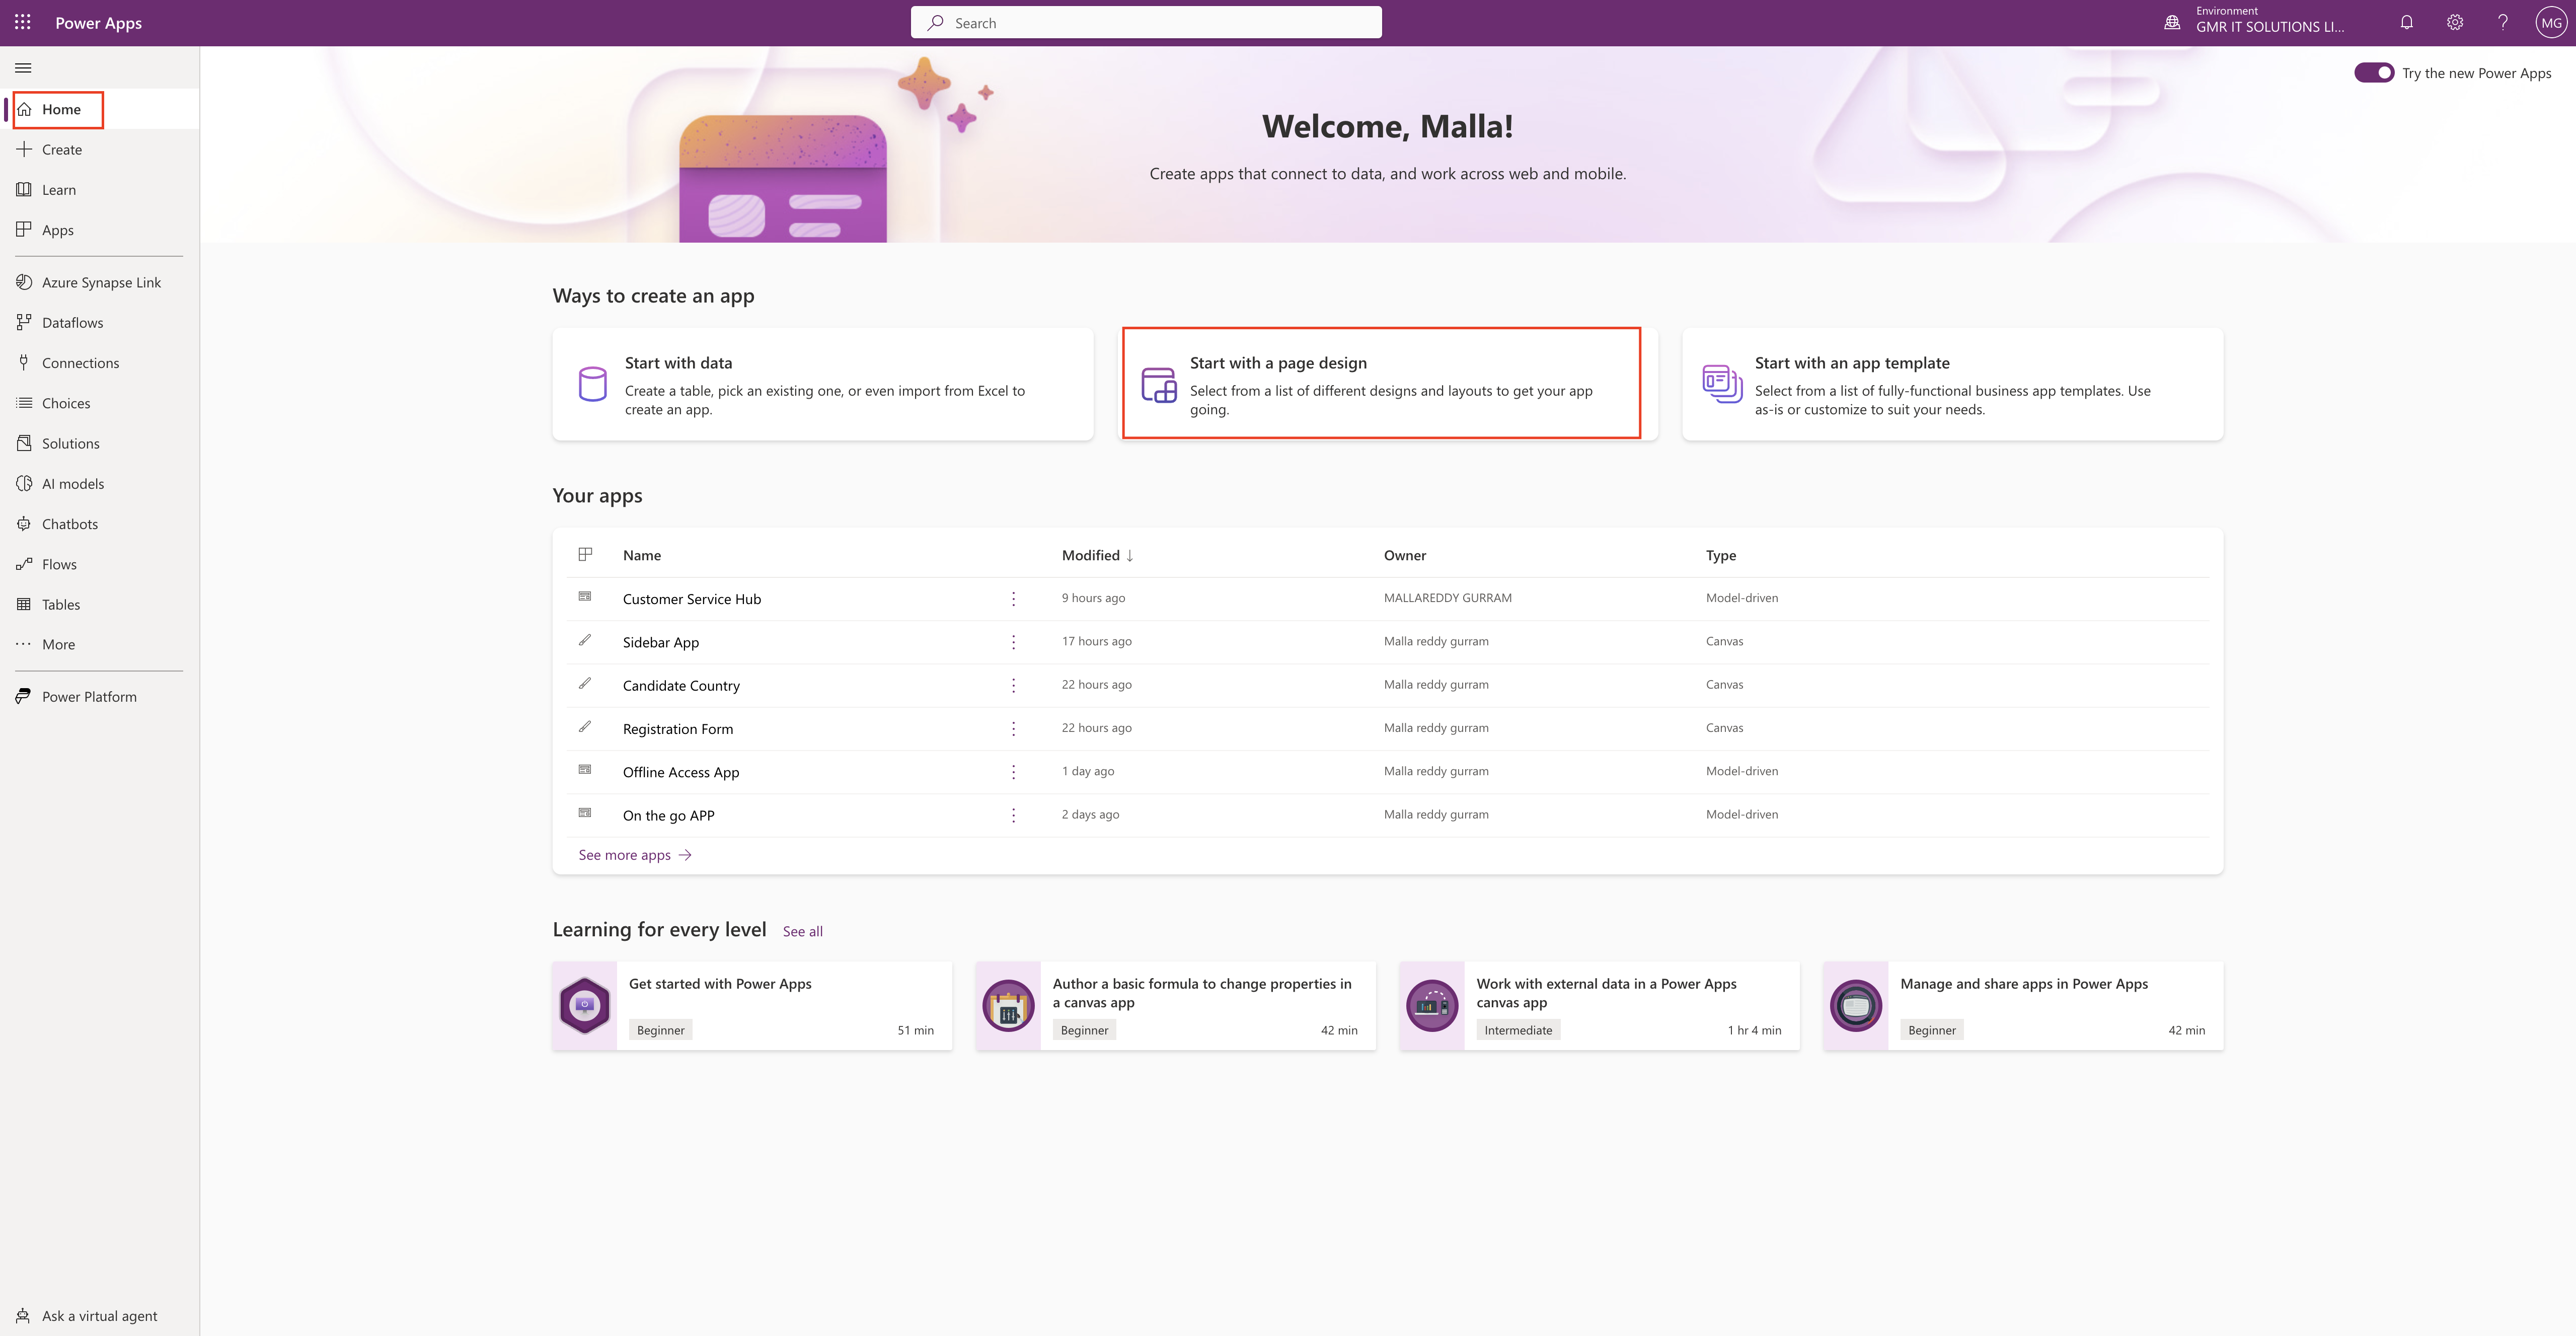
Login into www.make.powerapps.com
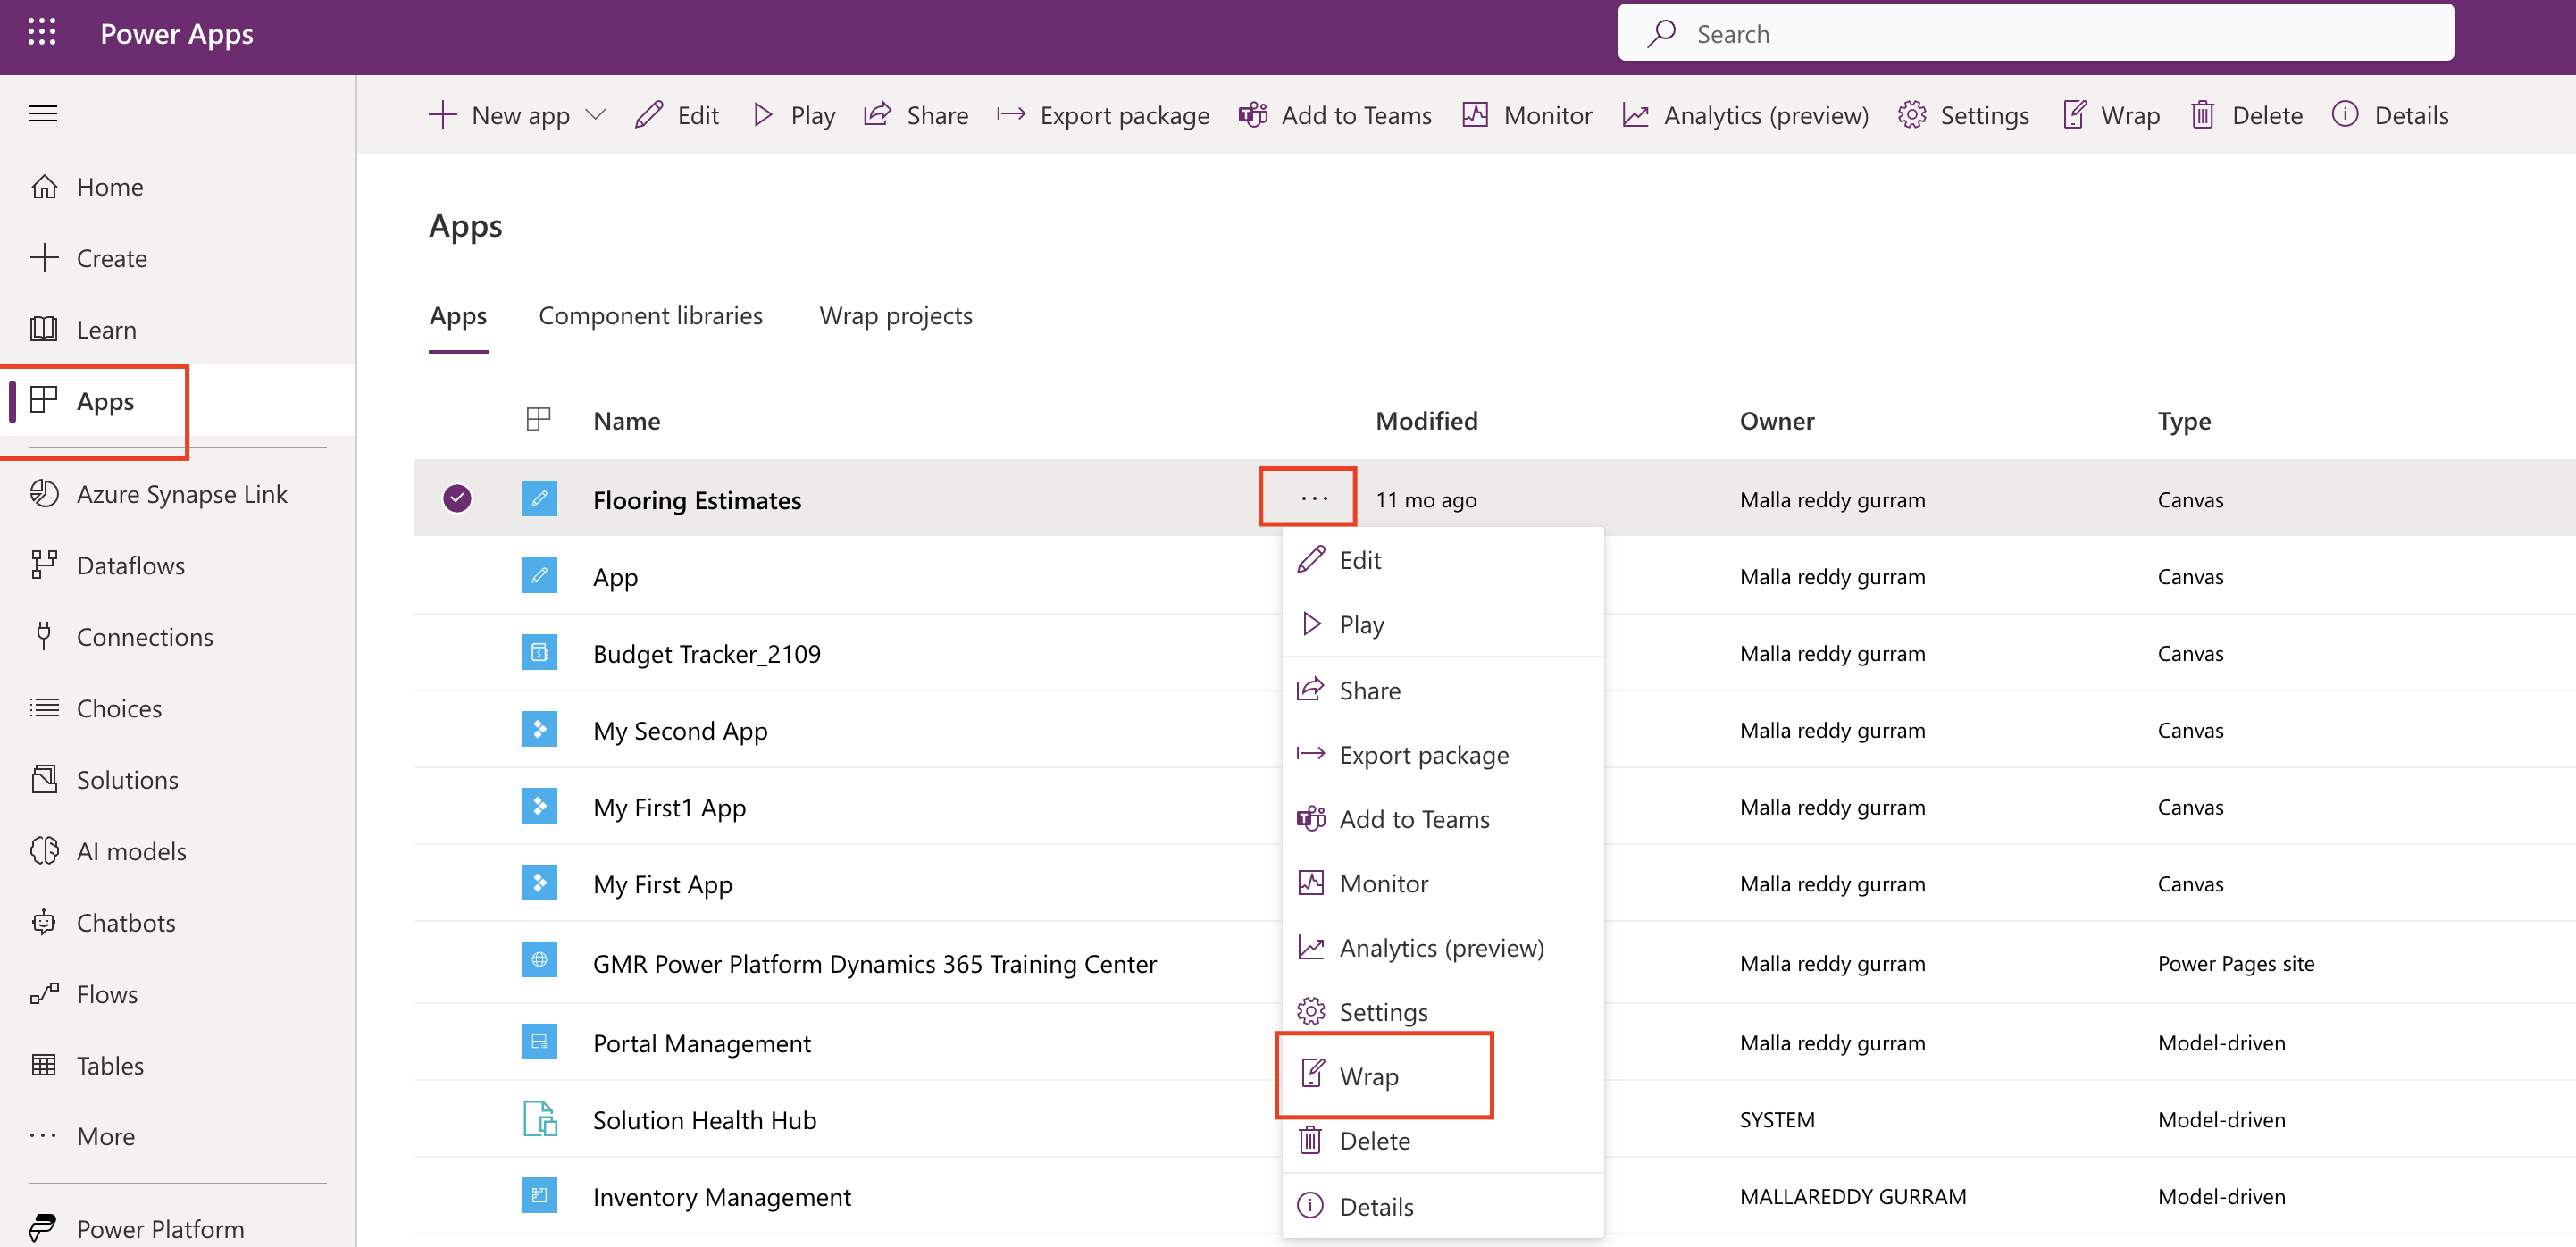
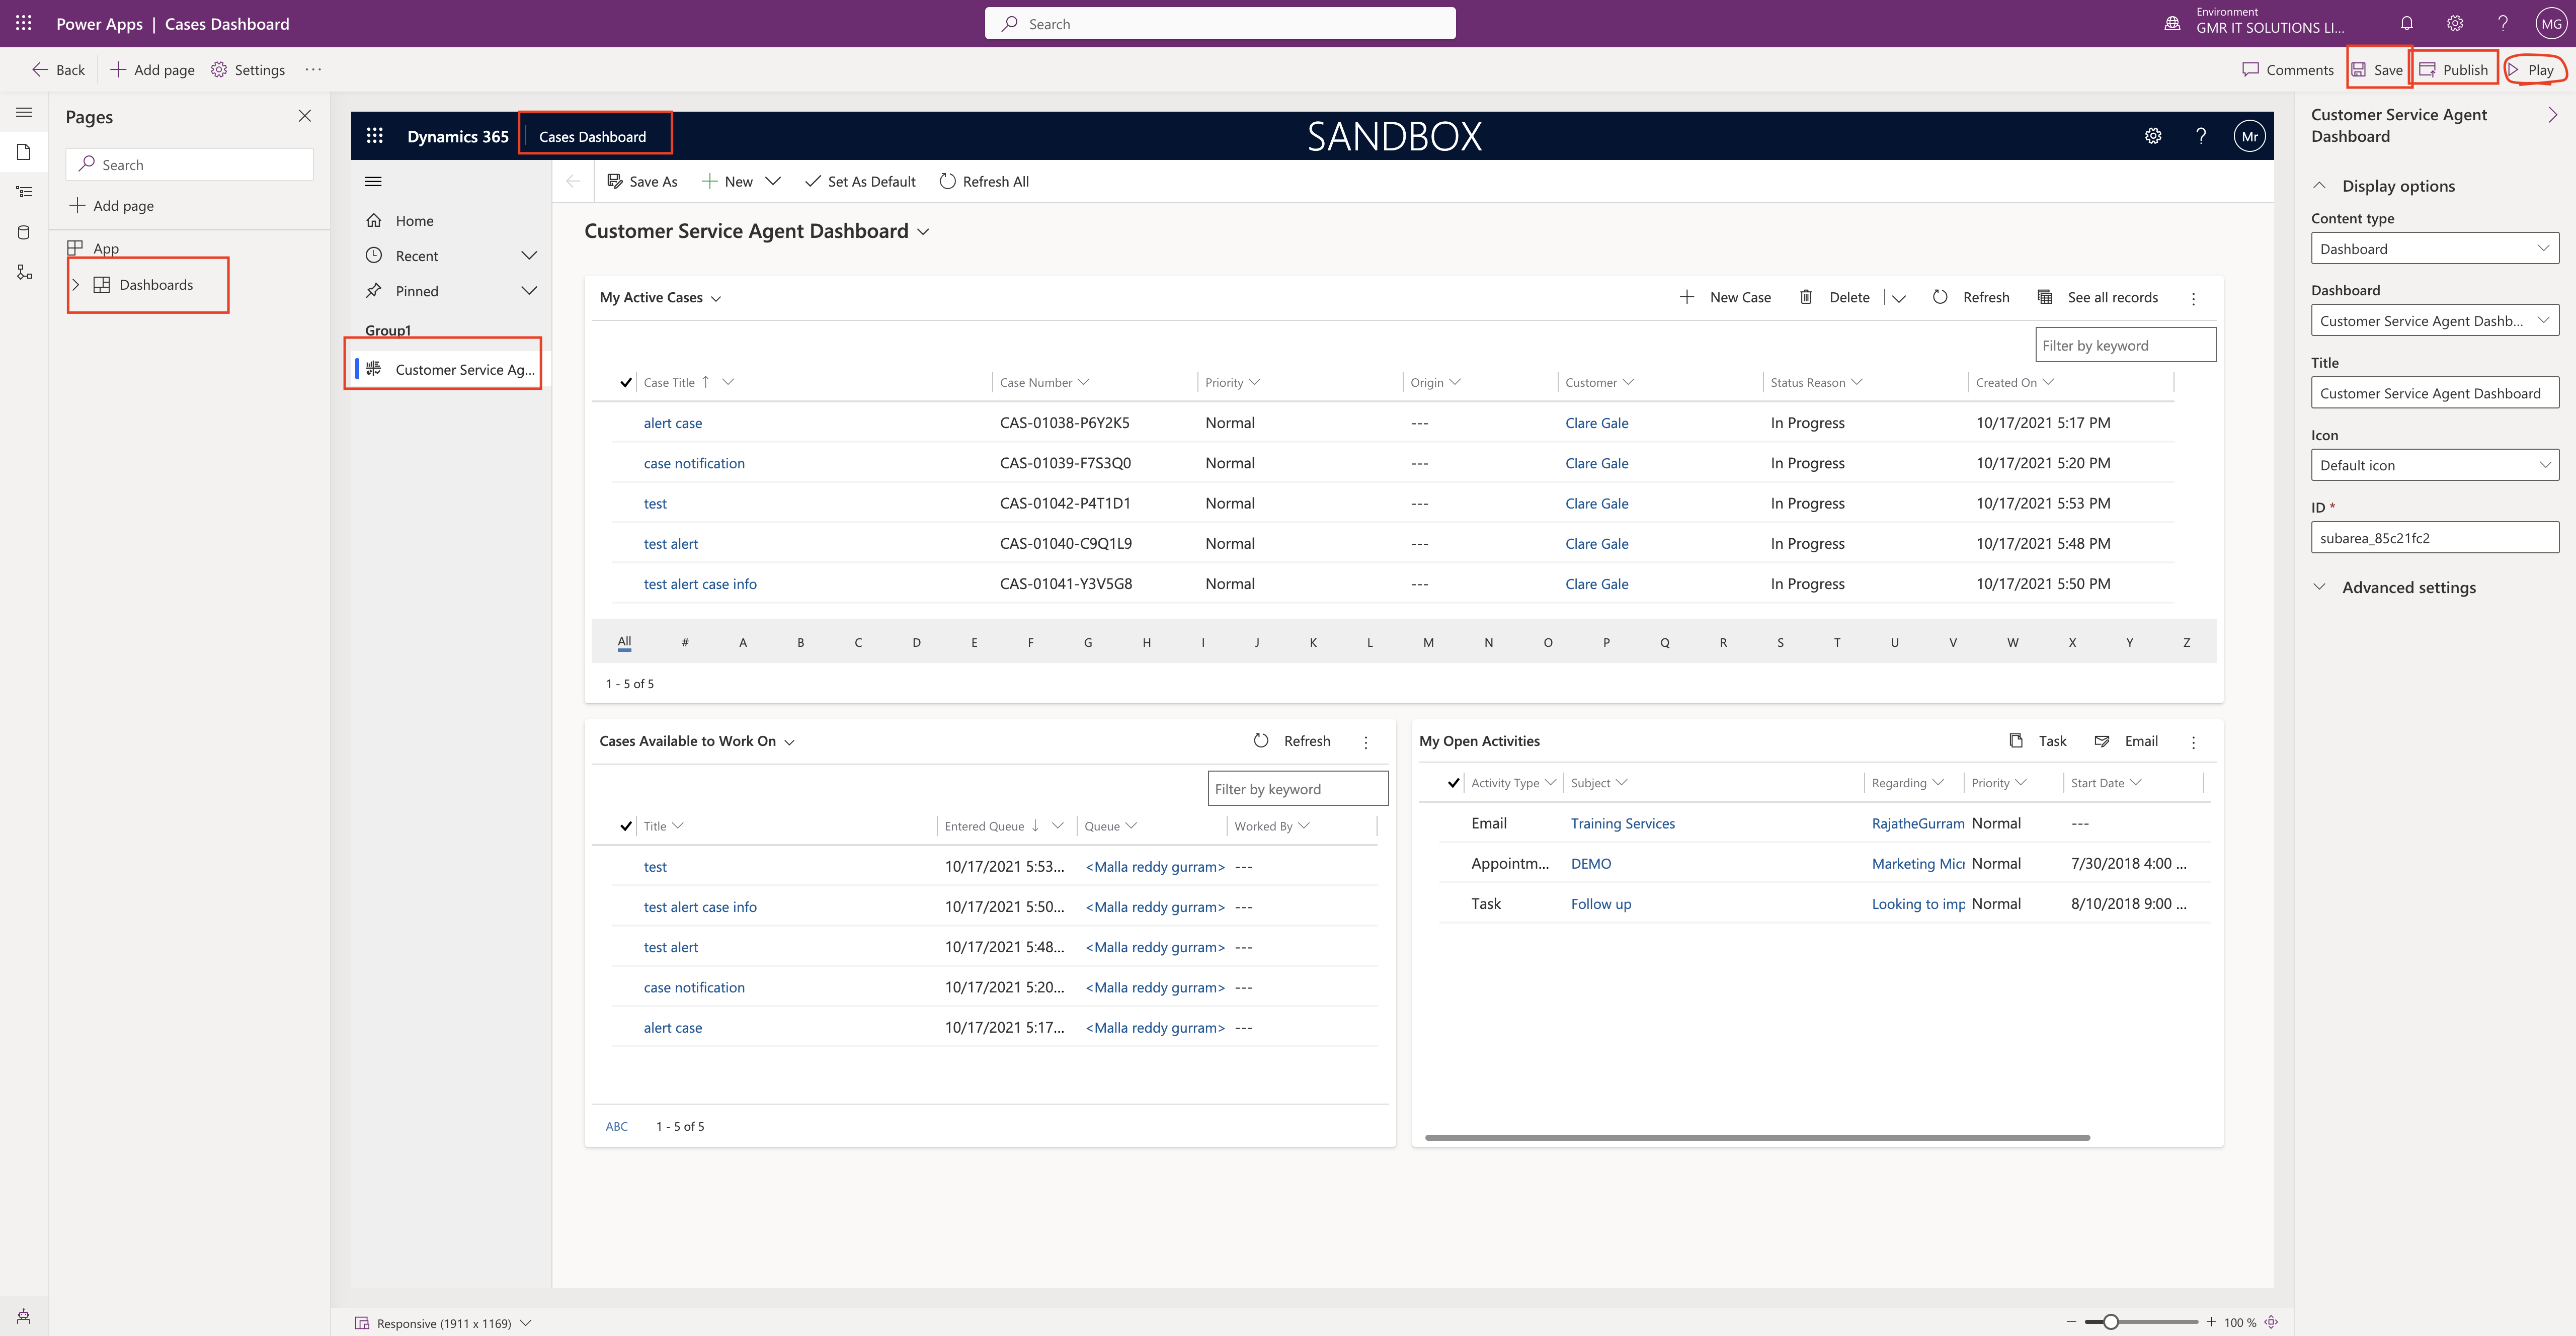
Open existing canvas app and click on settings and enable the chatbot component(see below screenshot)
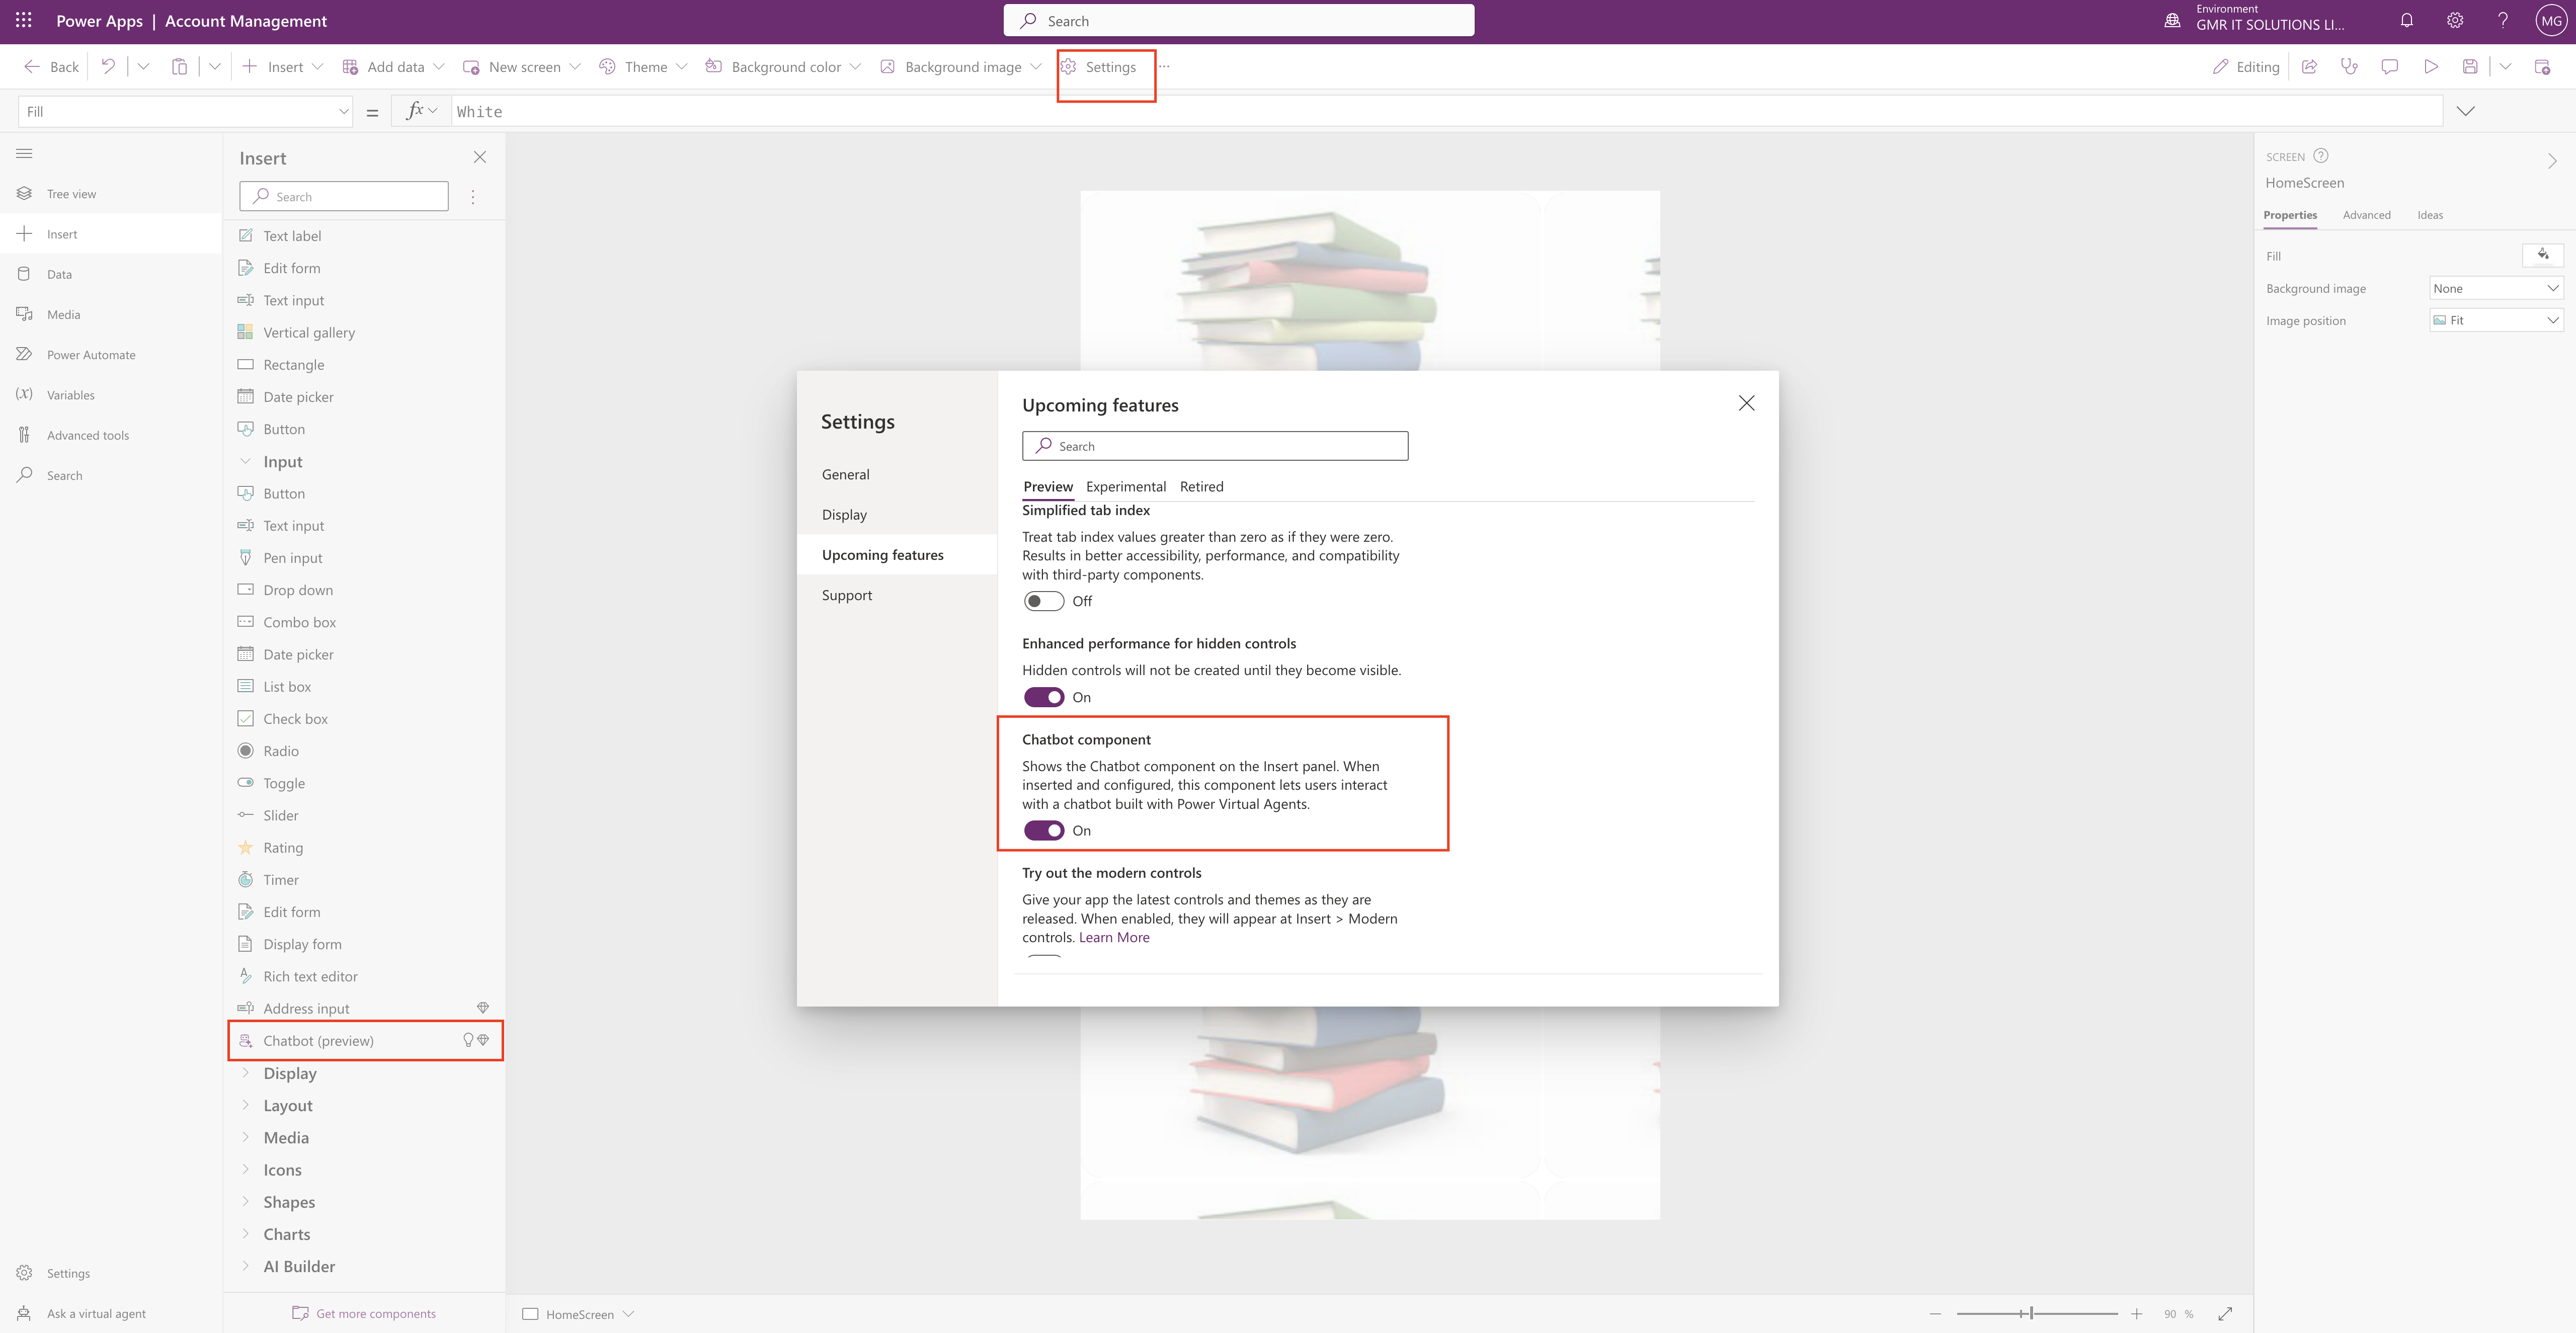
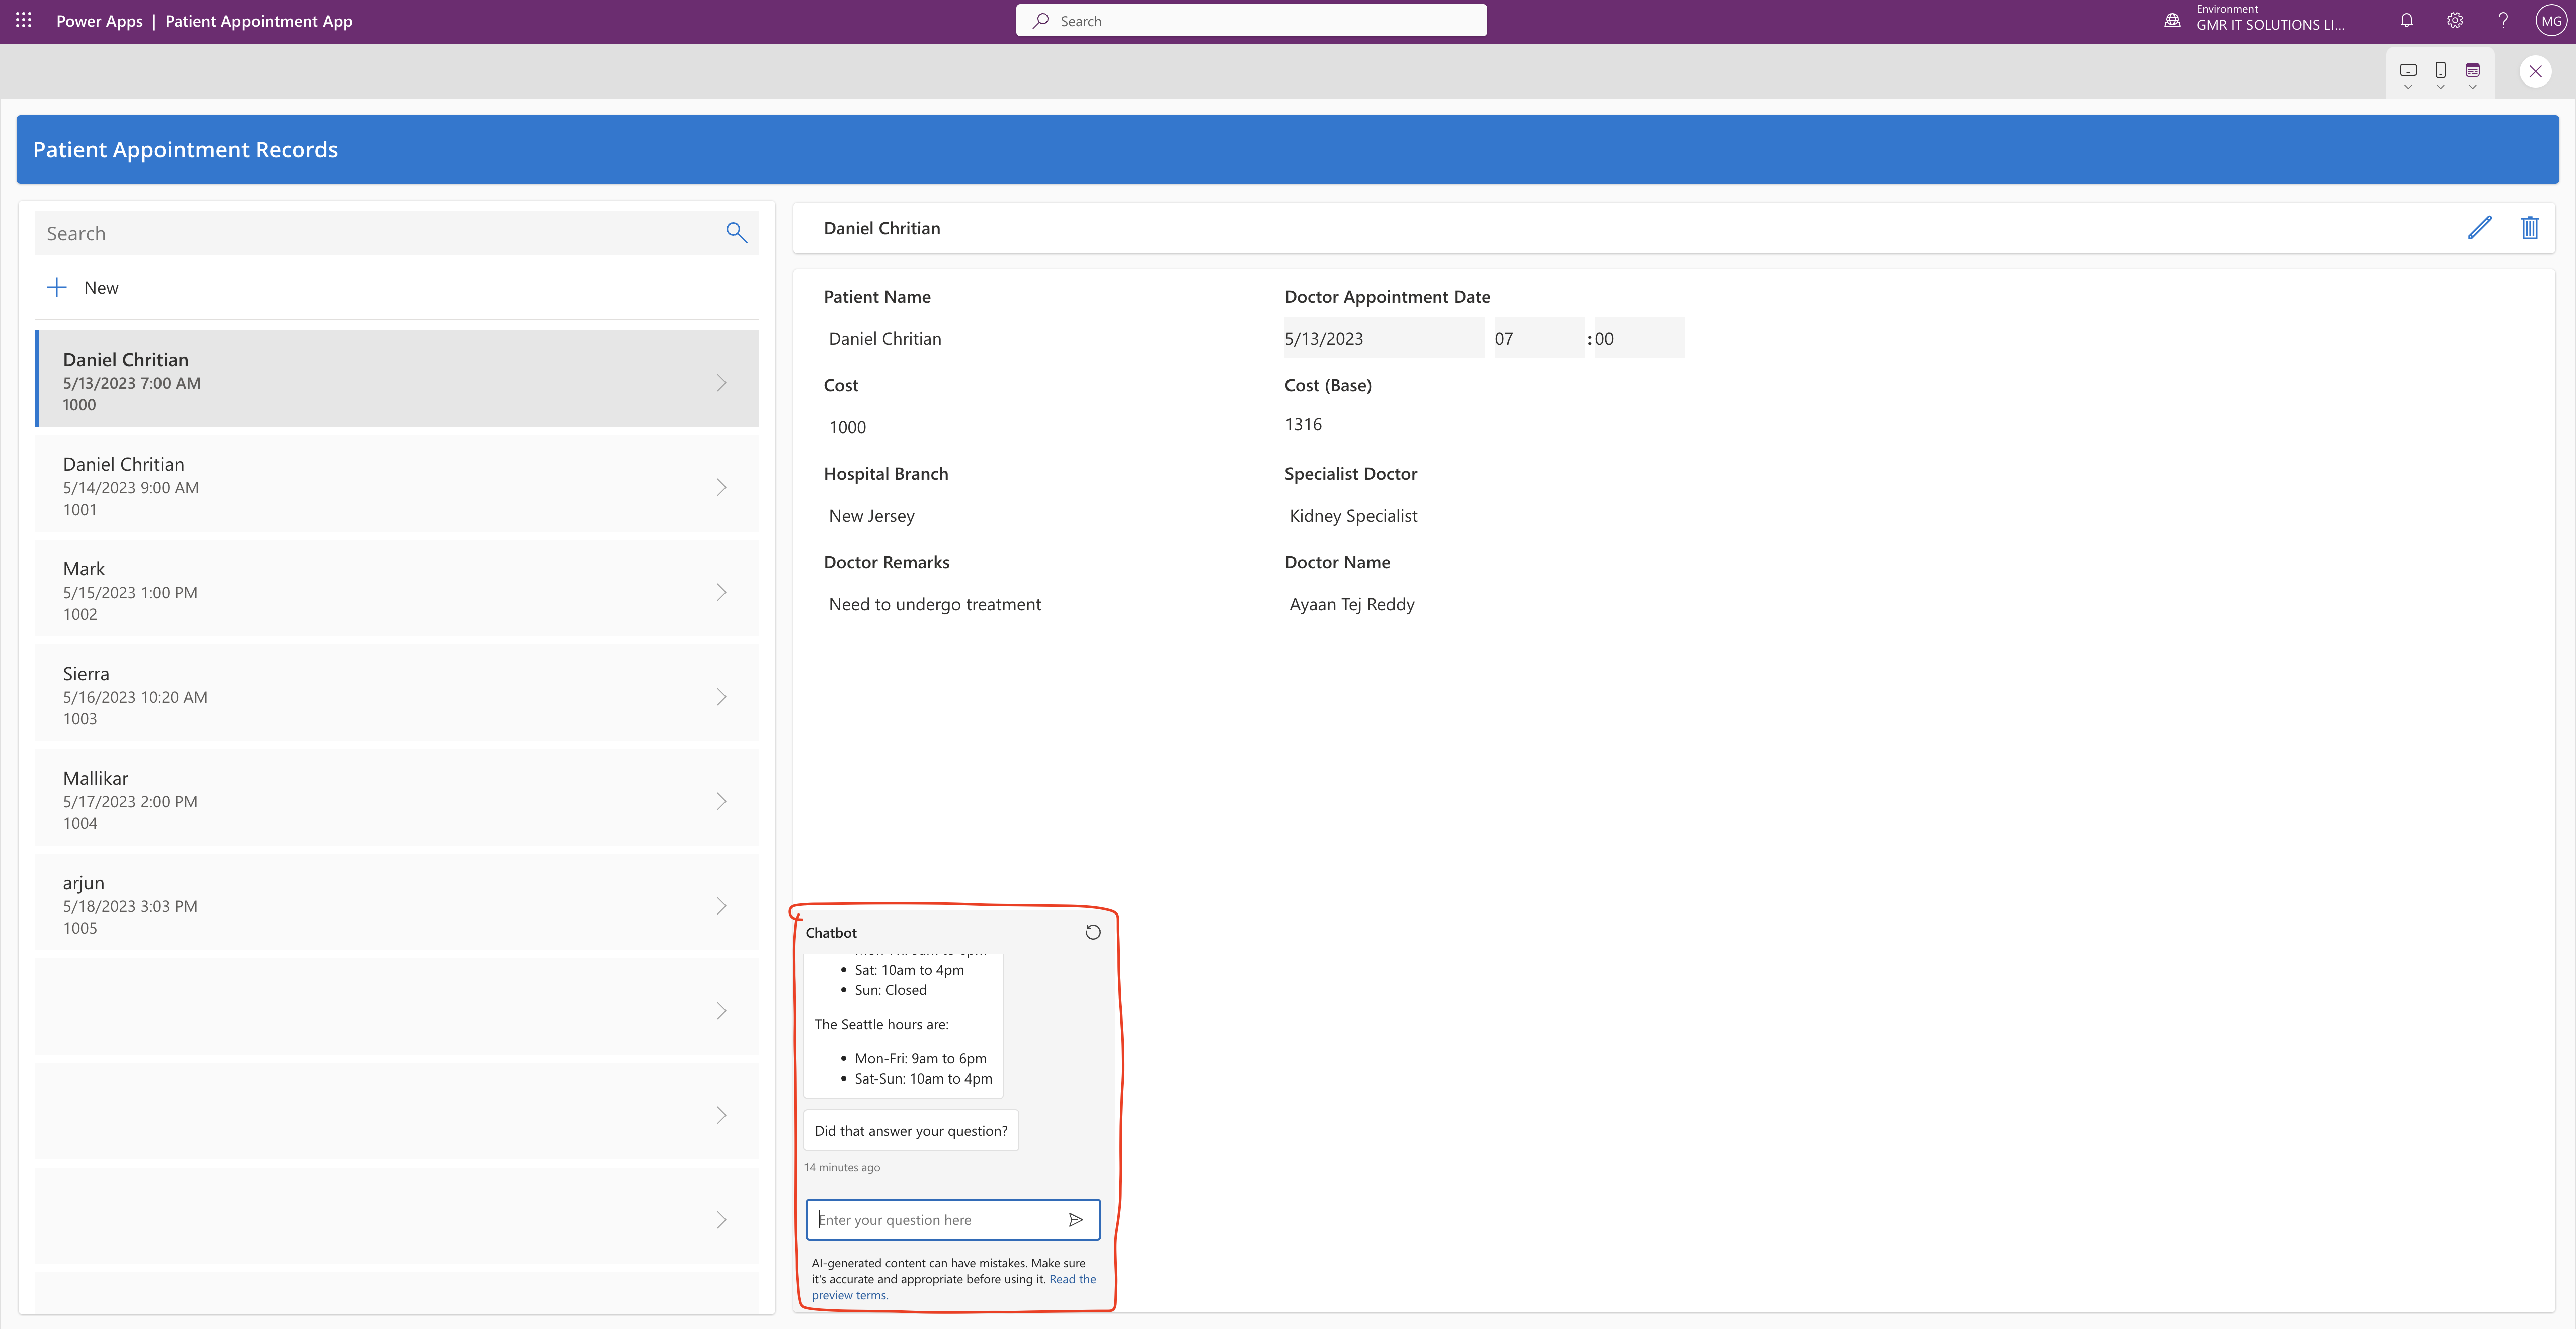
As soon as chatbot component enabled the chatbot input control appear on the INPUT area on the left hand side of the canvas app.
By adding the Chatbot to your canvas apps and embed a published Power Virtual Agent Chatbot to assist your end users with a variety of requests. Providing simple answers to common questions to resolving issues requiring complex conversations.
We can use an AI or AI boosted conversations bot:
1. With AI chatbots, you can create an extended tree of answers to support your users,
2. With AI boosted conversations Power Virtual Agents bot your bot can have higher ability to respond to the user by using a number of prompts or generating a response based on provided “fallback” website which you set. The fallback website can include internal documents or publicly available websites.
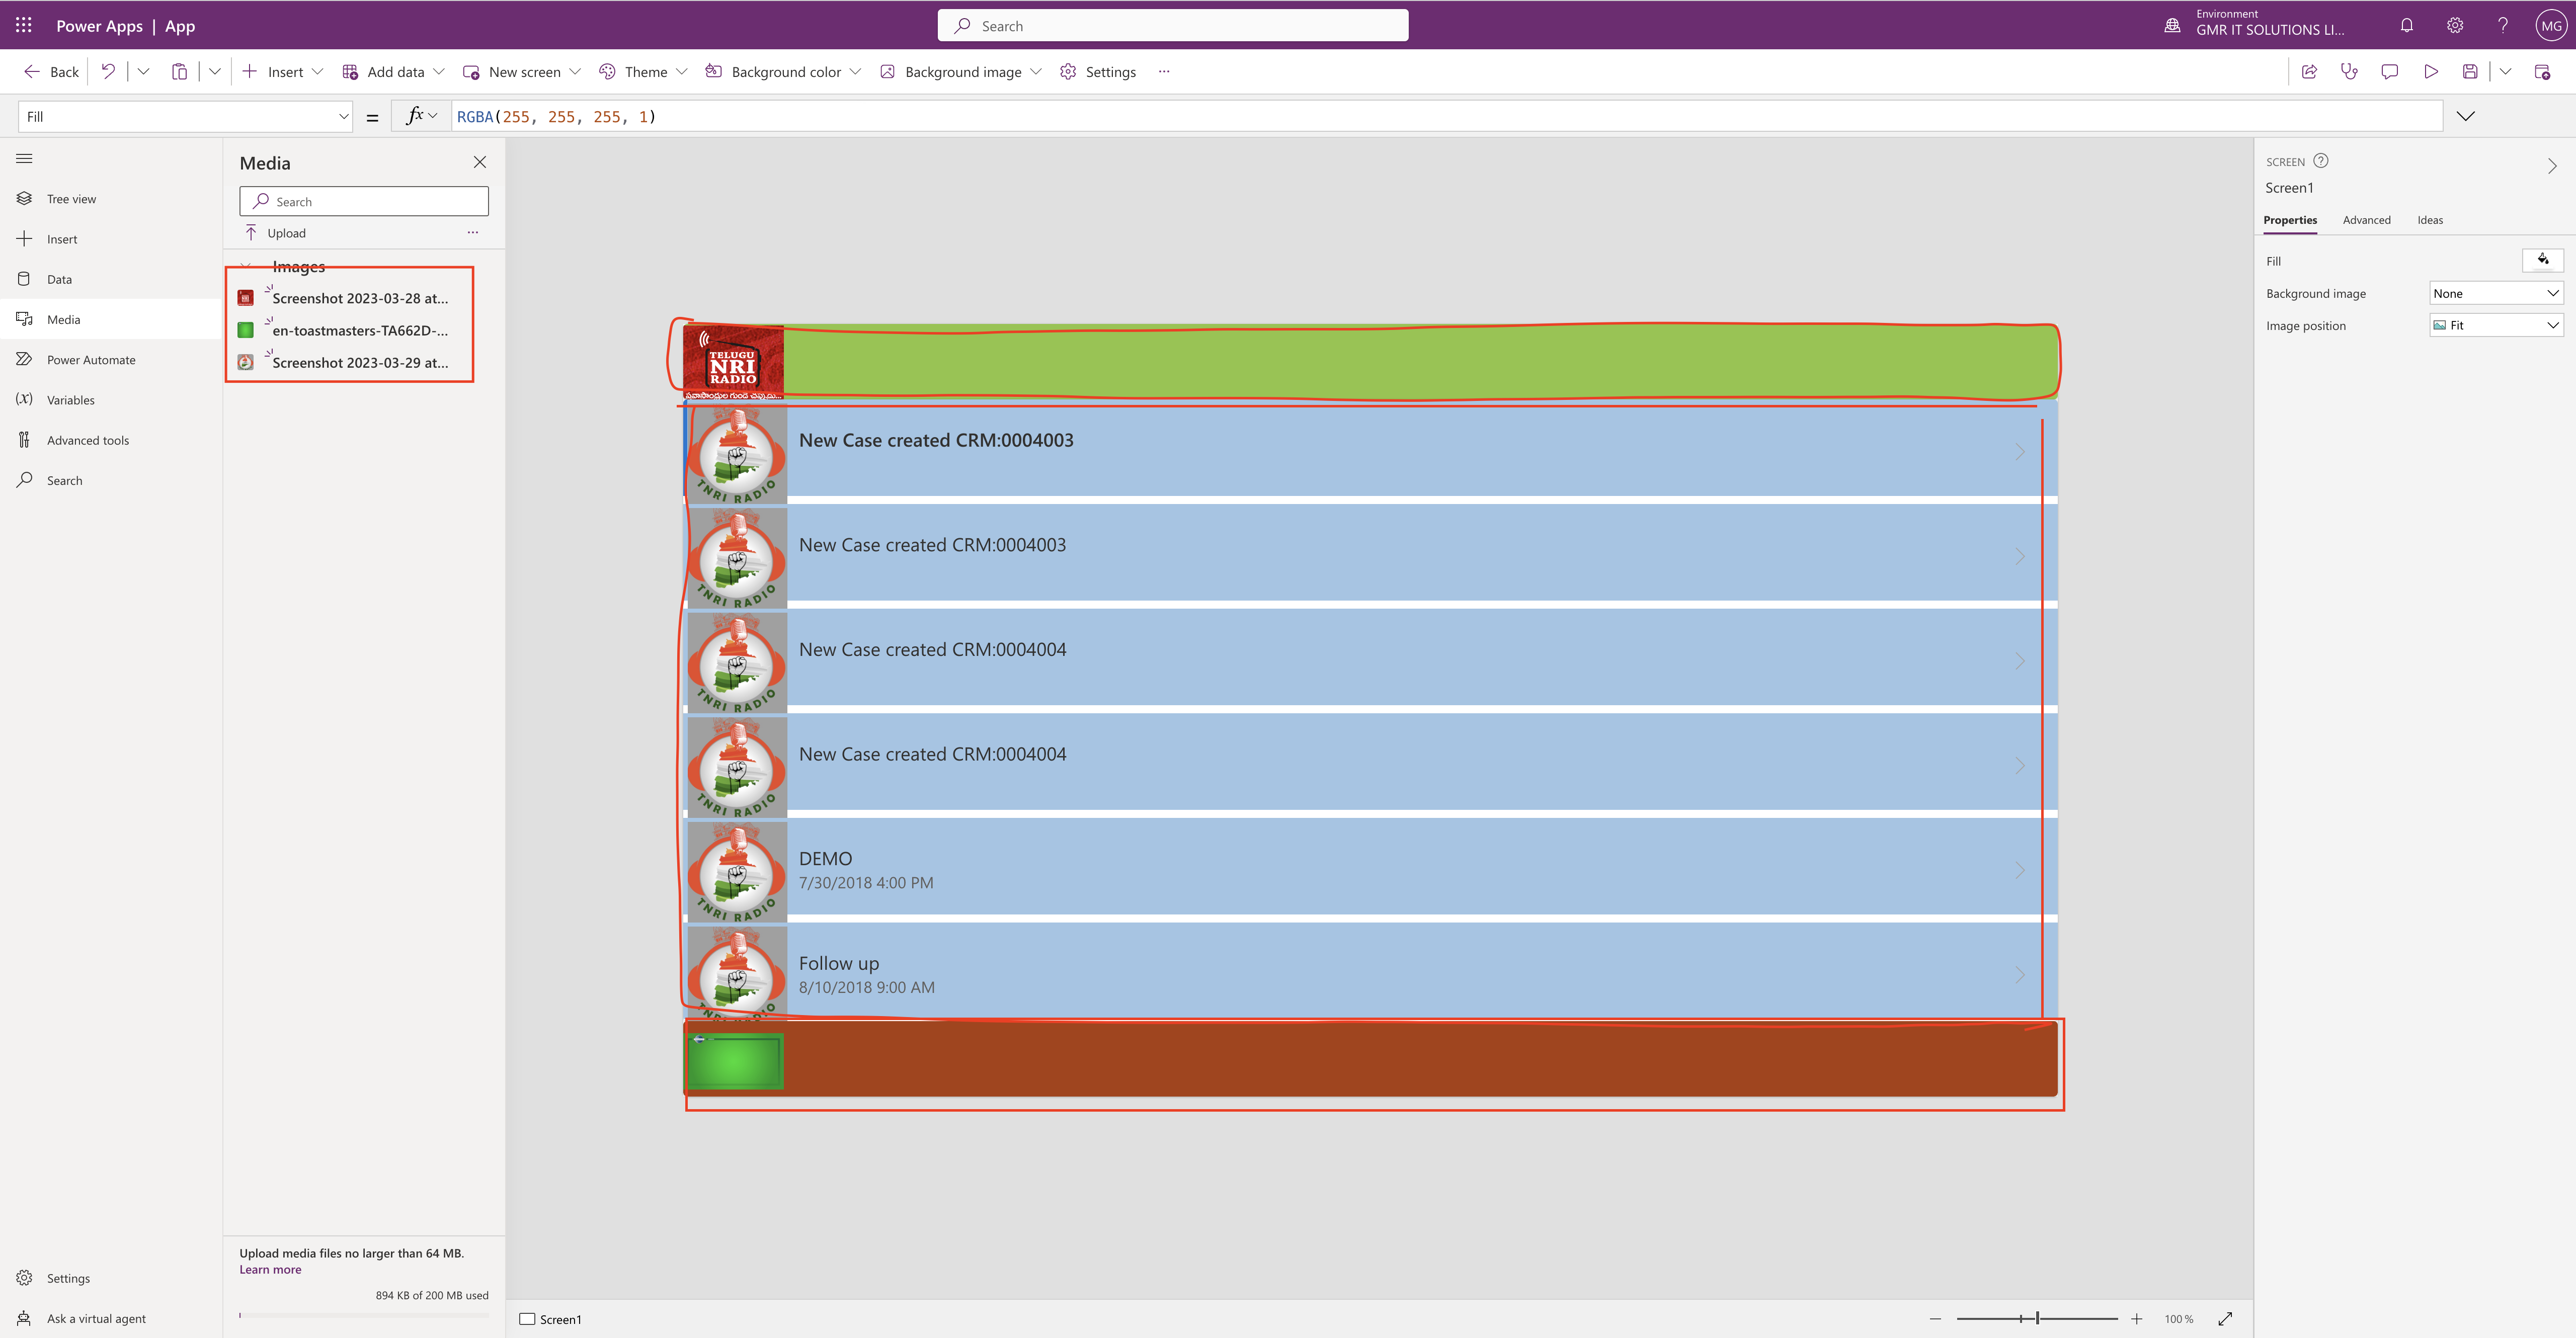
You can design the Chatbot by giving it a name, change the size of the control window and position it anywhere on the screen.
Note: This feature is still in preview and it is powered by Azure OpenAI Service
Prerequisties:
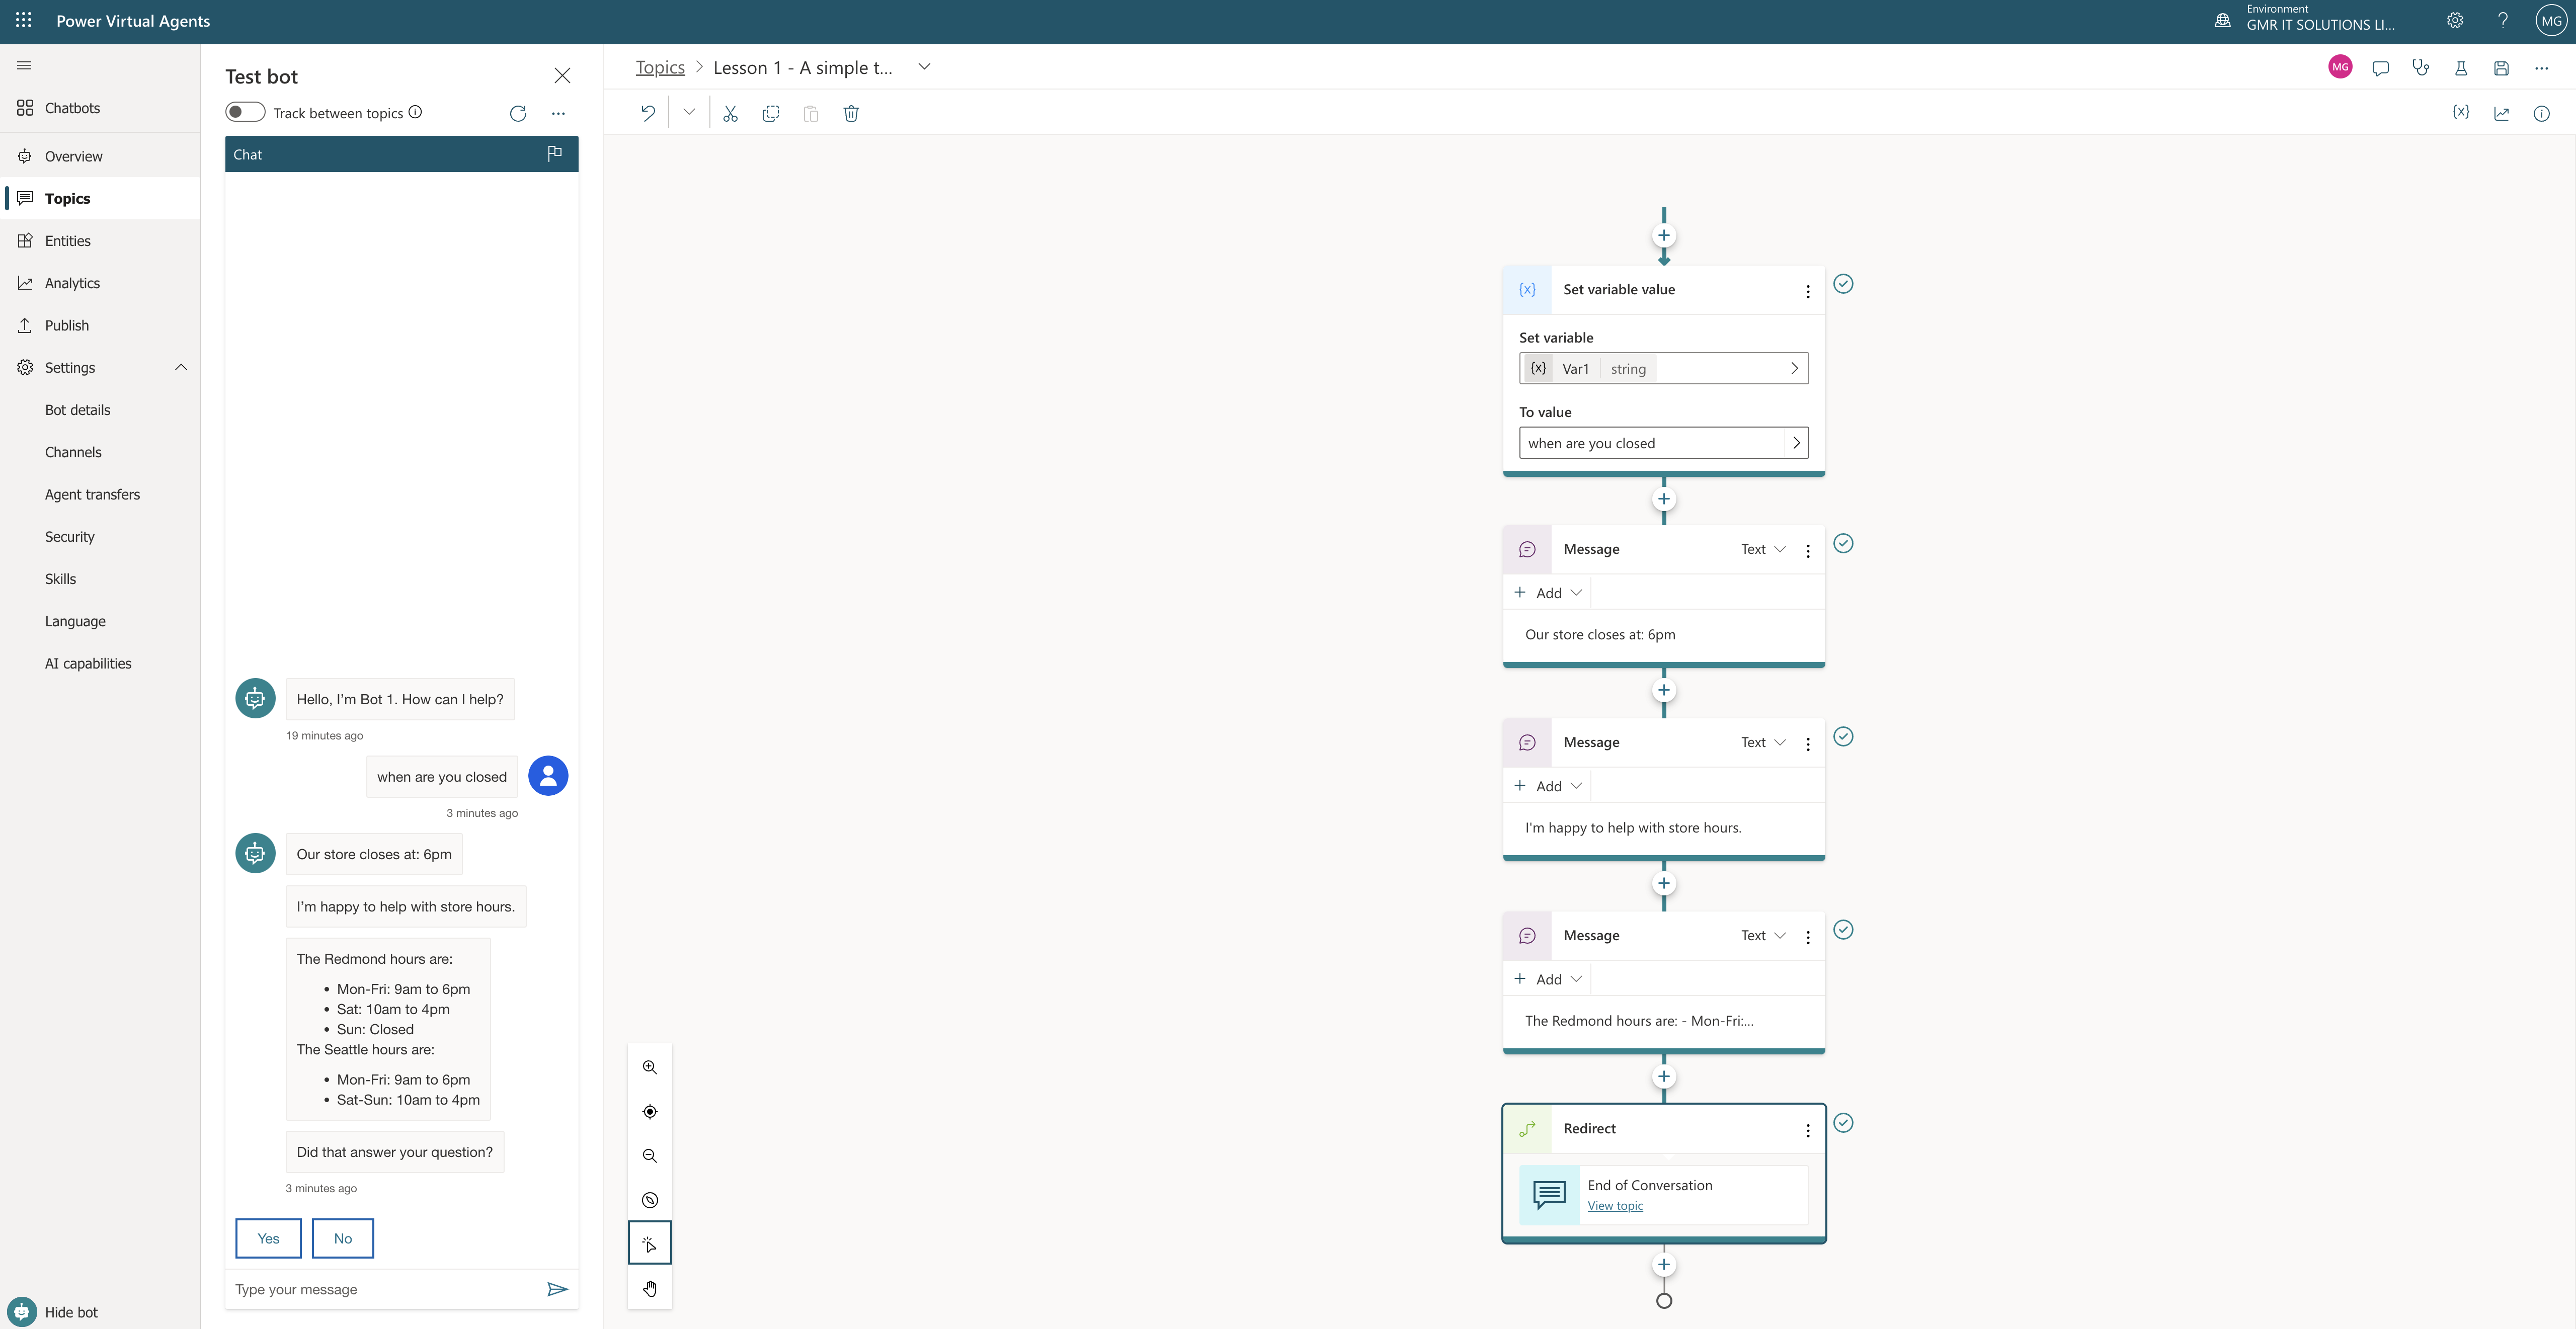
To add chatbot control, need to create and publish a bot on Power Virtual Agent web app. you can create any bot such as a AI bot or a new generative AI enriched PVA.
Bot Schema Name:
To add the Chatbot, you need to schema name of the bot to add to the chatbot control properties in Power apps studio.
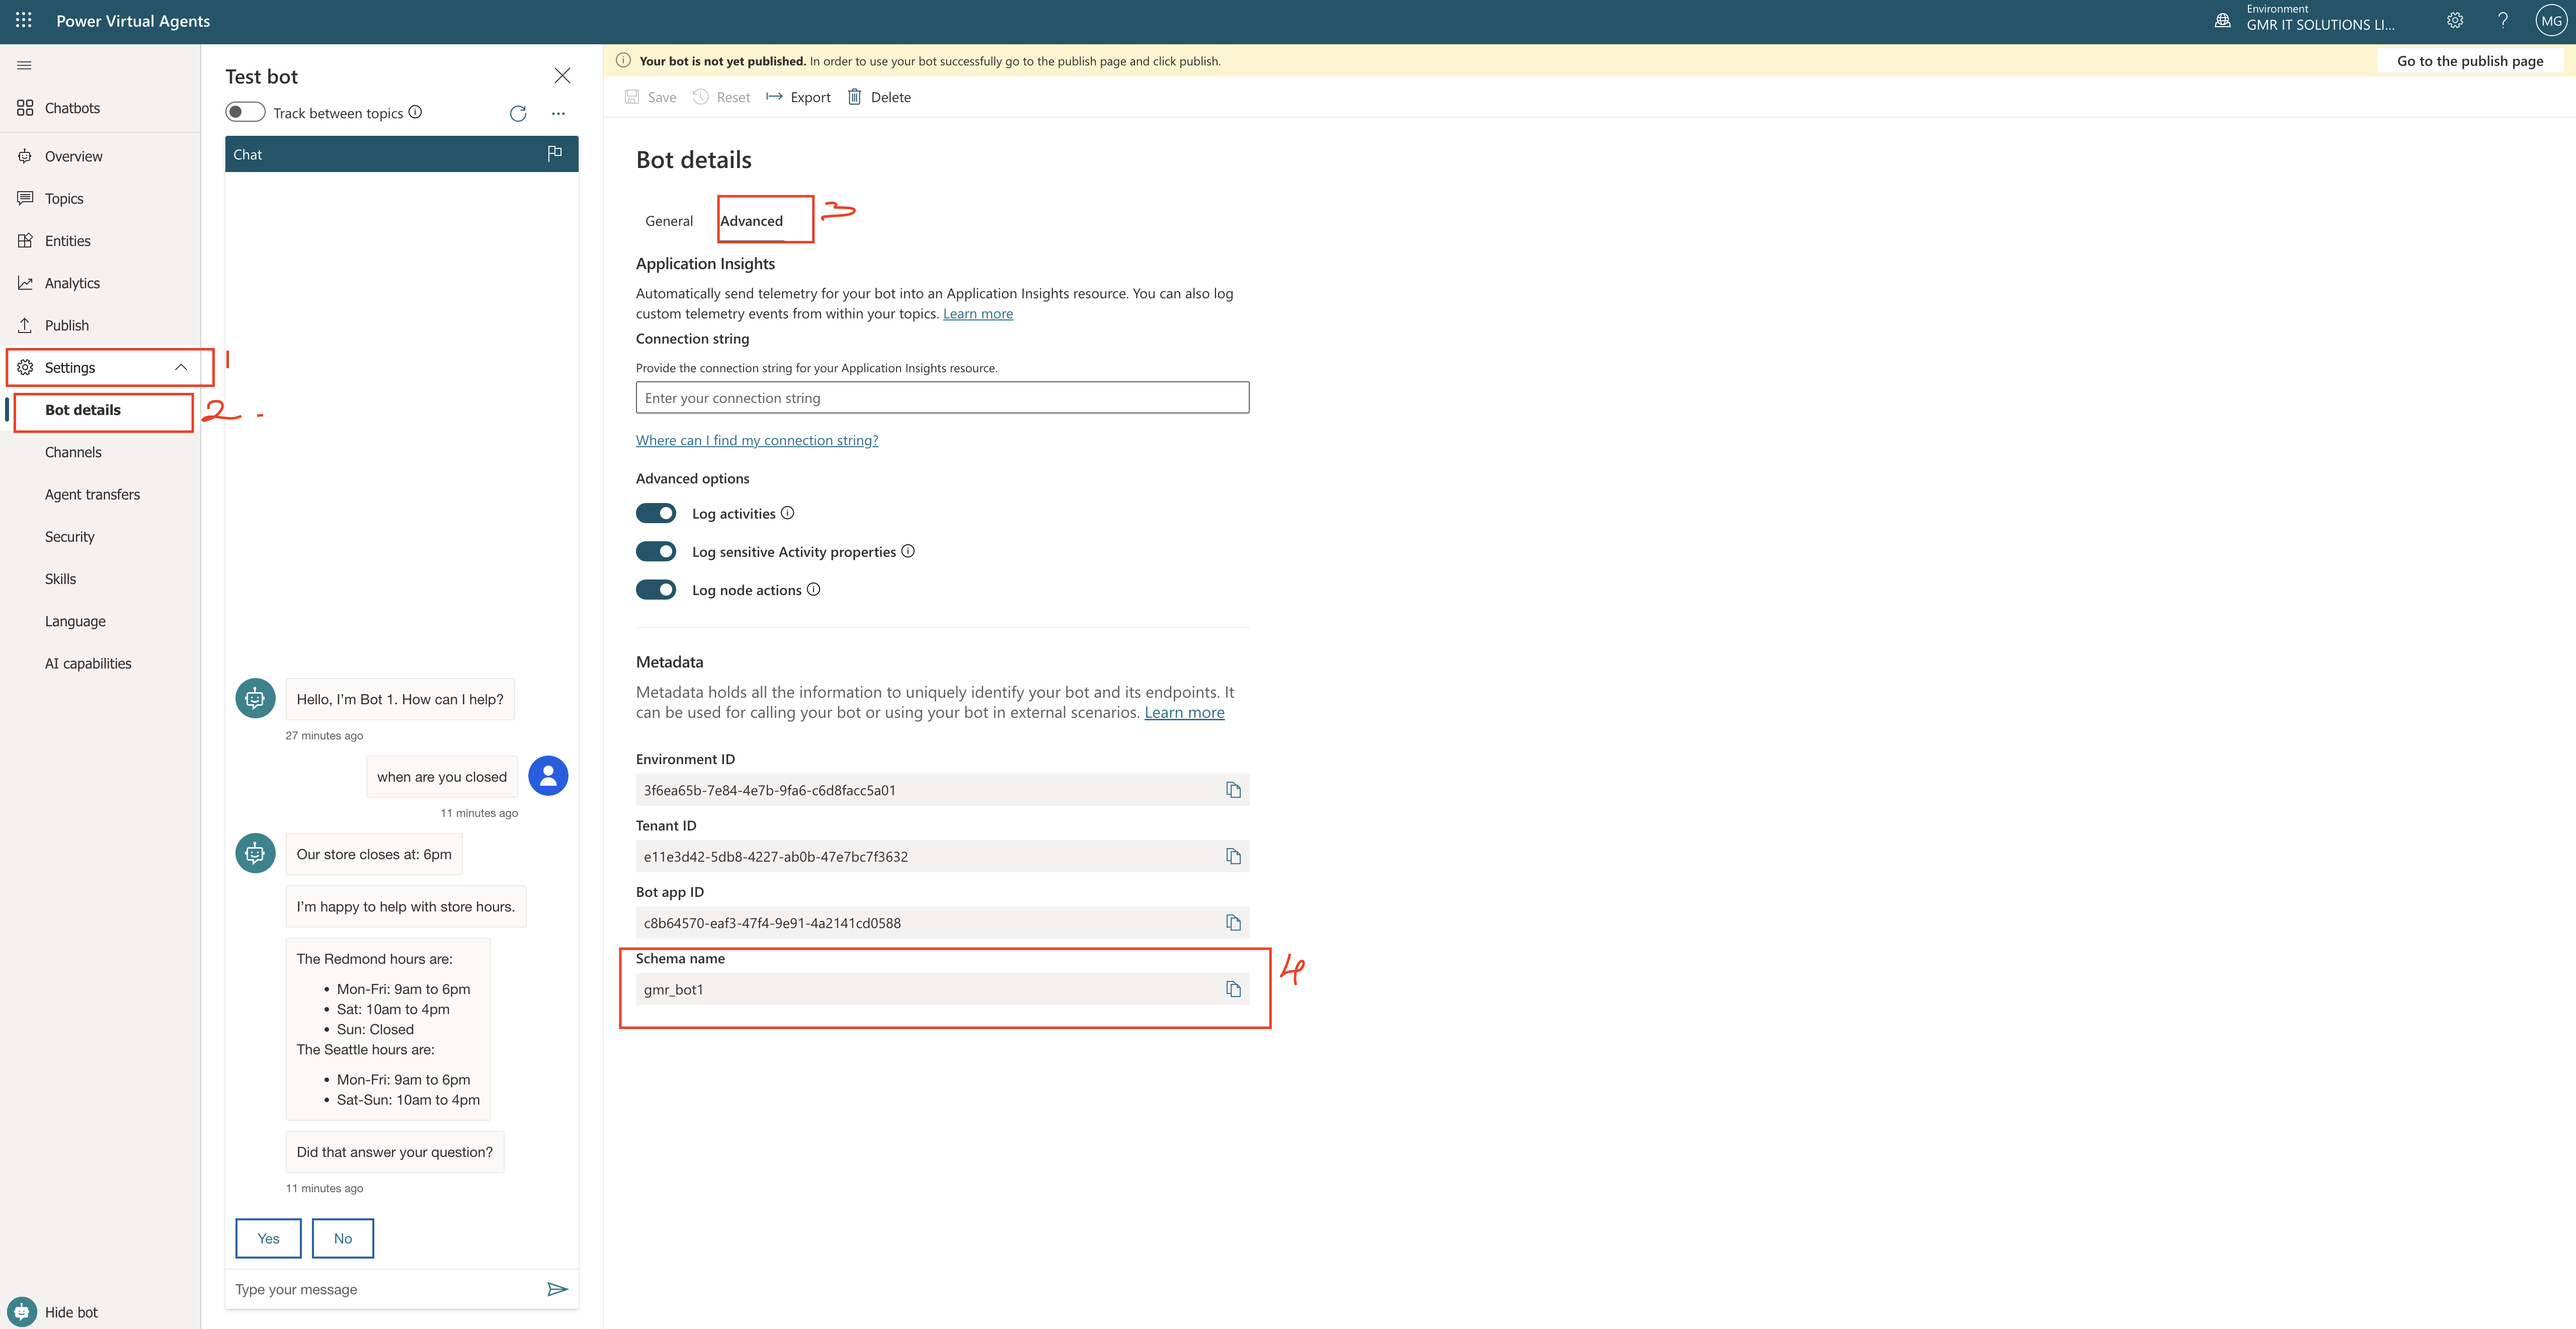
1. Login to Power Virtual Agent.
2. Go to settings
3. Bot details
4. Advanced : Copy Schema Name: gmr_bot1
Turn on the chatbot control:
Open the canvas app and click on editing.
1. Setting > Upcoming Features
2. Preview tab set the toggle for Chatbot component to On.
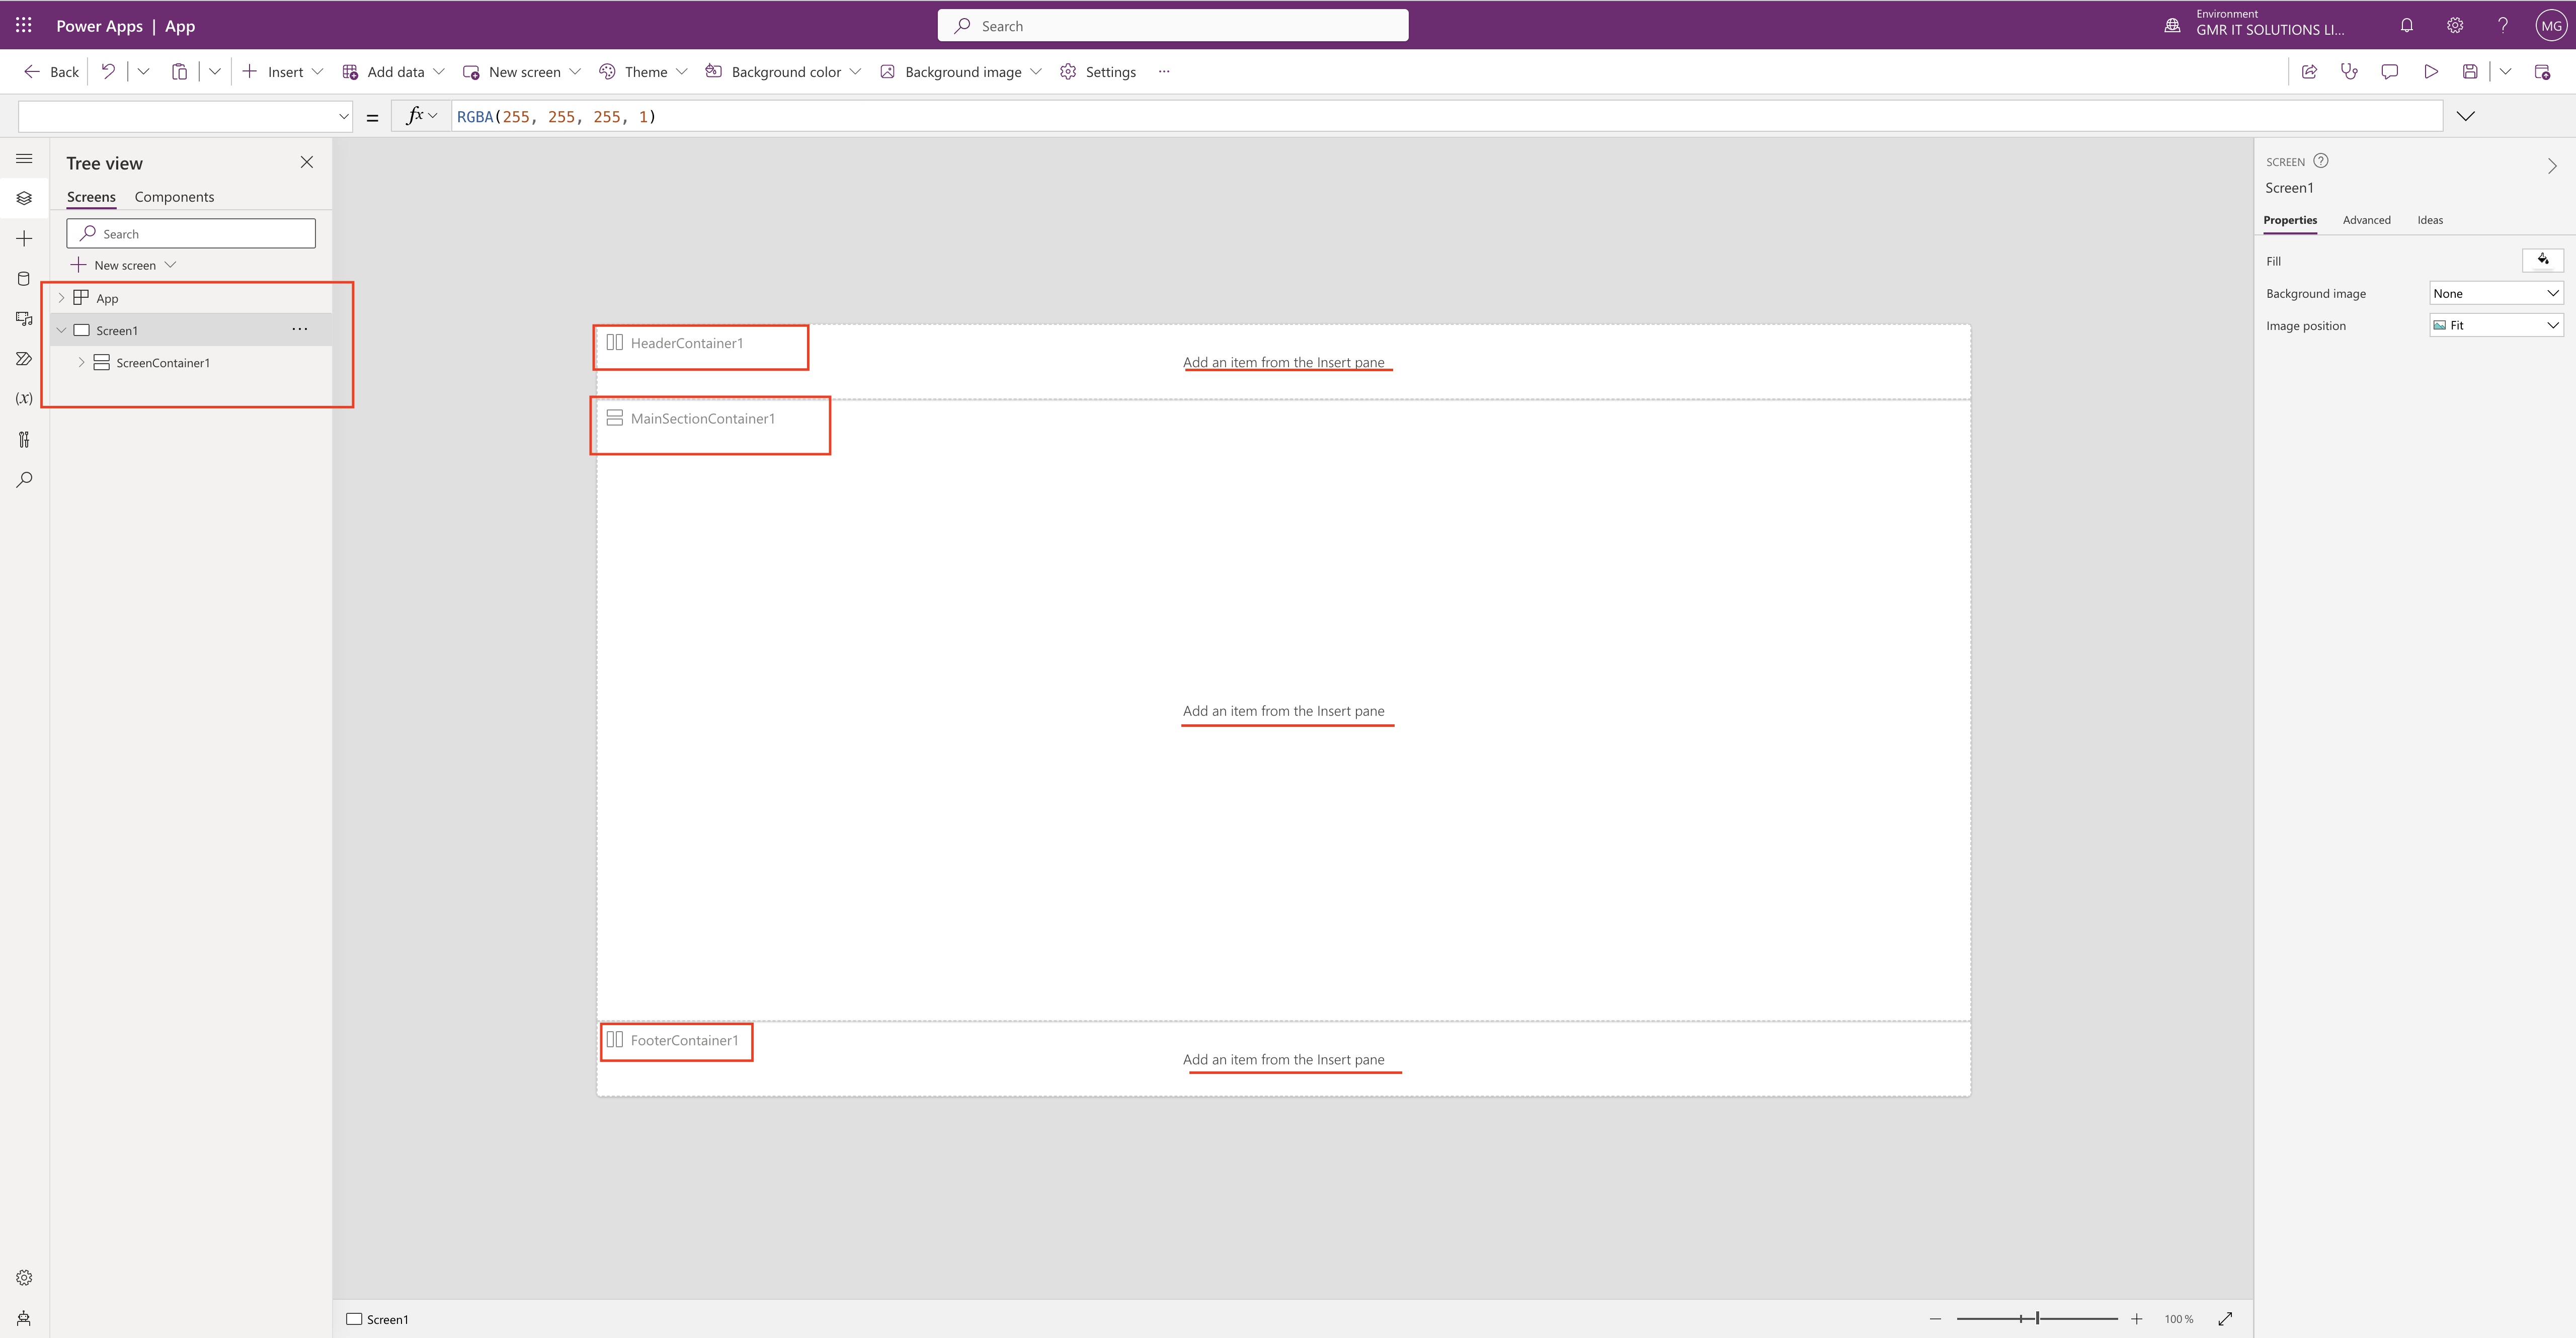
Add the Chatbot Control to the Bot.
Canvas app open and editing mode.
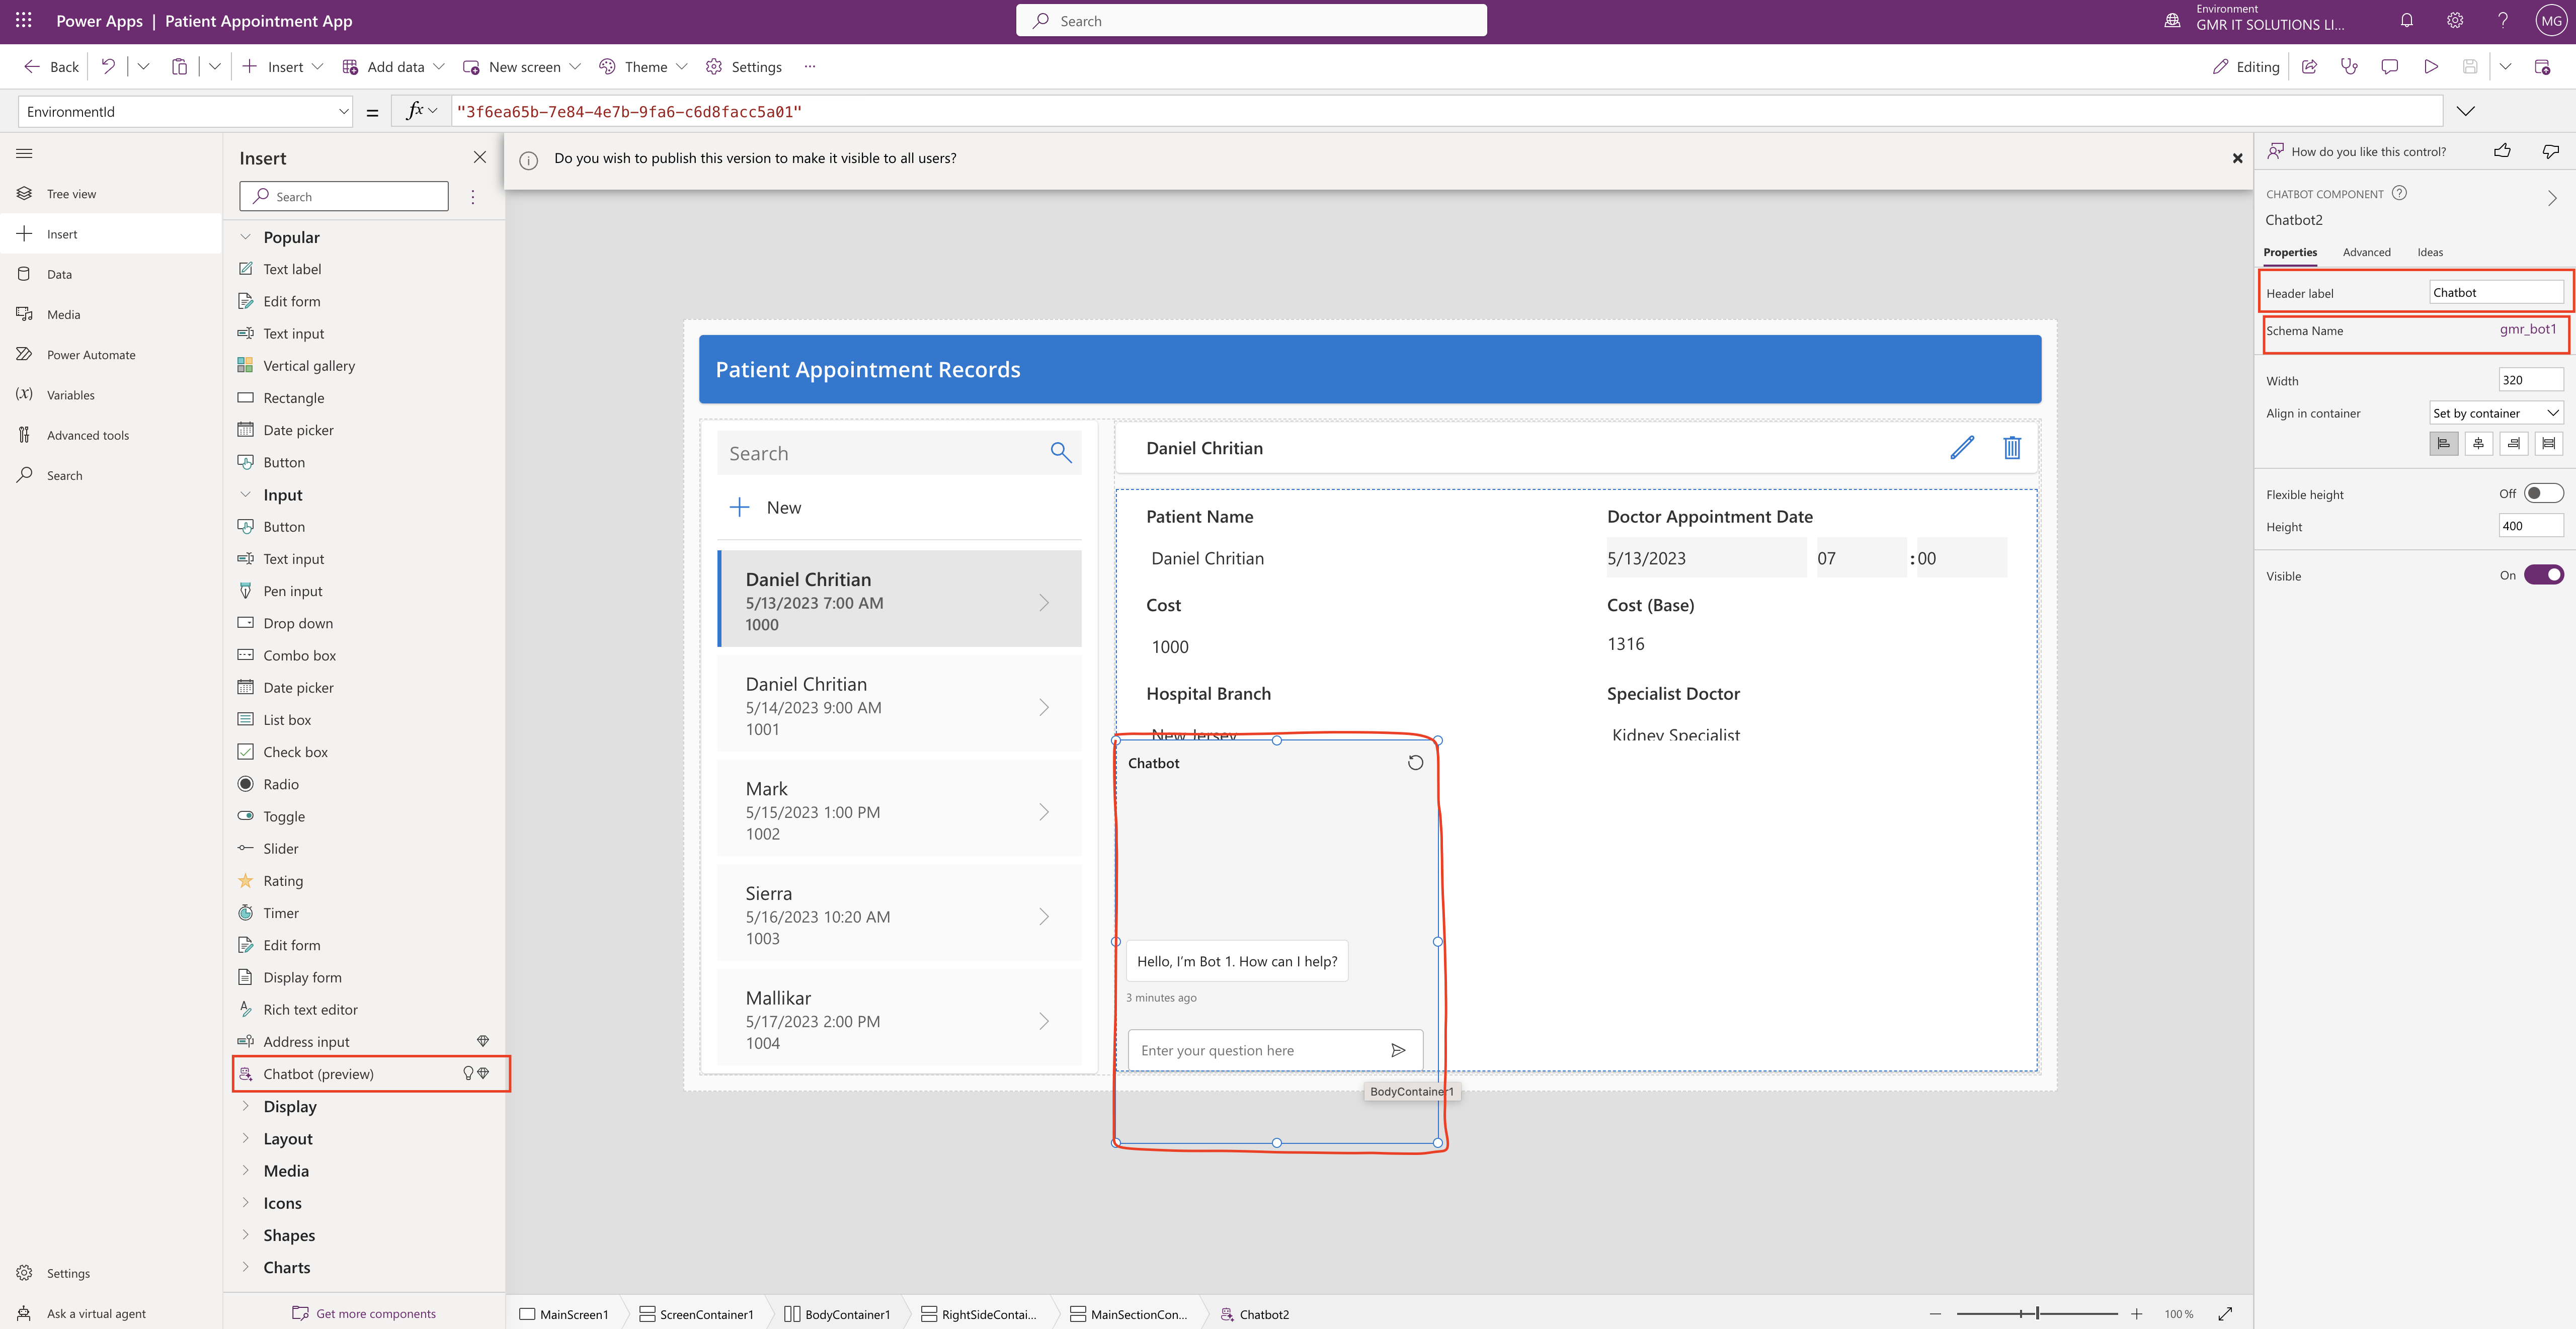
1. Select the Insert
2. Expand input menu an then select the Chatbot(Preview), drag and drop on your canvas app screen.
3. Enter the schema name of your bot into the control.
Important Properties:
Schema Name: the schema name must be entered to connect to your published Power Virtual Agent bot to your canvas app.
Header Label: this is the label shown to the app users, if the label is entered it will be defaulted to chatbot.
You can reposition by adjusting and sizes.
Only limitation is you can embed a bot with no user authentication.
That’s it for today.
I hope this helps
Malla Reddy(@UK365GUY)
#365BlogPostsin365Days