Menu Close

Tag: #canvasapps

How to create canvas app sidebar from maker portal

Hello Everyone,

Today i am going to show how to create sidebar for canvas app quickly from Maker Portal.

Part 9 Series

Lets gets started.

Login into www.make.powerapps.com

Click on the start with a page design refer to above screen shot.

Then click on the Sidebar screen as show on the above screenshot.

We just add content and automatically screen will adjust.

This page has
1. A fixed-width sidebar on the left.
2. A fixed-height header section
3. A main section that fills the rest of the screen width.

Select this option if we want to create a lightweight responsive app.

Uses data from once created, connect your app to Dataverse, SharePoint, Excel, SQL and more.

Once clicked on the sidebar, it will open the designer mode.

So i have added data source of the accounts from dataverse and cases too added image to header too.

You can added more functionality when clicked on the sidebar it will take you to edit screen and improve your App accordingly.

Thats it for today.

I hope this helps.

Malla Reddy(@UK365GUY)
#365BlogPostsin365Days

Share this:

How to build Split Screen responsive canvas apps

Hello Everyone,

Today i am going to share how we can create Split Screen responsive canvas app what are the configurations we need to do.

Part 8 Series.

Lets gets started.

Login into www.make.powerapps.com

Click on Start with a page design.

Then on the next screen select the Split-Screen option.

Just add content! This page adapts to different screen sizes. It has two sections, each taking up 50% of the screen width.

Select this option if:

1. You want a lightweight, responsive app.

Uses data from Once created, connect your app to Dataverse, SharePoint, Excel, SQL and more.

Split-Screen:

The Split-Screen has two sections in the layout on the screen, each occupying 50% width of the screen on desktops. On mobile devices, the sections are placed one below other, each occupying up the entire screen width.

New screen will be displayed with dual screen see below screenshot.

As you can see the screen split into two left side container1 and rightsidecontainer1.

Treeview section Screen1 ScreenContainer1 with LeftSideContainer1 and RightSideContainer1.

You can start designing your canvas app by selecting an Item from the Insert Pane according to your App requirements

For more information about designing the app with responsiveness principles here

I hope this helps.

Malla Reddy(@UK365GUY)
#365BlogPostsin365Days

Share this:

How to create Canvas App from Scratch on Maker Portal

Hello Everyone,

Today i am going to share how to create a canvas app from Maker Portal.

This is part 4 series.

Lets gets started.

Login into www.maker.powerapps.com

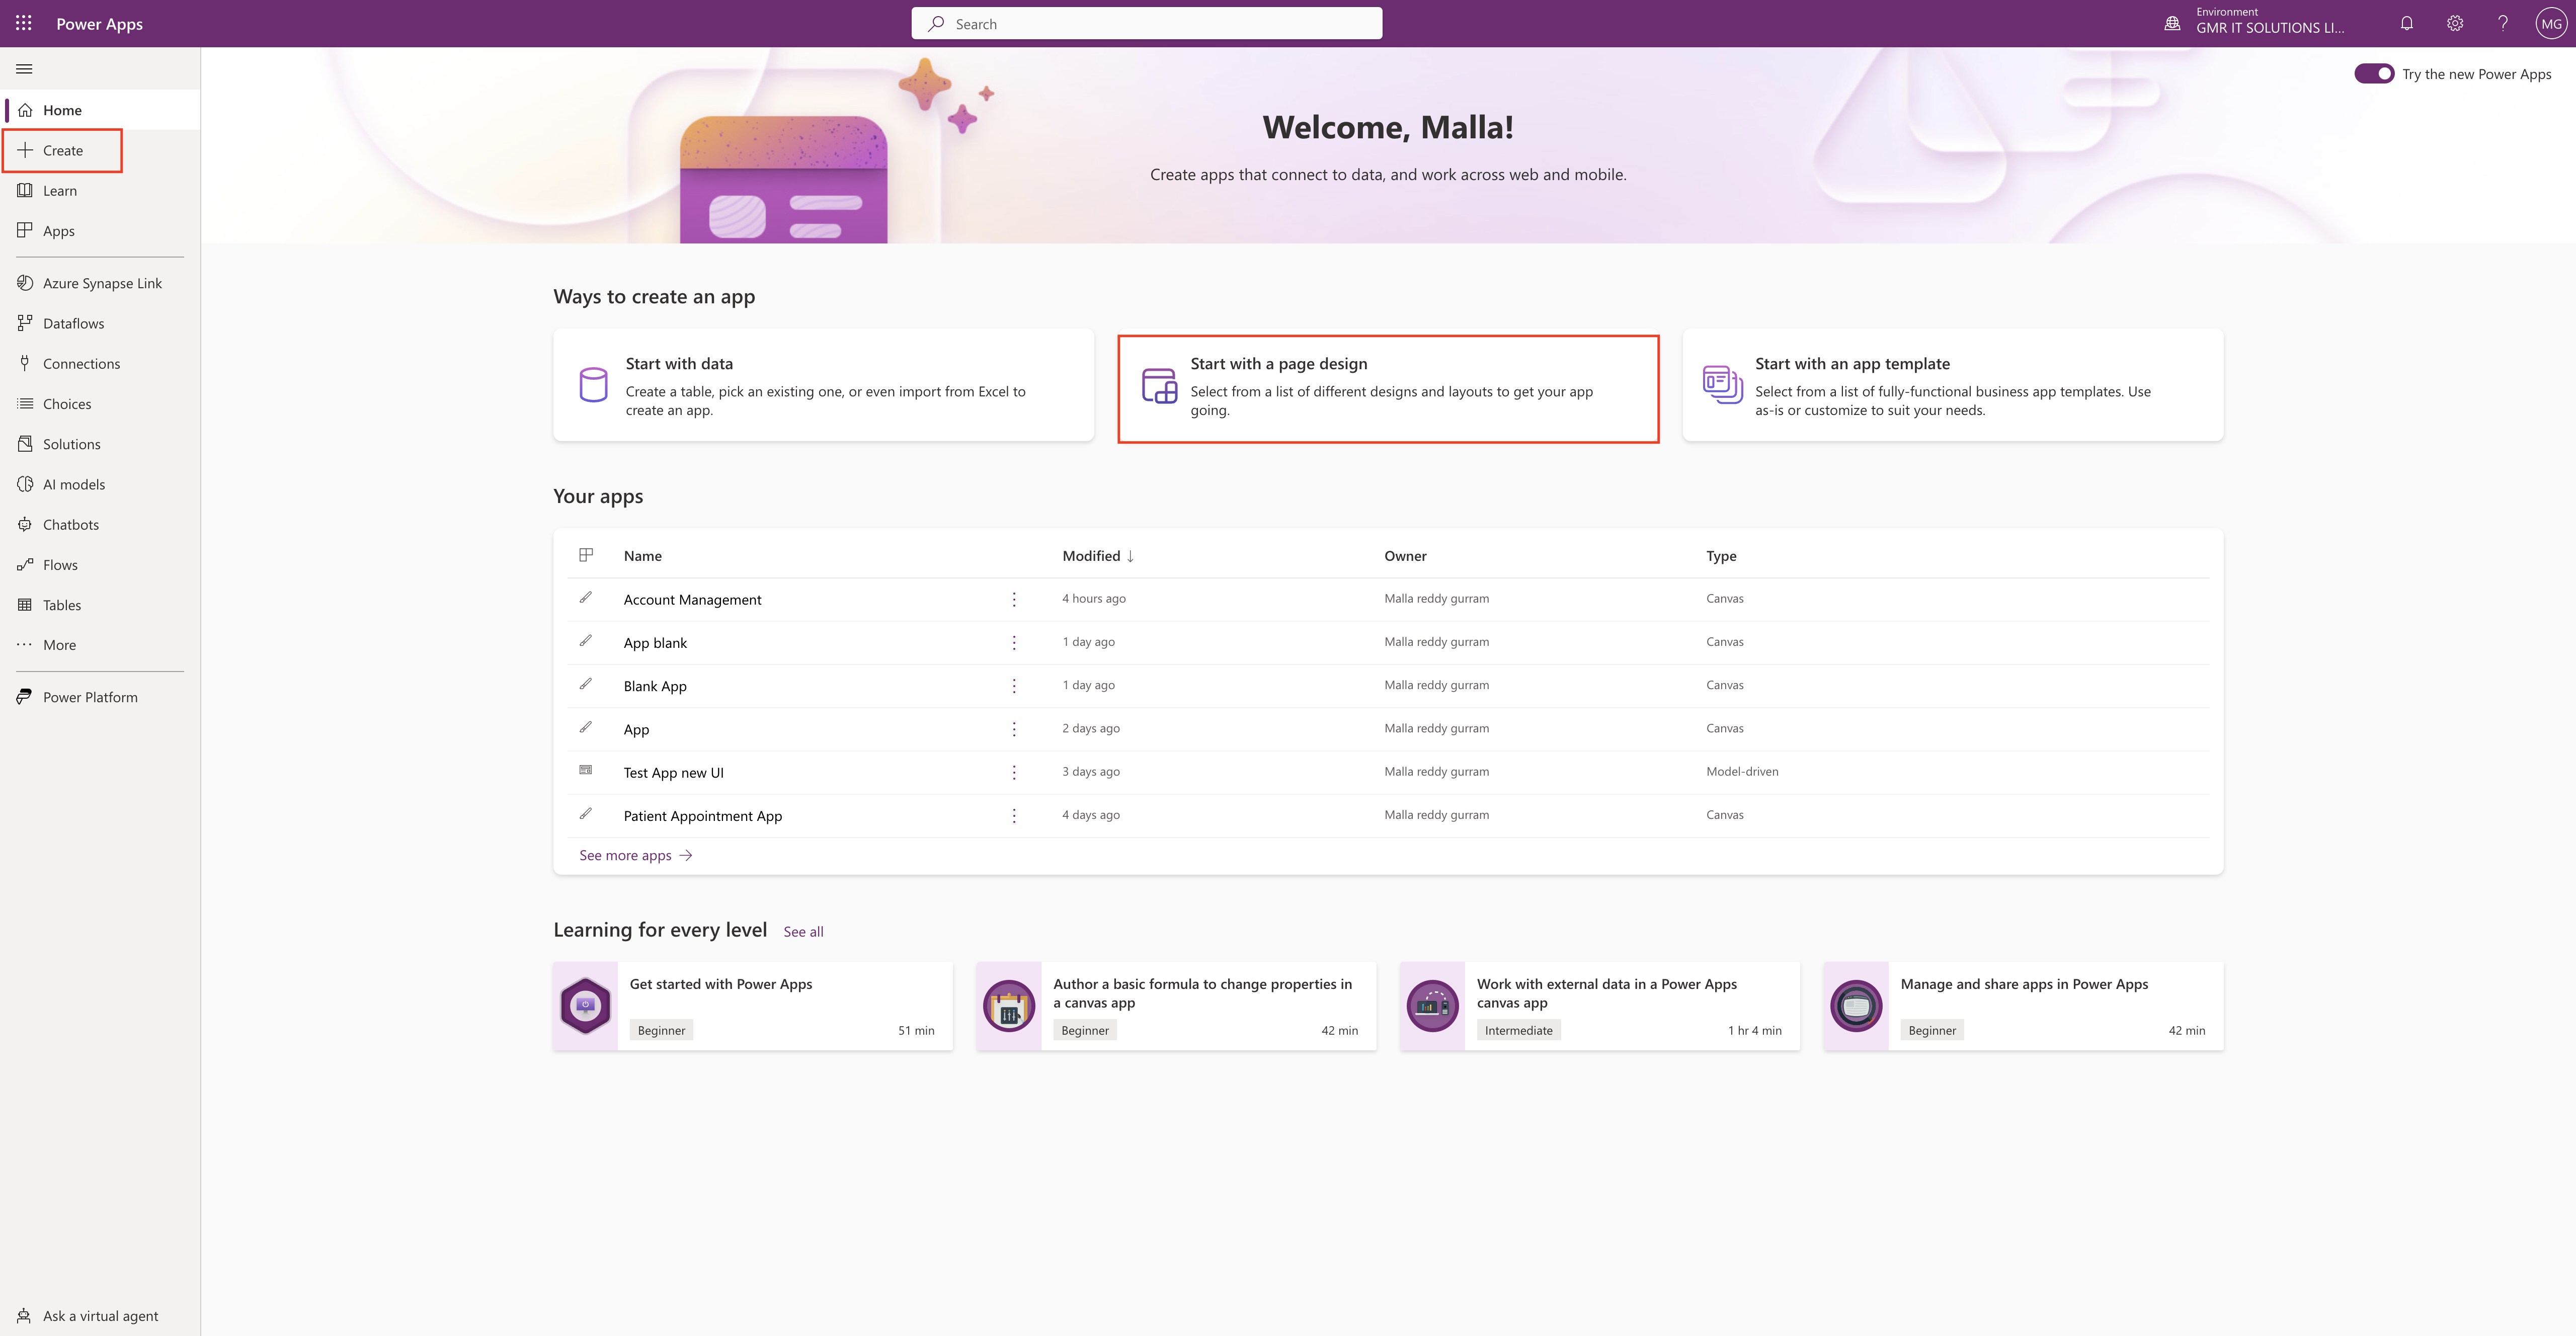
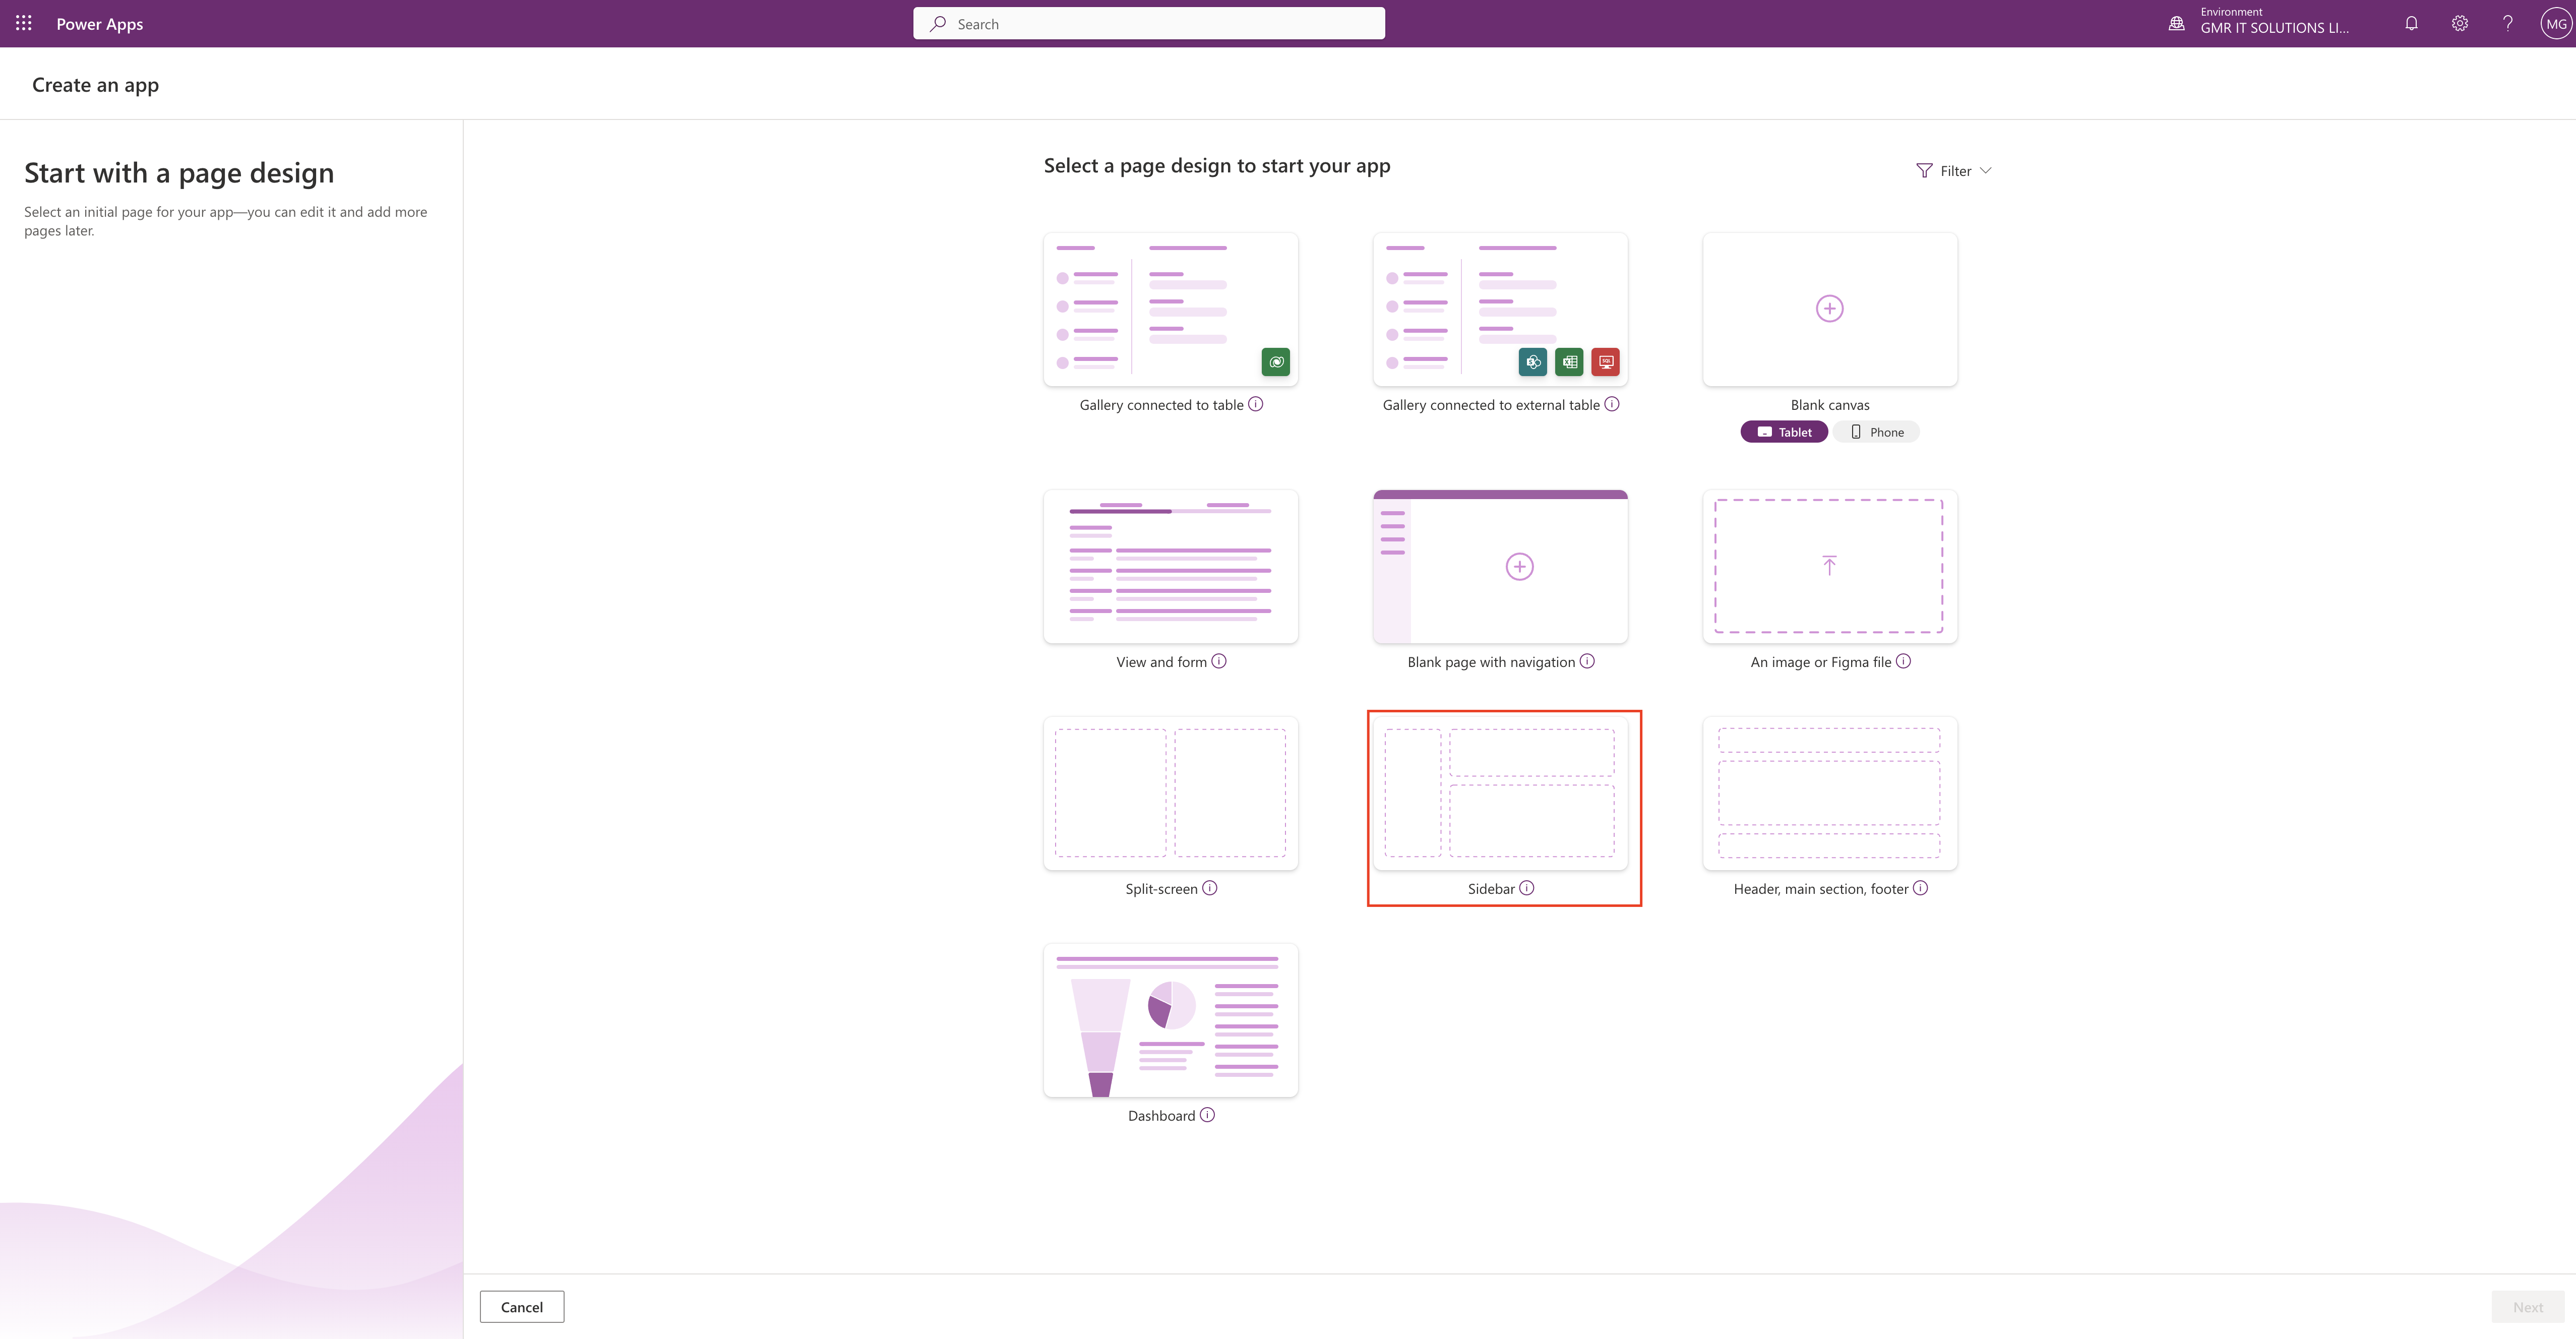
We can create Canvas app both ways from “Create” button or “start with a page design” and click on blank canvas app.

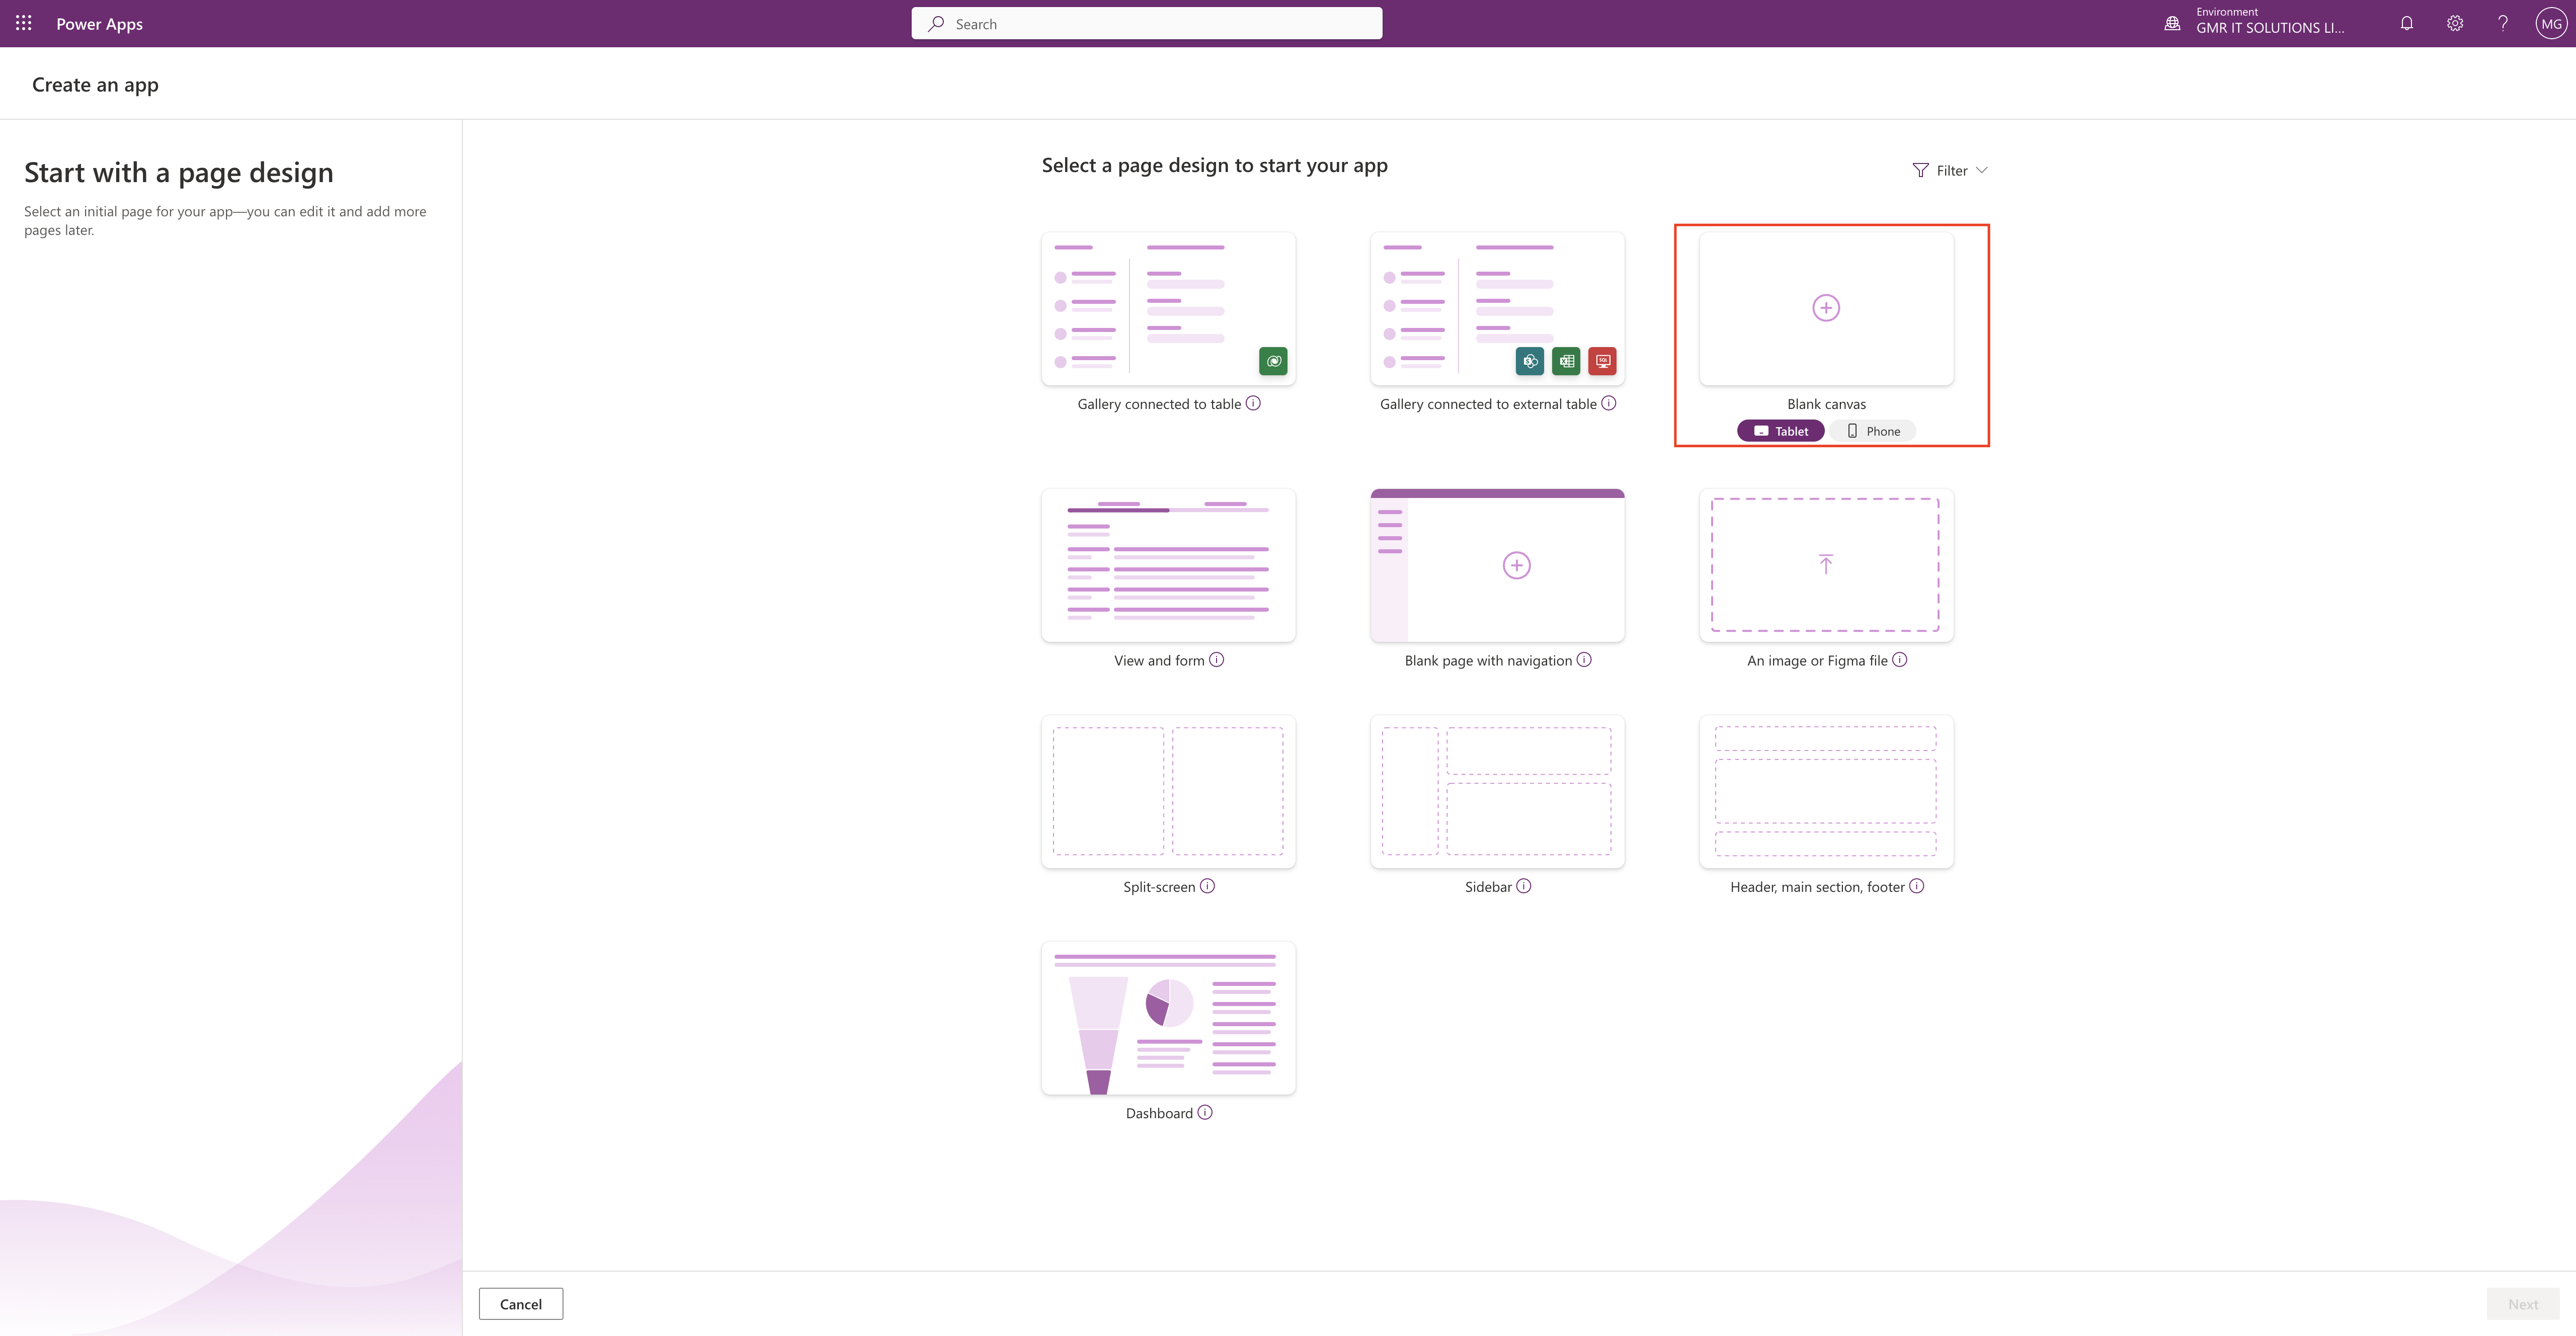
As you can see underneath the Blank Canvas, there is Tablet or Phone format, you can select according to your requirement.

If you select the tablet format still you can see the phone format but for maximum optimization, if you have use case for mobile then choose “Phone” format.

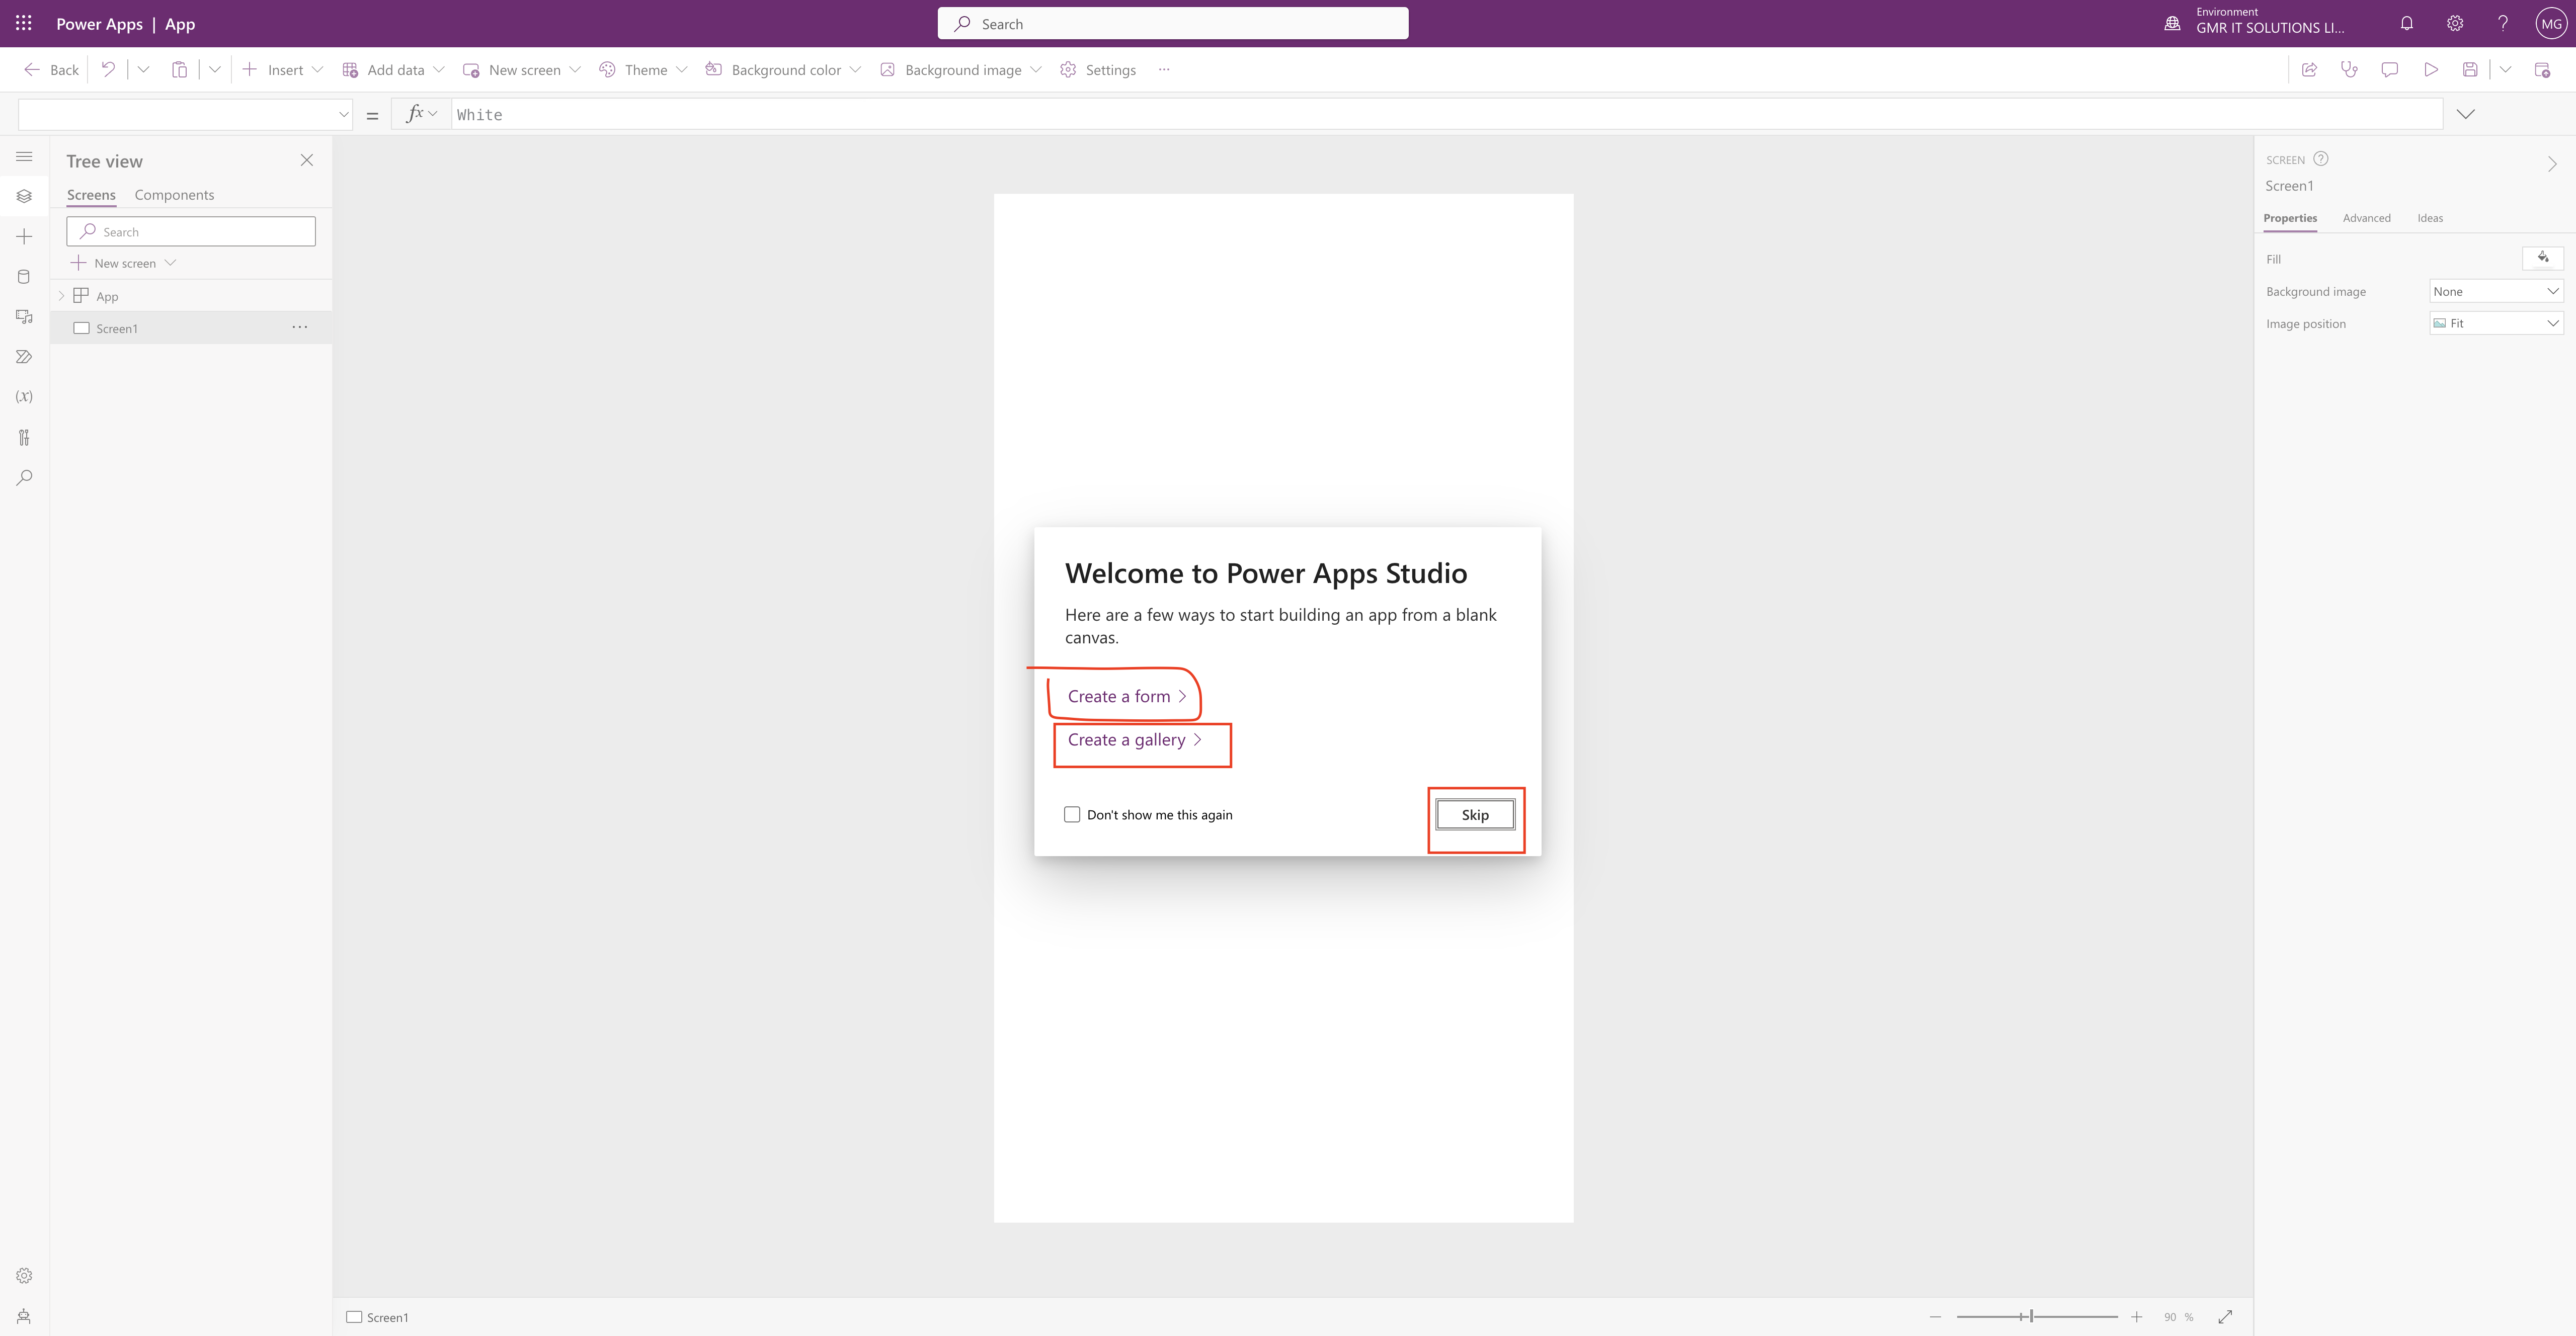
As you can see from above screen shot blank canvas screen will appear and you can select the form or gallery to start creating your Canvas App, but i want to show from scratch so click on SKIP Button.

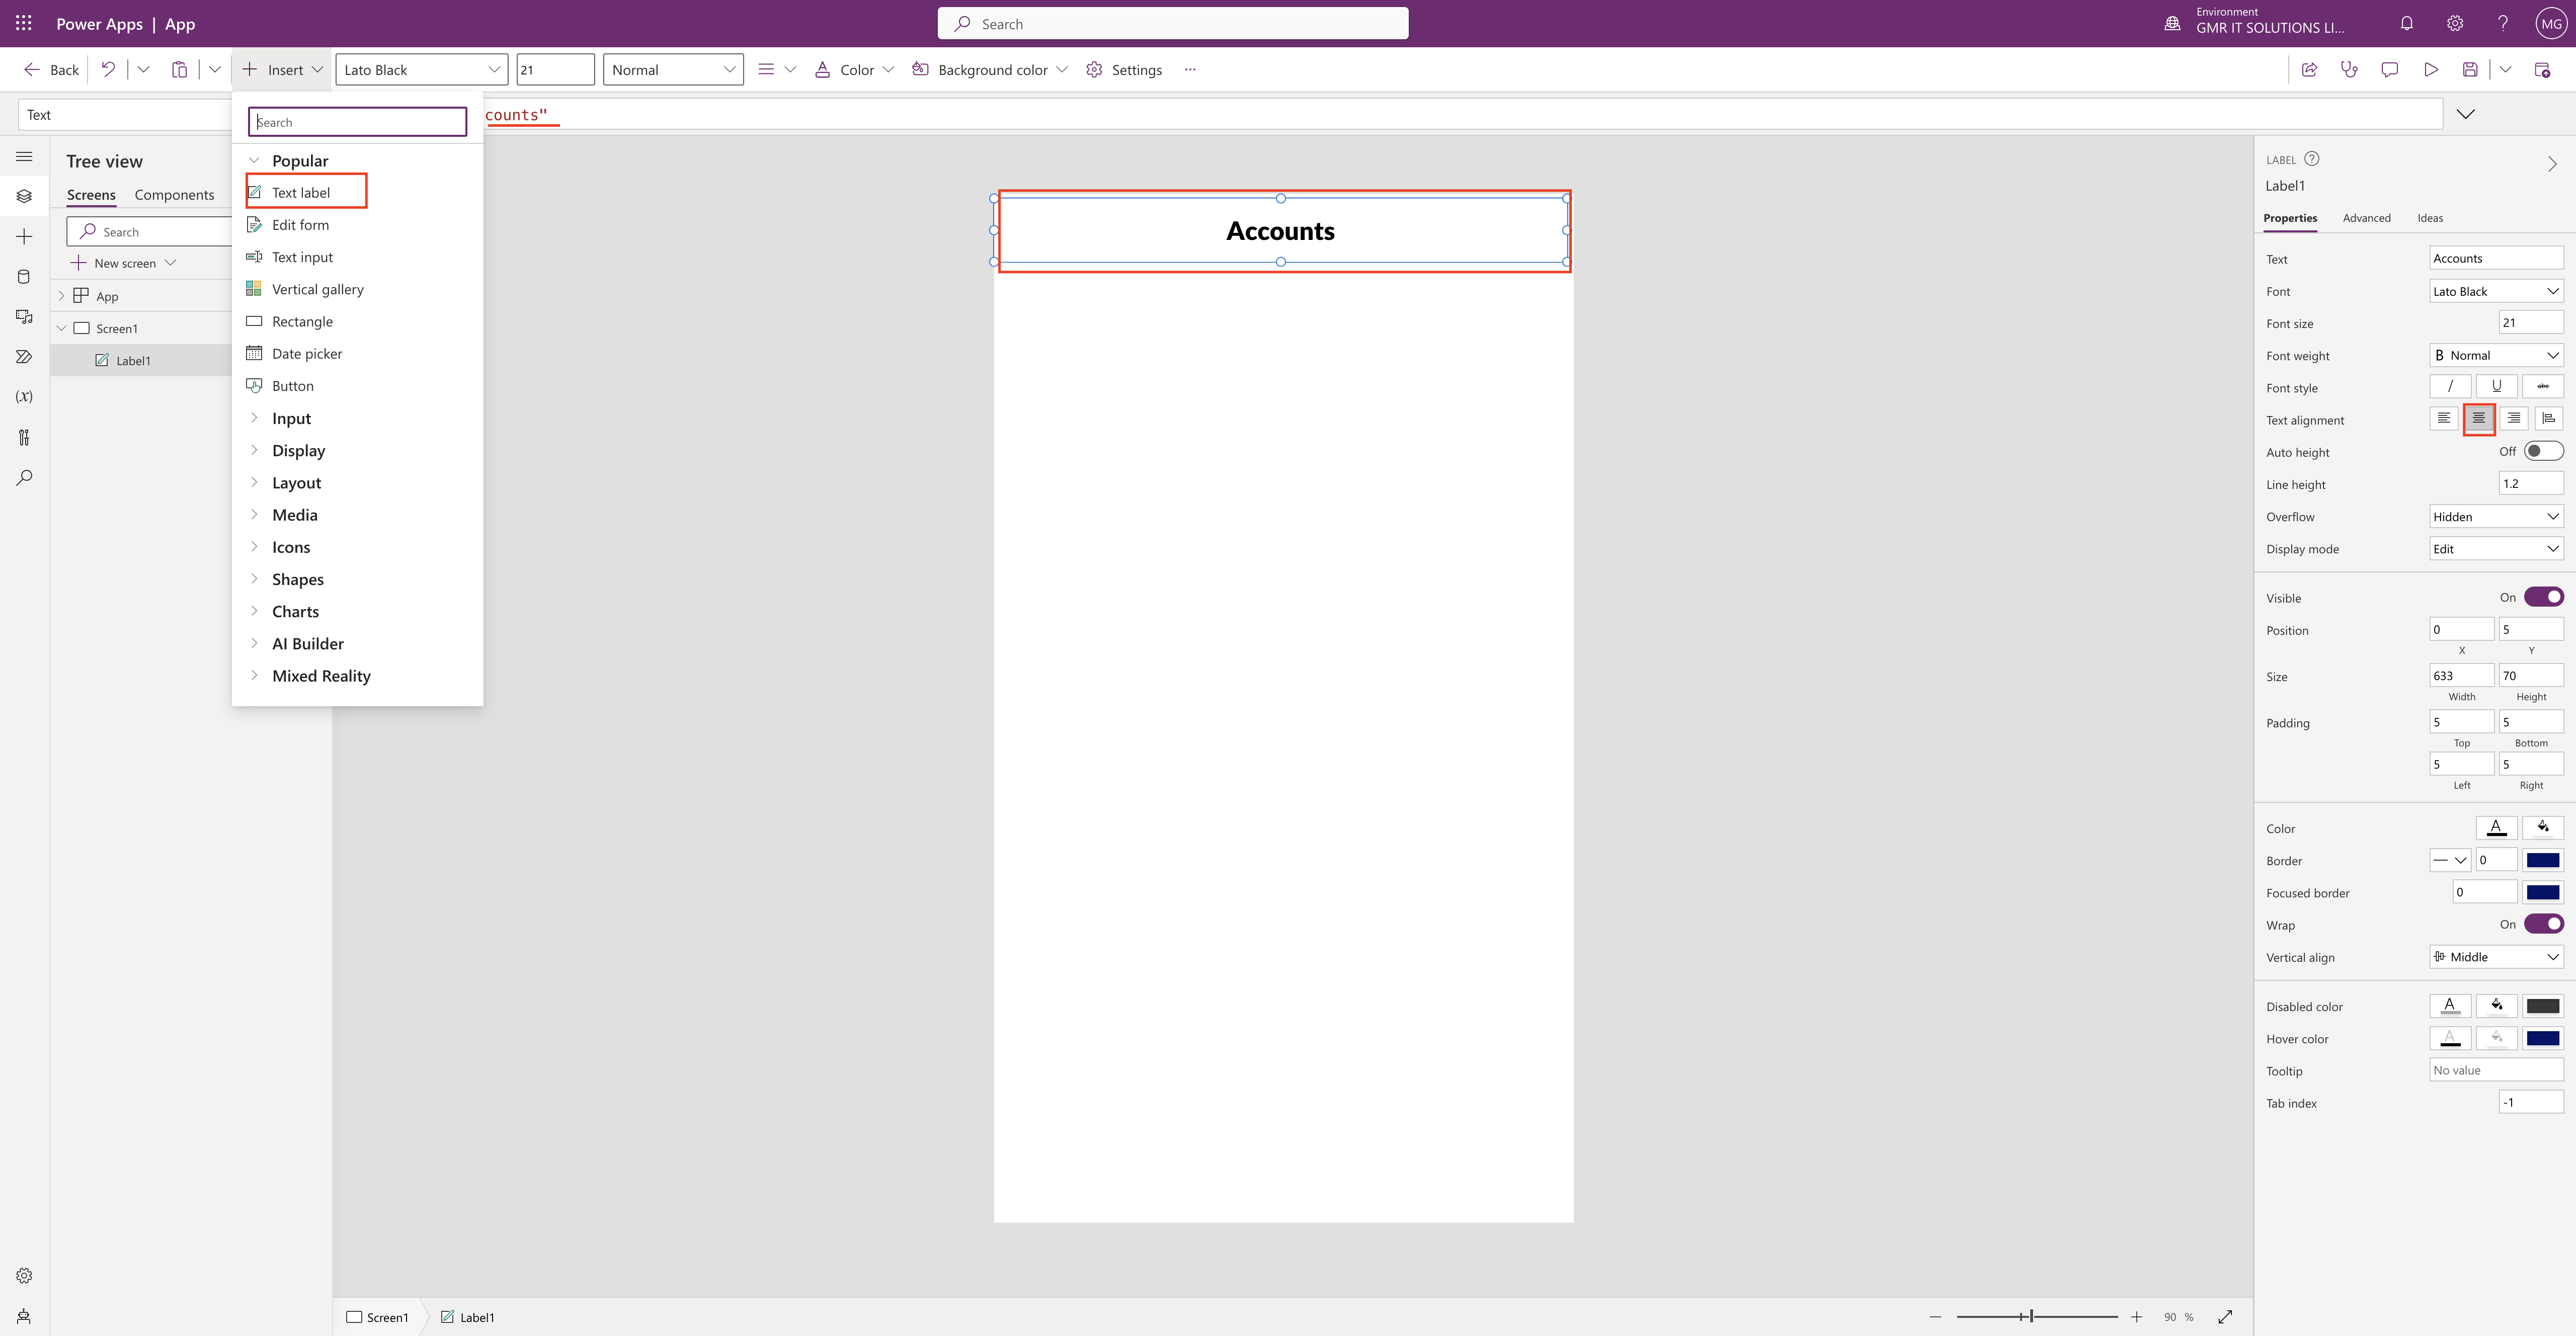
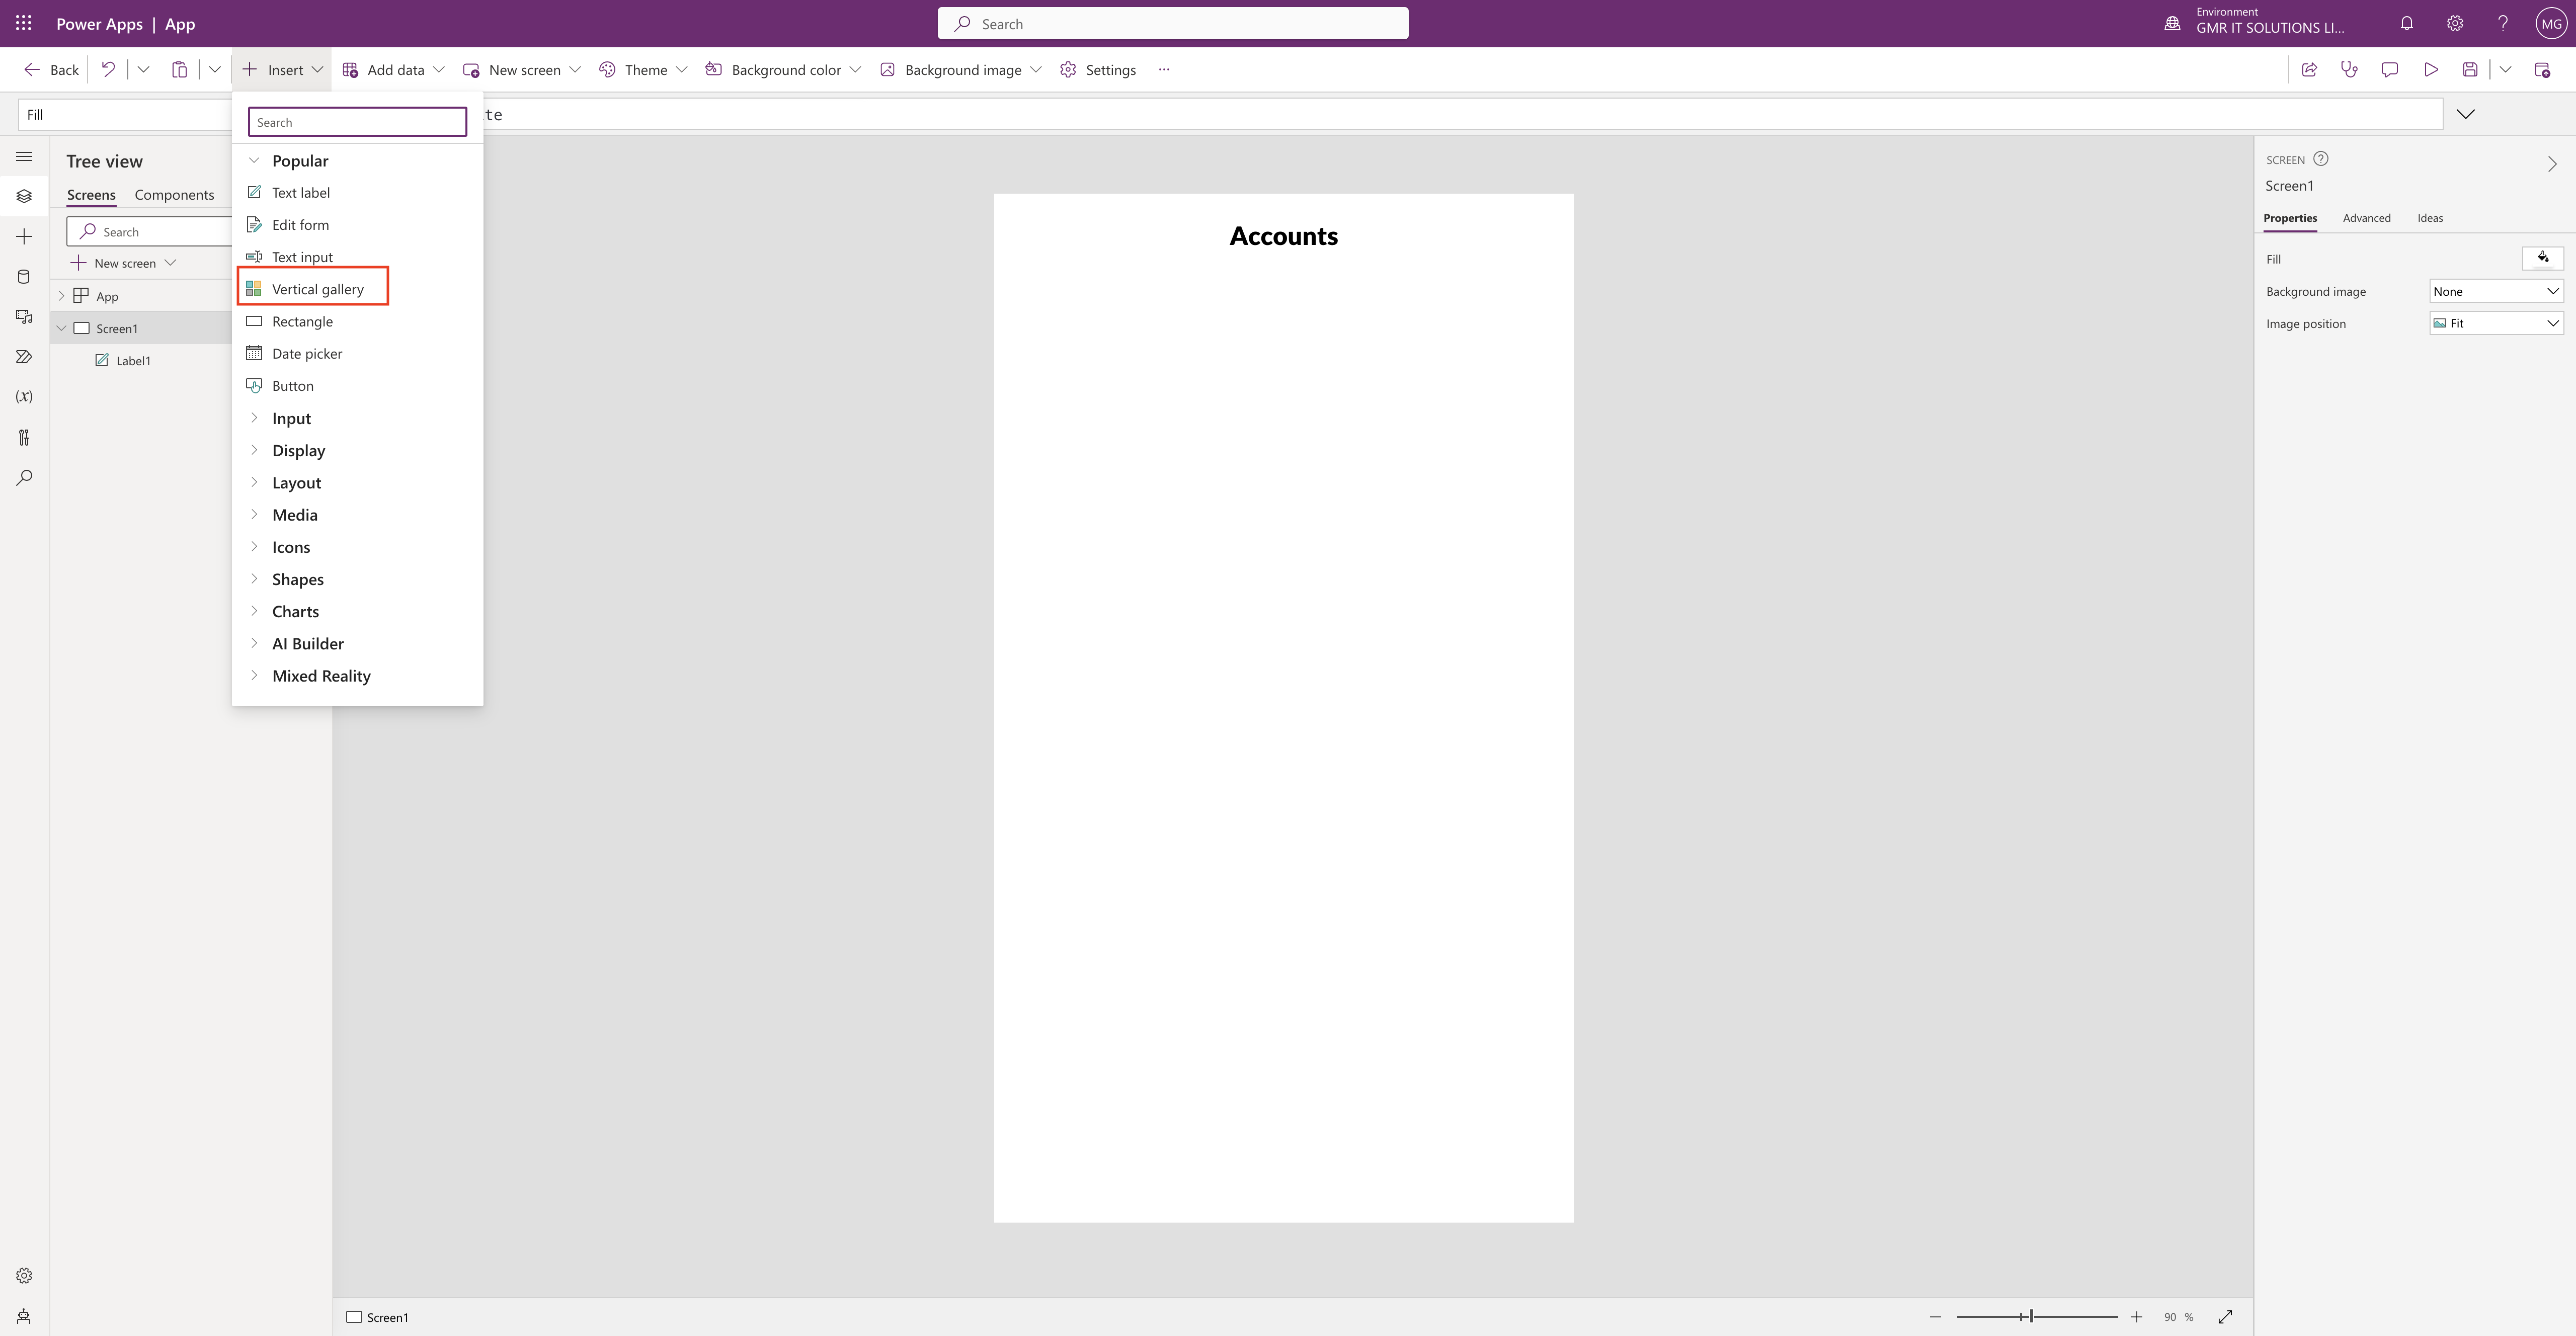
On the above blank screen i have clicked on the Insert button and clicked on the Text Label and align it into the center as i have highligted on the right hand side properties section.

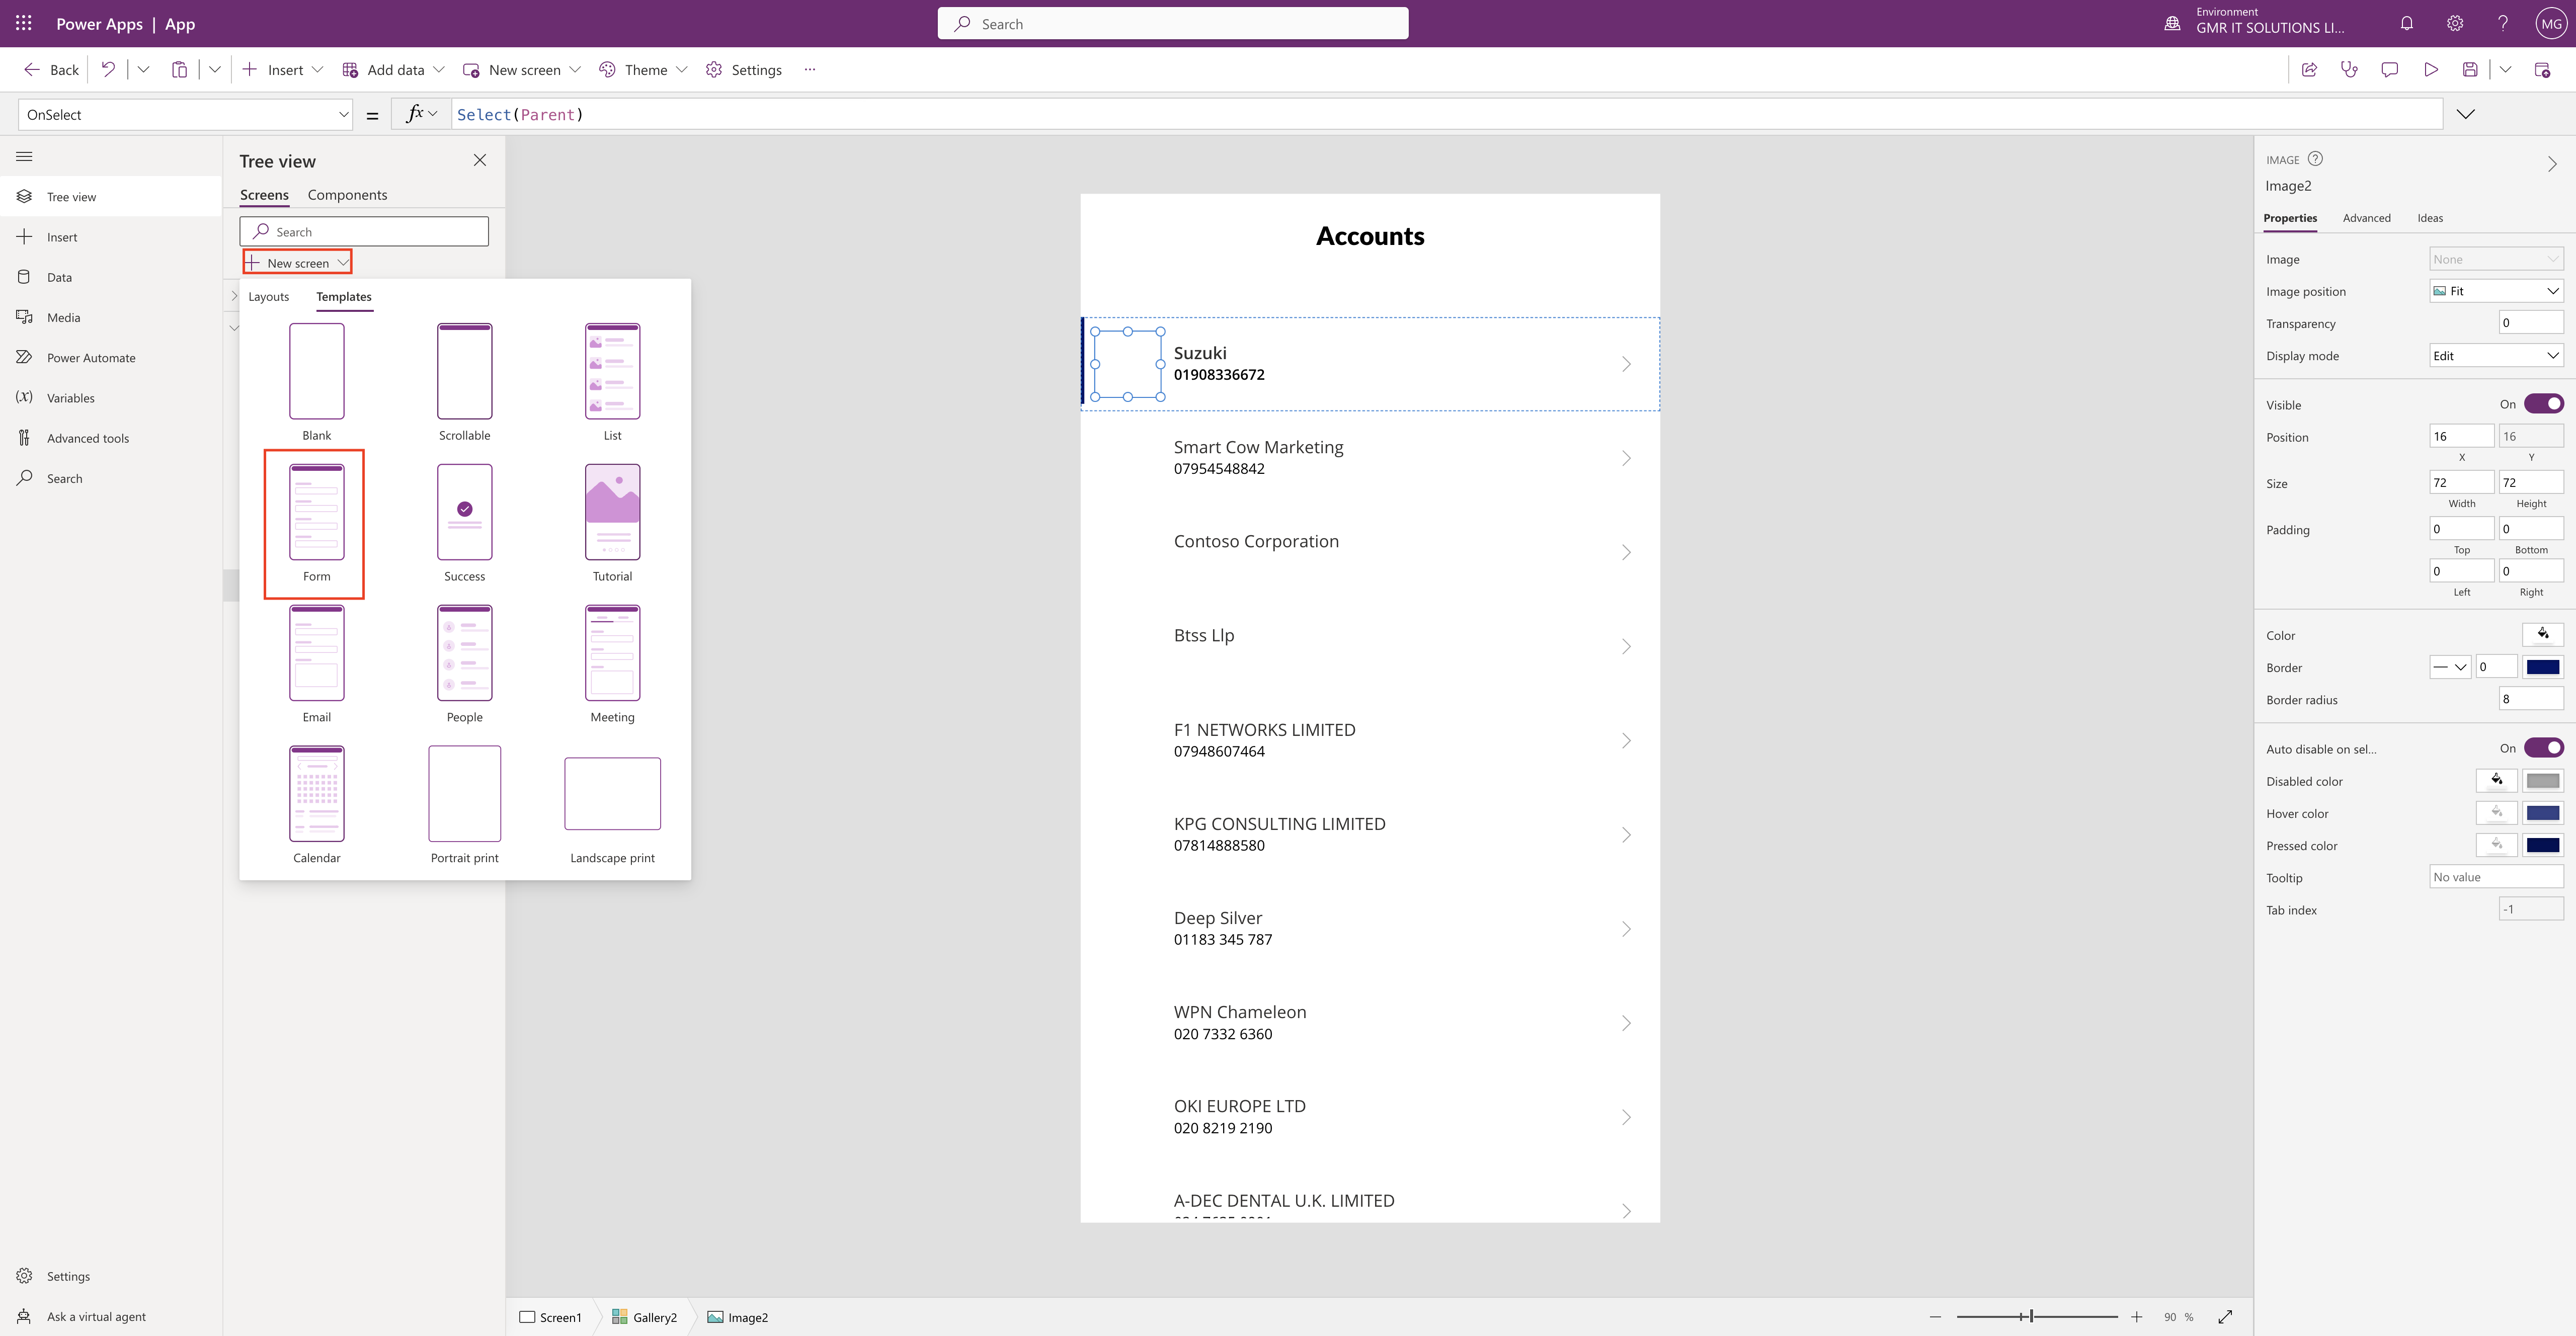
I have renamed the Text Label to ” Accounts” as i am going to choose the data source from Dataverse.

I have choosen the vertical gallery to show the data in it and connect to source data.

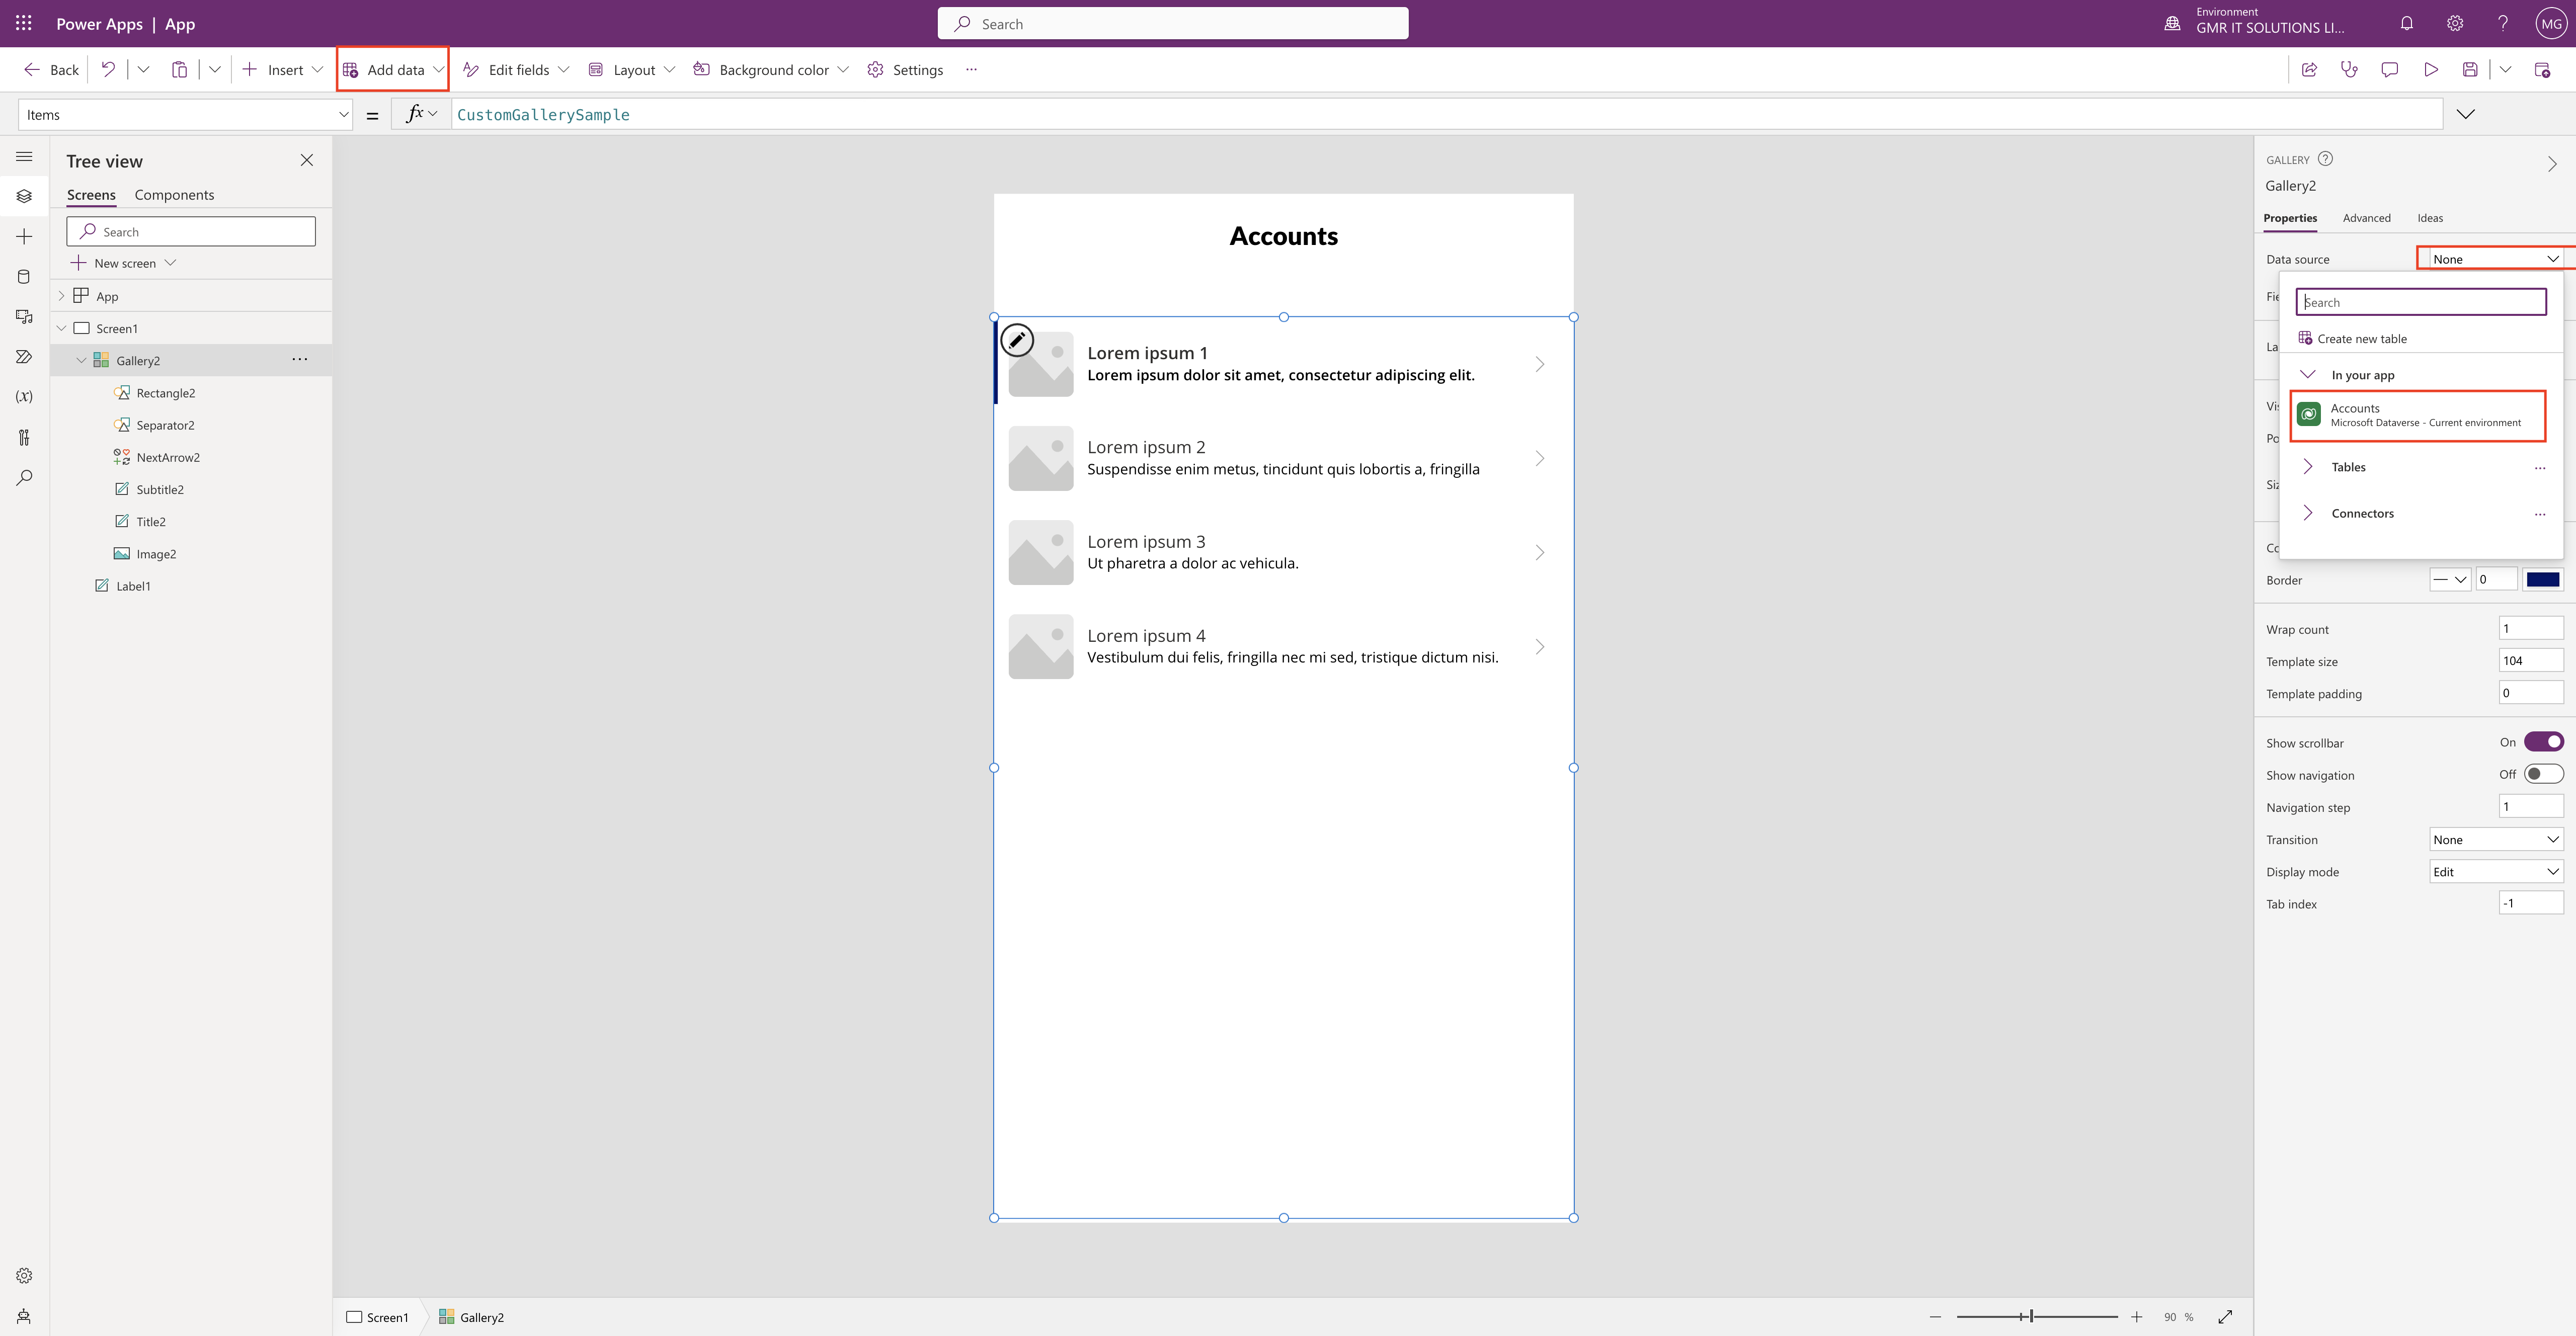
We can connect the data source from multiple places as i have highlighted on the screen shot above, so i have chosen datasource from the properties on the right hand side from datasource drop down.

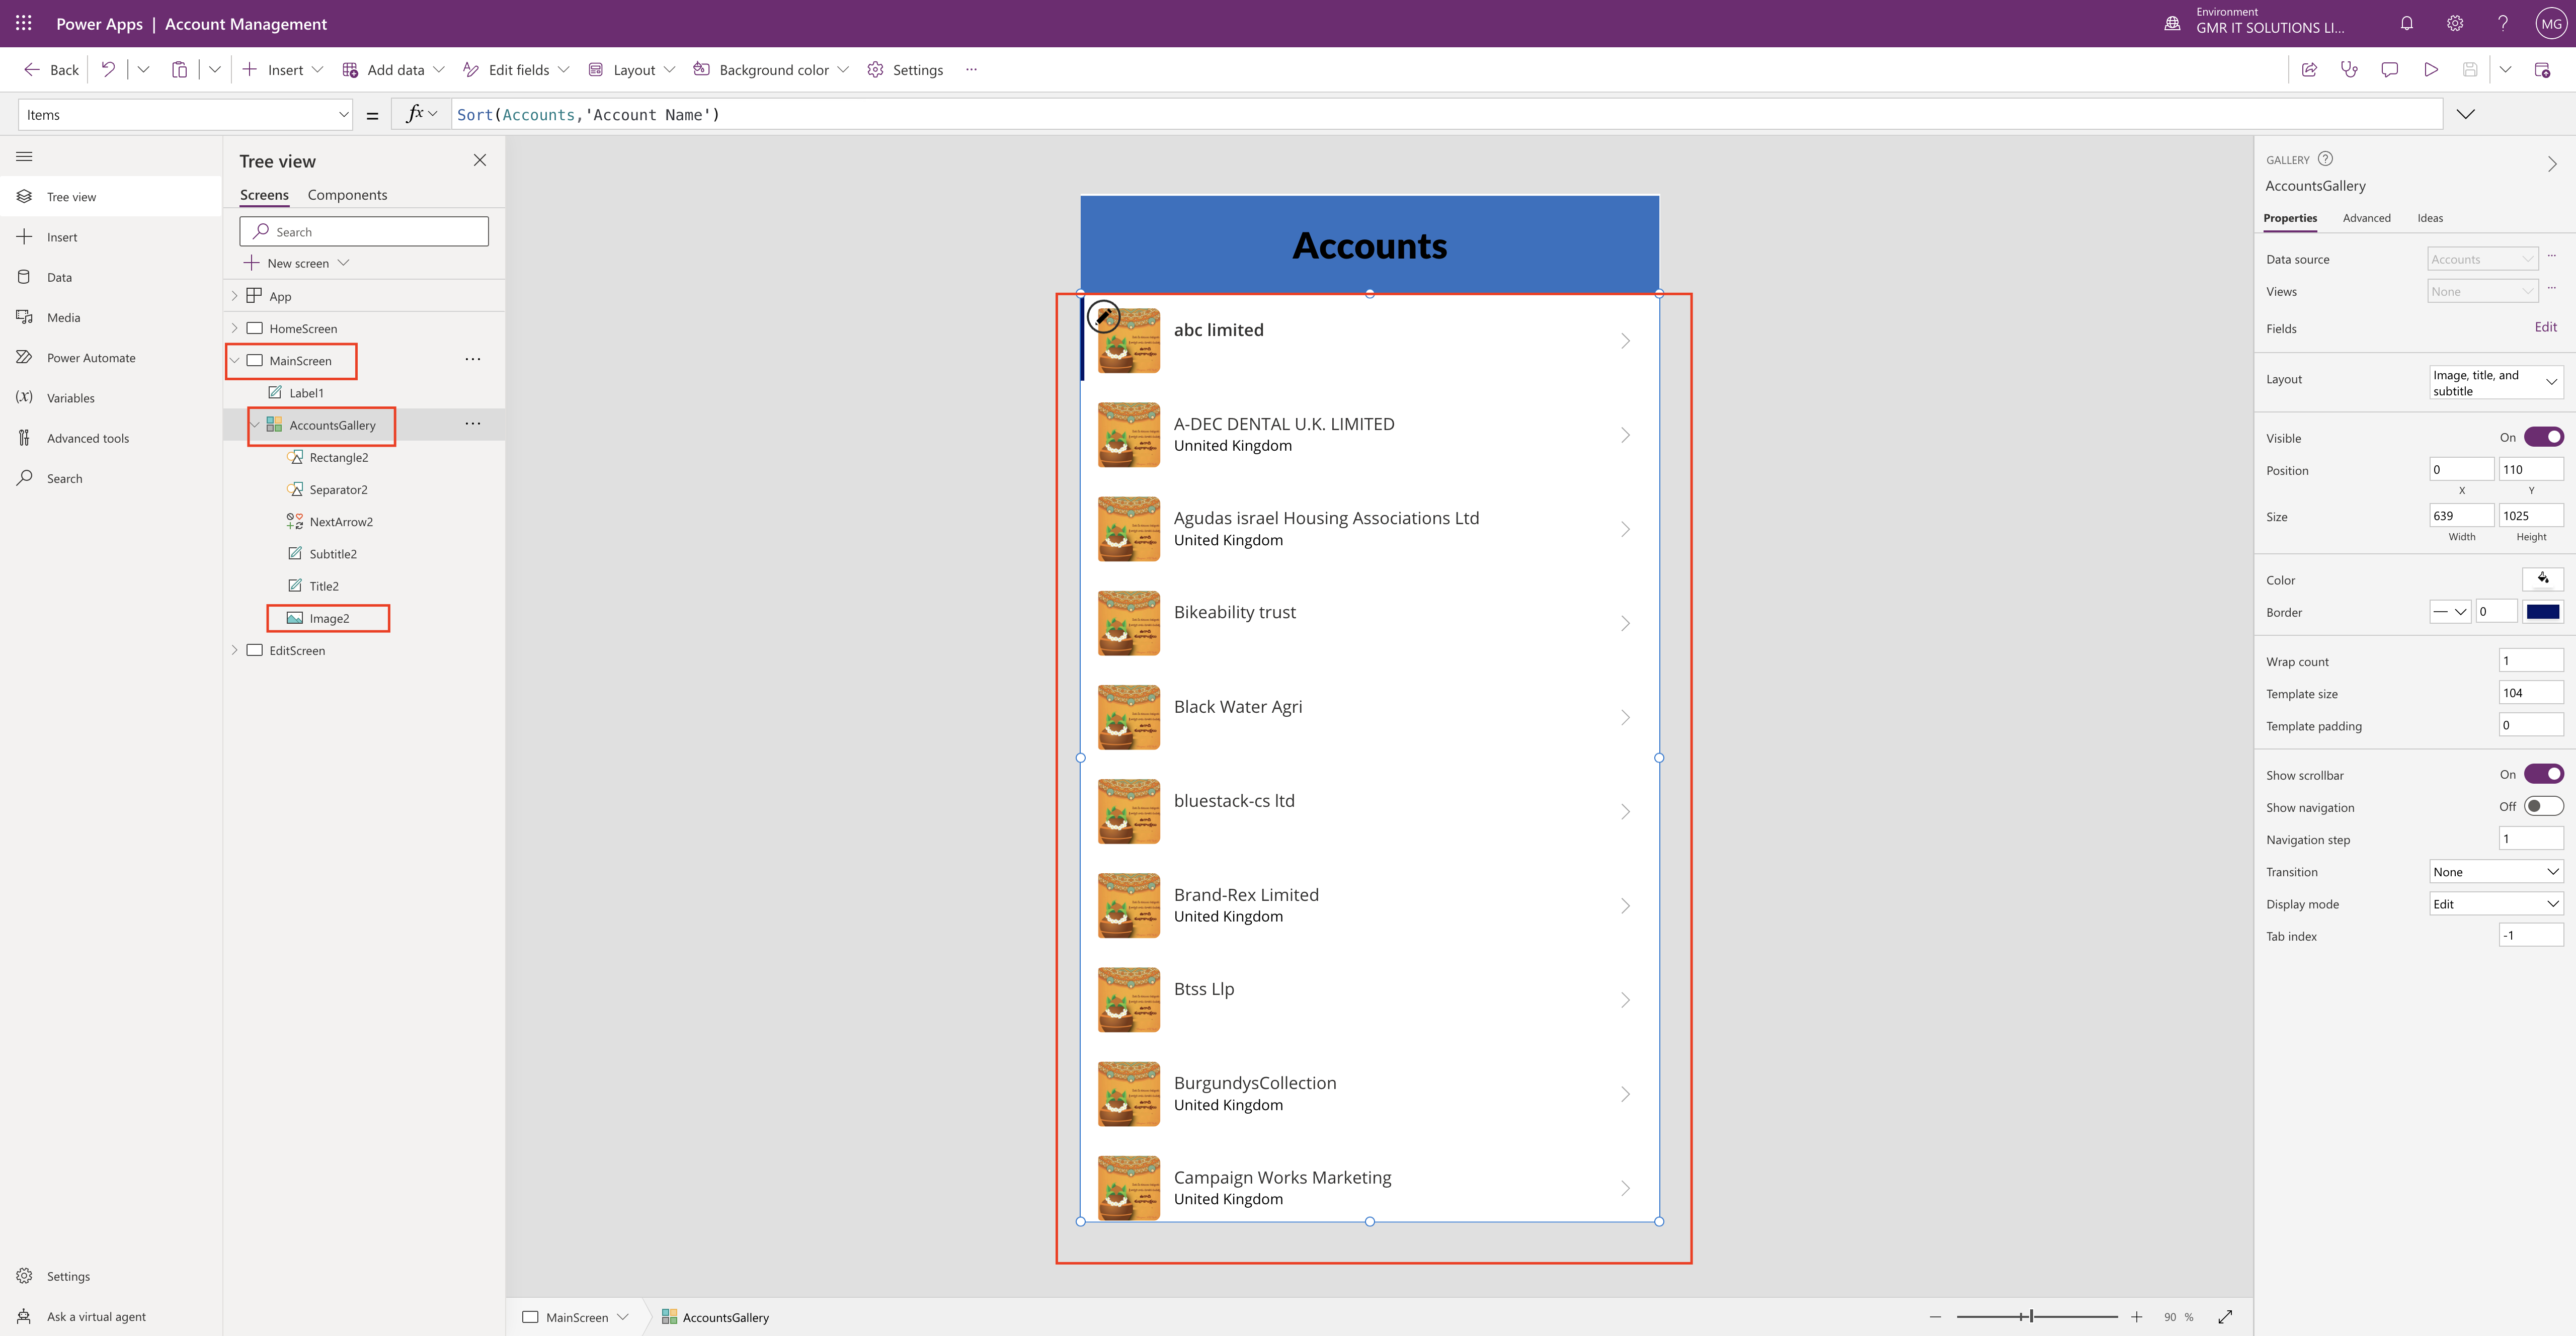
Also i have renamed the as Gallery Account Gallery and image is uploaded for the accounts as you can see same image for all the accounts.

Now we have datasource and Gallery on our canvas app and we need a home screen where we can click to come back to main screen.

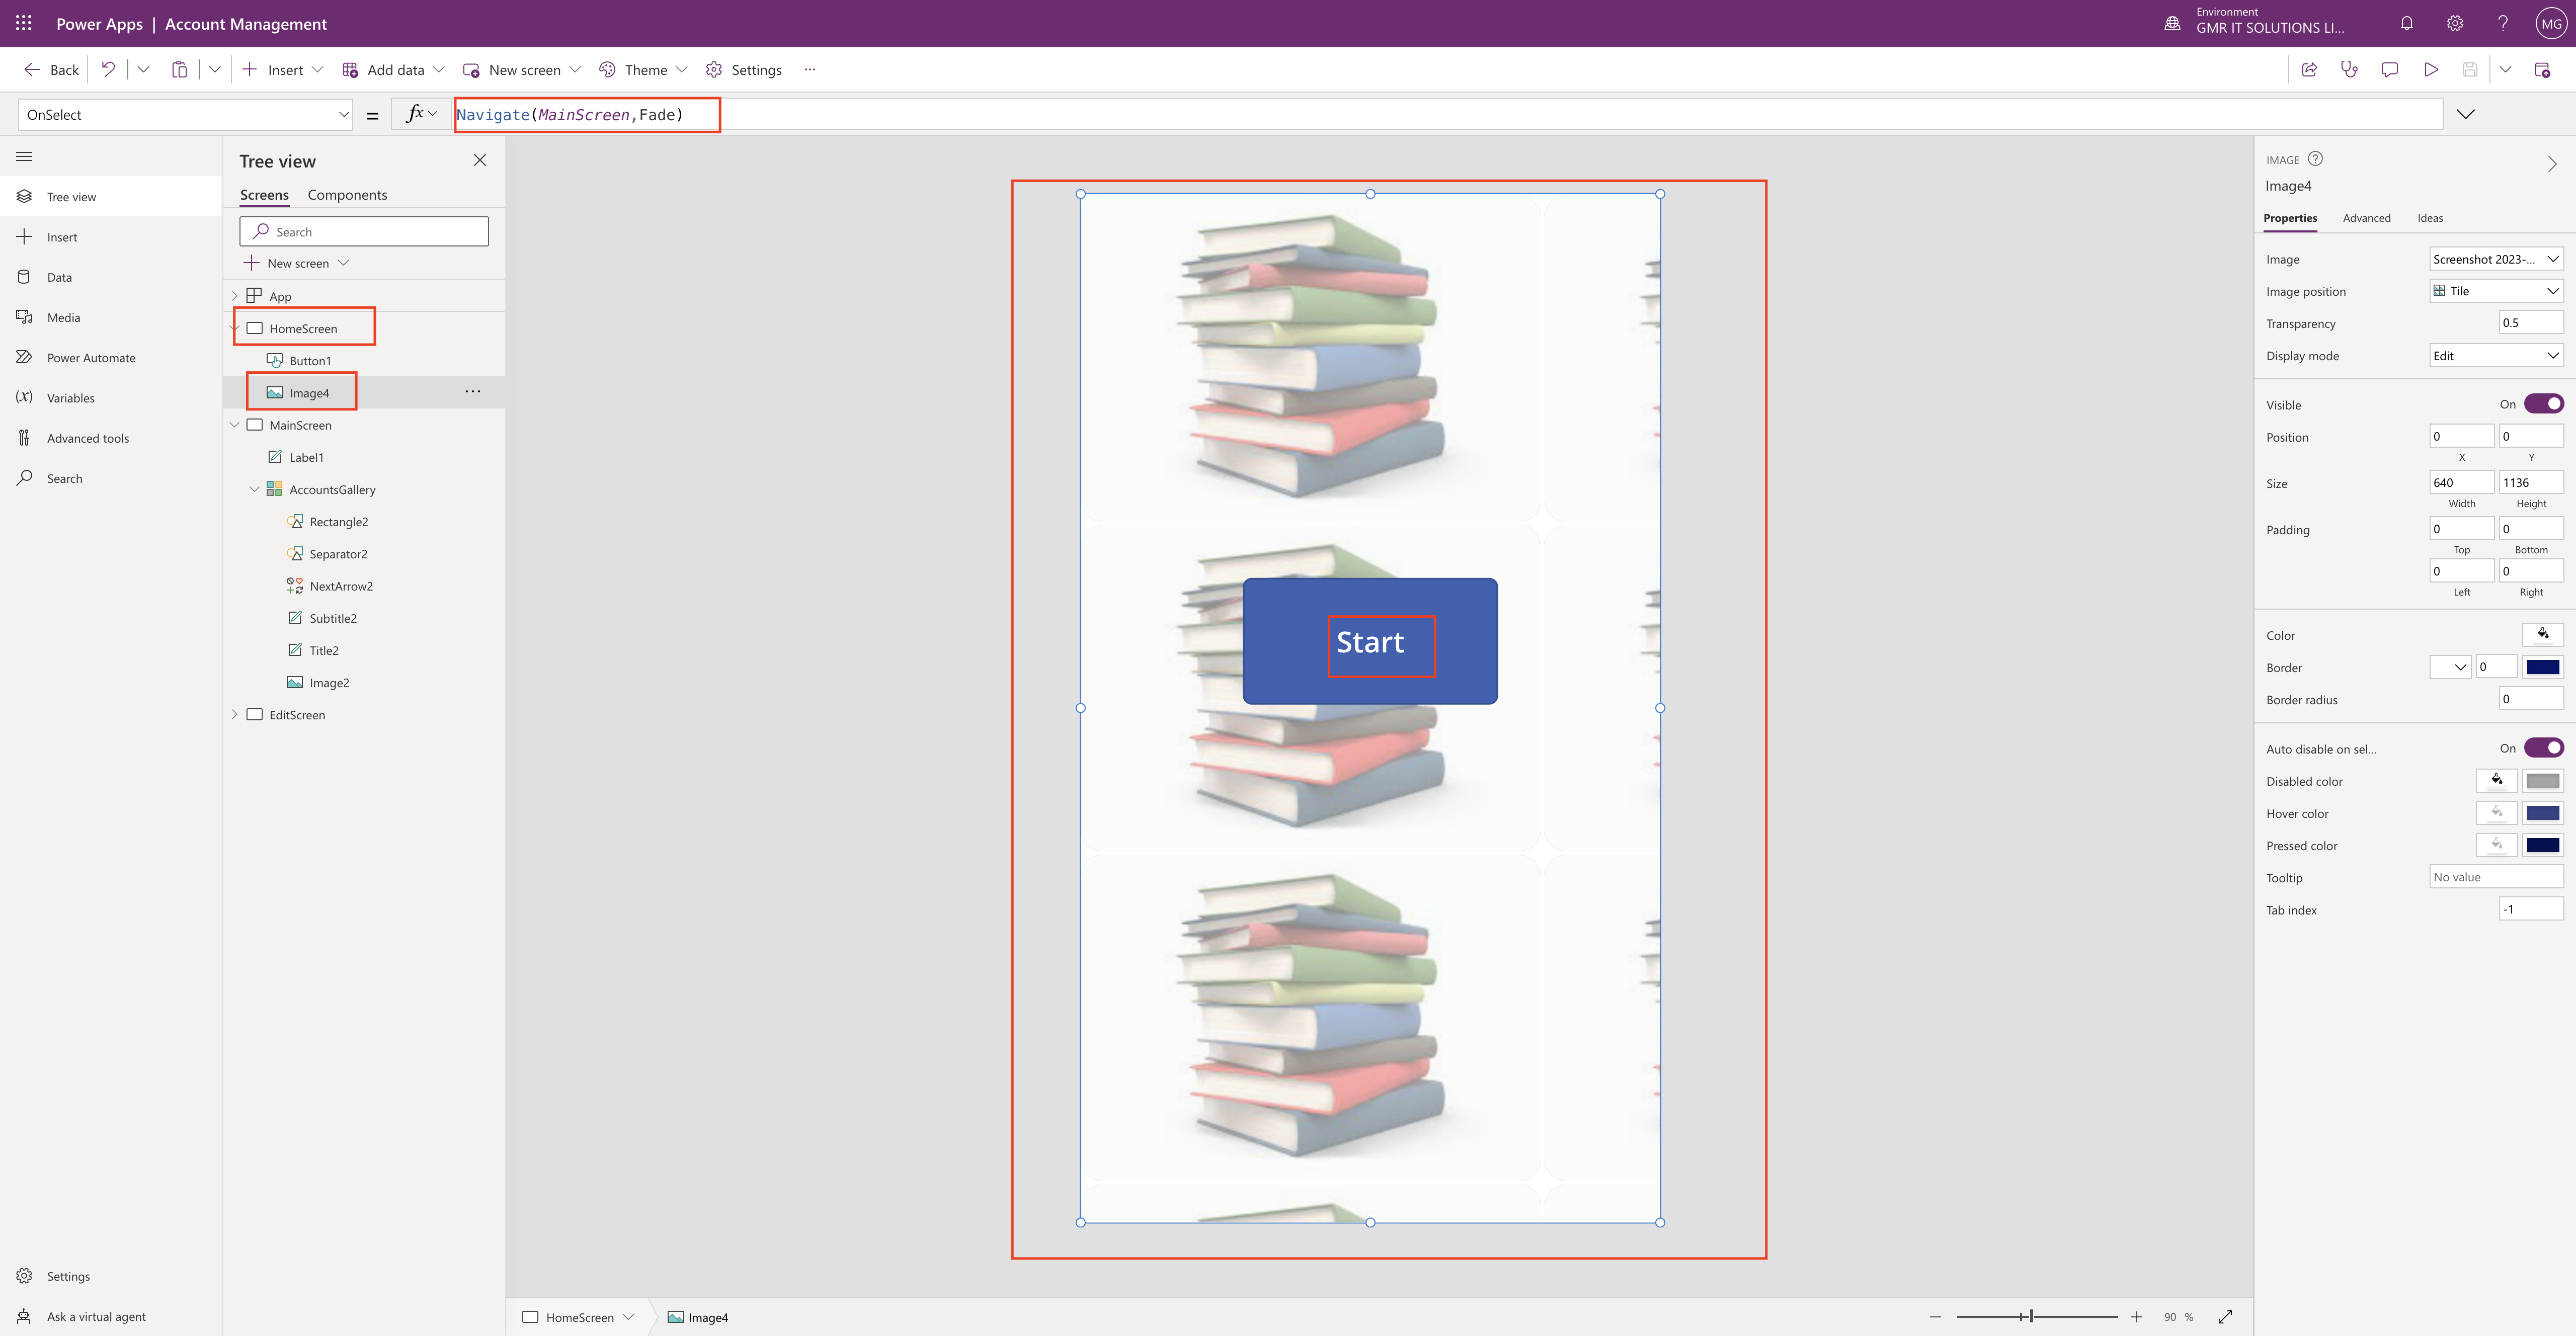
So i have created another screen and renamed it as HOME SCREEN and also uploaded an image books.

On the screen shot right hand side properties section you can choose colour of the button and fade colour too. Placed a button and renamed as “START”

Onselect of the button Power Fx formula: Navigate(MainScreen,ScreenTransition.Fade)

then the Main Screen will be displayed.

Now we have two screens

1. Home Screen

2. MainScreen

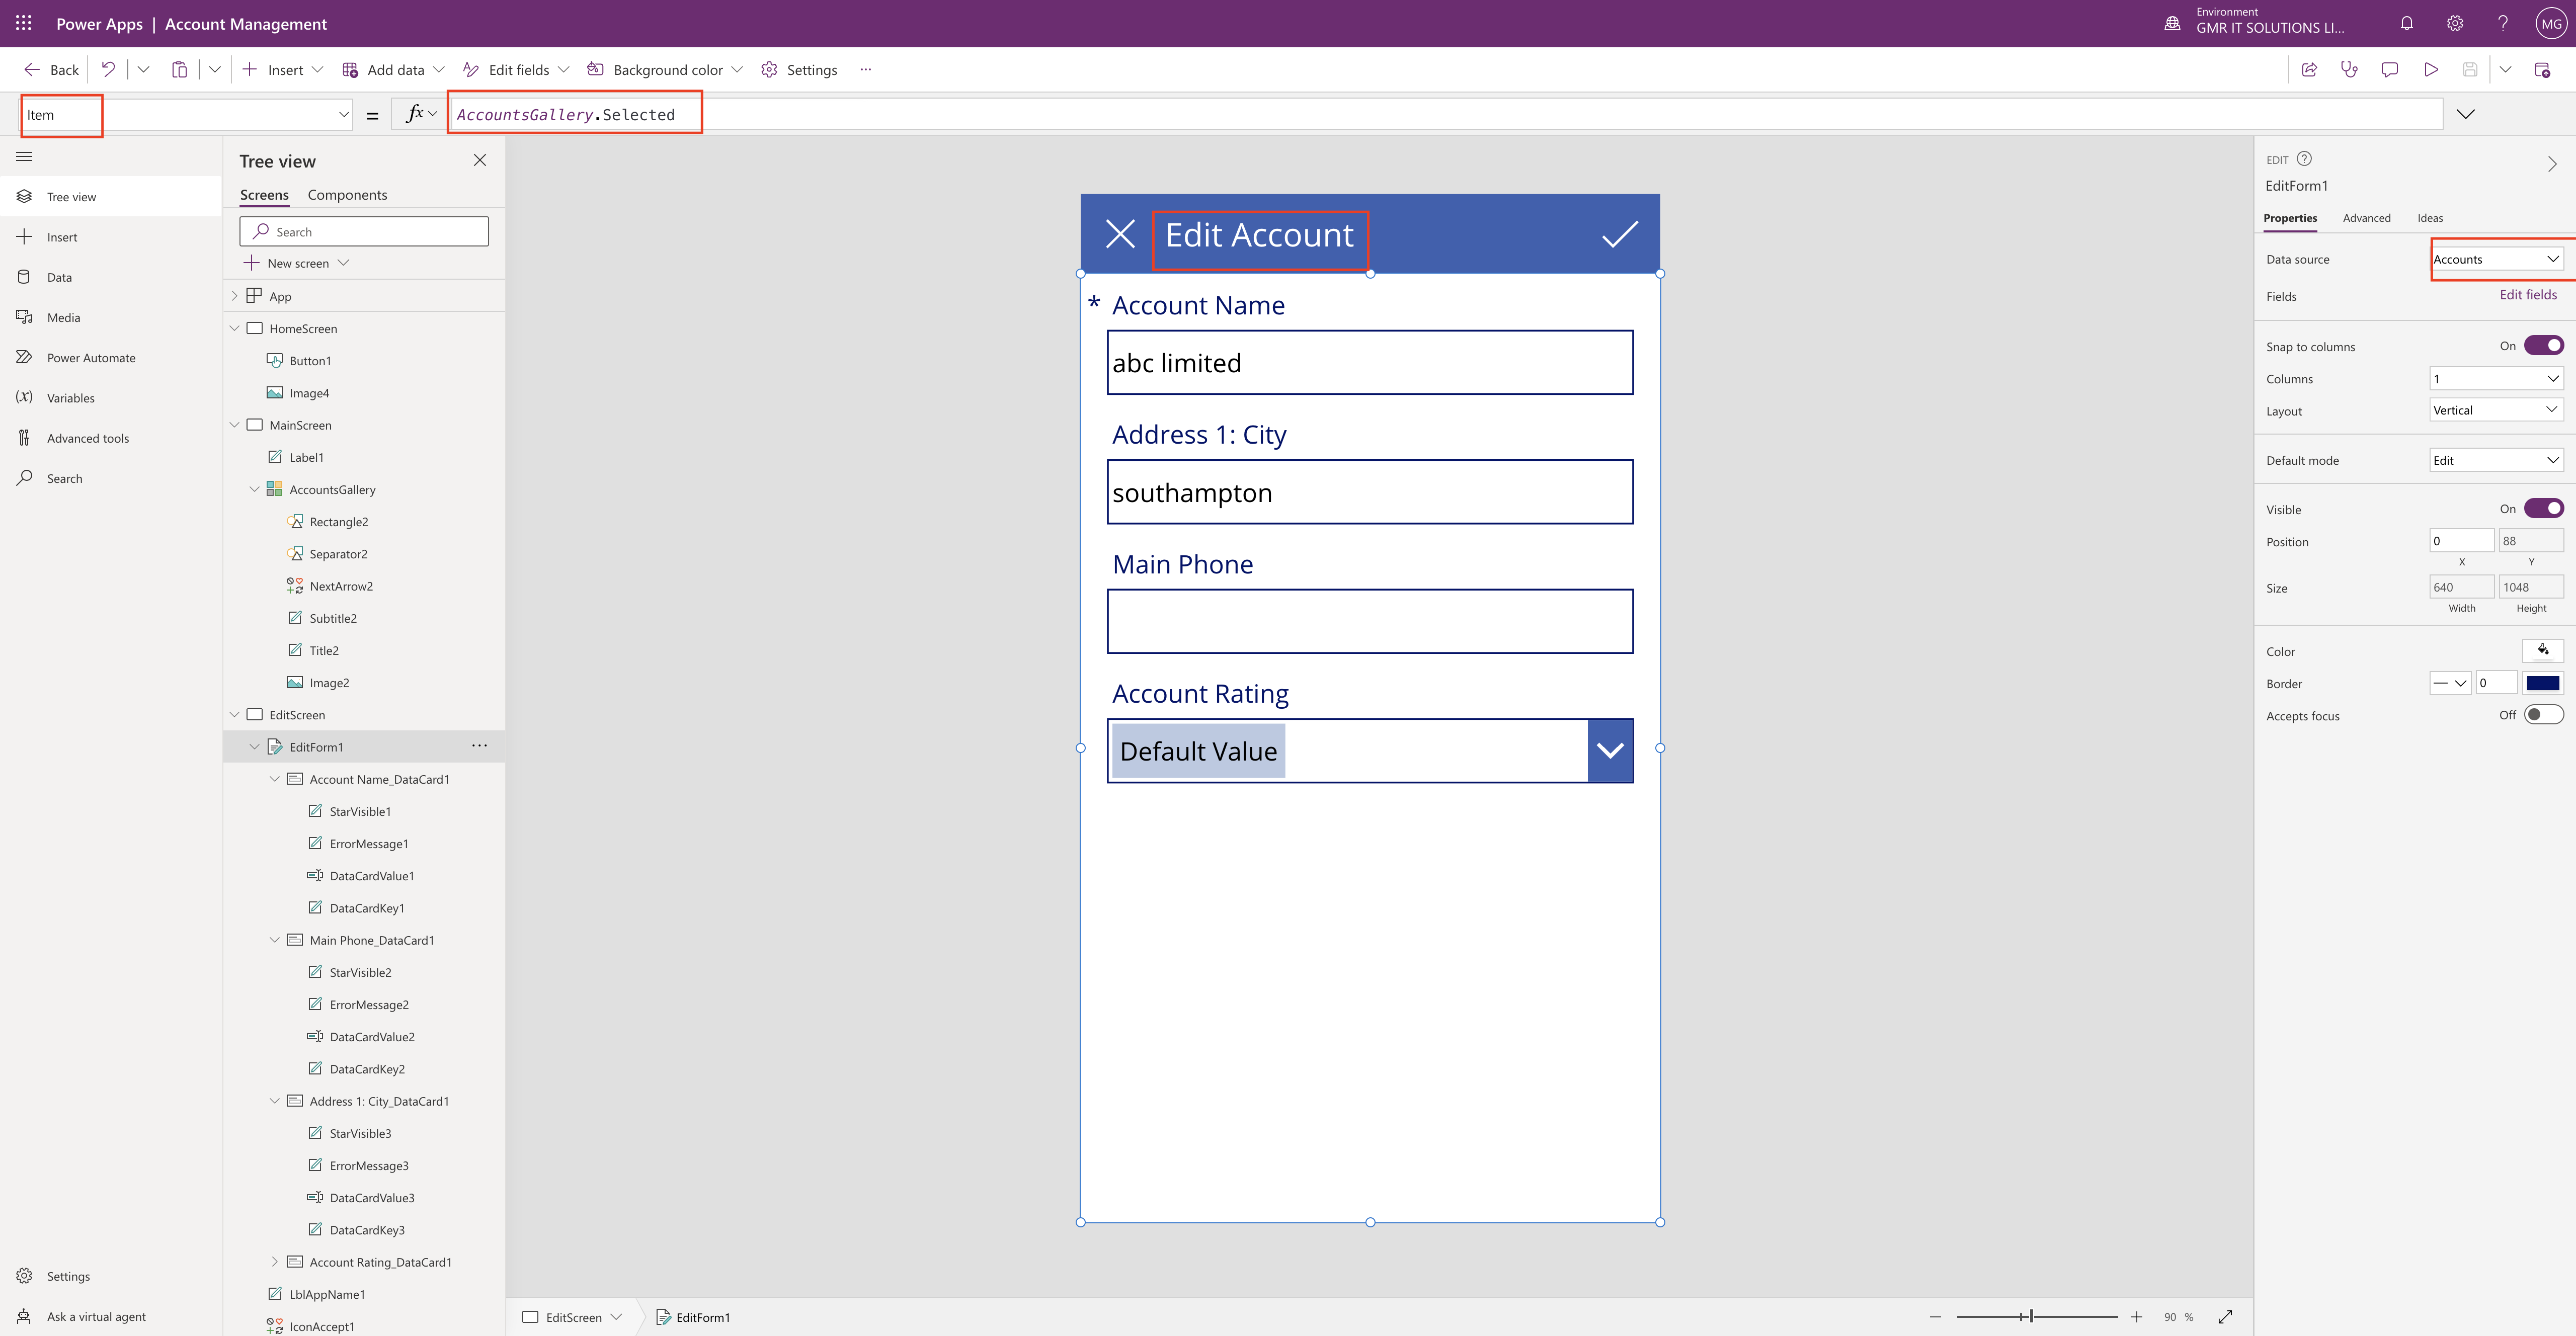
We need another screen edit screen when any account is opened.

Create another screen called “Edit Screen”

Then rename the edit button and give it a datasource.

Power Fx formula on Item= AccountsGallery.Selected

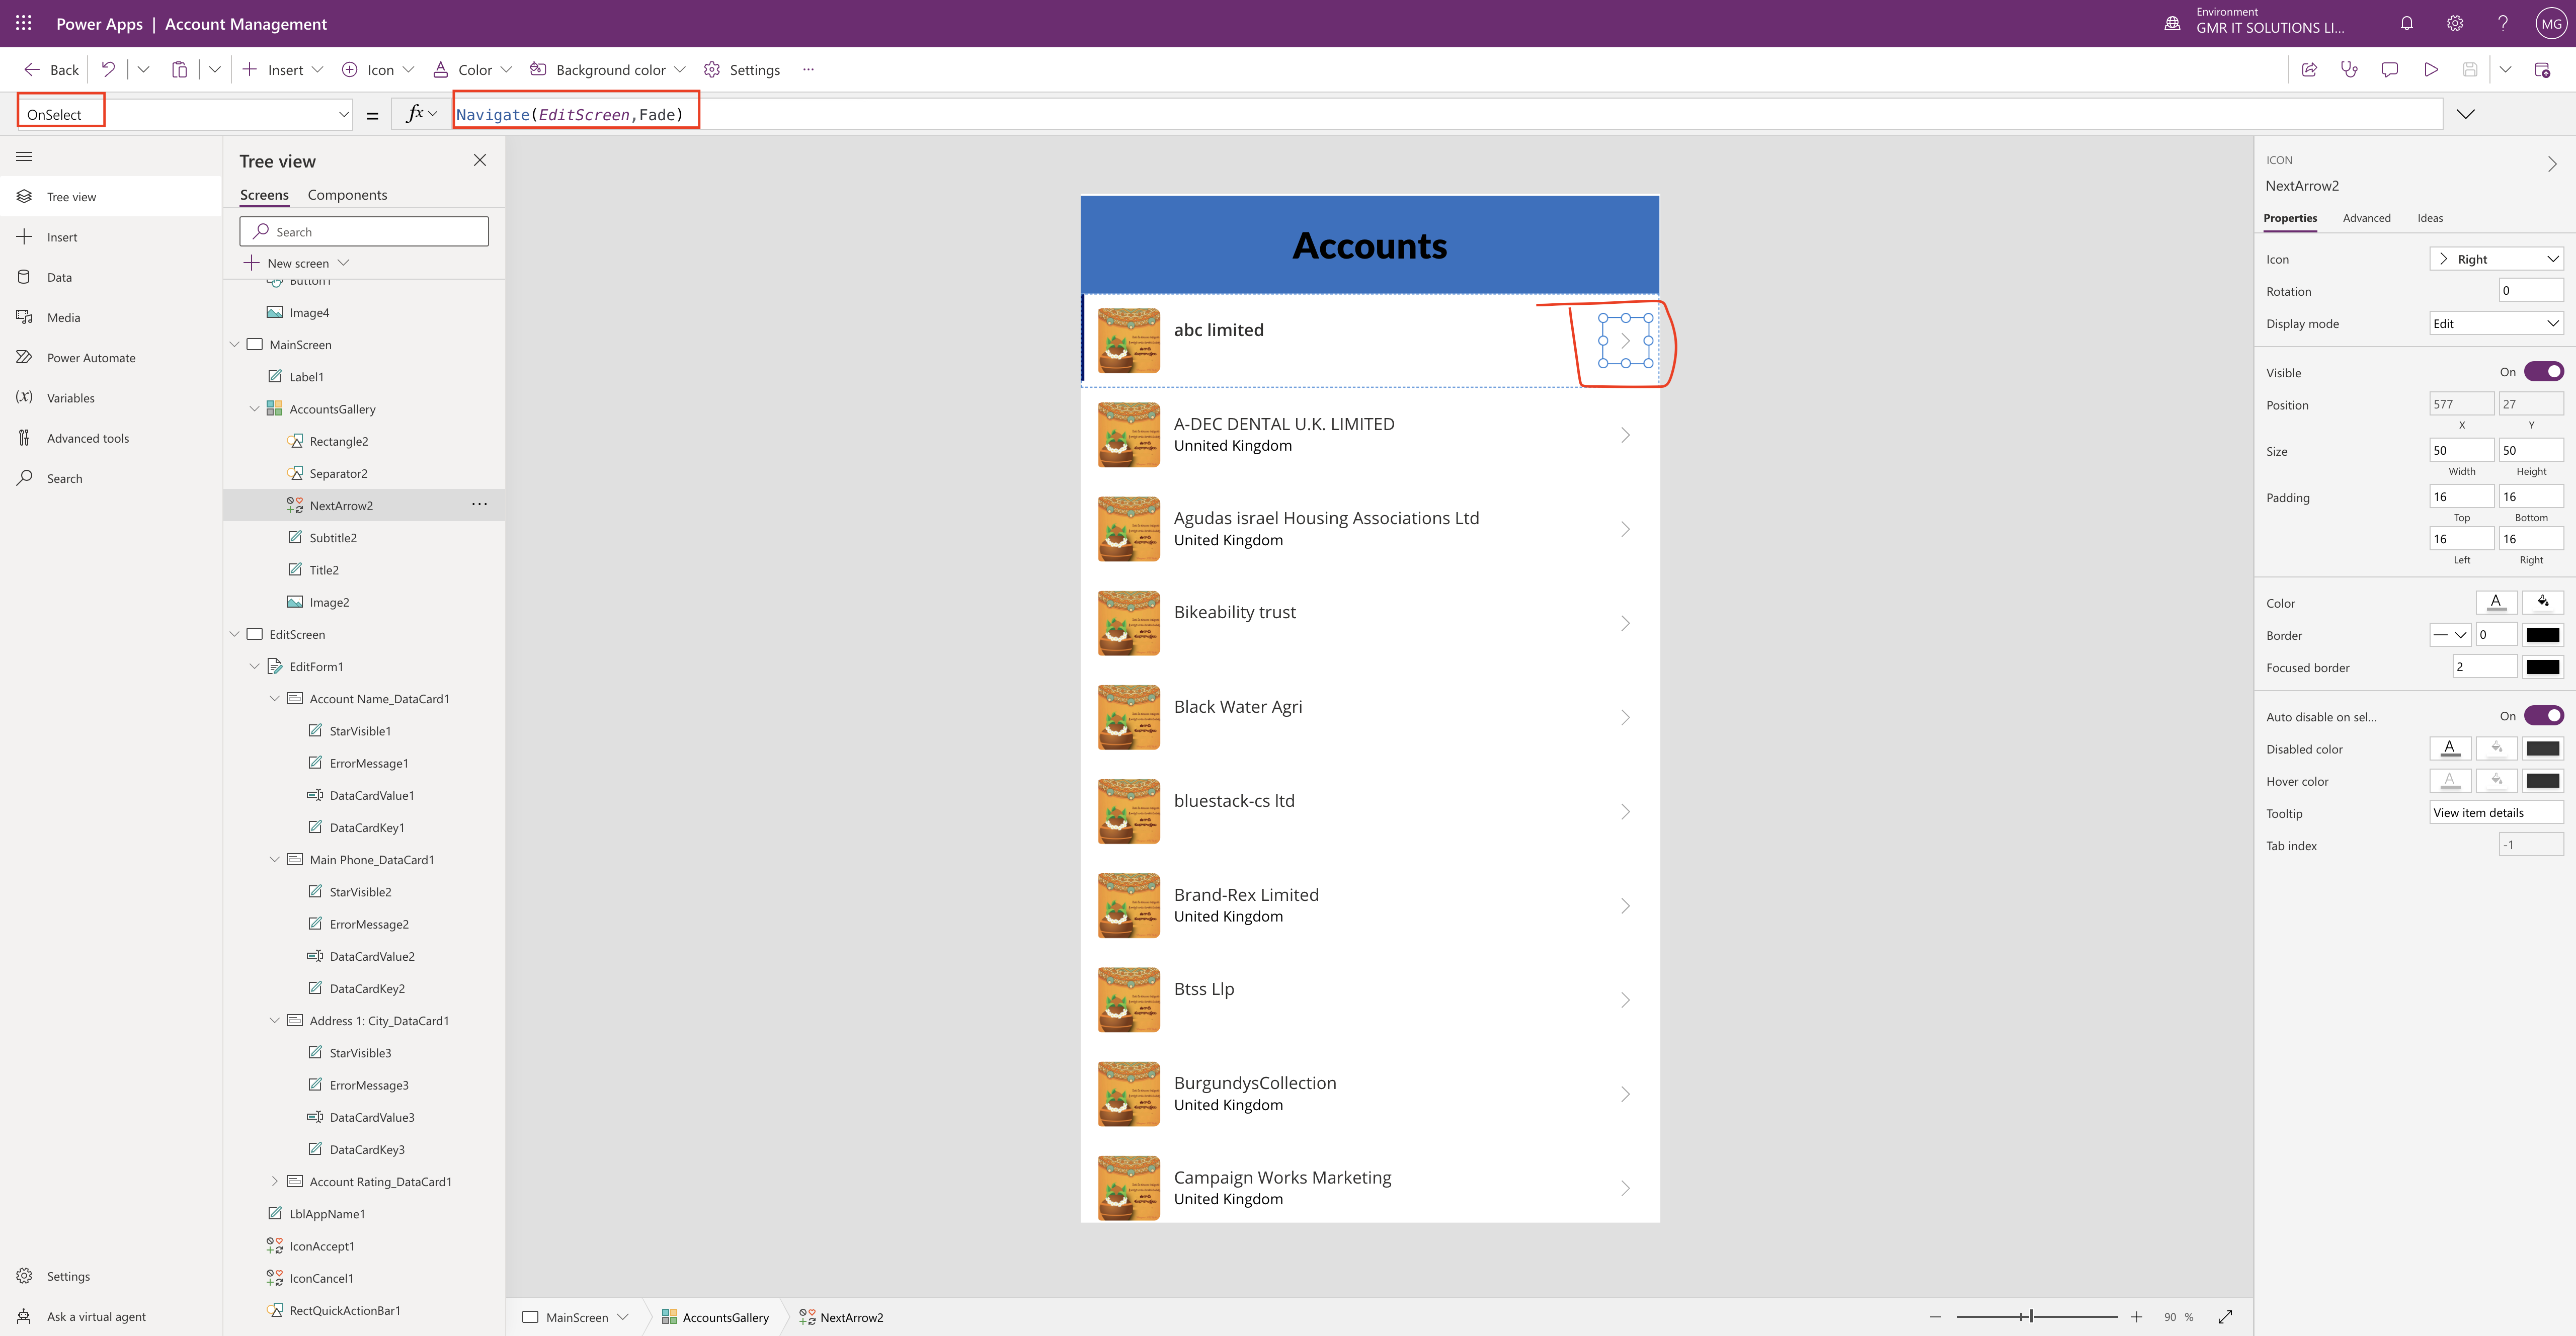
Now we have Edit Screen and then we need a connection from Main Screen to Edit Screen.

How do we do that:

select the chevron and on Power Fx Bar OnSelect = Navigate(EditScreen,ScreenTransition.Fade)

Then it will be navigated to the Edit Screen.

Now lets see in action, play Select ” Home Screen” and Click on PLAY Button, you will land on HOME SCREEN and click on the START and it will navigate to Main Screen and when you select any account it will navigate to Edit Screen.

I hope this helps.

Malla Reddy(@UK365GUY)
#365BlogPostsin365Days

Share this:

How to document Power apps Canvas App and Power Auttomate Flow Solution with PowerDocu UI Tool

Hello Everyone,

Today i am going to share a tool which we can provide technical documentation for Power apps canvas apps and Power Automate Flows with the Powerdocu UI.

Let’s gets started.

Have you ever heard of POWERDOCU UI TOOL ?

Suppose you have a requirement to document what is inside the Power Apps and also in Flow Solutions, then you can use this PowerDocu tool for documenting how the power apps canvas app or Flow works. to ensure that any specific configuration in it is kept somewhere else as well, or for other reasons.

PowerDocu contains a Windows GUI executable to easily perform technical documentation.

Powerdocu UI Tool is developed by MVP @ReneModery

Kudo to him and many many thanks for saving number of hours documentation.

Download from the Github

PowerDocu provides technical documentation automatic generation documentation based on
a provided exported Flow package, or an exported Power Apps Canvas App, or an exported Solution package.

The documentation can be generated as a Word document or Markdown format(as an example to host in Github or Azure DevOps).

Open the PowerDocu tool and select the file solution and within fraction of seconds the documentation can be created at the same location as the file selected.

Similarly you can document for the Flow Solution or exported solution package.

For more information about the tools click here

That’s it for today.

I hope this helps.
Malla Reddy(@UK365GUY)
#365BlogPostsin365Days

Share this: