Menu Close

Tag: #Dynamics365blog

How to switch to new Org Chart from old version on Dynamics 365 Model Driven App

Hello Everyone,

Today i am going to share how to switch to New Org chart will fully replace the old version.

Let’s get’s started.

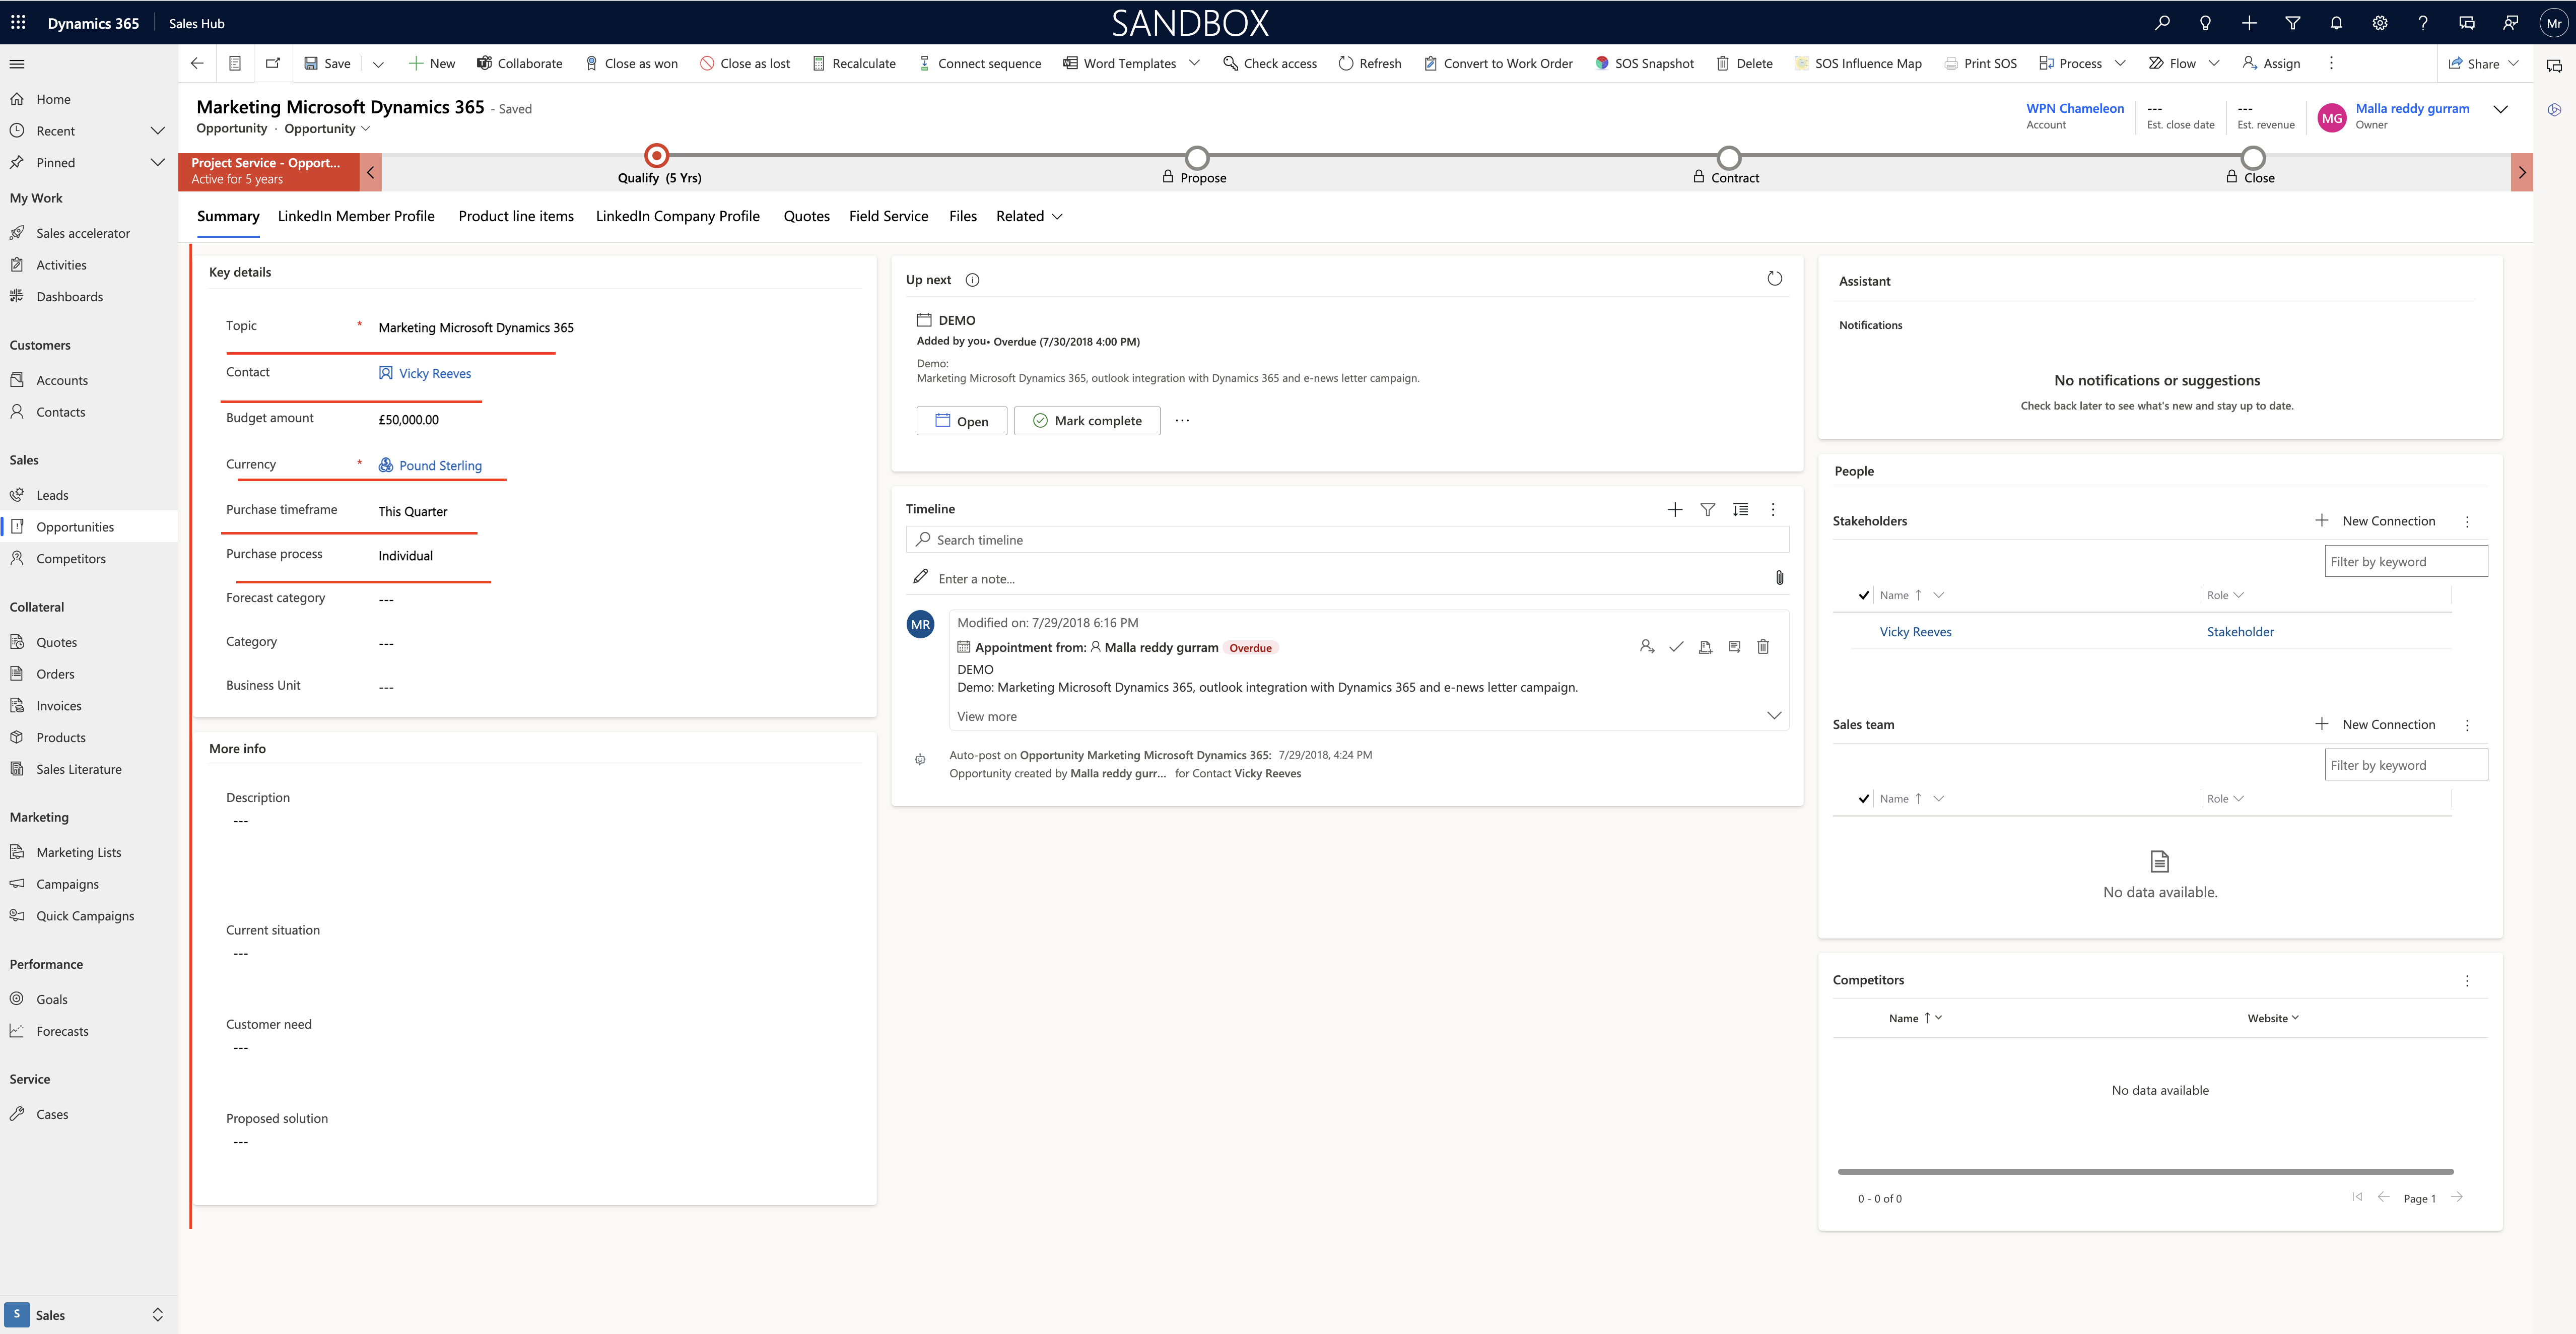
Login into Dynamics 365 Sales

New Org Chart:

Help sellers gain a deeper understanding of account hierarchies and contact influence levels within an account.

Org Chart help you visualize the hierarchy and relationship between departments and roles in your customers organisations.

Note: Starting October 2023, the new org chart will fully replace the old version: Features includes:

Improved Experience: Now access the org chart from contacts form as well. All the contacts associated with the account will be pre-loaded into a list on the left pane. Easily drag and drop from the list to build your org chart.

Add more information: Define contact’s influence level by adding labels or by setting them as assistants.Keep track of important information by veiwing and adding seller notes.

Do more by upgrading your license: Understand the relationship health with your contacts at a glance and stay connected to them through the LinkedIn Integration.

Contact labels:

Now you can create custom labels or modify existing ones and define the label colours through the link below.

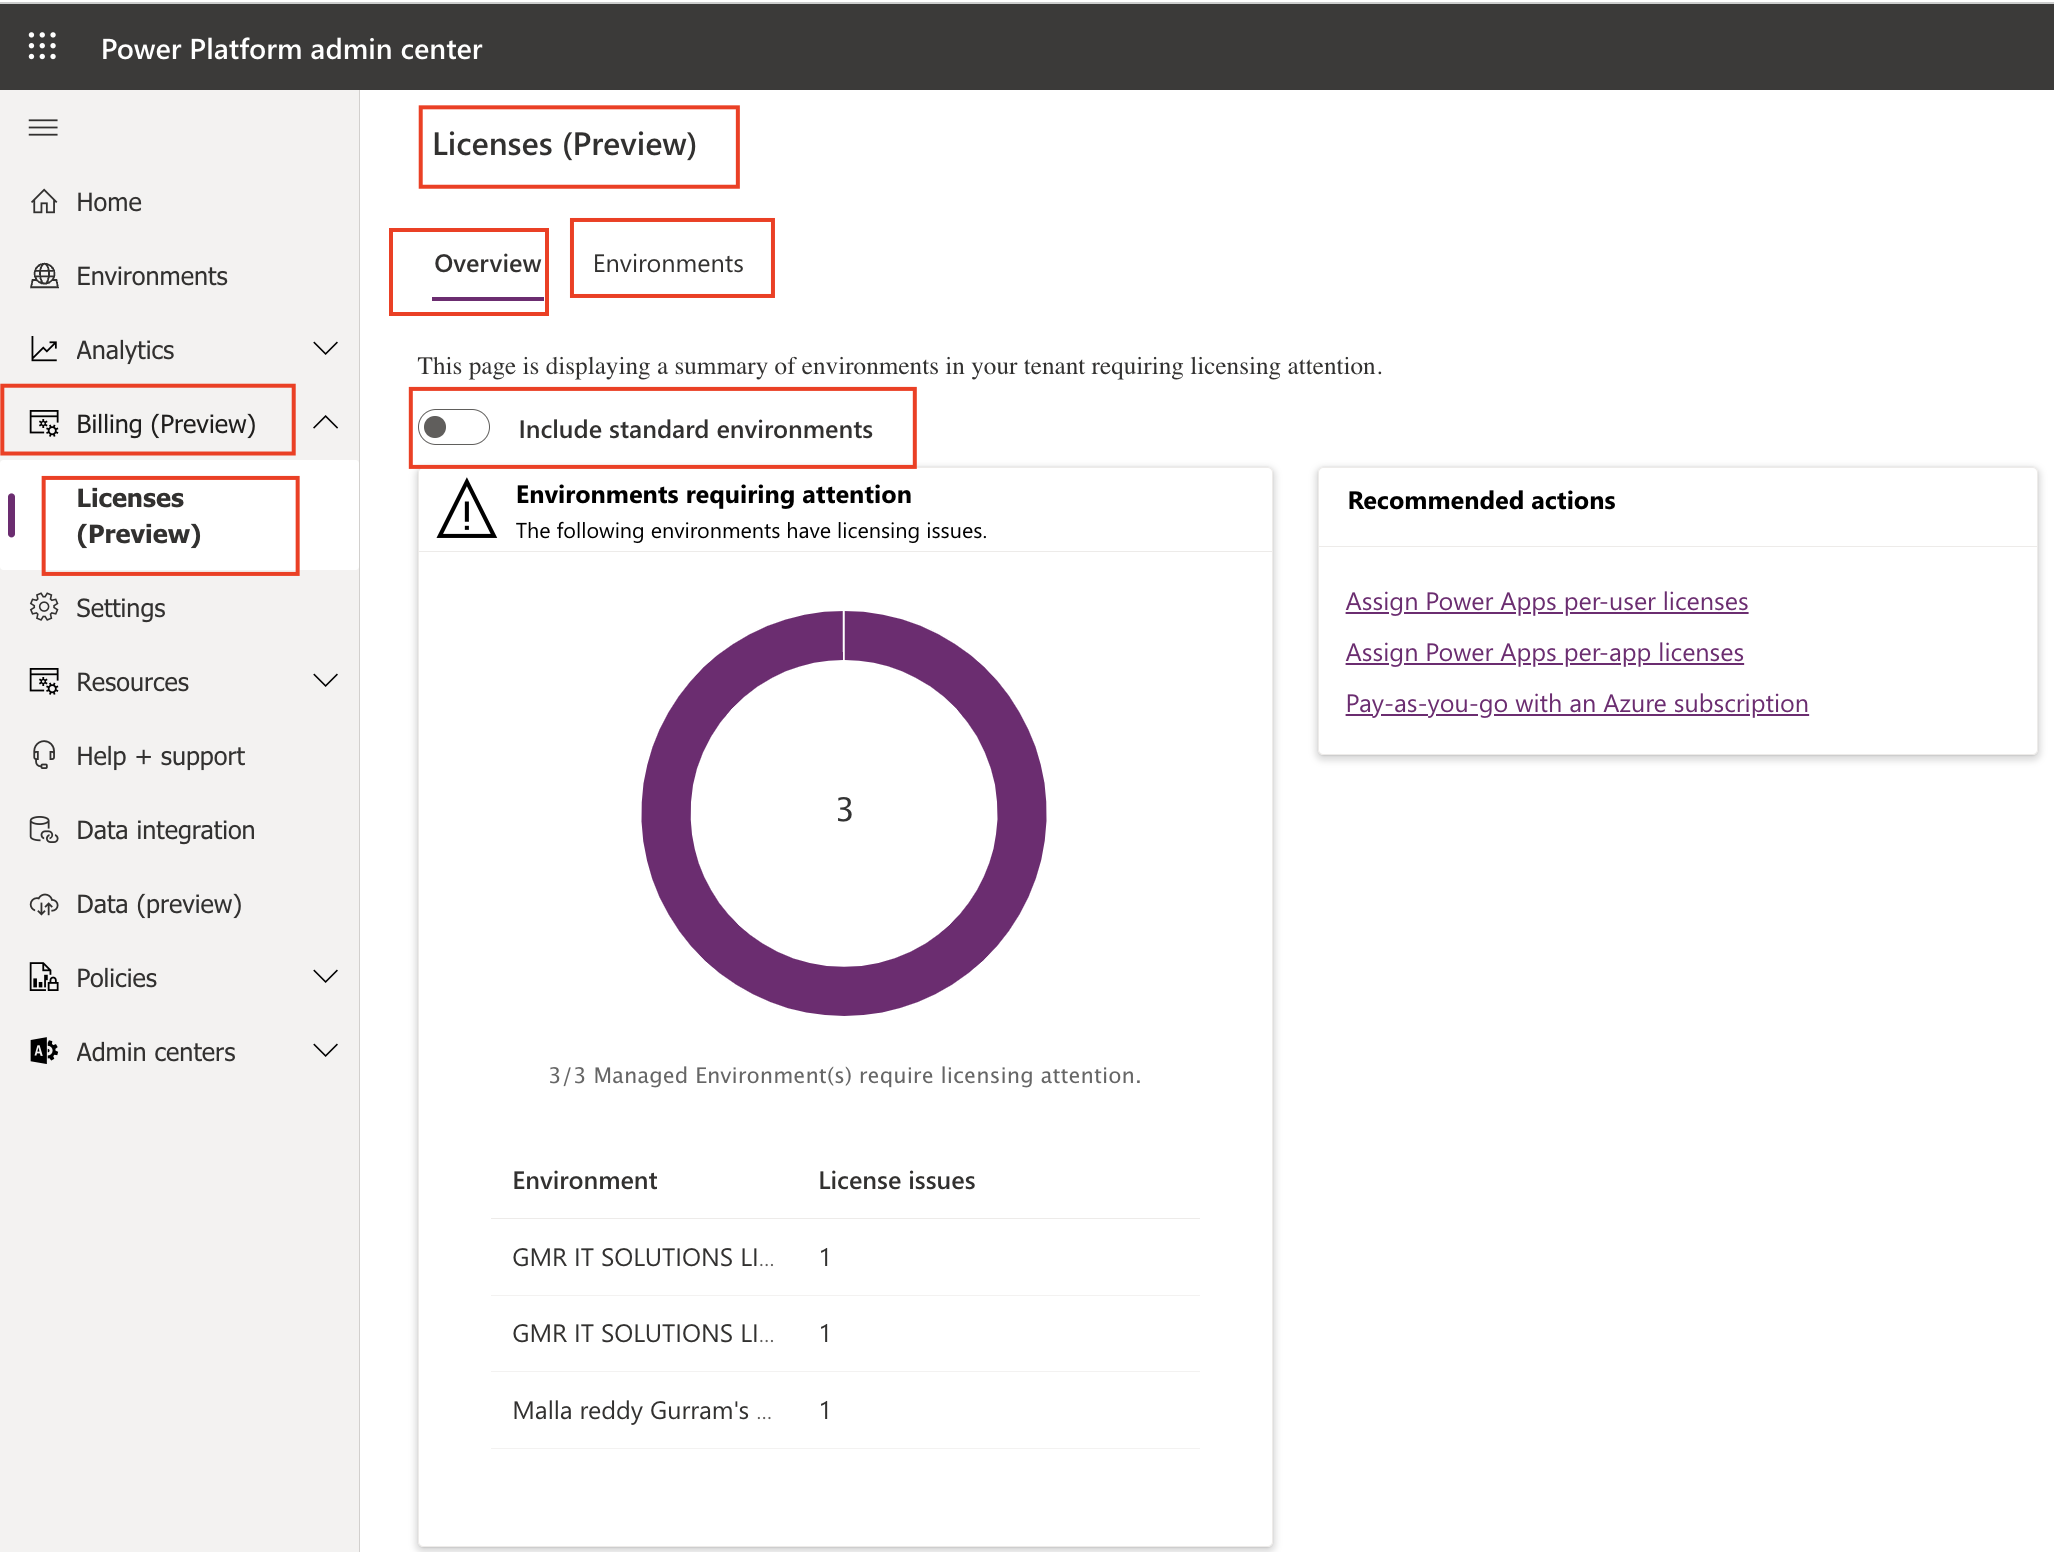
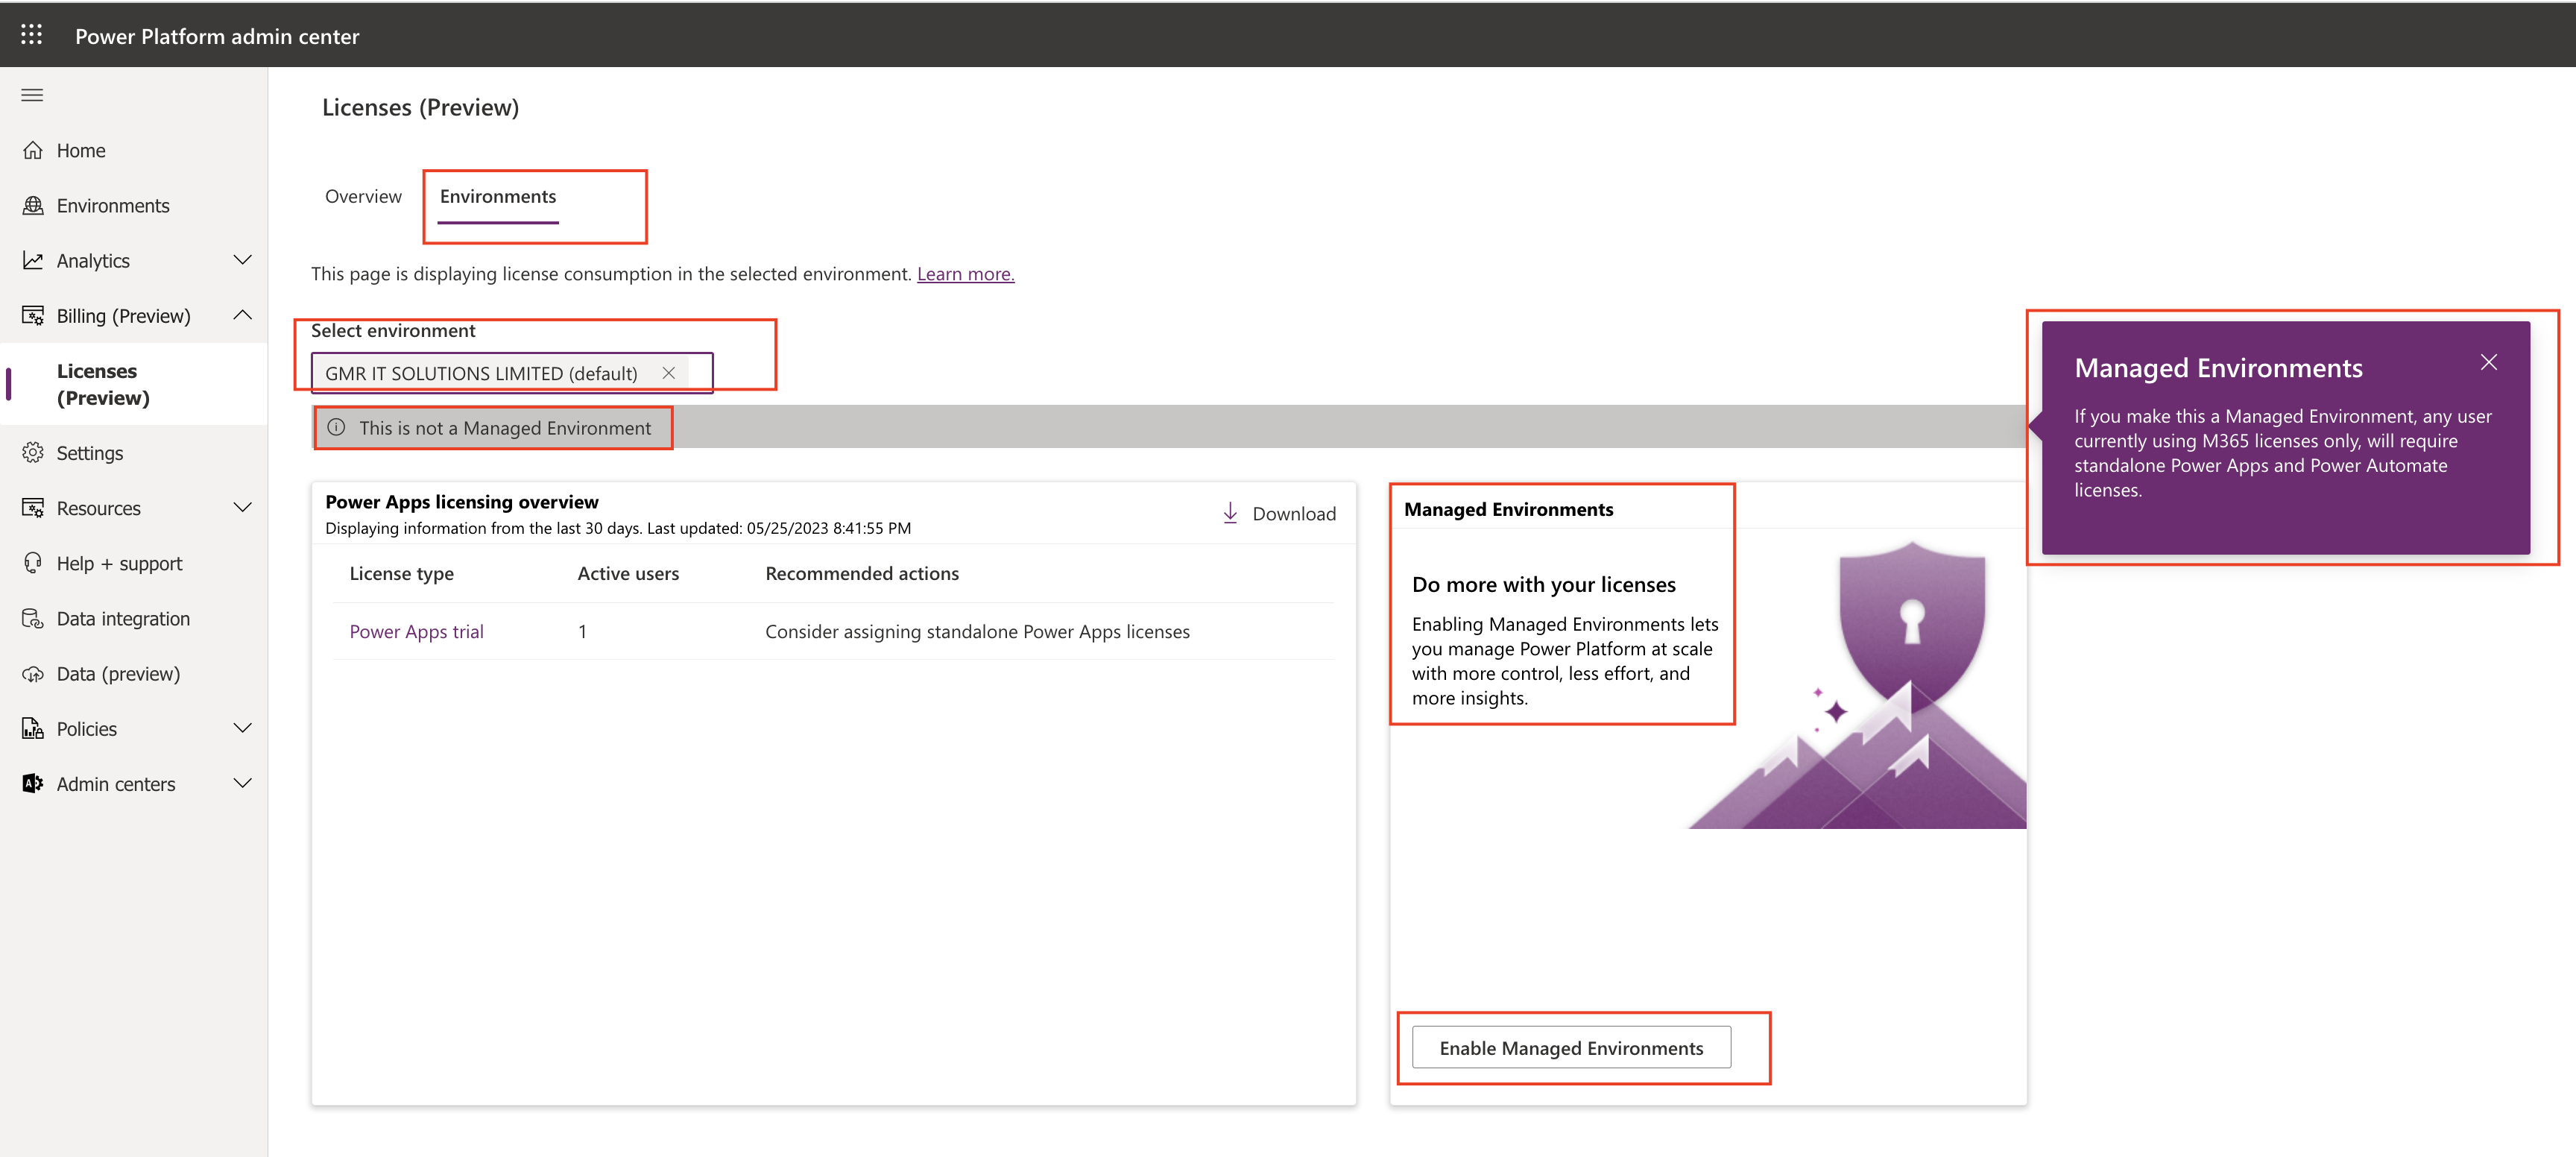
1.System administrator or similar role users can turn on org chart feature for sales managers and sellers in your organization.

2. If you have a Sales Manager, Salesperson, or similar role, you can manage org charts and view org charts.

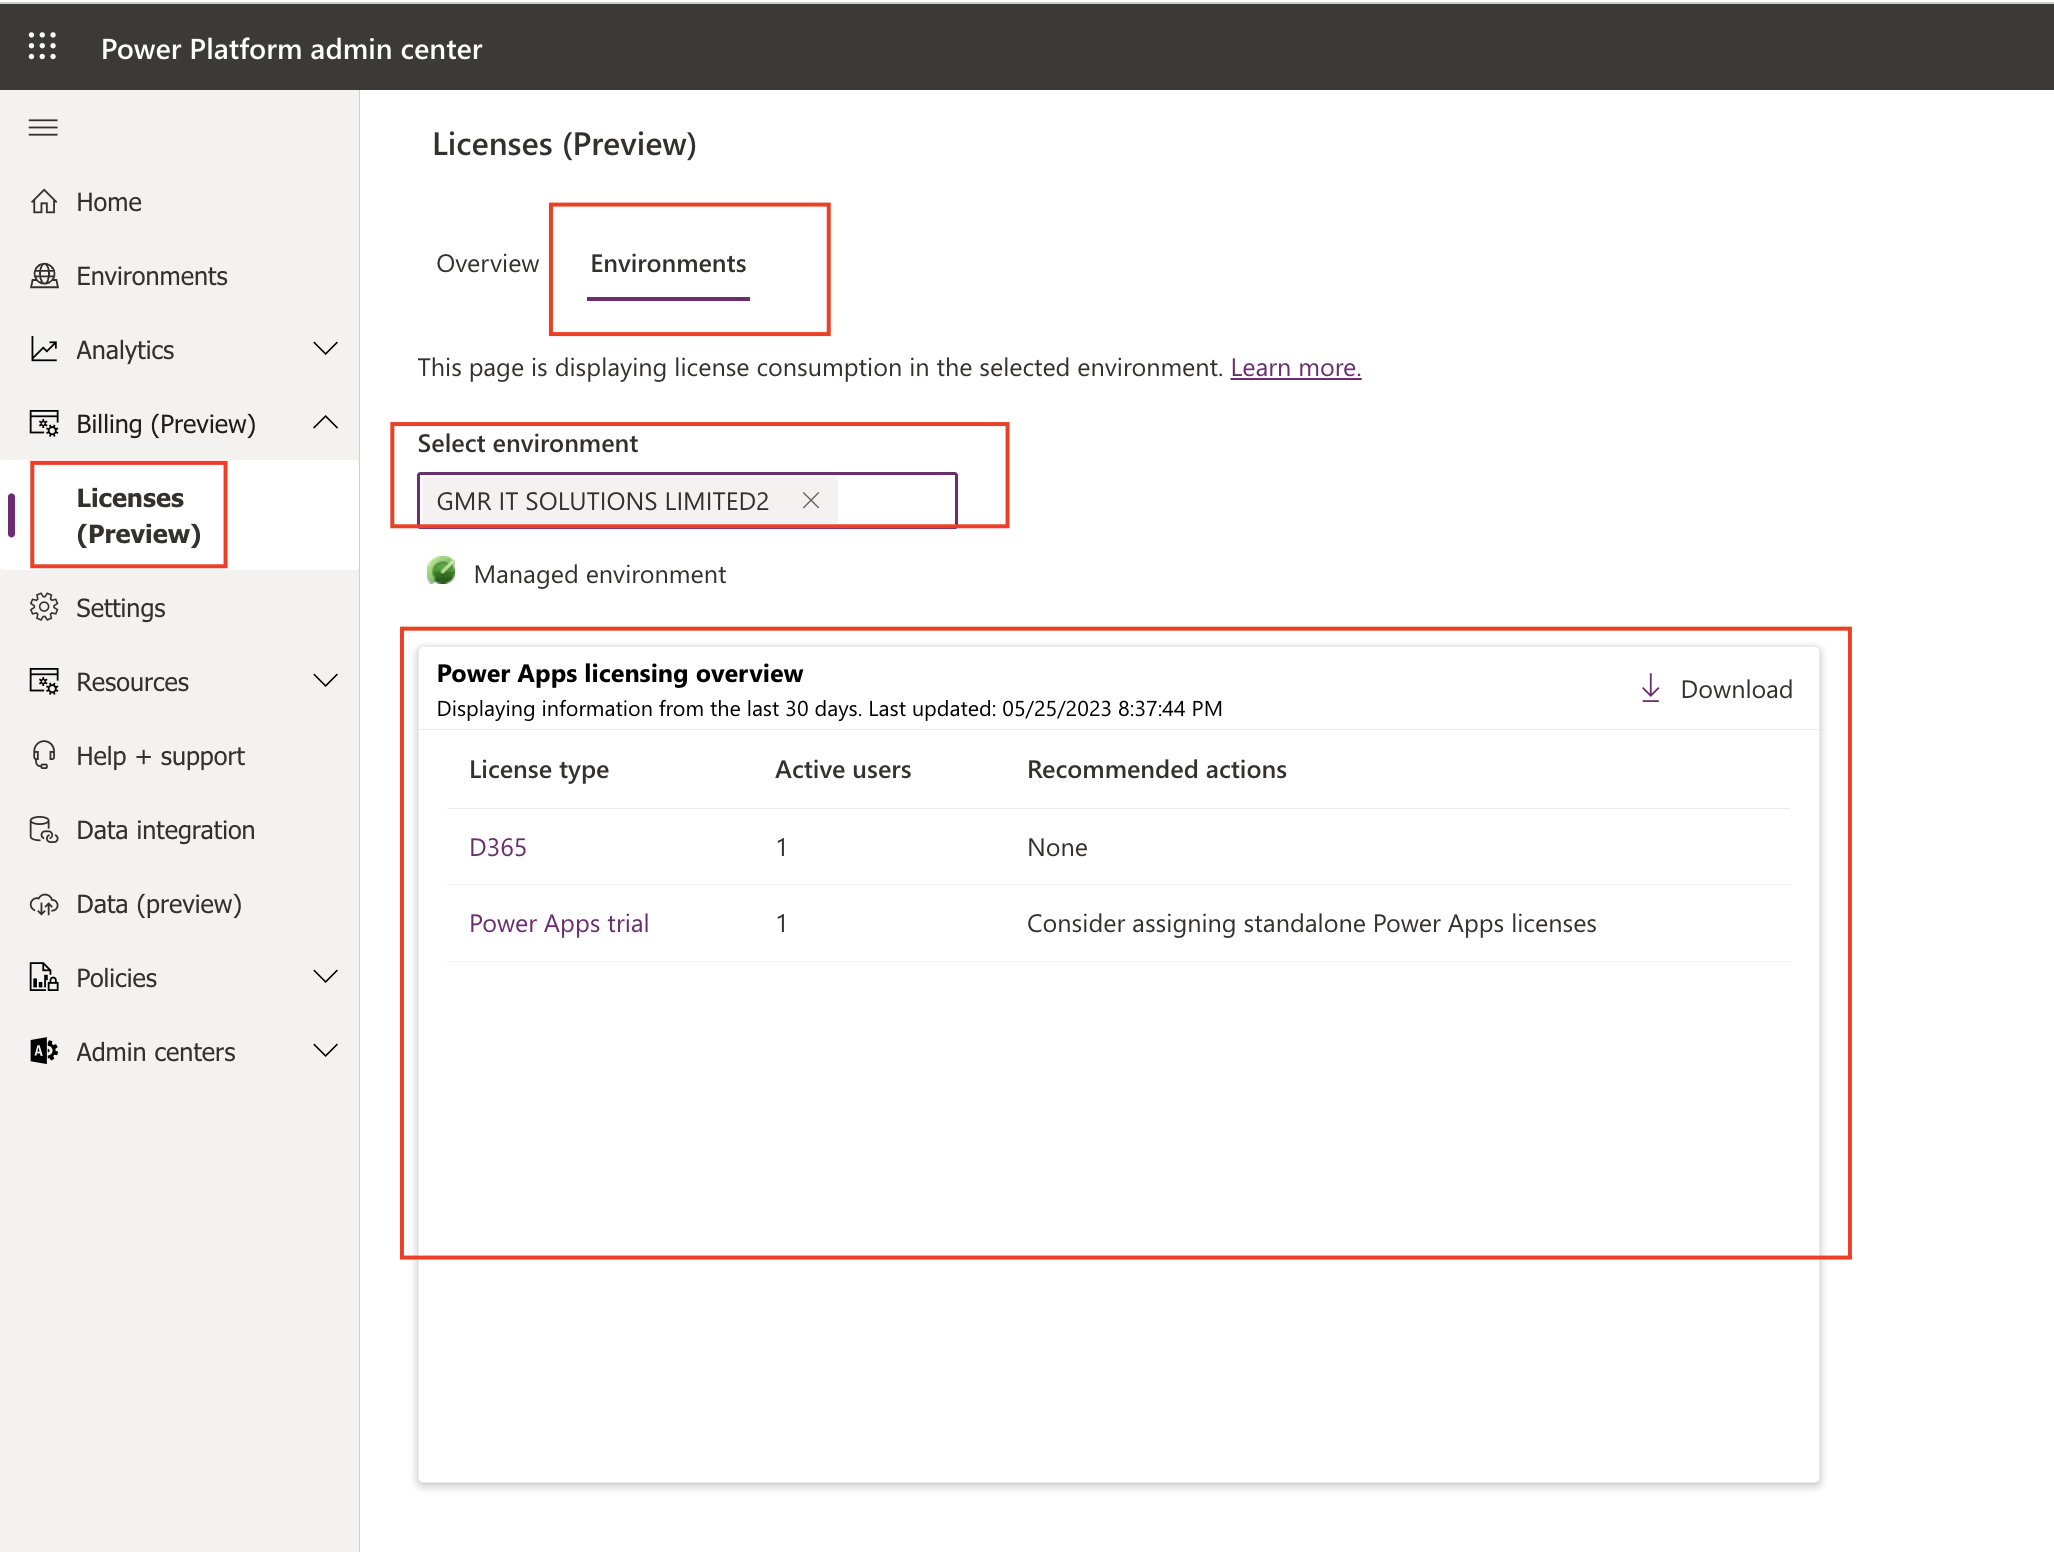
Permissons required:

Roles other than sales managers or salespersons should have permissions to custom entities.

Custom Entities – Microsoft Orgchart node entity – Organization – Create, Write, Read, and Delete

That’s it for today.

I hope this helps

Malla Reddy Gurram(@UK365GUY)
#365BlogPostsin365Days

Share this:

{How to} Using LevelUp View all record values on web browser on Dynamics 365 Model Driven App

Hello Everyone,

Today i am going to show how to see the all record values on a browser.

Let’s get’s started.

Suppose you need to see all records values in one view instead of scrolling through the record form.

Solution:

1. Open the record and click on the Level Up tool on the browser

2. Click on the “All Fields” then the new tab will be opened with all fields displayed(see below)

3. You can check the field values according to the requirements.

That’s it for today.

I hope this helps.
Malla Reddy Gurram(@UK365GUY)
#365BlogPostsin365Days

Share this:

{How to} clear Power Pages cache

Hello Everyone,

Today i am going to share how to quickly clear the cache on Power Pages.

Lets gets started.

Suppose you have made some changes related to portal configuration and the changes are not reflecting on the portal.

How to resolve this issue.. many might know it the solution but for my blog readers i am posting this blog.

URL: Your Power Pages name.Microsoftportals.com/_services/about

Then you can clear the cache by clicking on the “CLEAR CACHE”

Thats it for today.

I hope this helps
Malla Reddy(@UK365GUY)
#365BlogPostsin365Days

Share this:

Billing Preview on Power Platform Admin Center

Hello Everyone,

Today i am going to share new preview feature related to billing – Licenses Preview.

To see the new feature:

Login into Power Platform Admin Center

Click on Billing(Preview) and Licenses(Preview) will be displayed underneath the billing.

The page is displaying a summary of environments in your tenant requiring licensing attention.

Then the Licenses(Preview) will be displayed, there will be toggle button which is “Include standard environments”

Whats that mean is the environments which have licenses will be called as standard environments and rest of them like the trial and community environment not considered as standard environments.

From the above screenshot it says 3 licenses there for these environments.

When you click on “Environments” Tab

The page will be displaying license consumption in the selected environment

Select the environment

I have chosen: GMR IT SOLUTIONS LIMITED2 – SANDBOX

It is displaying the Power Apps licensing overview of the License types like D365, Power Apps Trial.

It will also display whether it is managed environment or not.

If you select the default environment :

It will show whether it is a managed environment if not you can enable managed environments.

Managed Environments: If you make this a Managed Environment, any user currently using M365 Licenses only, will require standalone Power Apps and Power Automate licenses.

For more information click here

Thats it for today.

I hope this helps
Malla Reddy(@UK365GUY)
#365BlogPostsin365Days

Share this:

Hide system view settings from Power Platform Admin Center for Model Driven Apps Dynamics 365

Hello Everyone,

Today i am going to share how to hide system view settings from Power Platform Settings.

Let’s get’s started.

Previously users don’t have capability of hiding system views on model driven apps.

Microsoft provided this feature from Power Platform Admin Center.

Login into Power Platform Admin Center

Select the environment and click on settings.

Then Advanced Find Options:

Modern advanced find in model -driven apps – Lets users to create, manage and search views inside model driven apps.

When modern advanced find in model driven apps is turned “on”, legacy advanced find will be replaced with a modern experience with enhanced view management capabilities.

Similarly to allow users to hide system views TURN ON – refer to above screenshot to see how it works.

Lets see how to hide the system views:

lets say a user logged in to Dynamics 365 Sales App and click contacts record

Then click on the My Active Contacts chevron and you will see all system and custom views and then click on the Manage and share views

You will see new window called ” manage and share views: Contacts and Click on ” Filter Views” refer to above screen shot.

From the above screen shot make changes to View type = System, Hidden = Yes, then close the window, so all system views can be hidden from view.

On the previous window the hide button will appear and you can select the individual system view you want to hide, by selecting the hide button and apply

Finally you can check the view is whether it is hidden or not.

Go to ” My Active Contacts” view and check the “Selected Contacts Campaigns” view is hidden.

Thats it settings works.

I hope this helps.
Malla Reddy(@UK365GUY)
#365BlogPostsin365Days

Share this: