Hello Everyone,
Today i am going to show how to create a canvas app with Header, main section and footer more quickly.
Part 10 Series.
Lets gets started.
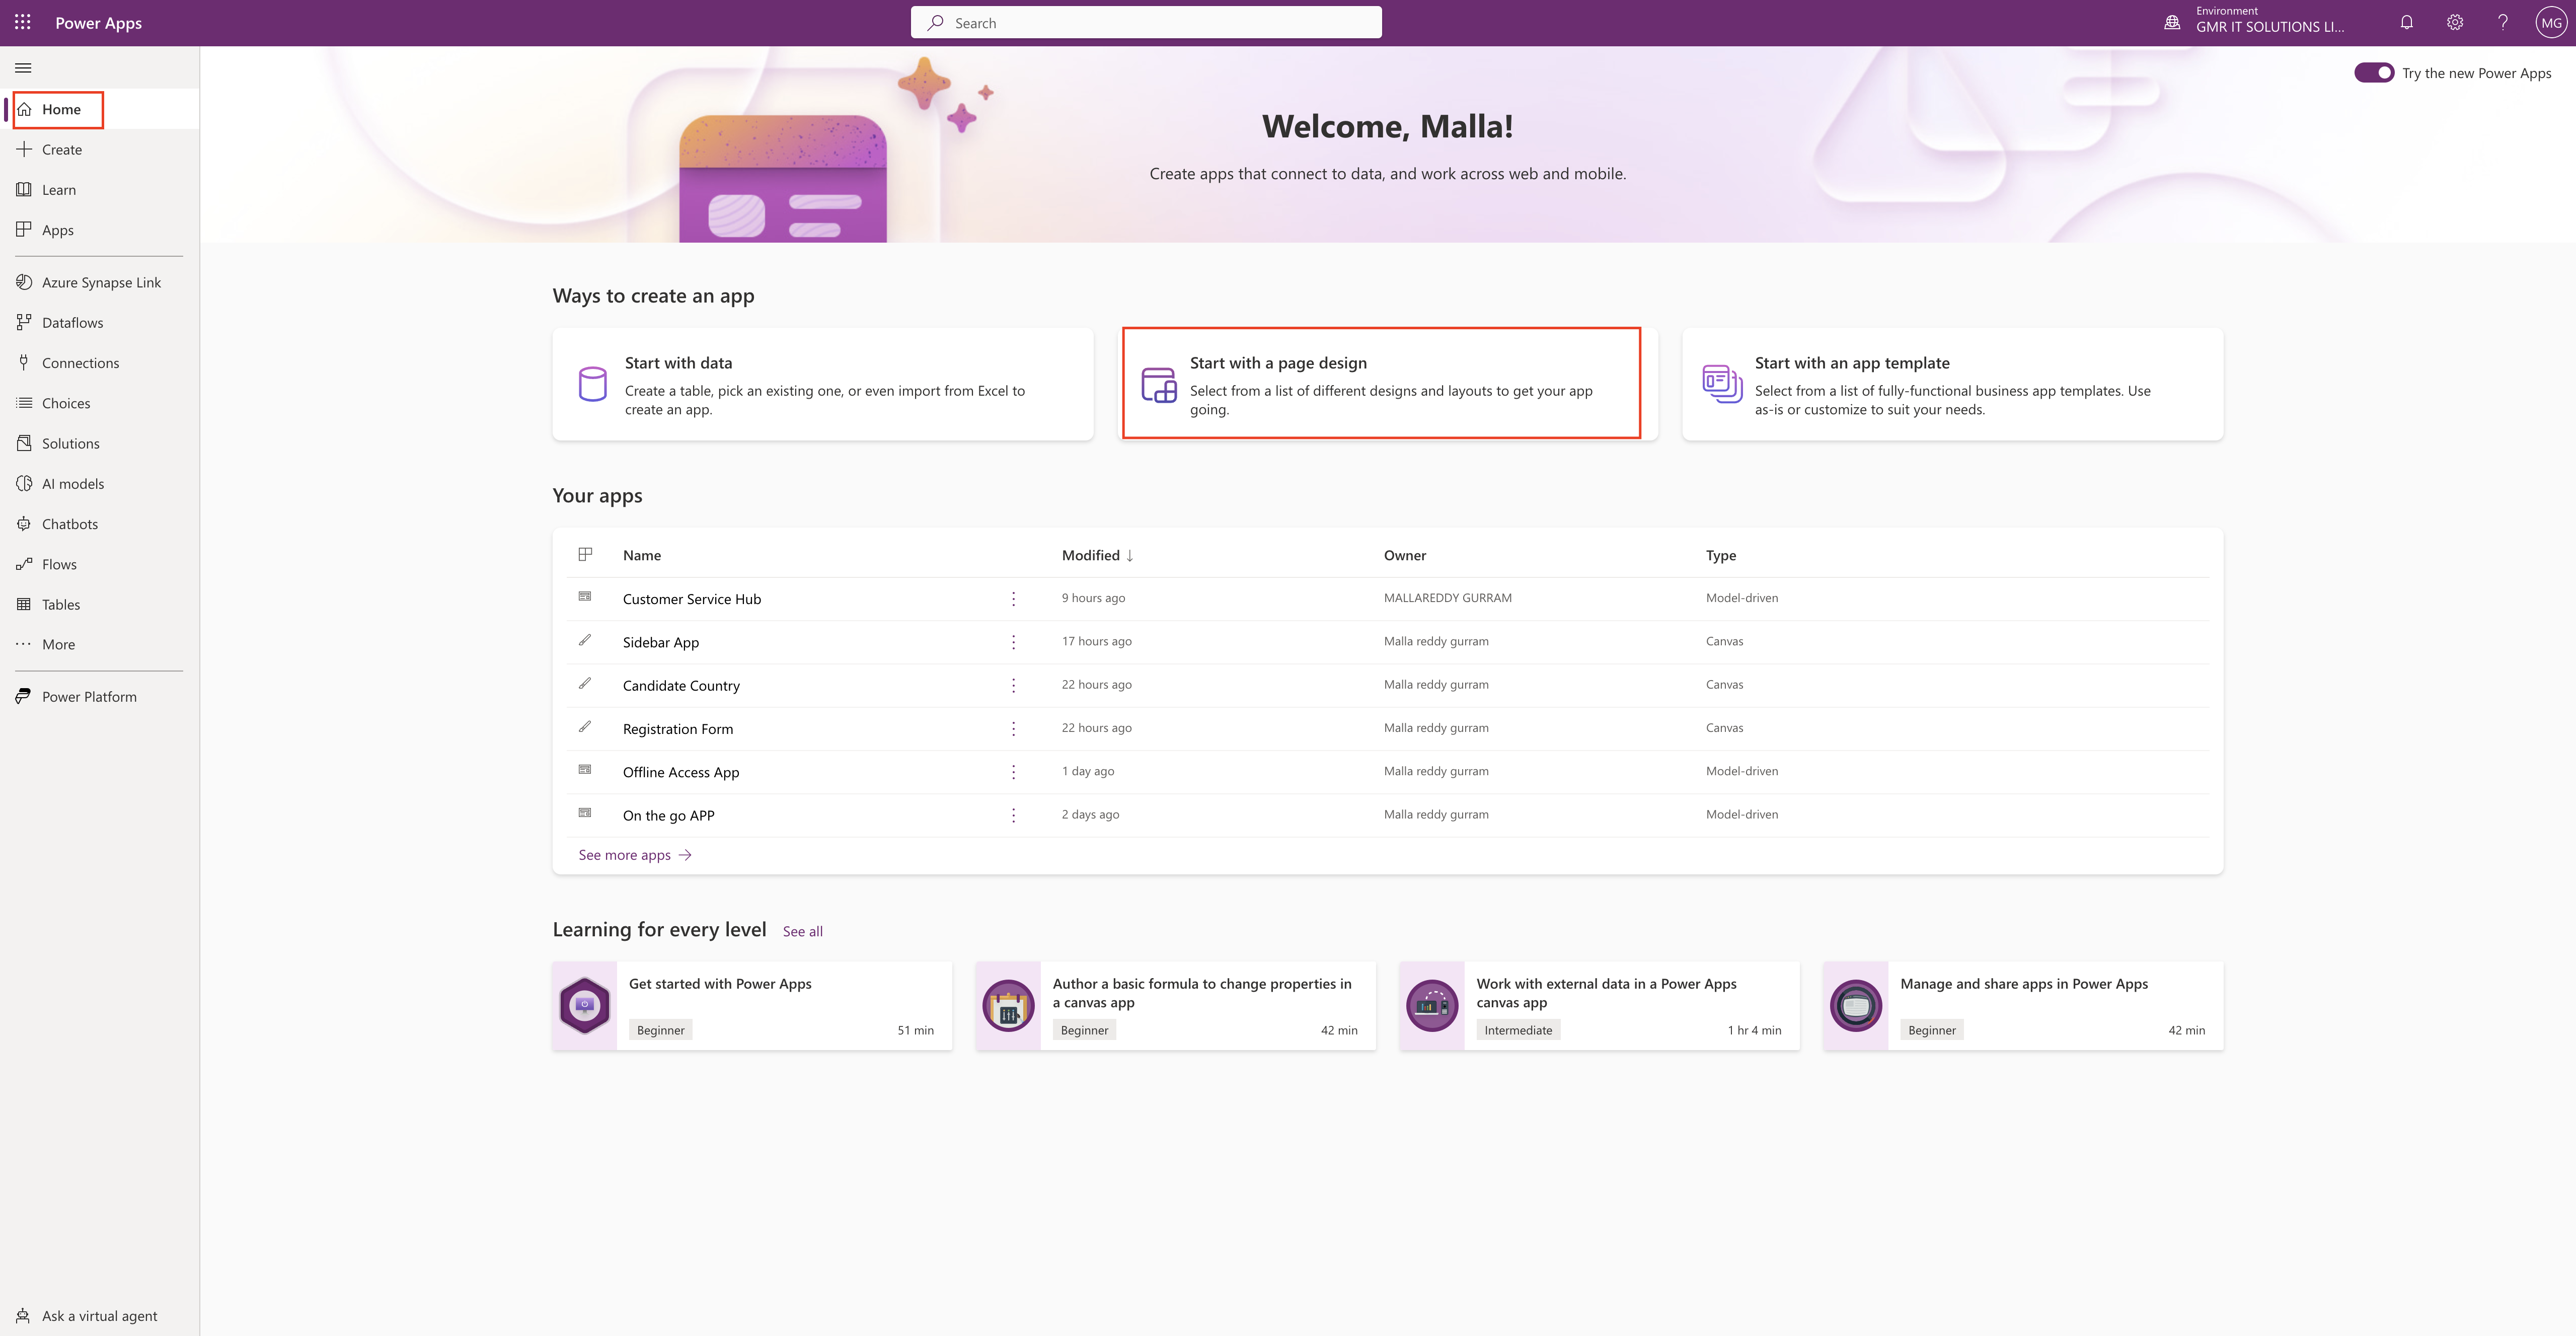
Login into www.make.powerapps.com
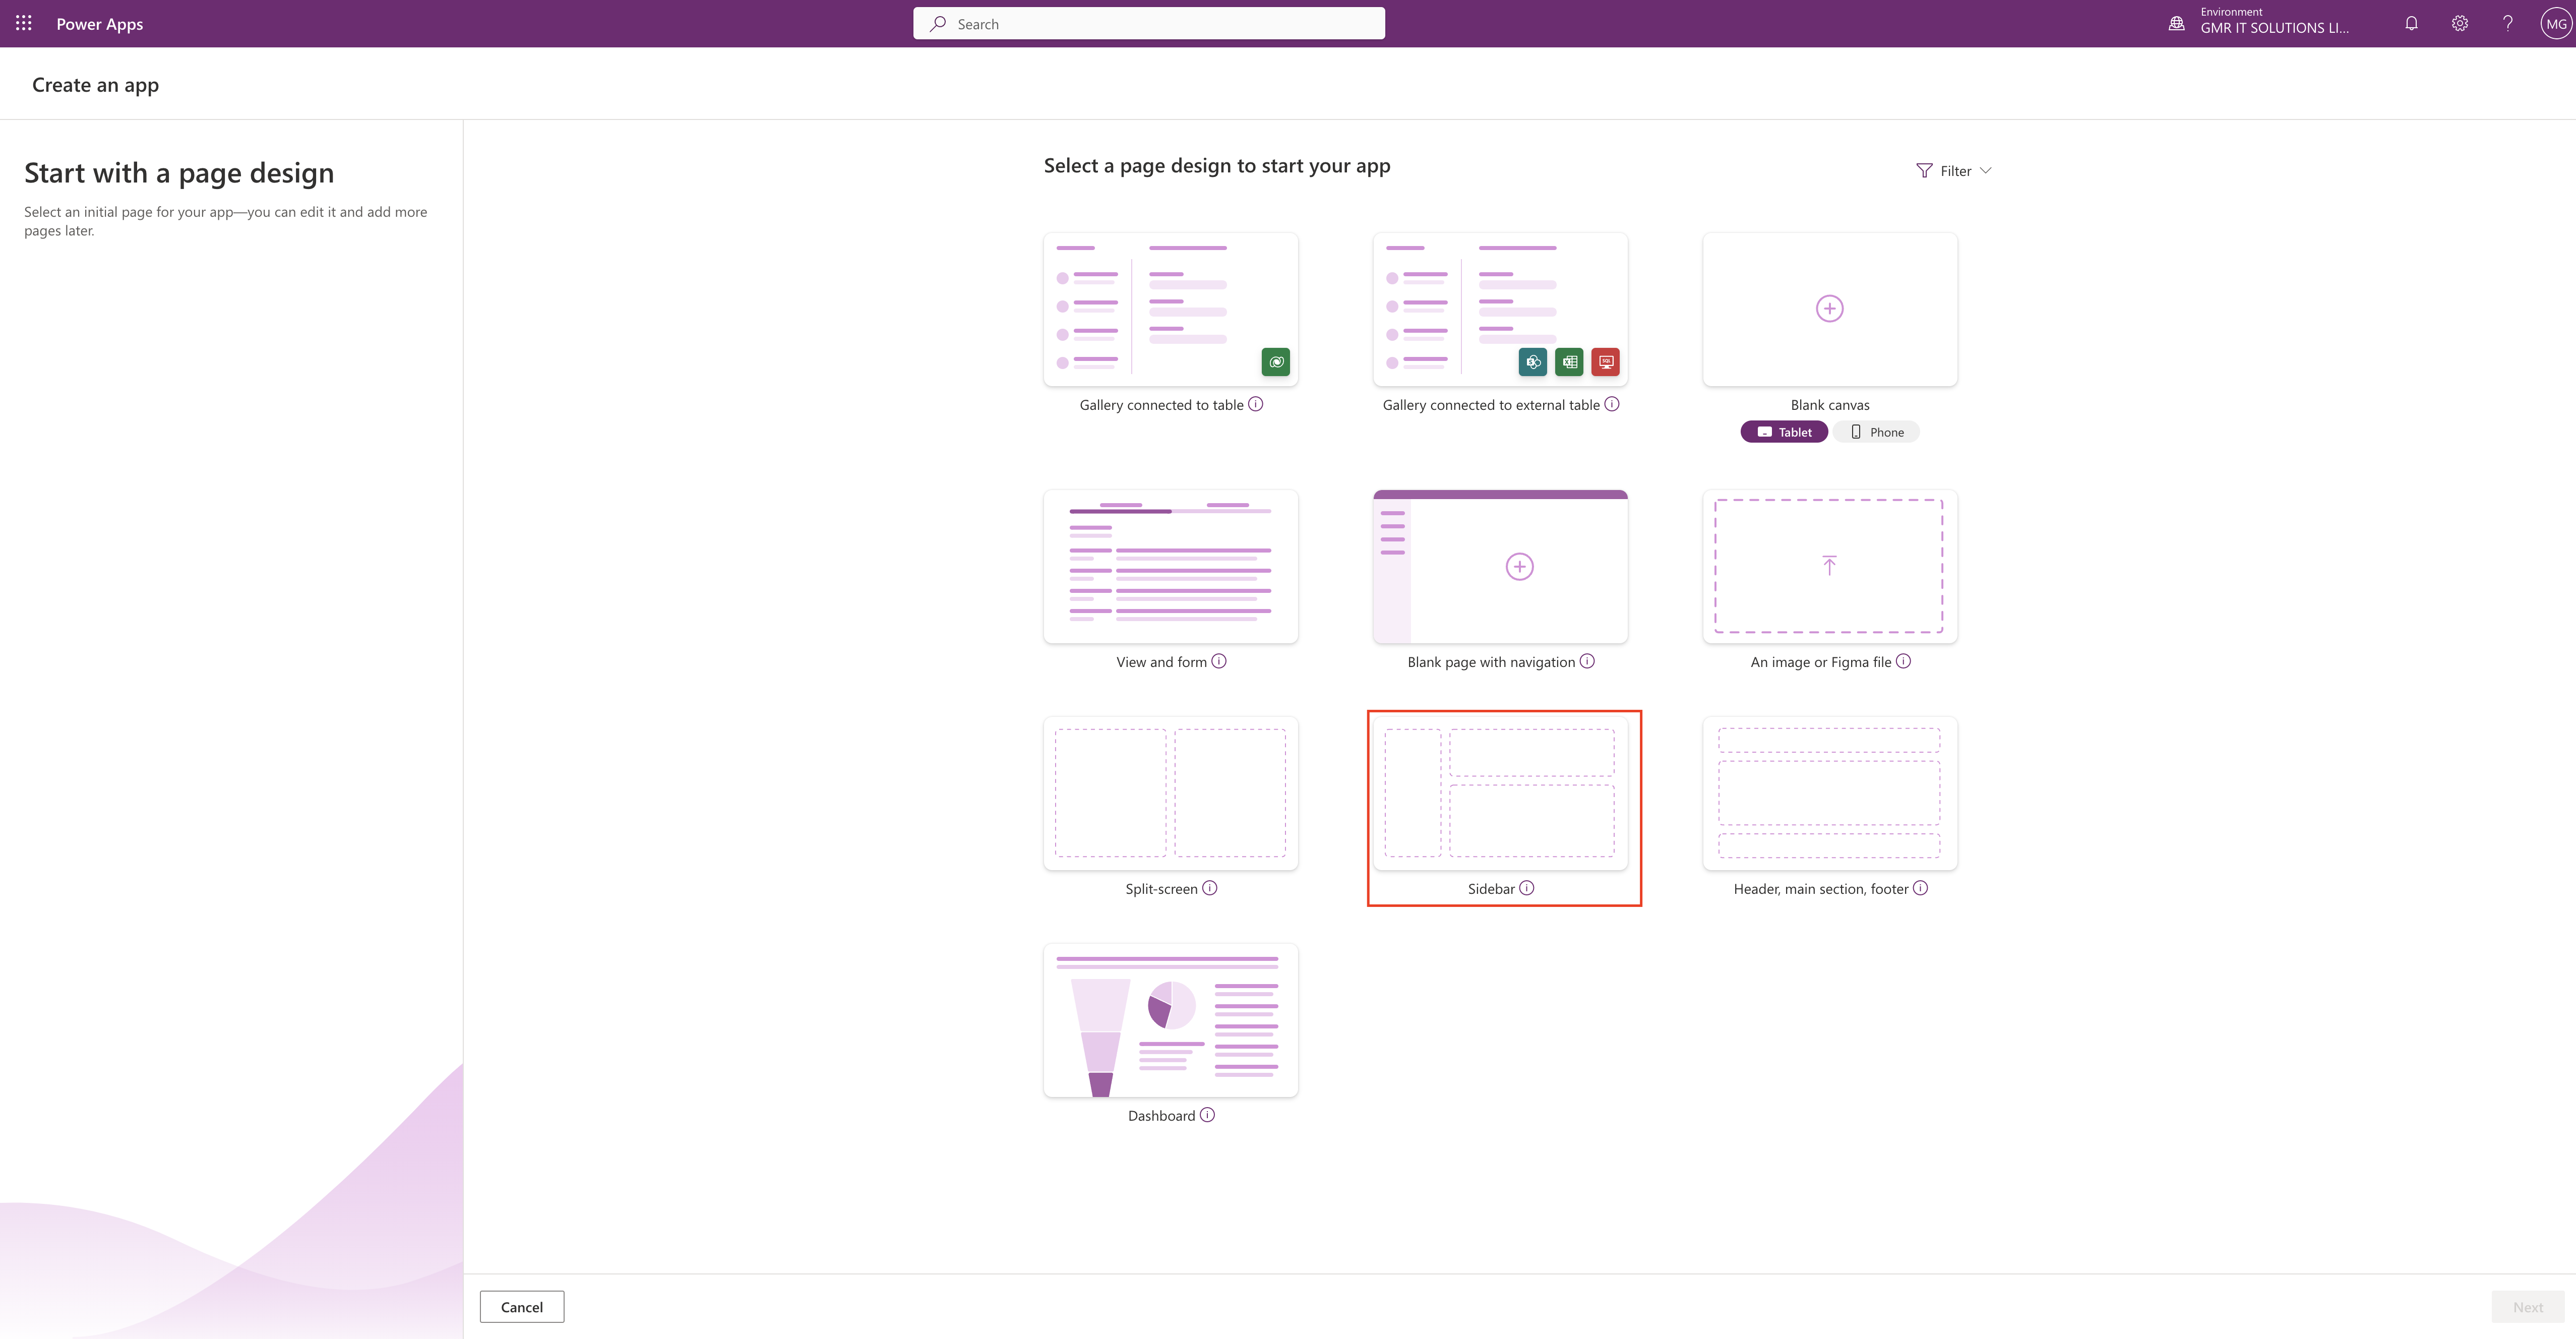
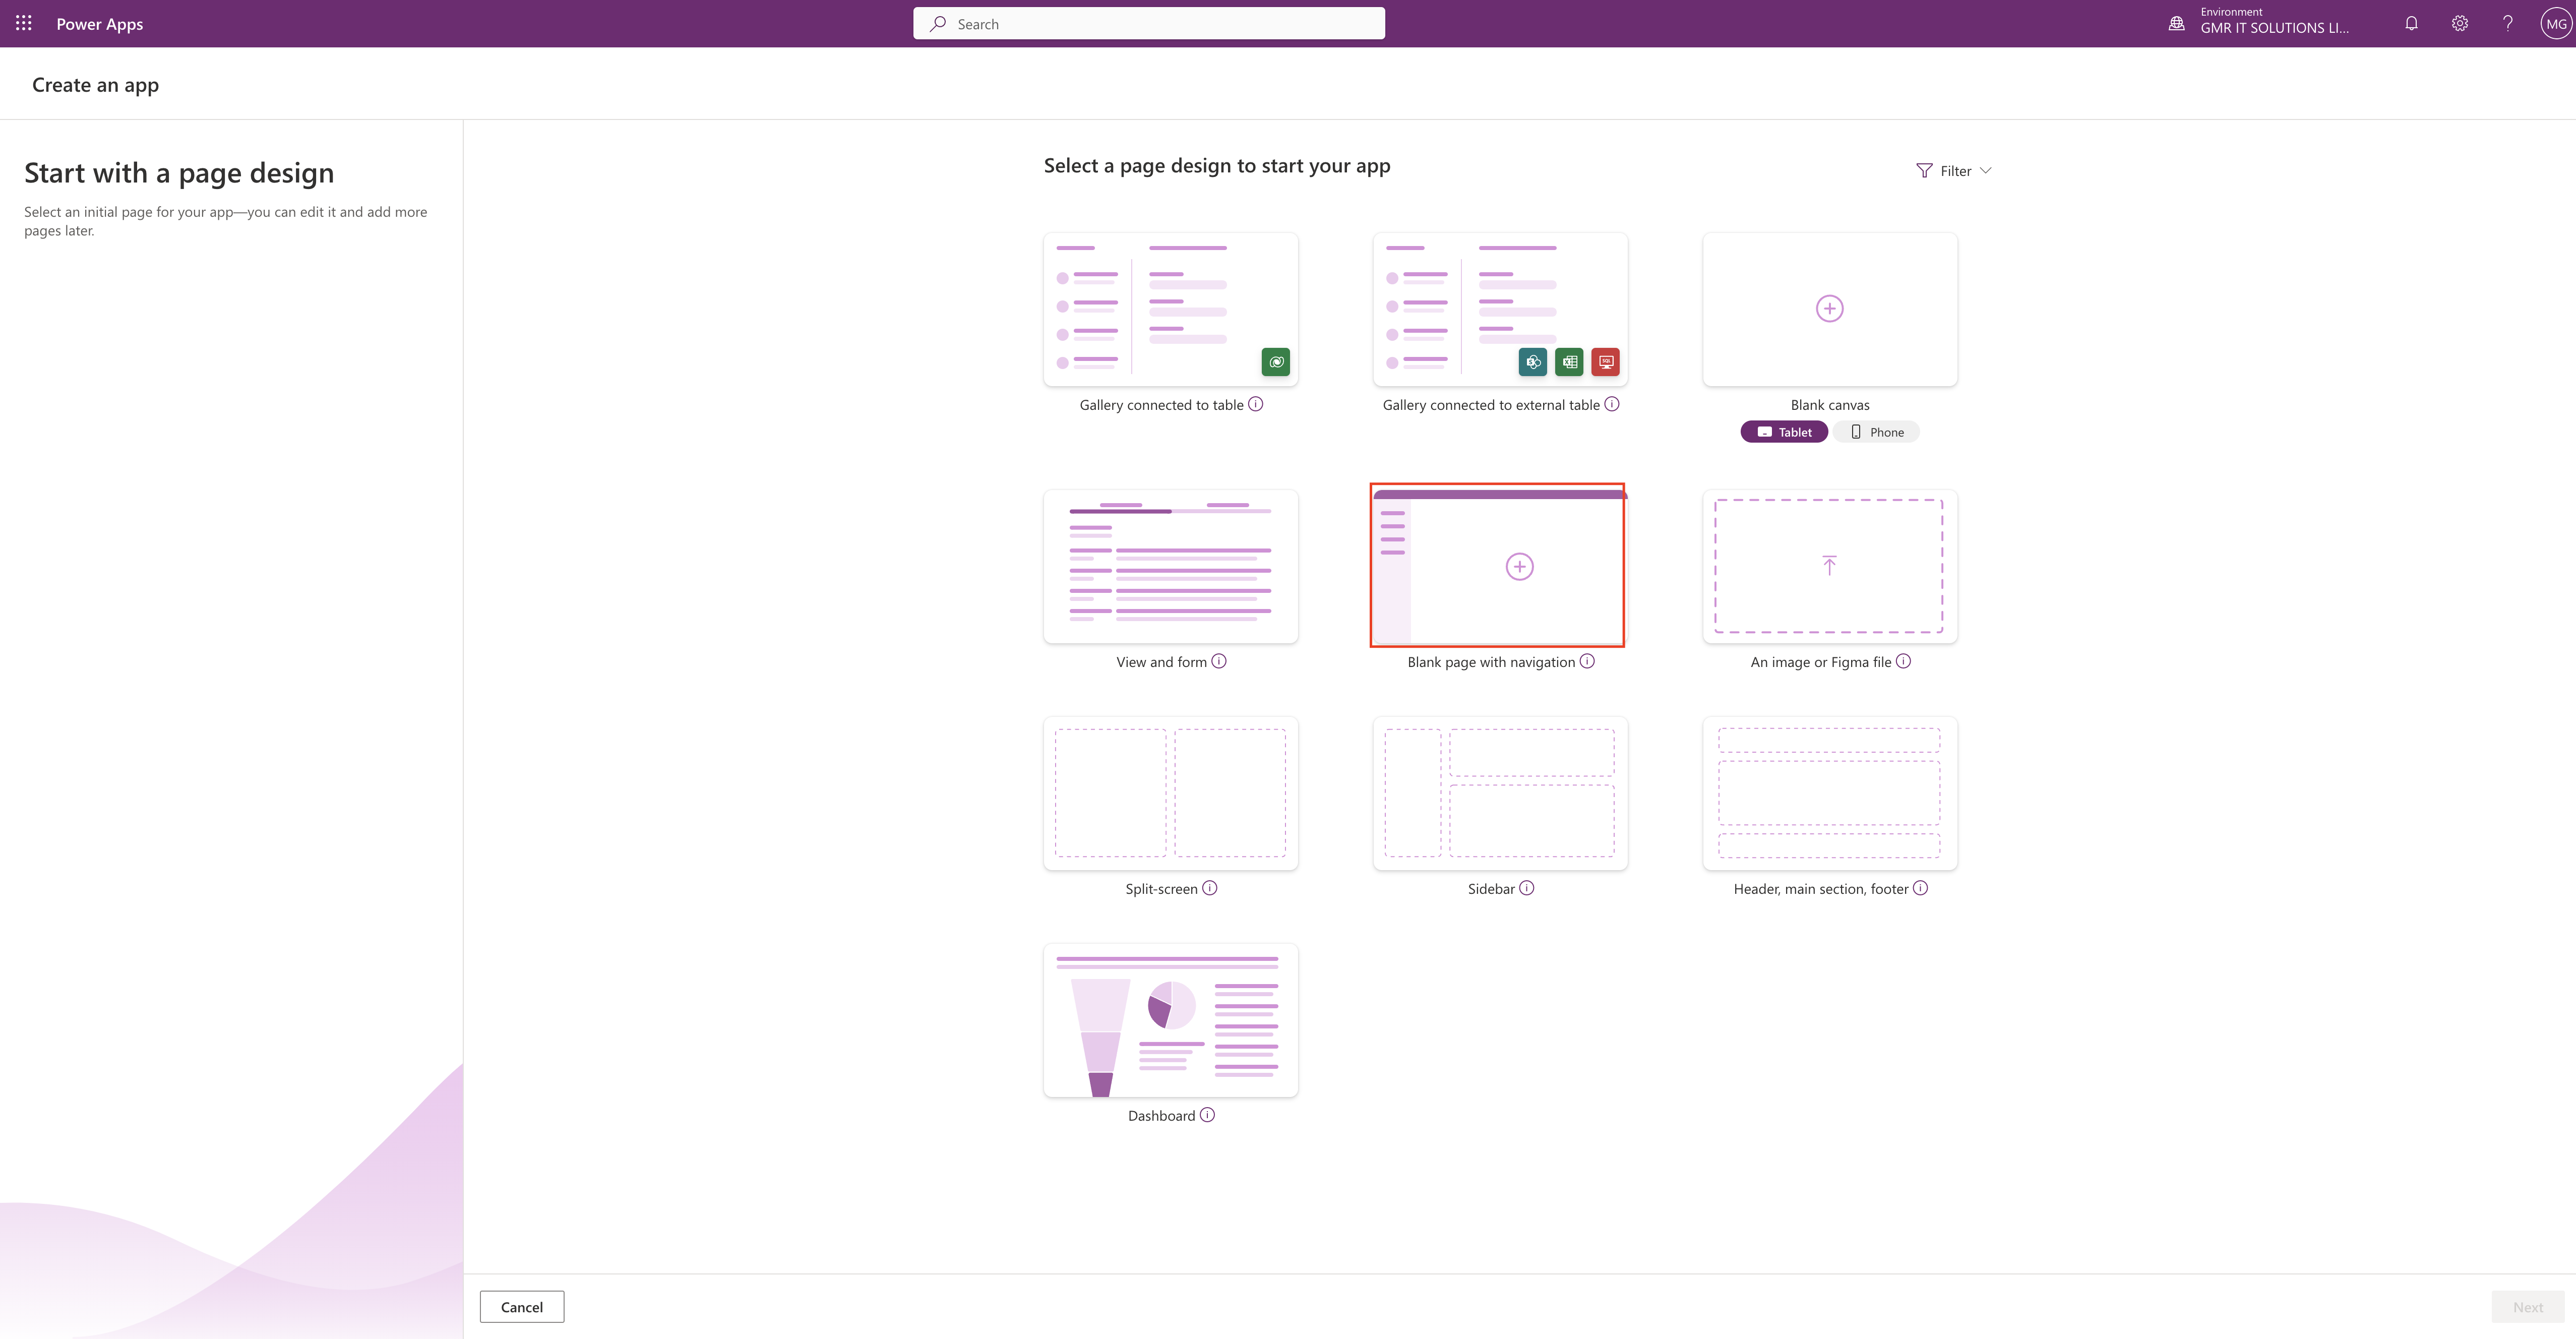
Click on the “Start with a page design”
Then new screen will be displayed, click on Header, main section, footer.
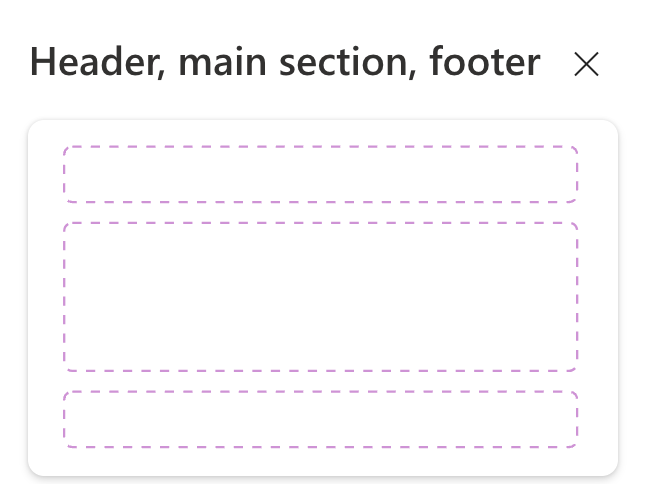
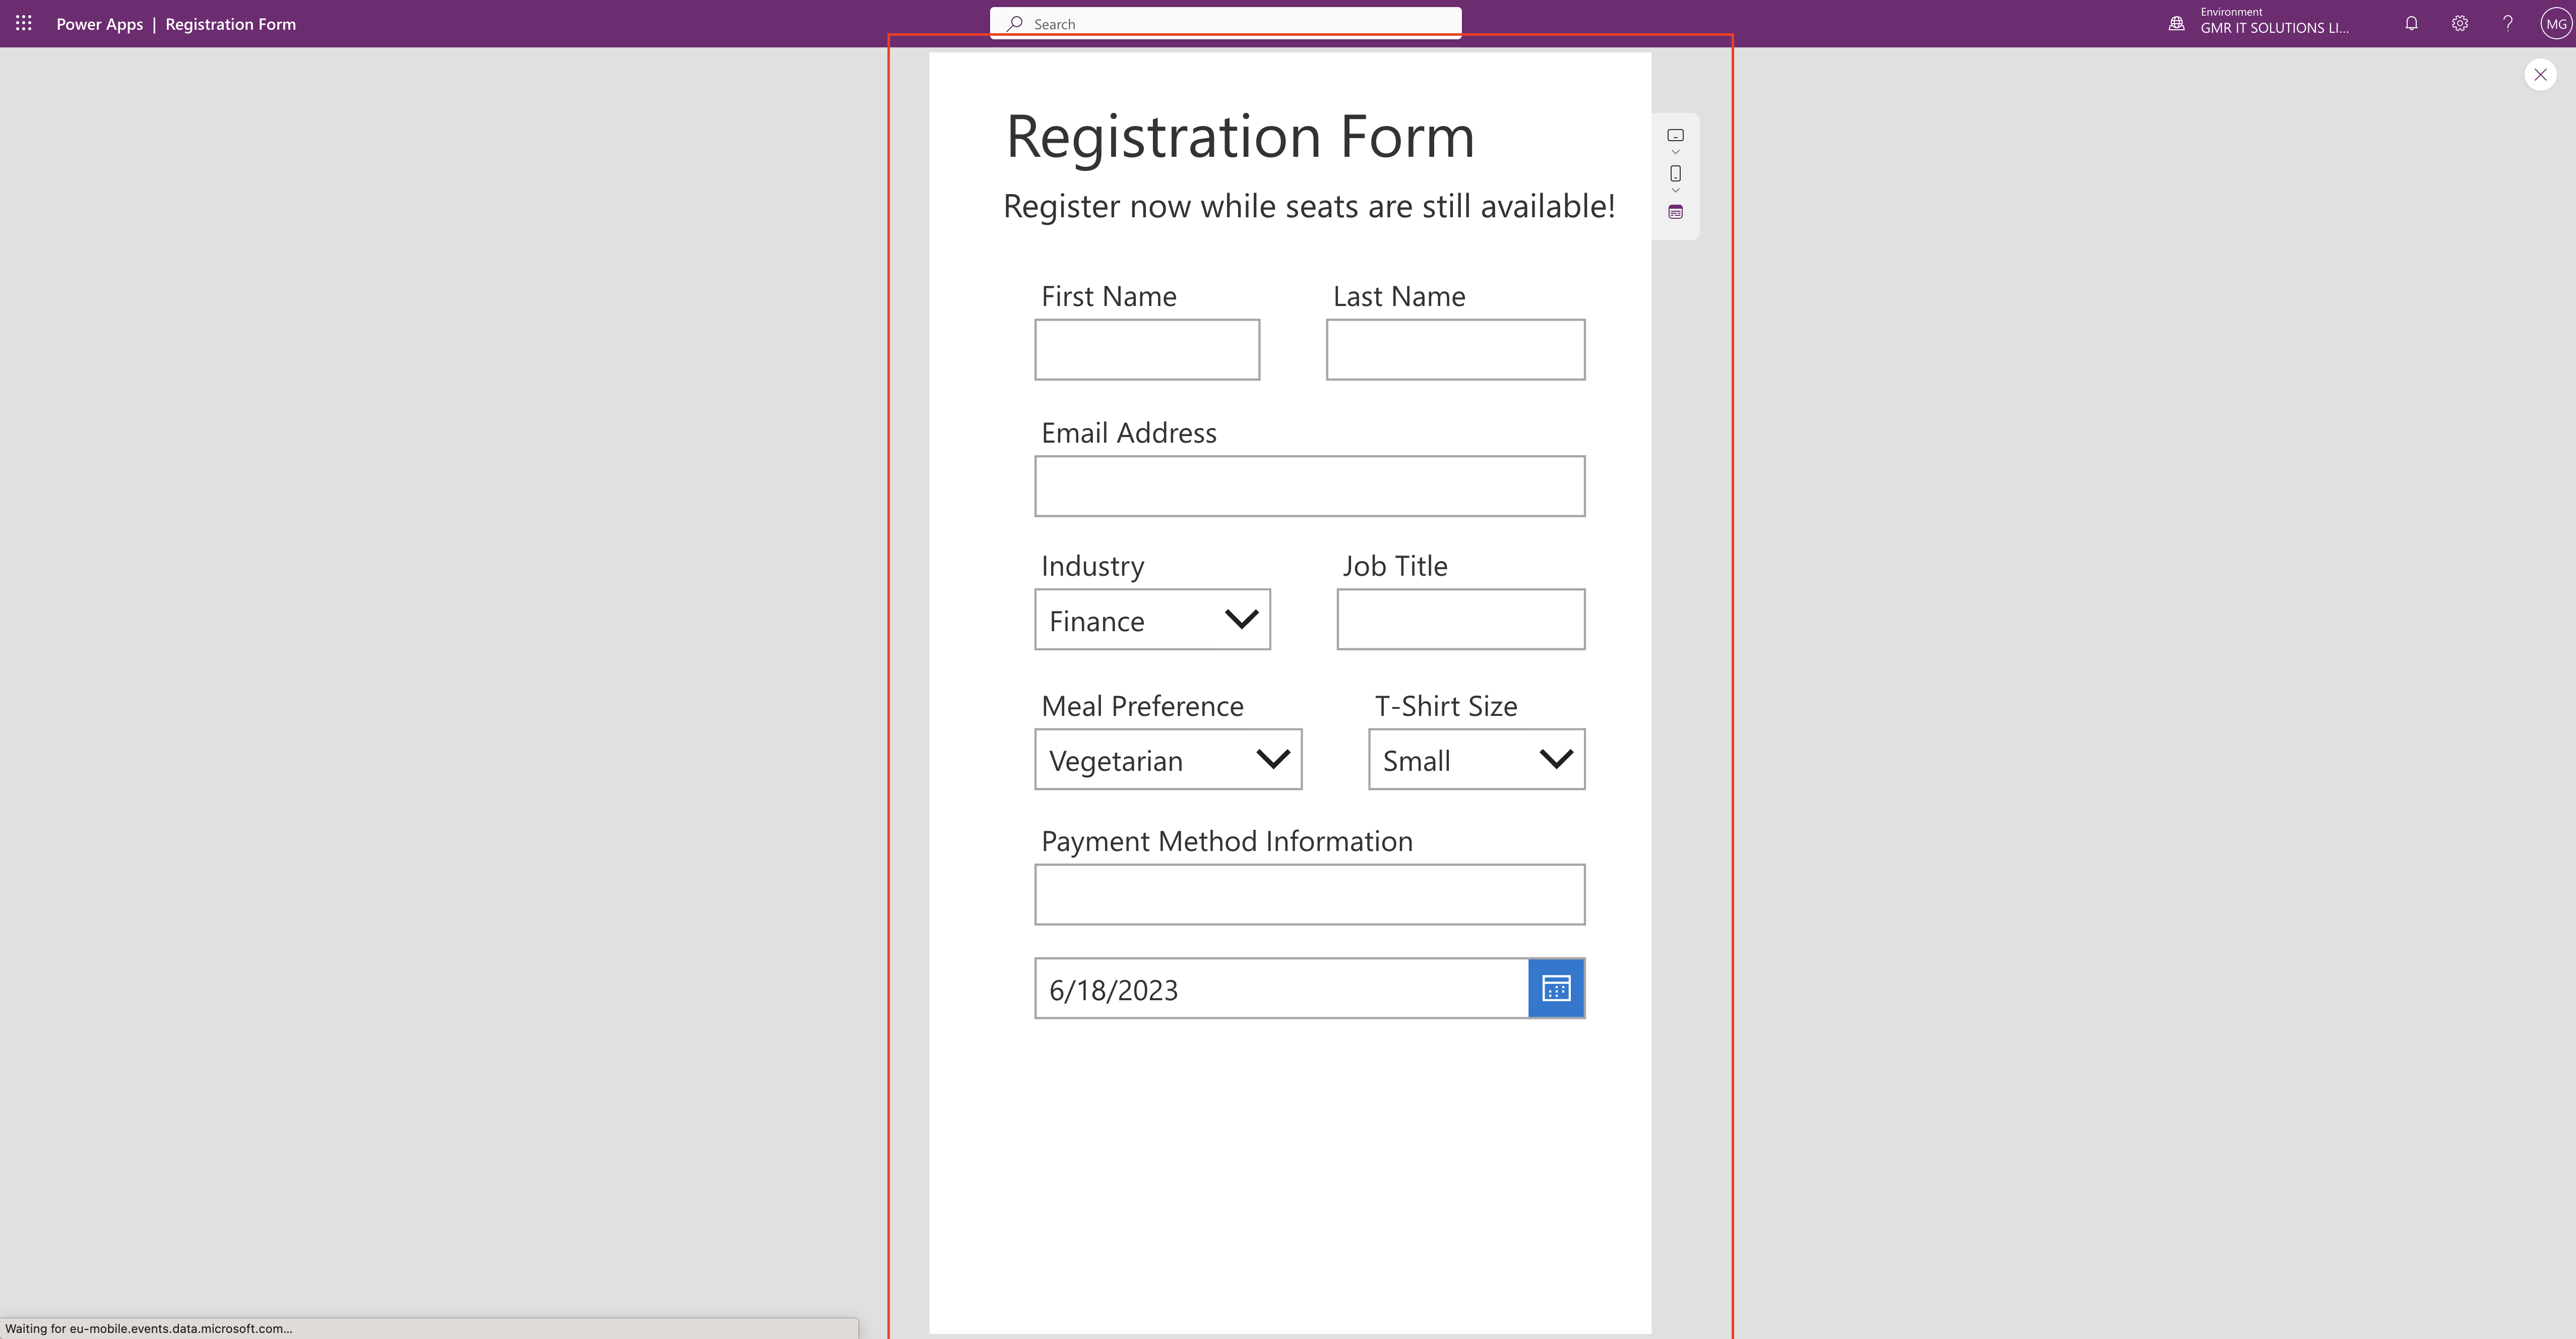
We can add the content and the page adapts to different screen sizes.
This Page has:
1. A fixed-height header on top.
2. A fixed-height footer at the bottom.
3. A main section that fills the rest of the screen height.
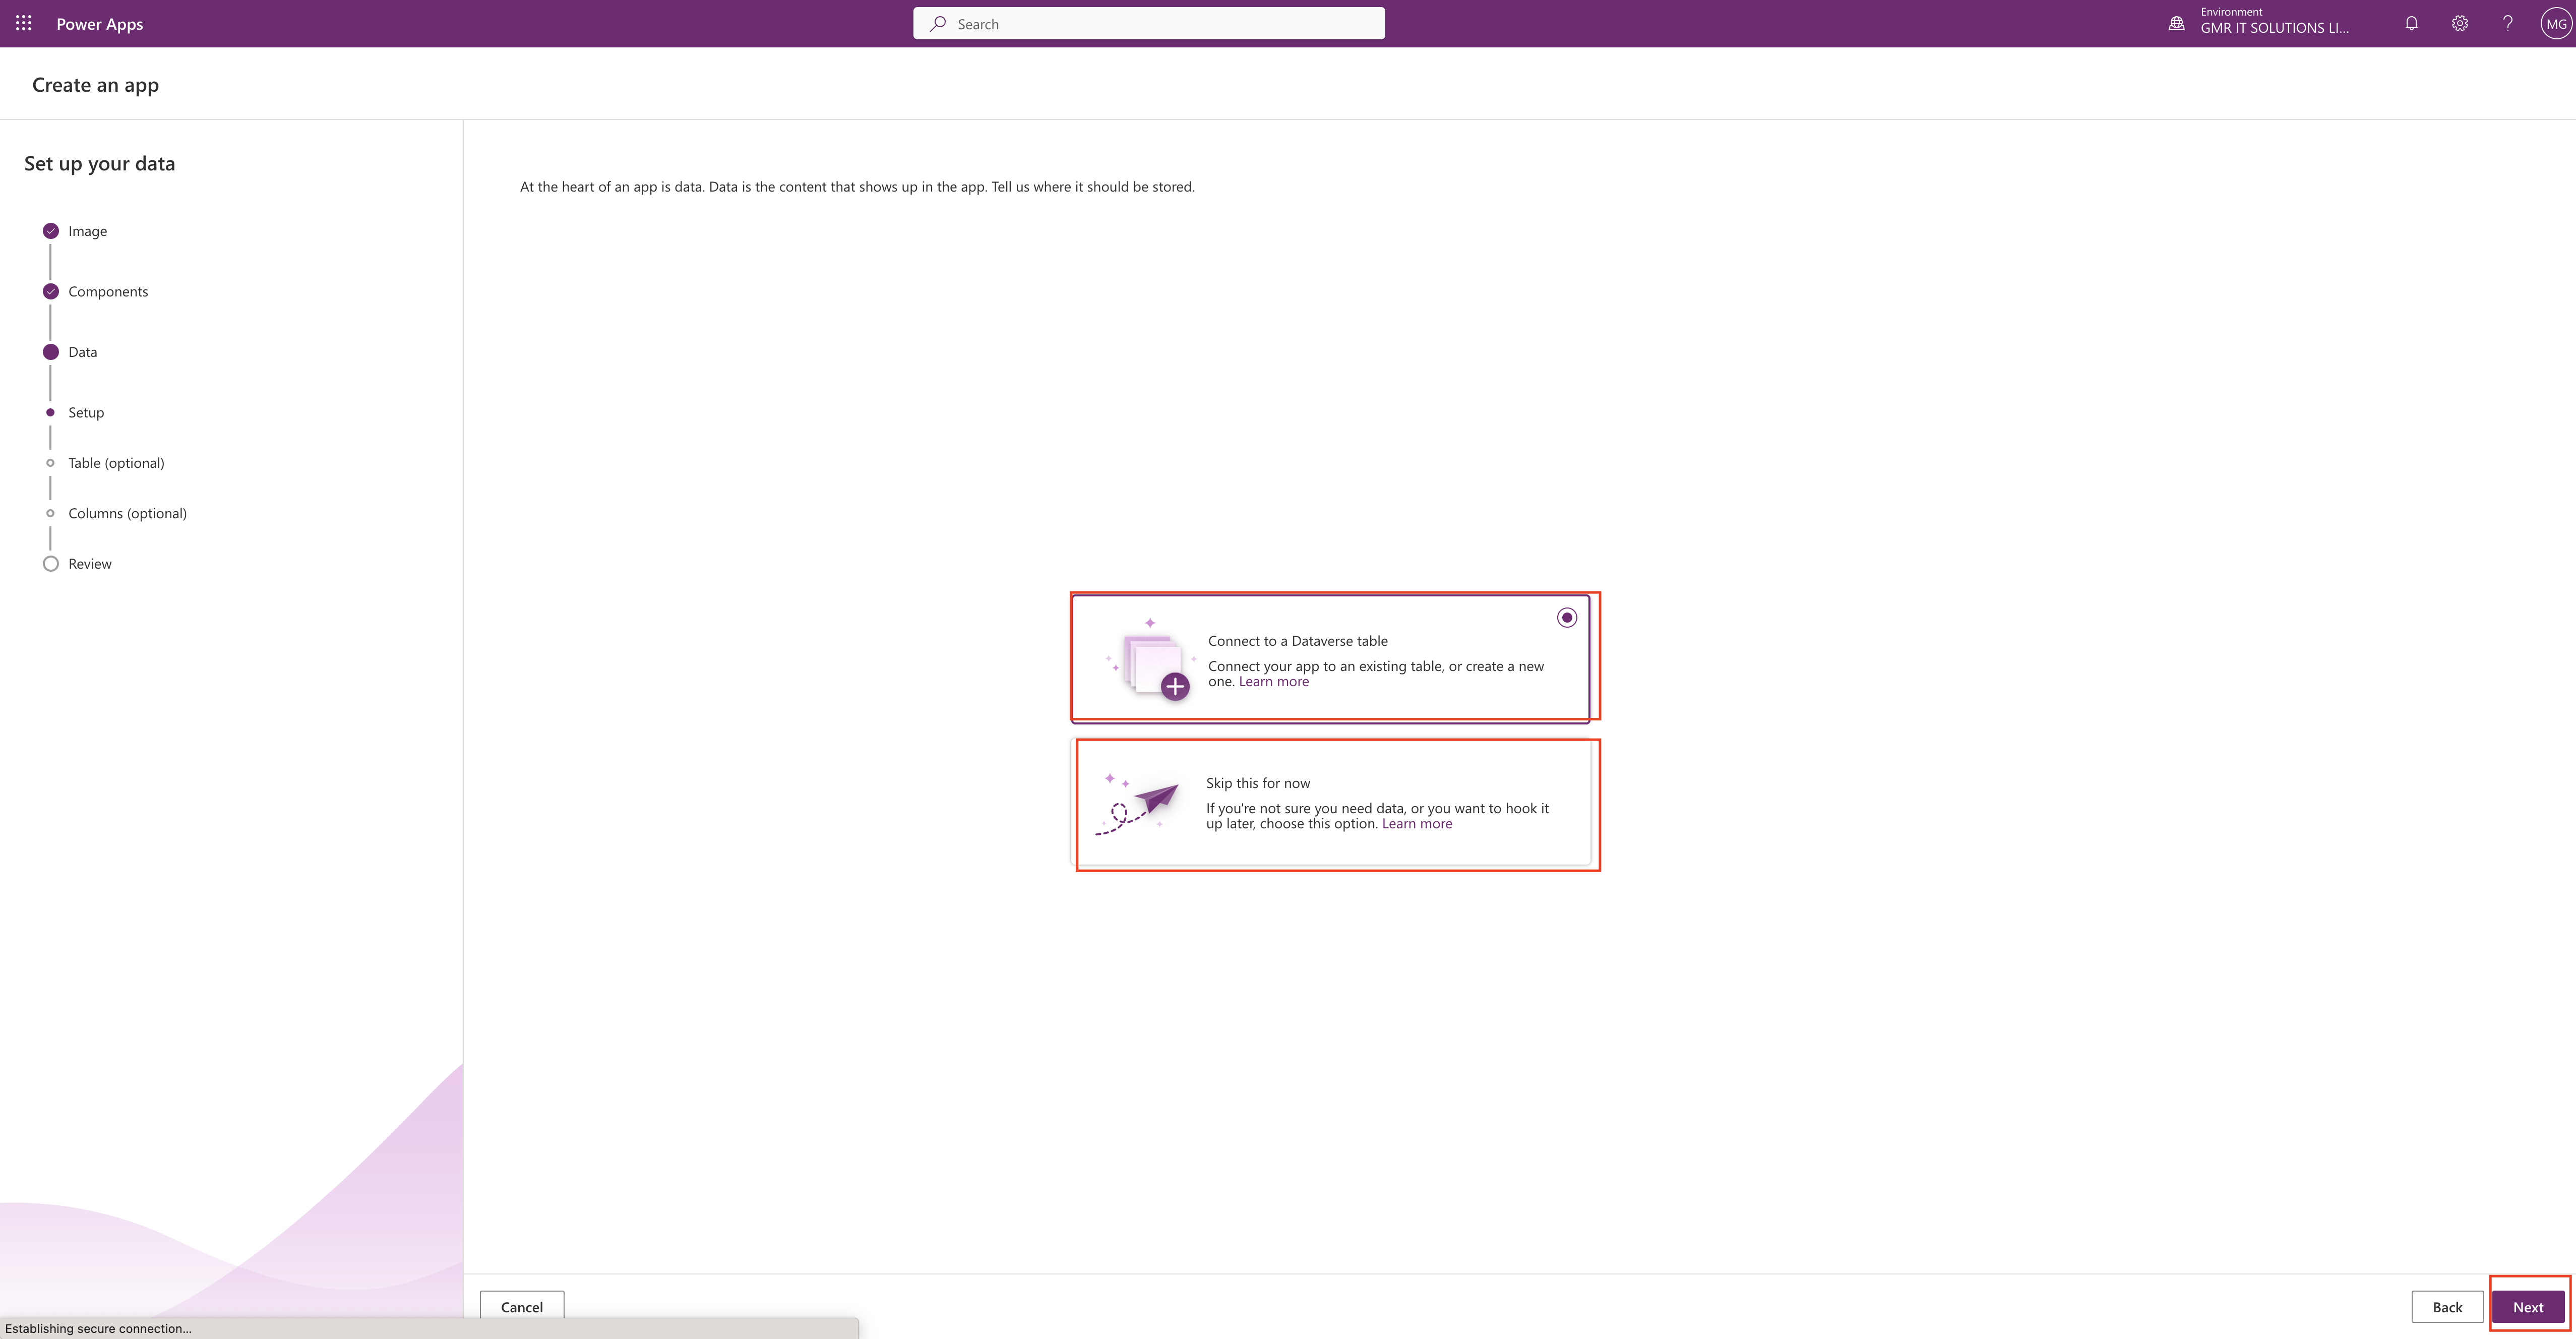
Select this option if once created, connect the app to Dataverse, SQL, SharePoint etc…
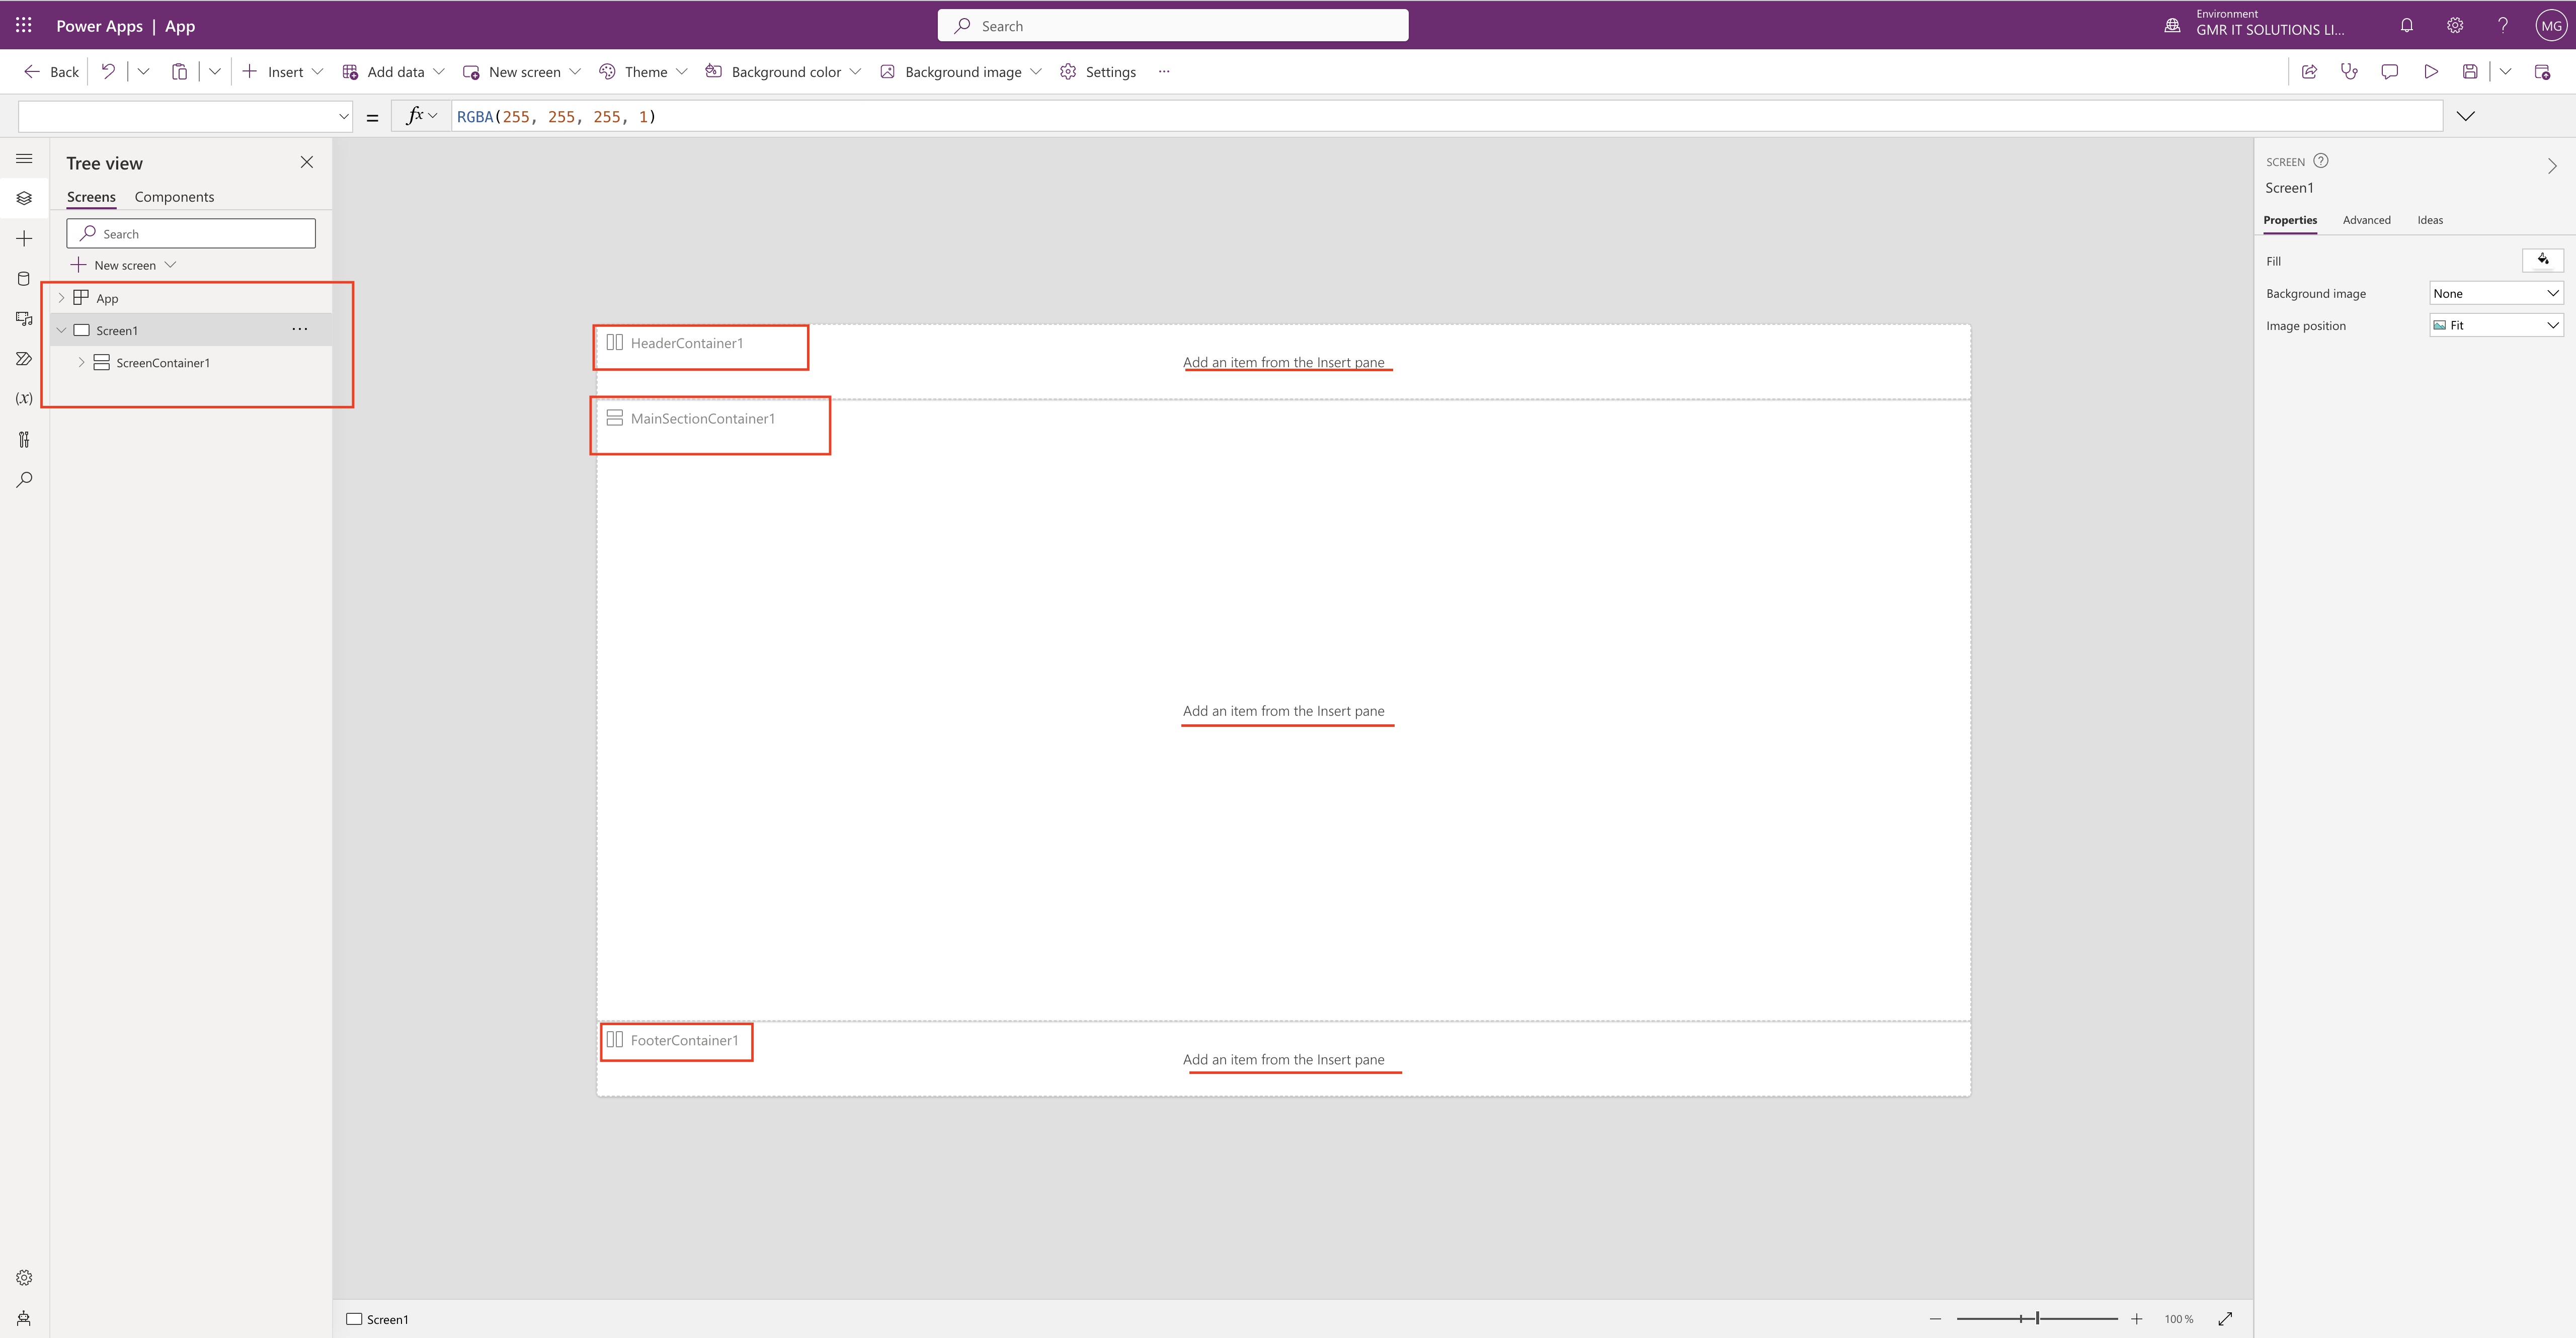
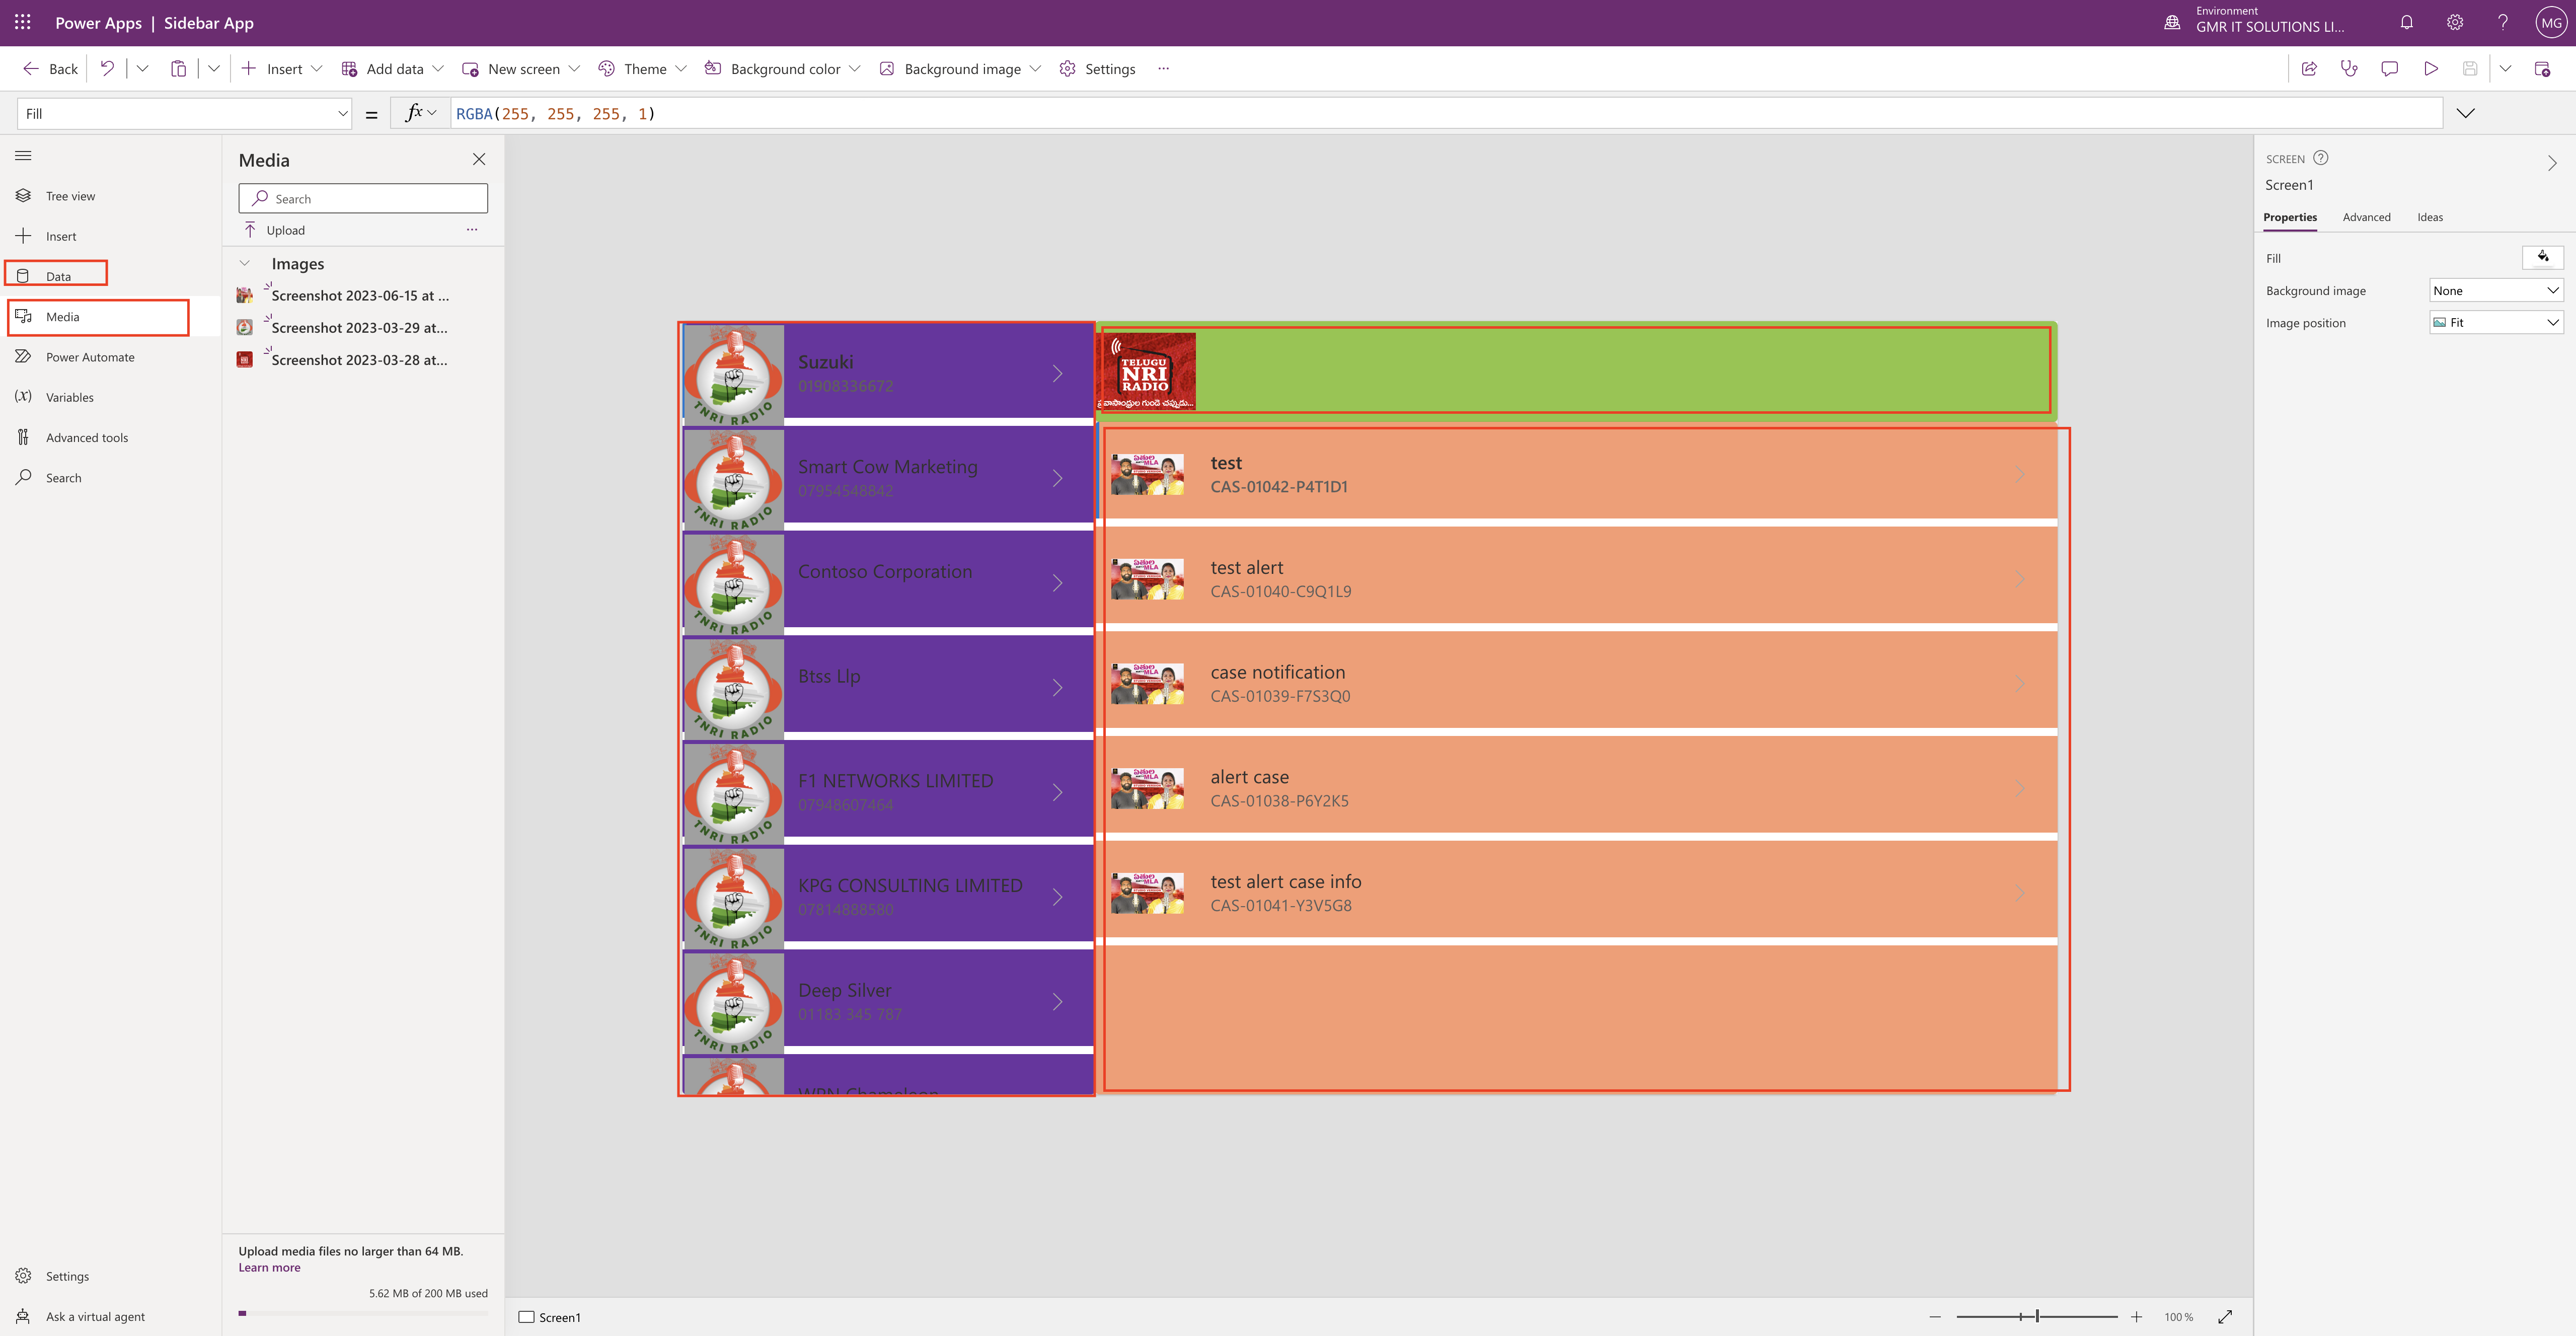
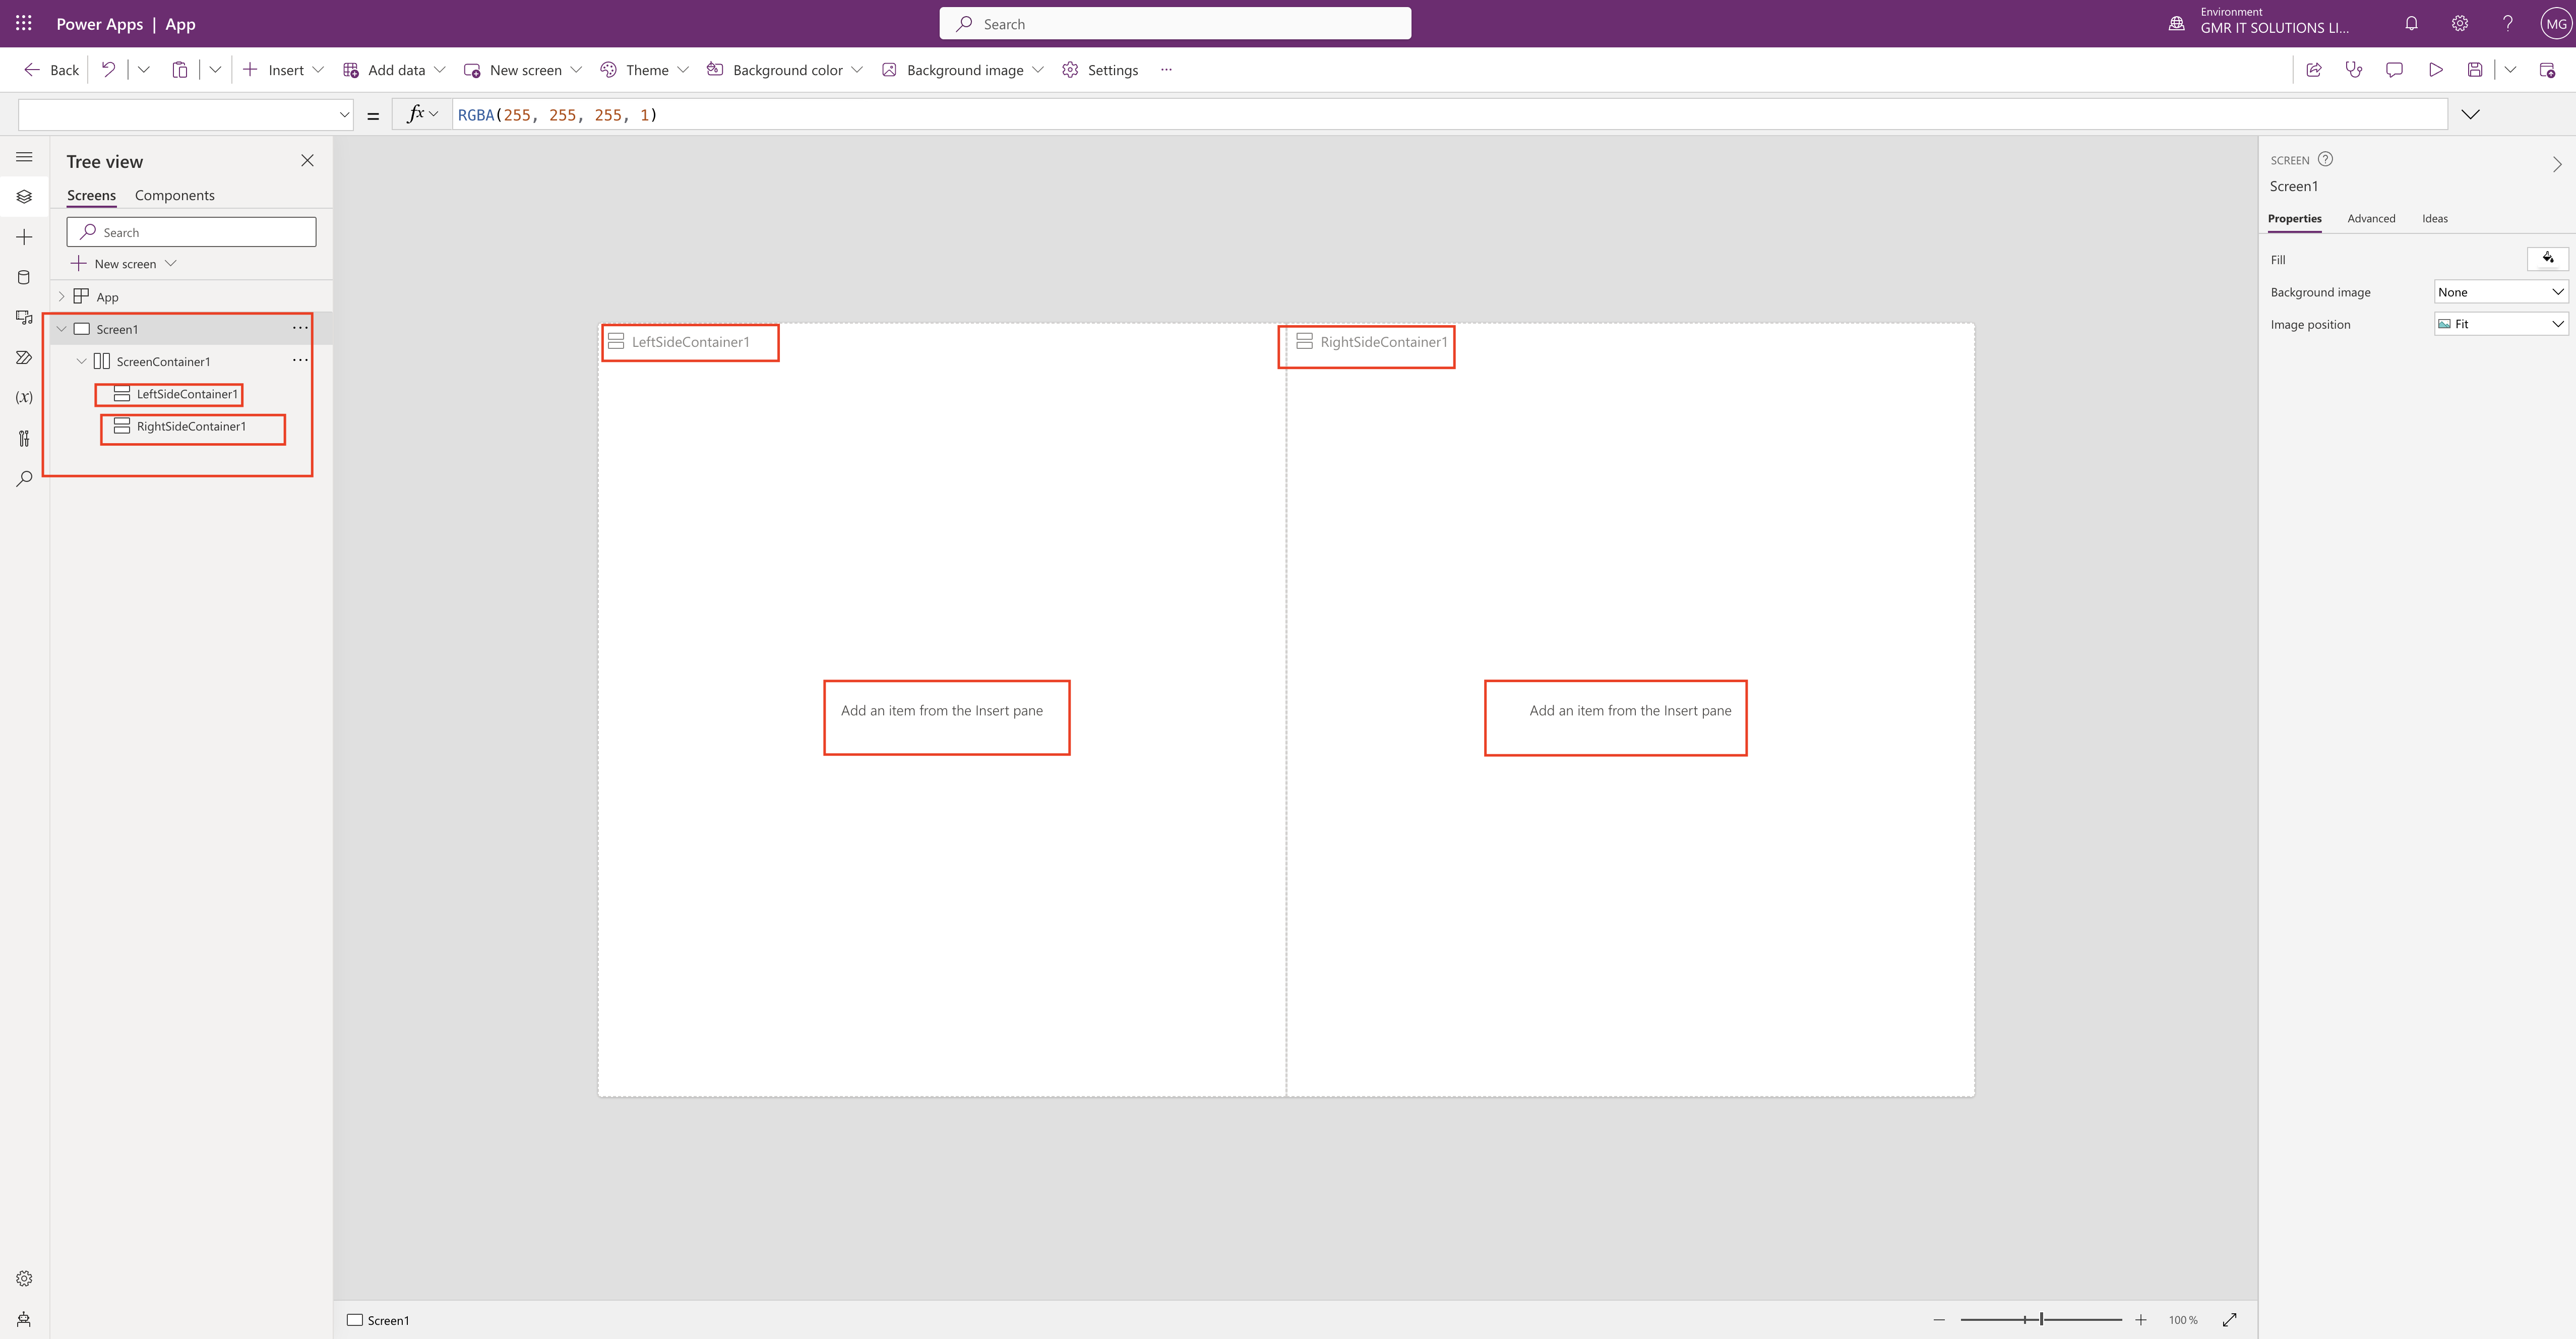
New screen with Header, Main Screen and Footer will be displayed inside the canvas app.
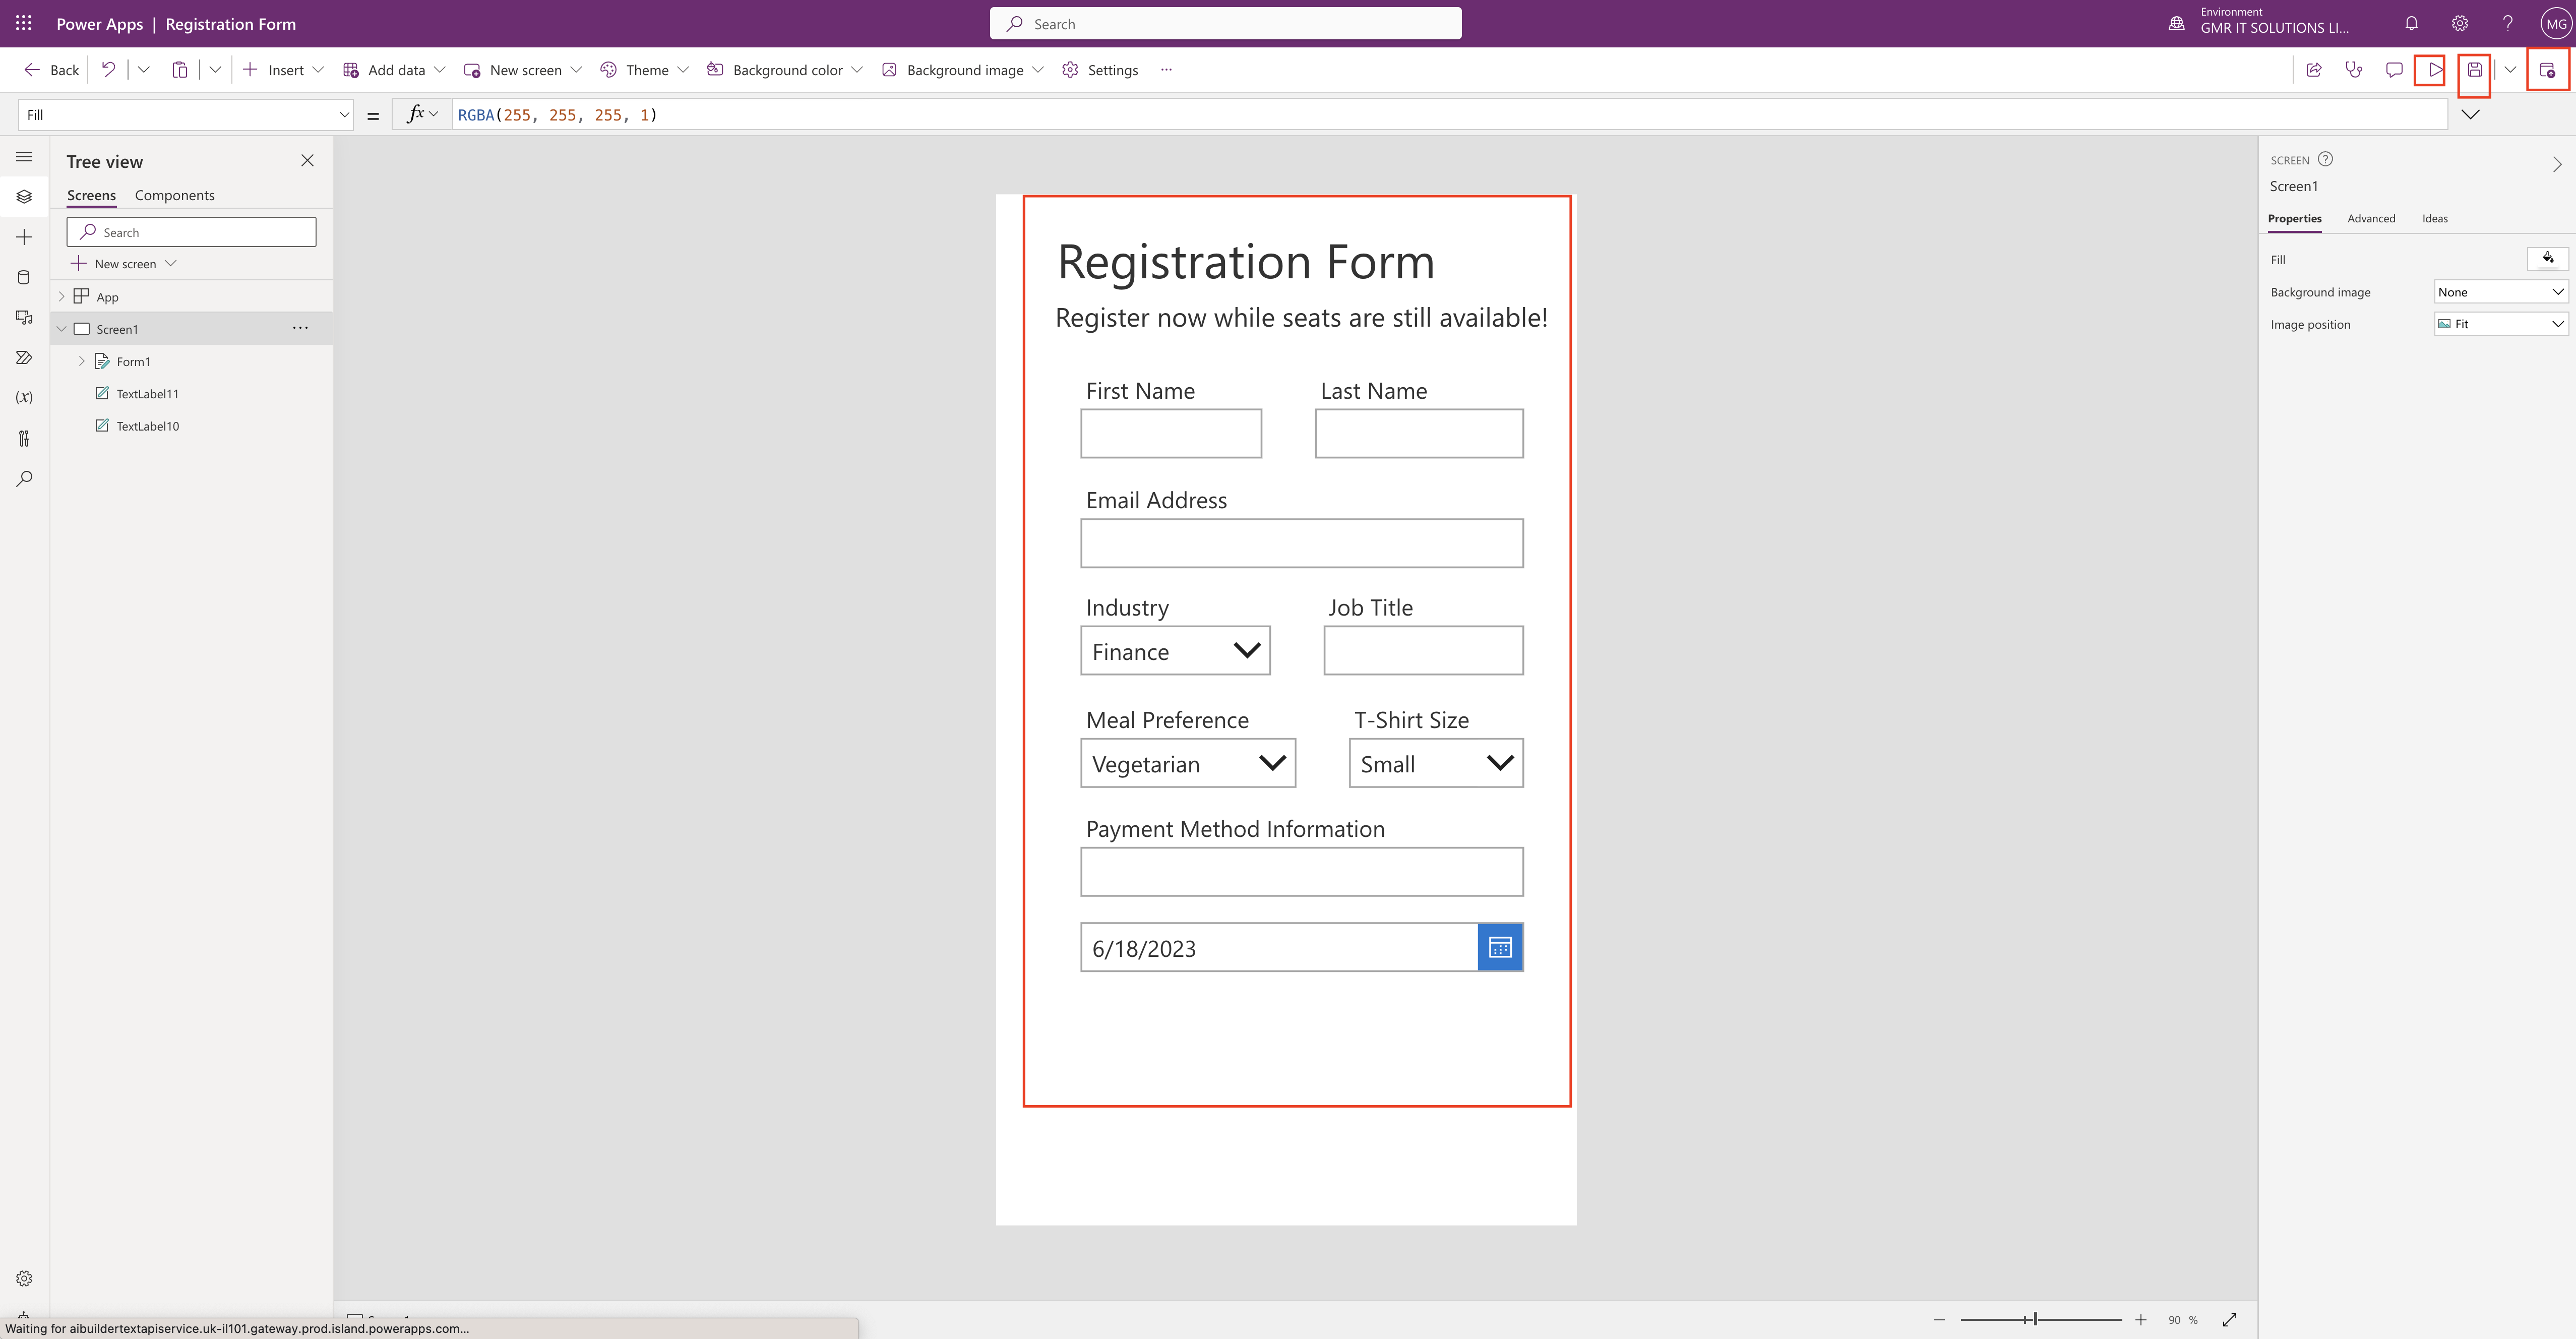
Now its time to add the item from the insert pane or you can add a gallery and add datasource to populate the data.
You can also add image to the header, add background colour and footer accordingly.
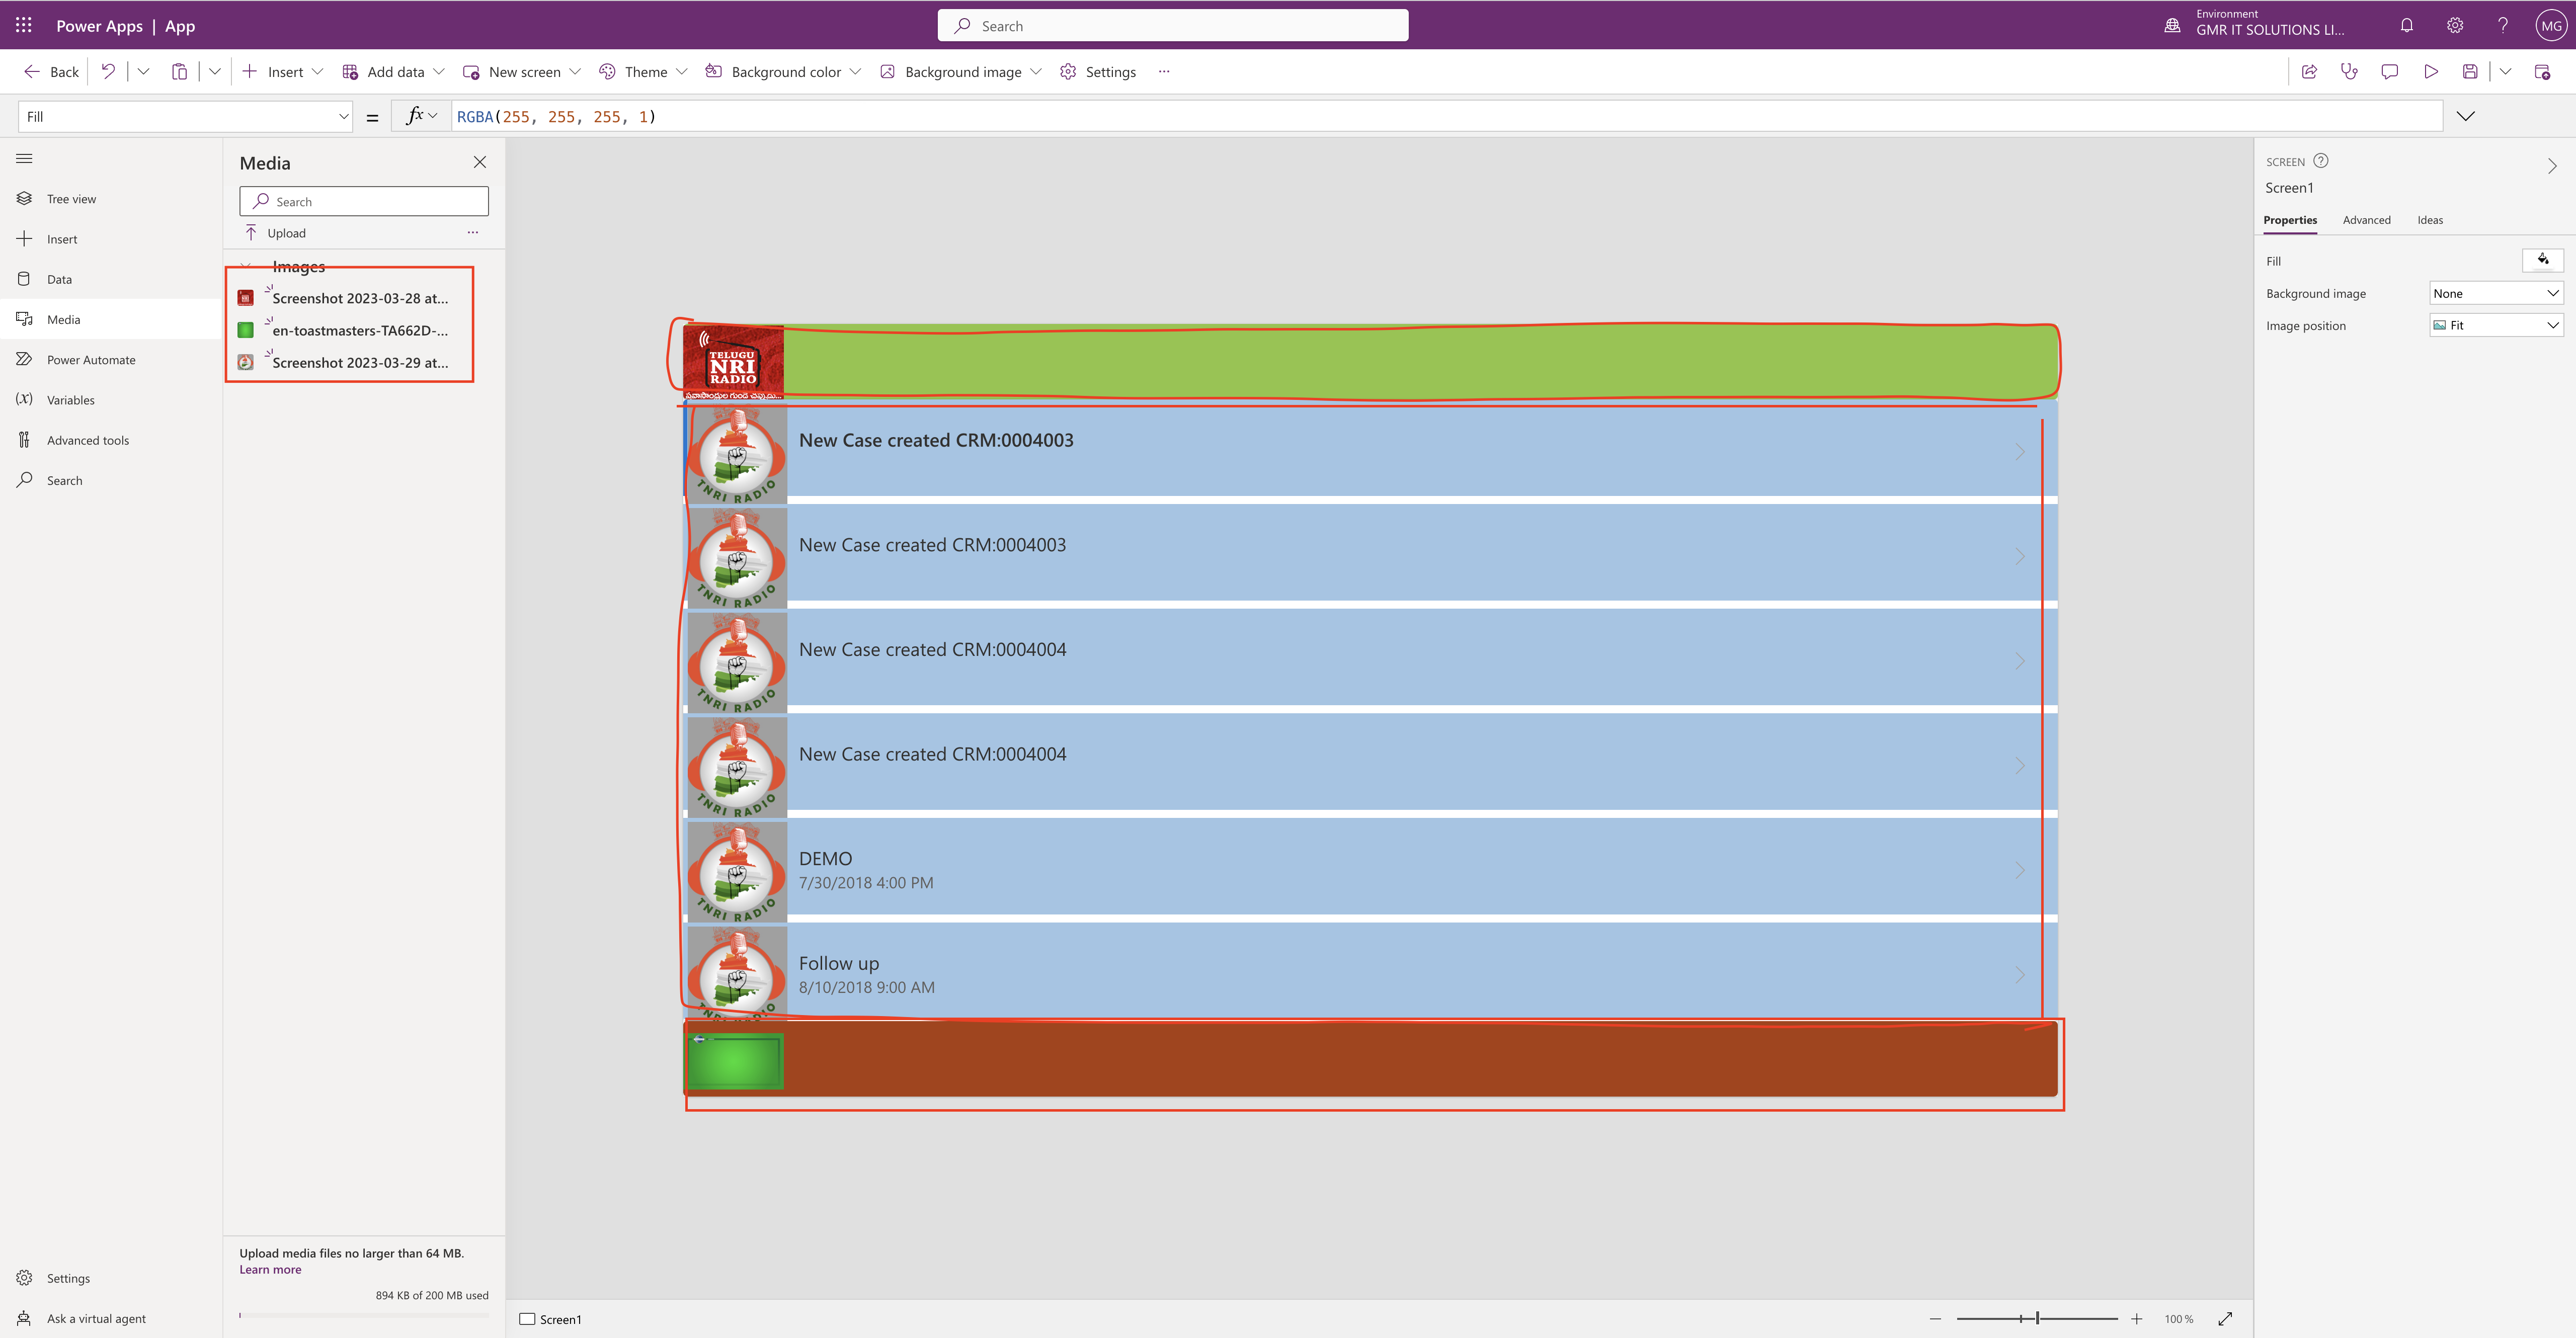
I have designed the canvas app using header, main section and footer with very few click adding the datasource to the main section and image on header and footer with background colour.
Thats it for today.
I hope this helps
Malla Reddy(@UK365GUY)
#365BlogPostsin365Days