Hello Everyone,
Today i am going to show how to create the views and forms directly from the maker portal.
This is Part 5 Series
Lets gets started.
Use Case:
Customers building apps for Dynamics 365 frequently use this template, use data from Dataverse tables.
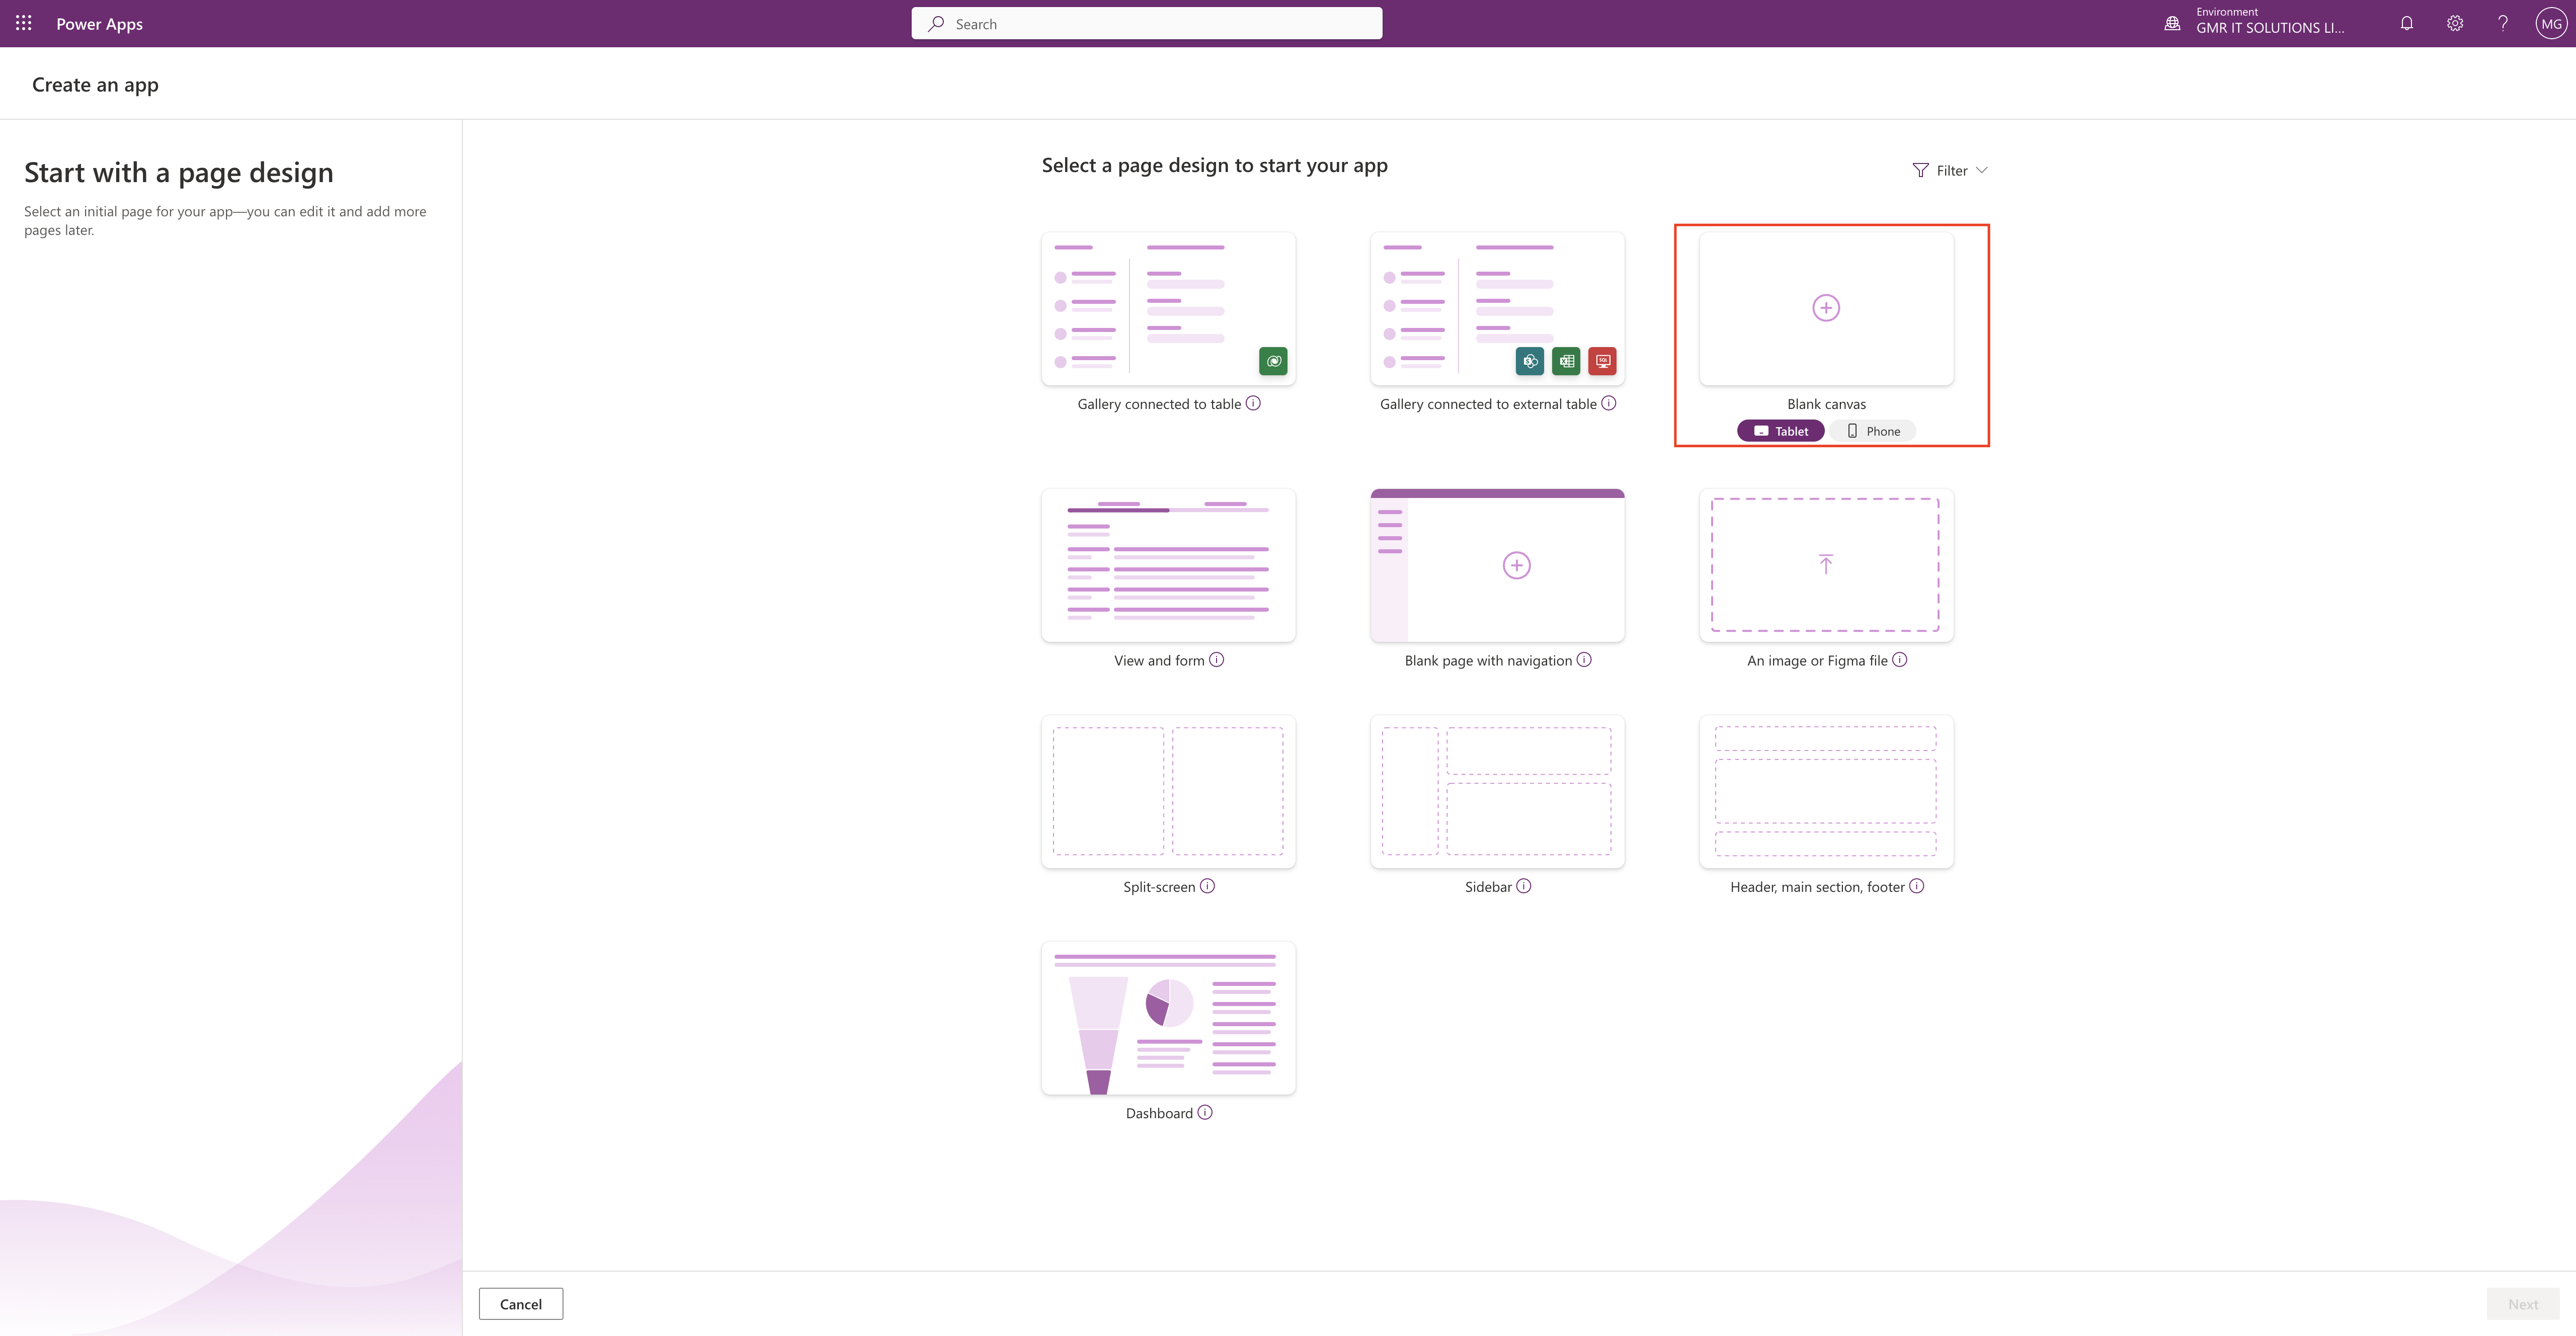
Login into www.maker.powerapps.com
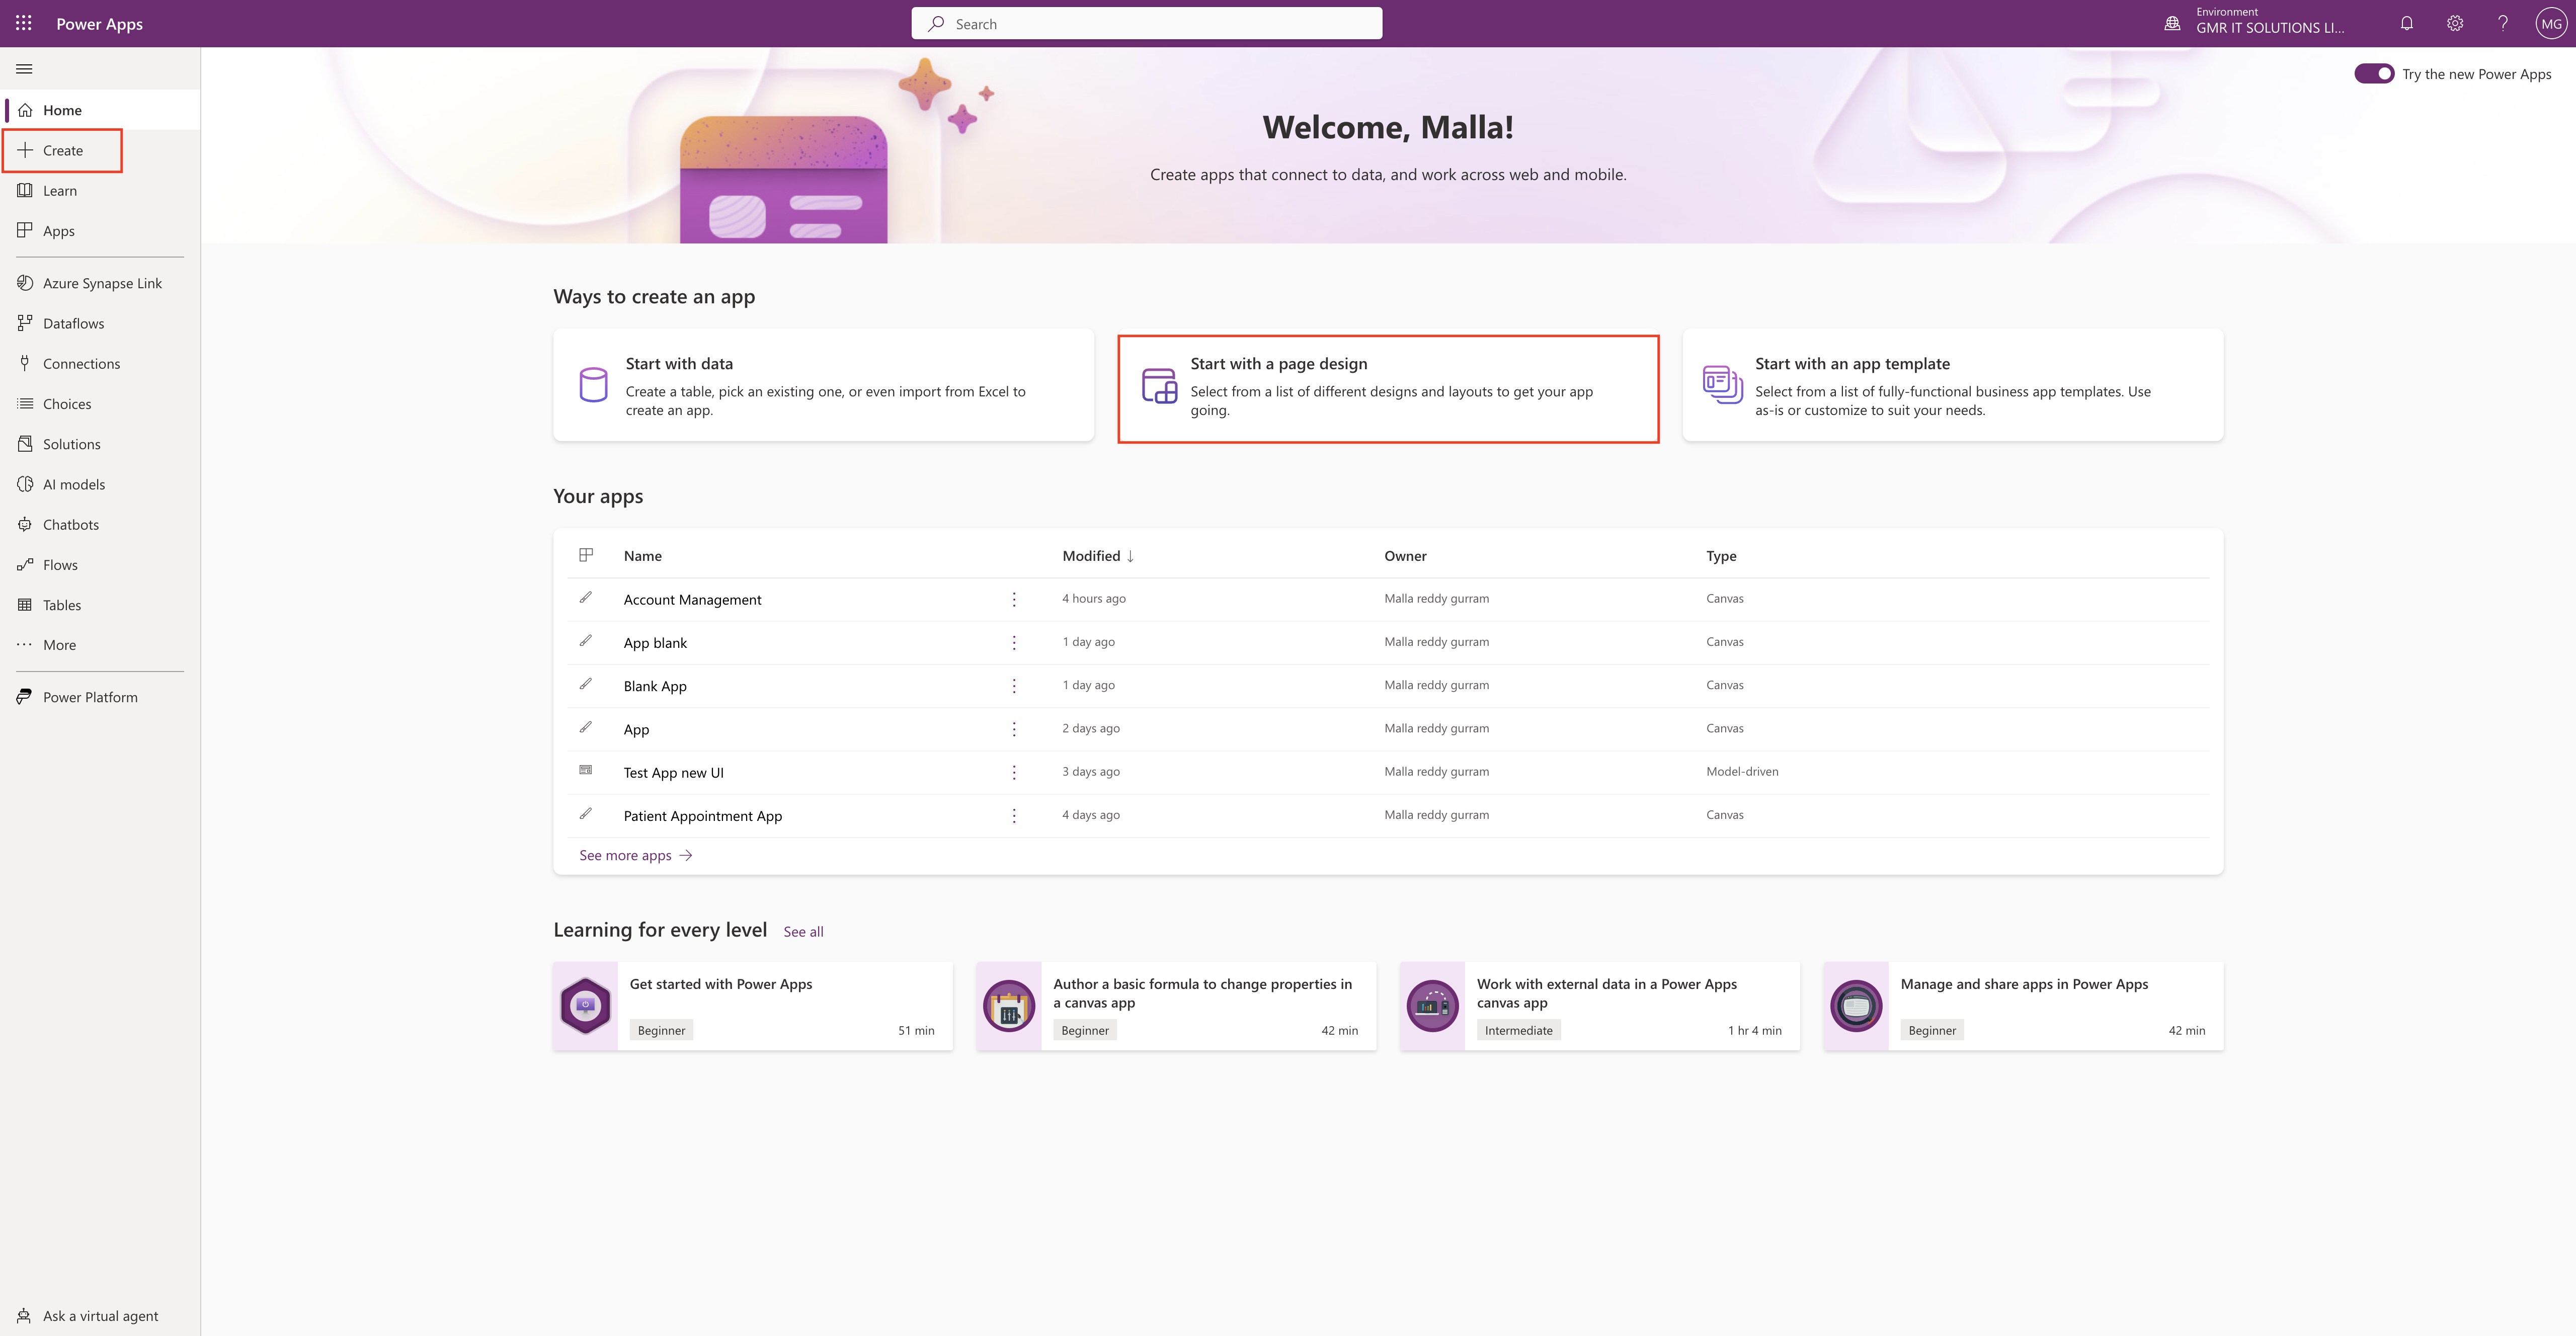
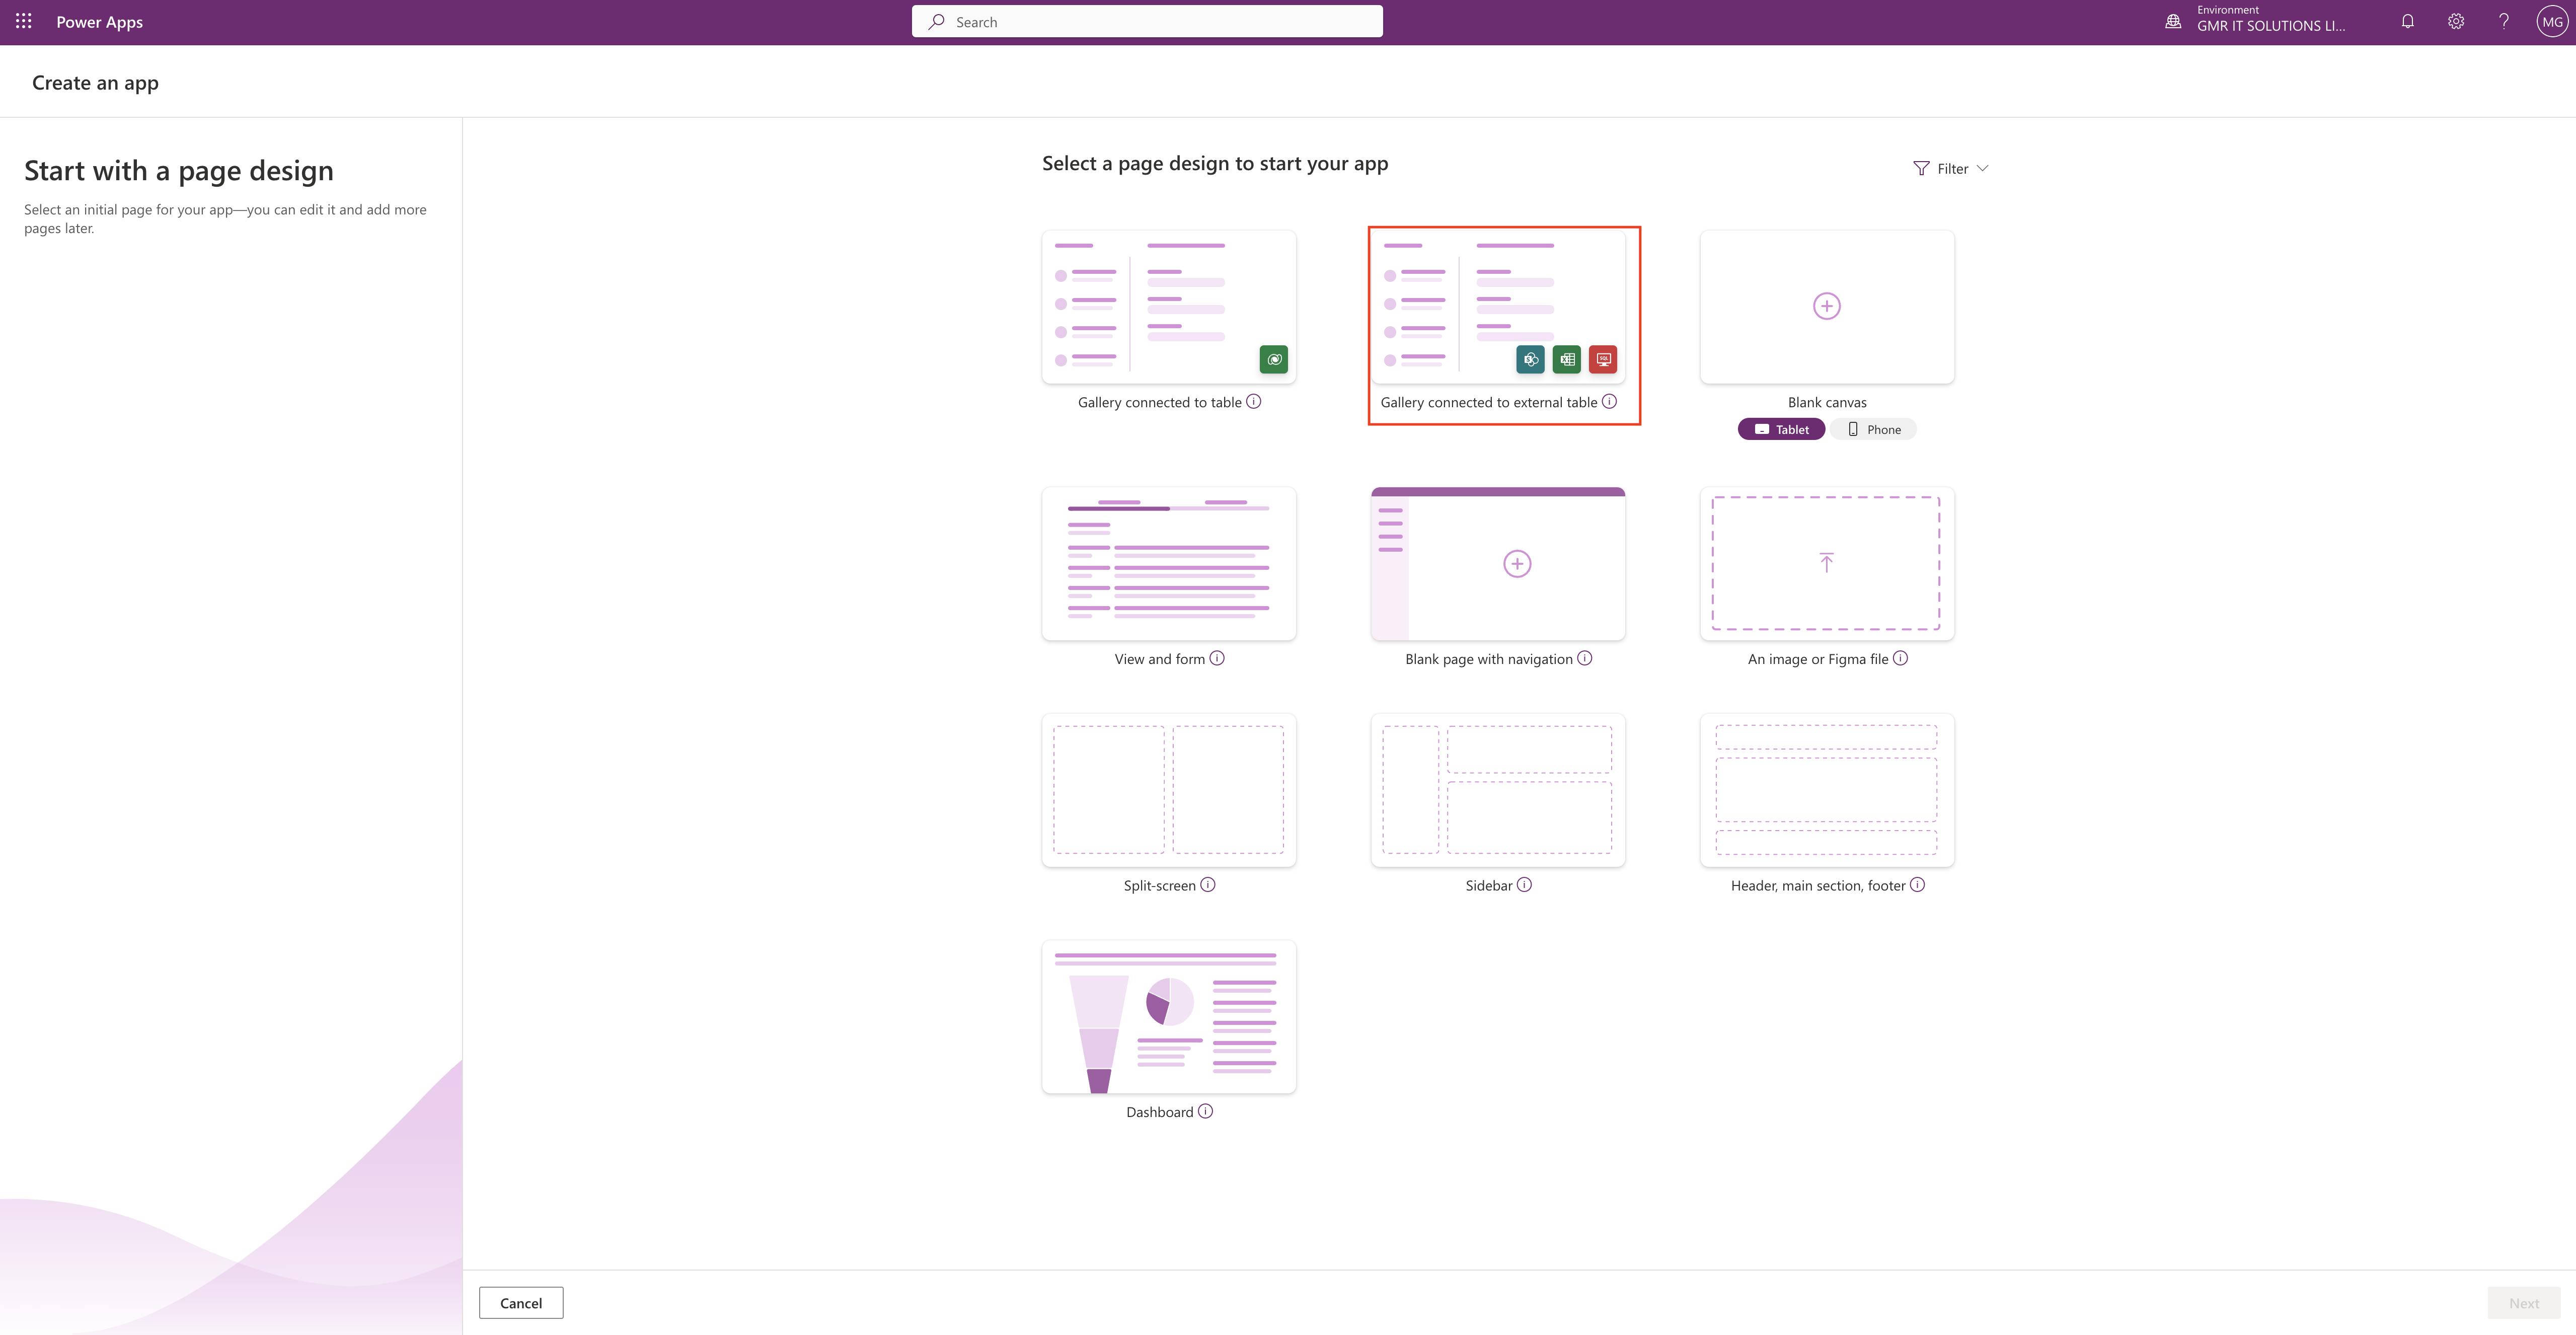
Select the “Start with a page design”.
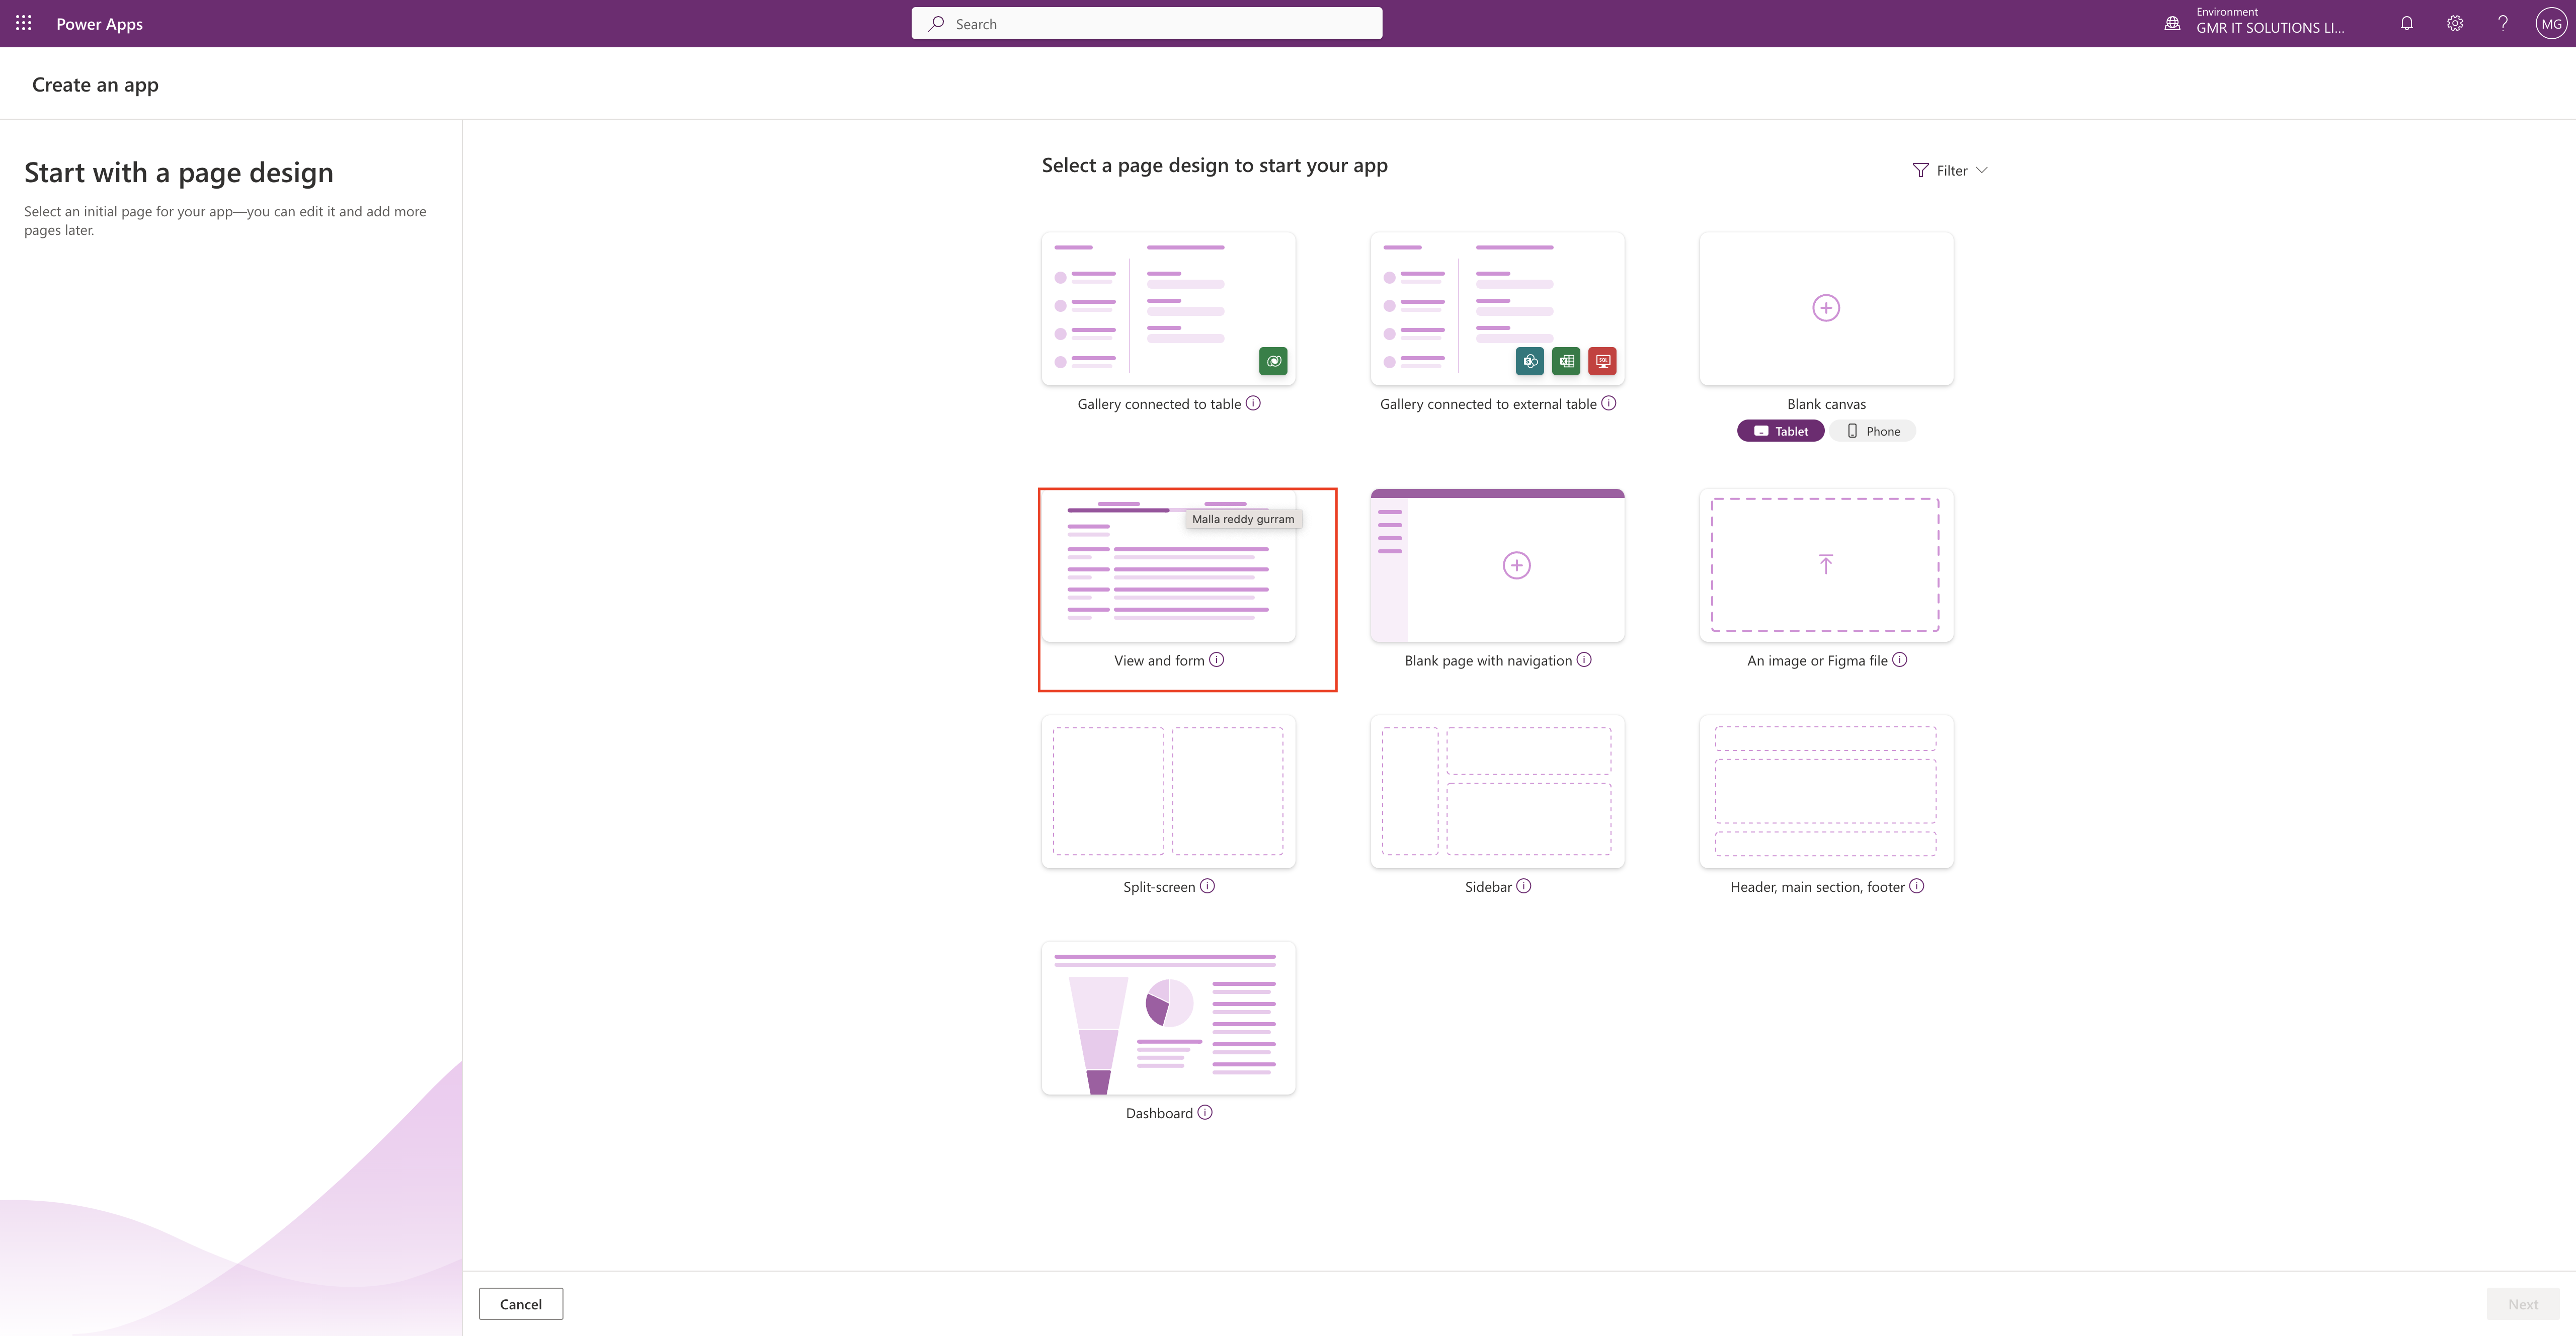
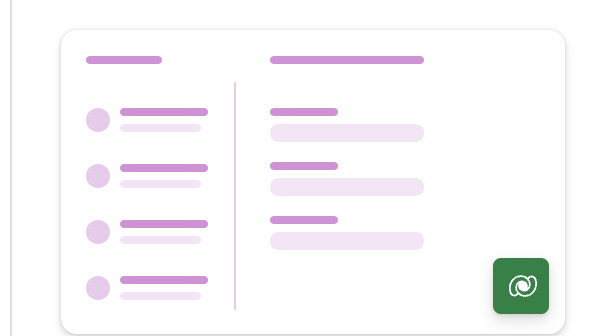
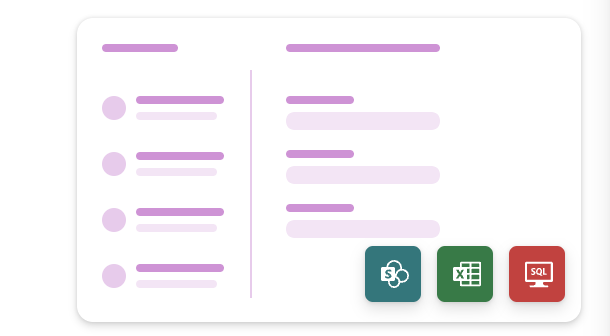
Then select the View and form:
Create a collection of pages that you’ll connect to data.
For each data table you connect, you’ll get
1.One page with up to eight different data views of a table.
2.One page with a main form for adding and updating table rows.
3.Additional forms that make working with data easier: quick view, create and card forms.
For more information about building your first model driven app here
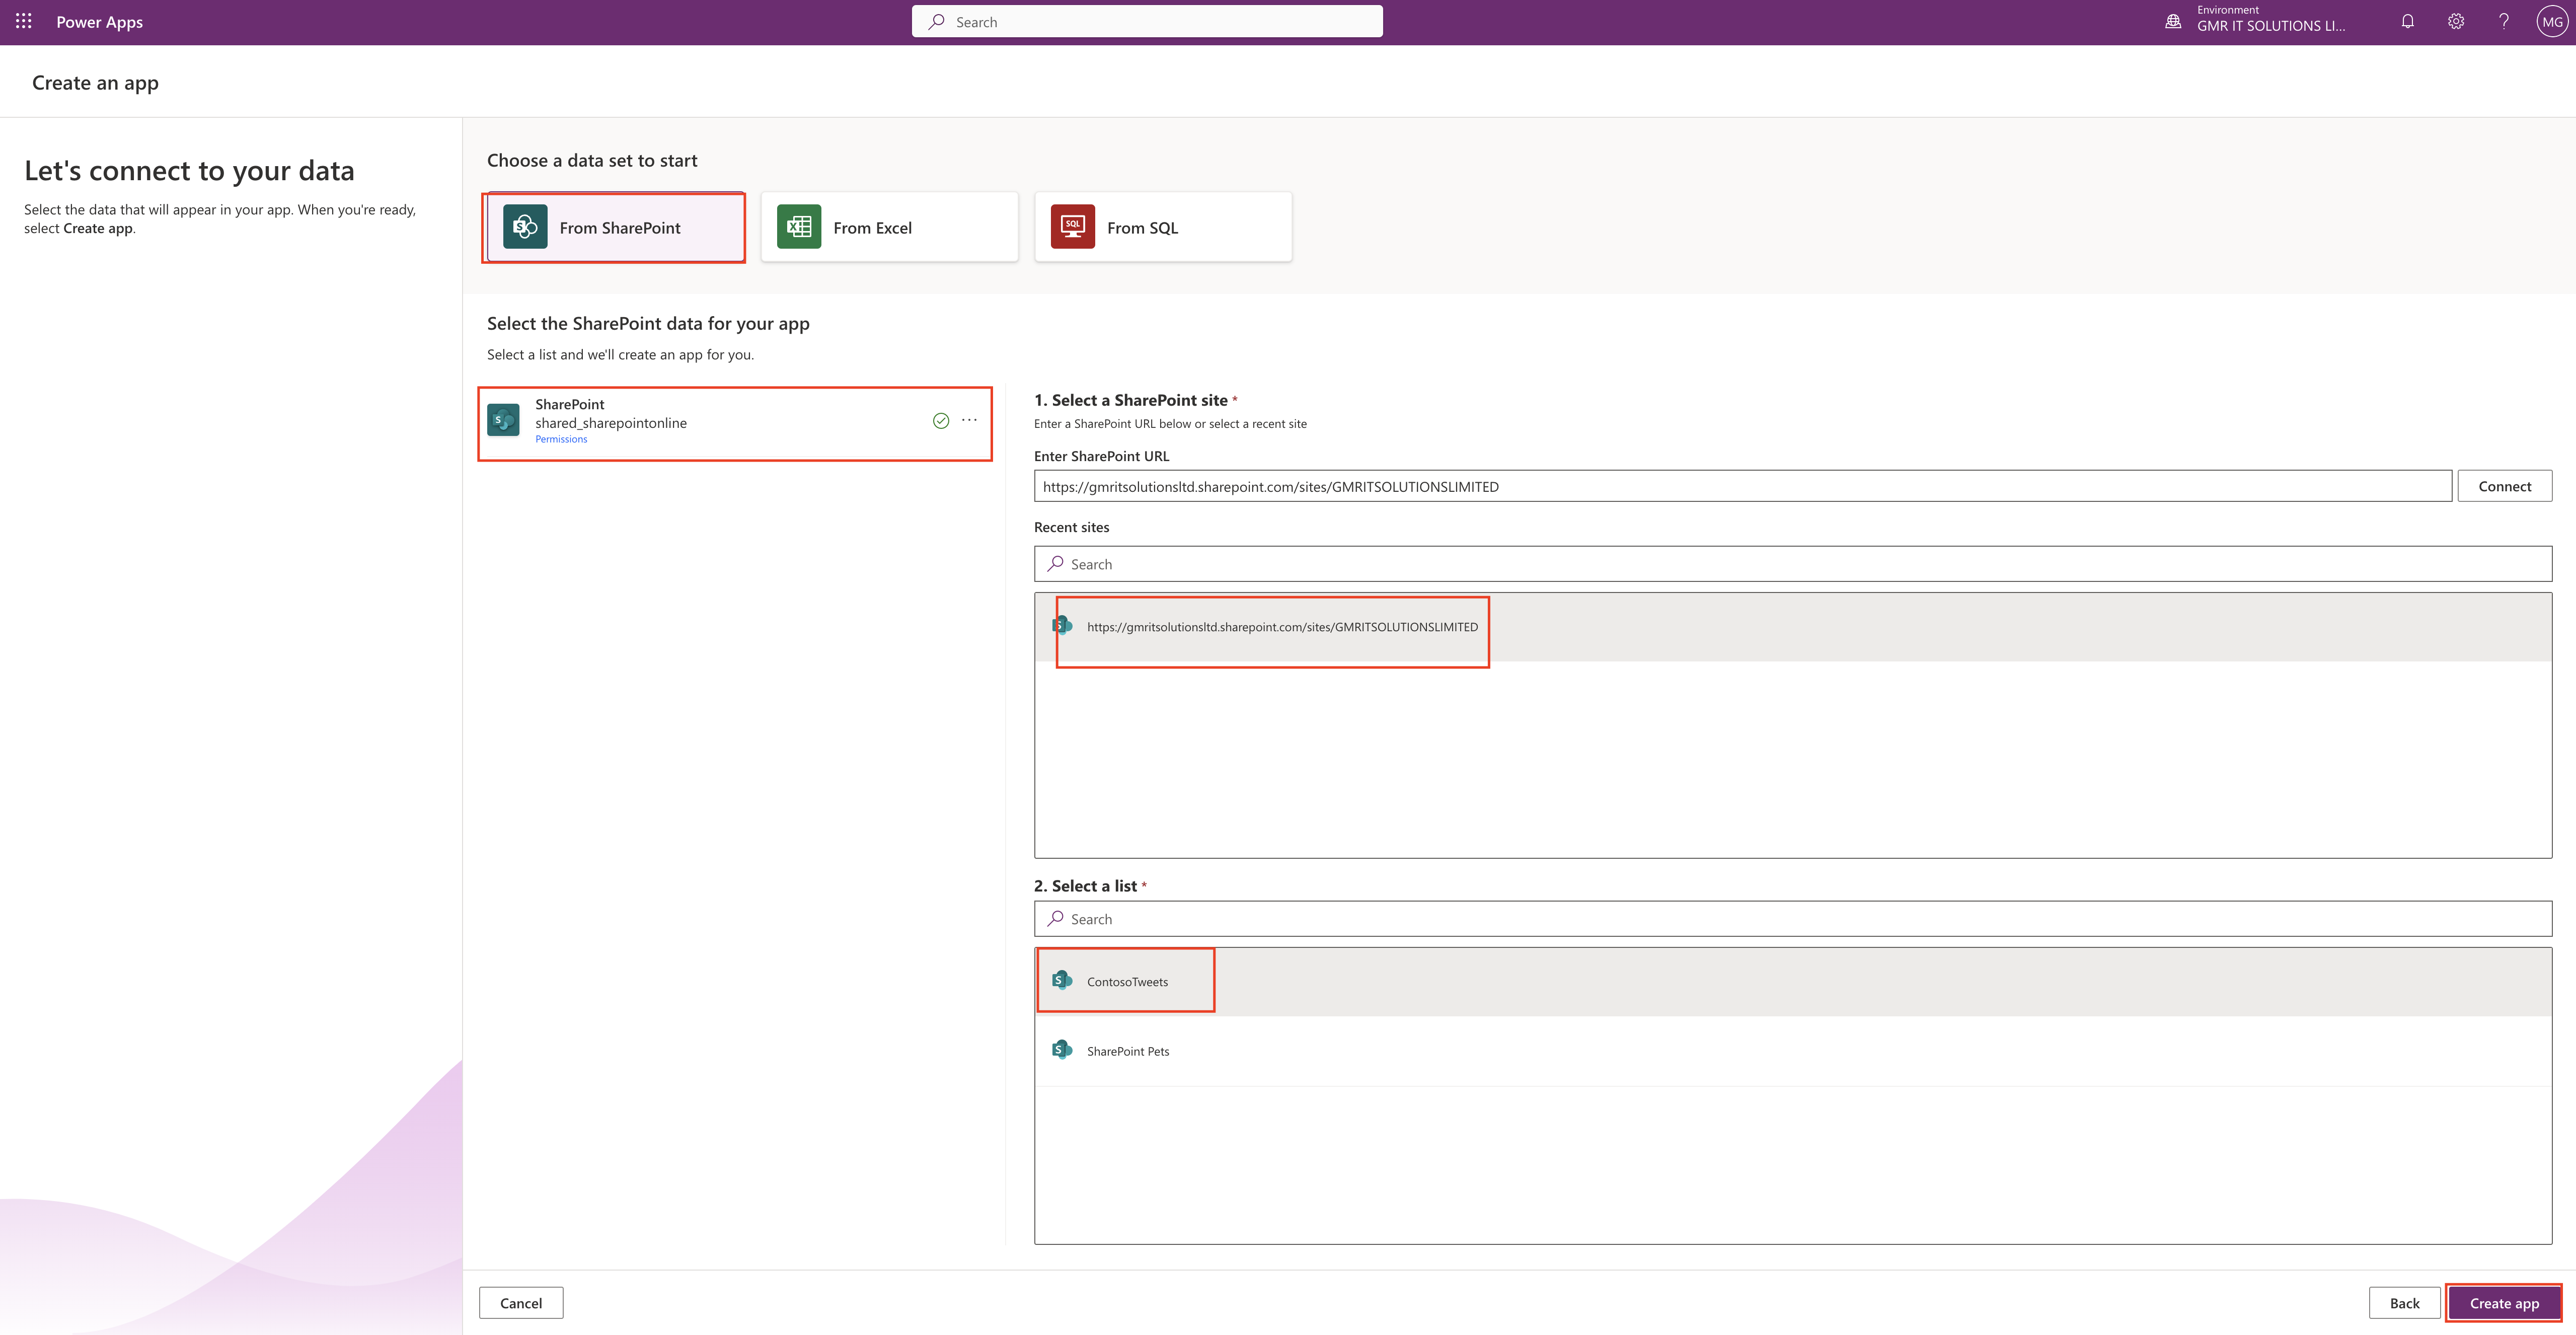
When you select the View and form then it will prompt to give it a name for your MODEL DRIVEN APP.
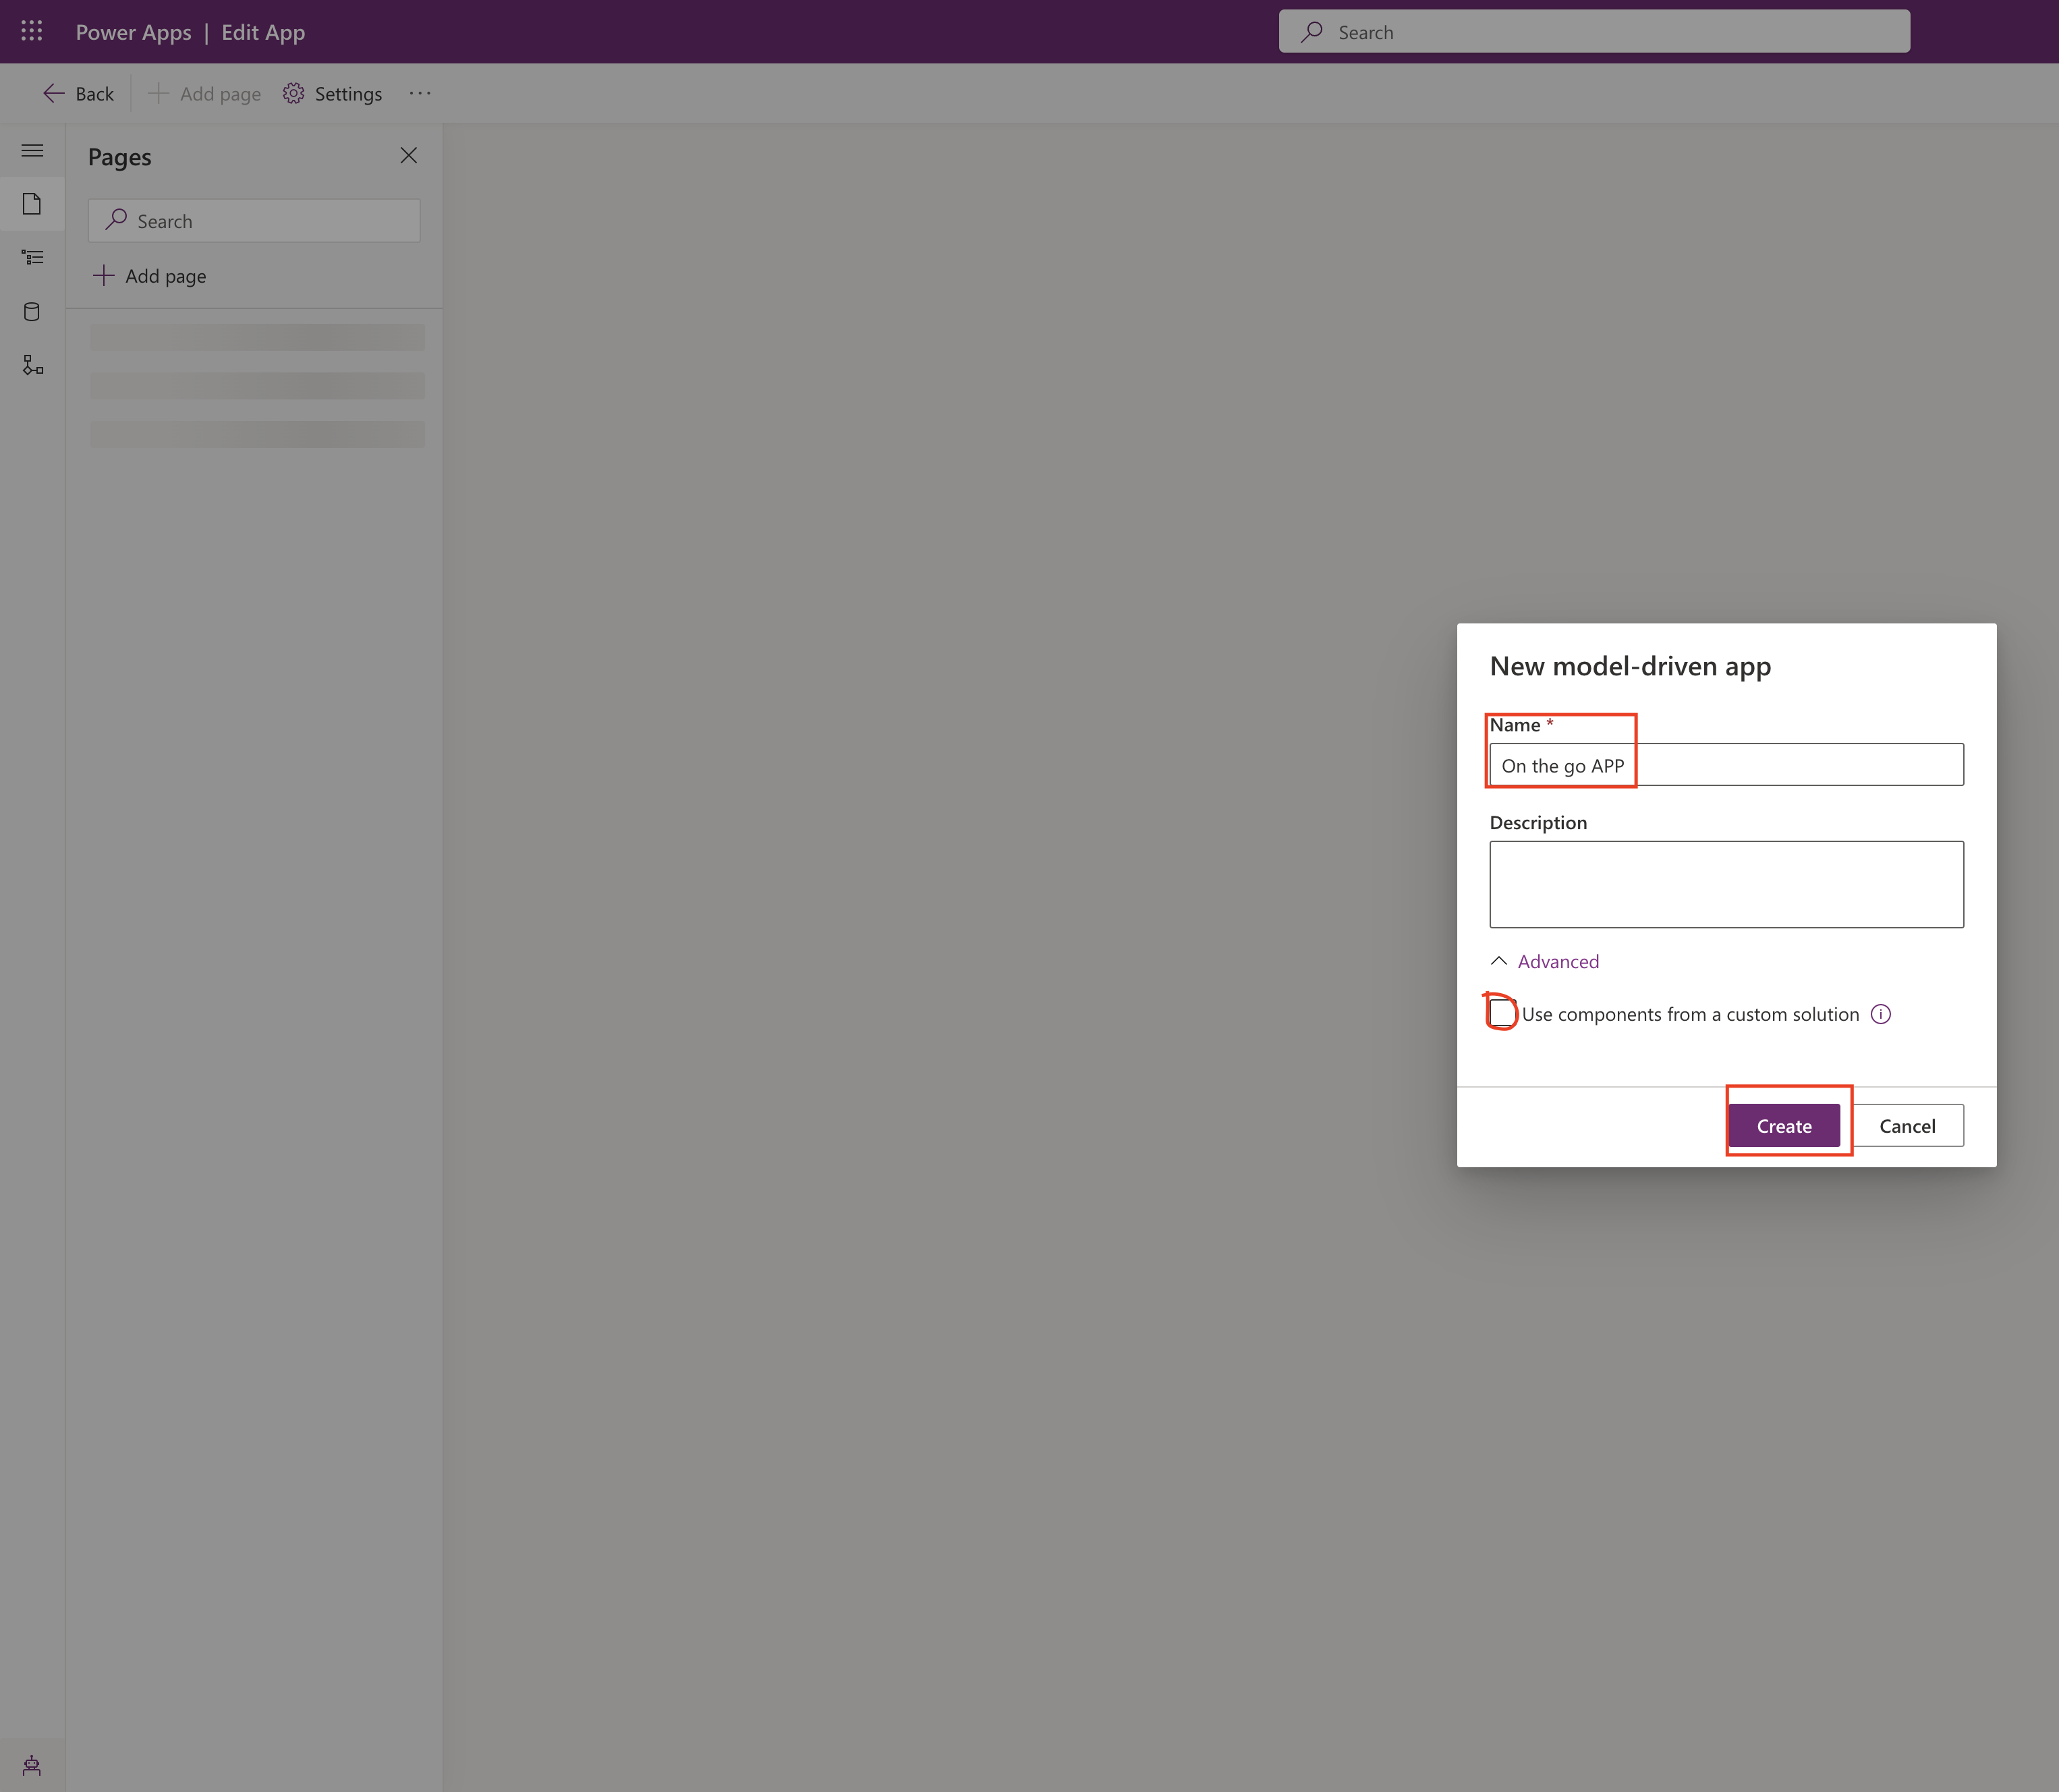
You can select the custom solution as well to use components on View and form, refer to the above screen shot.
Click CREATE.
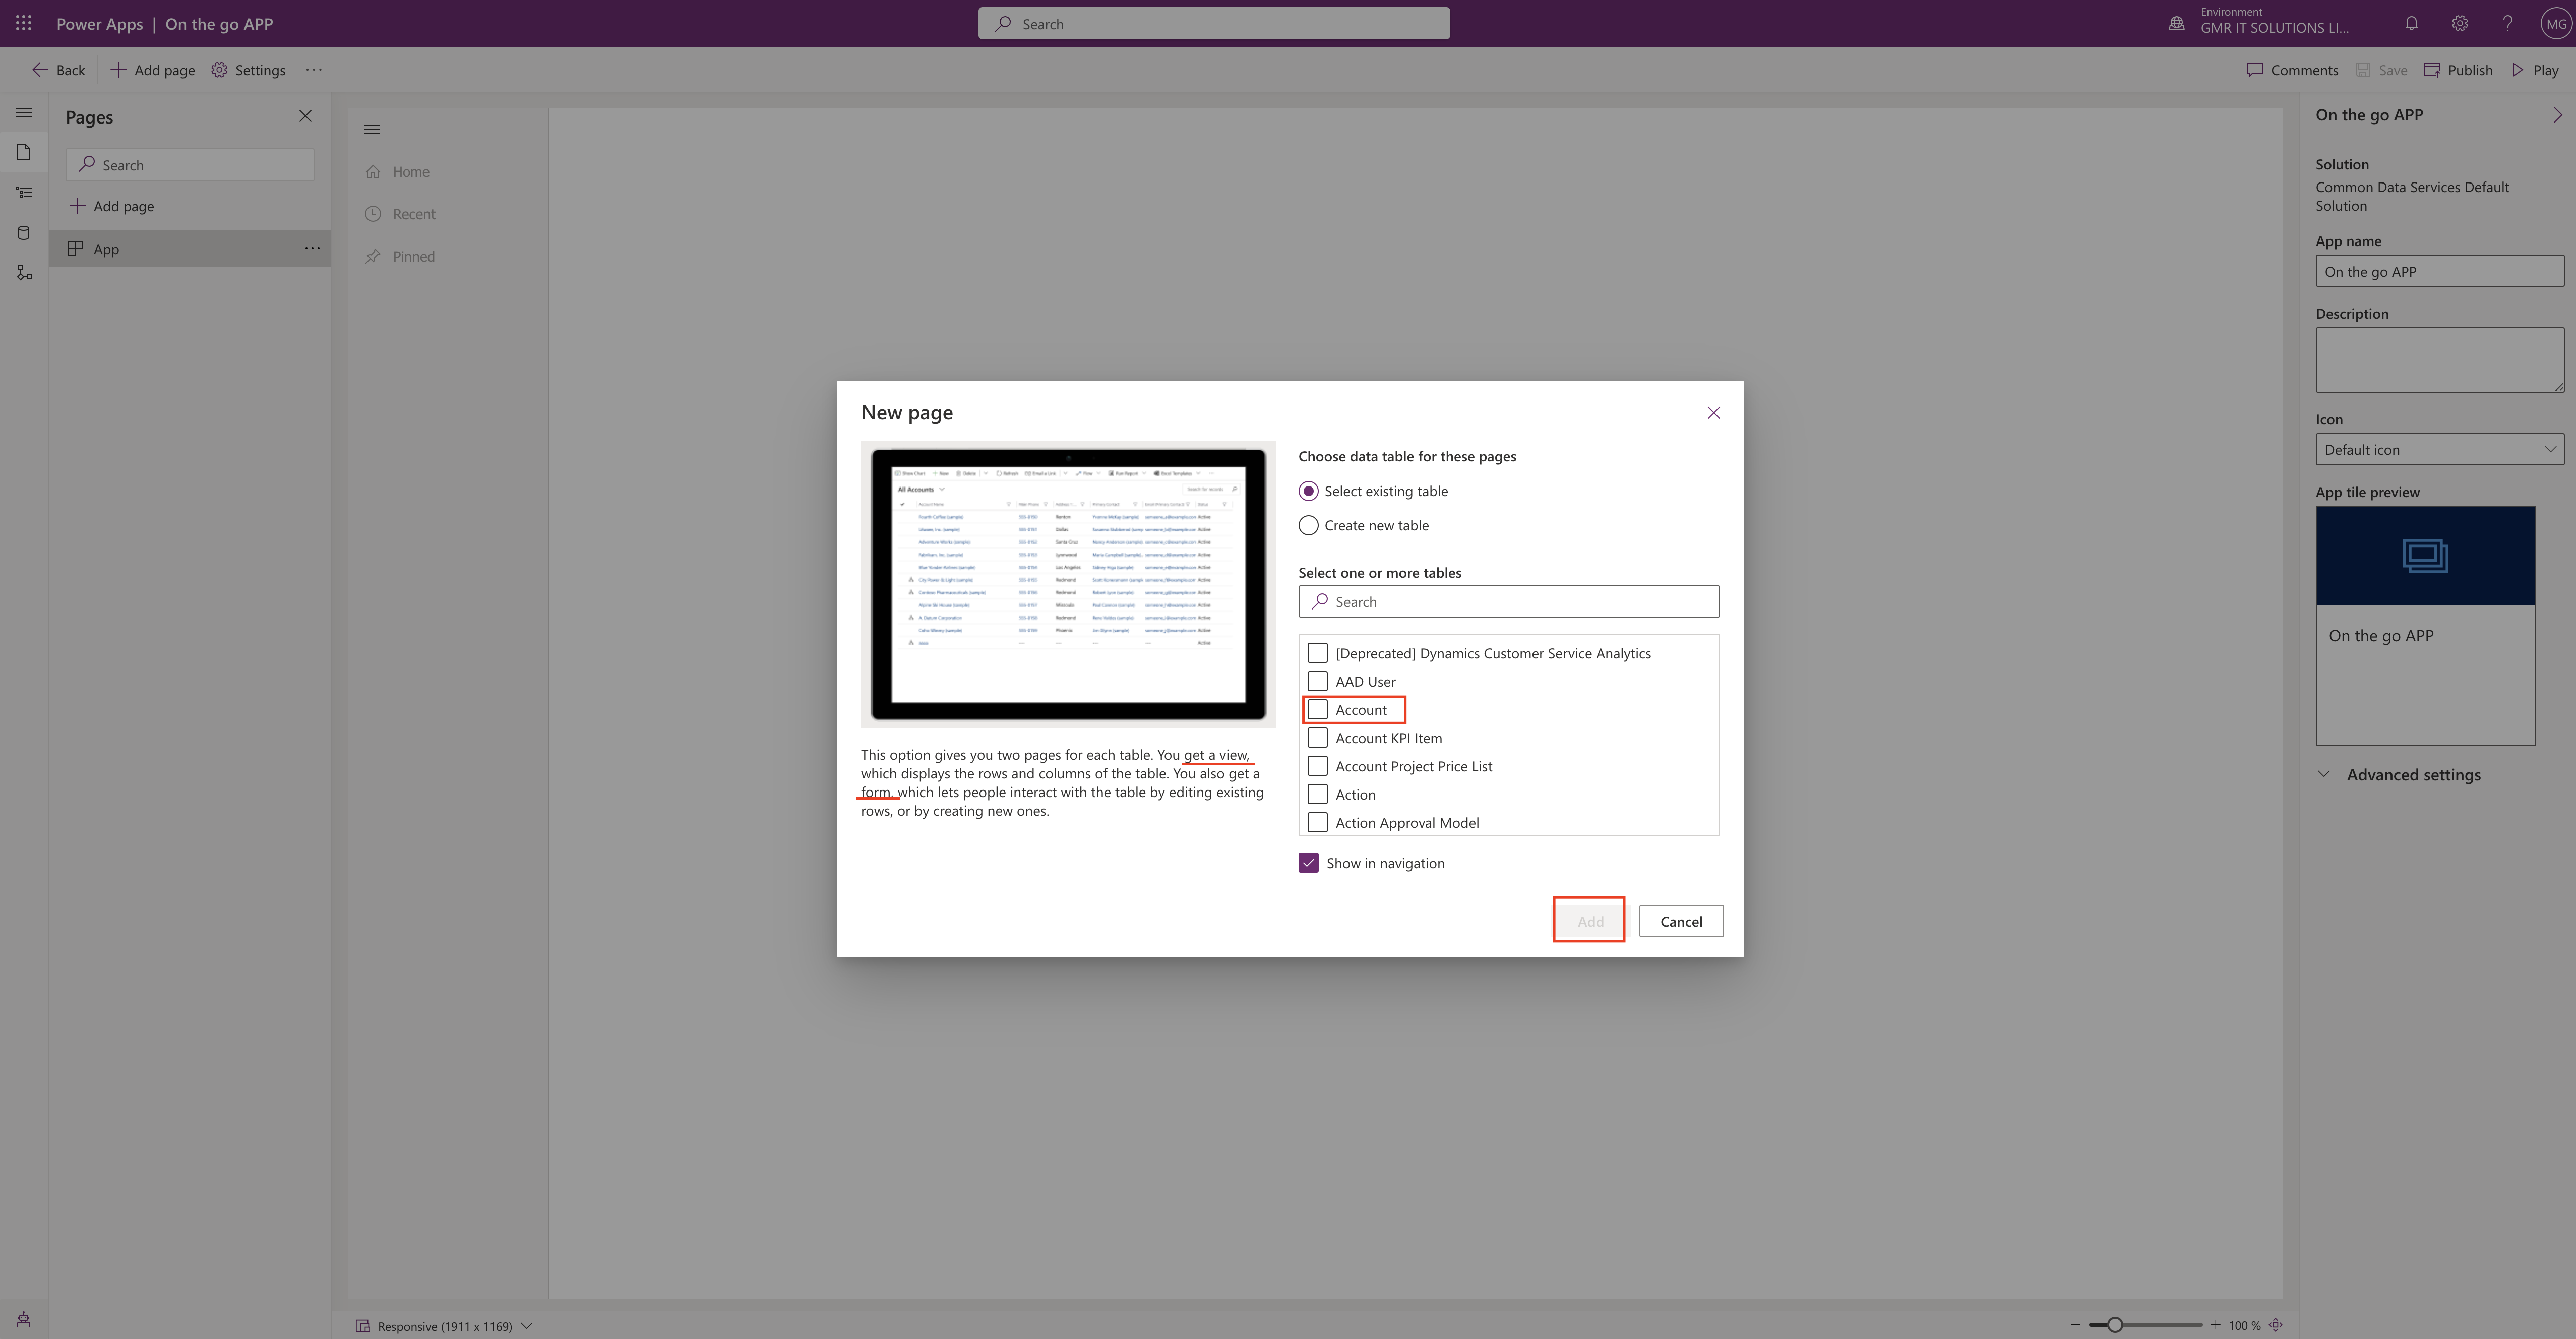
New screen will be displayed which will give two pages for each table.
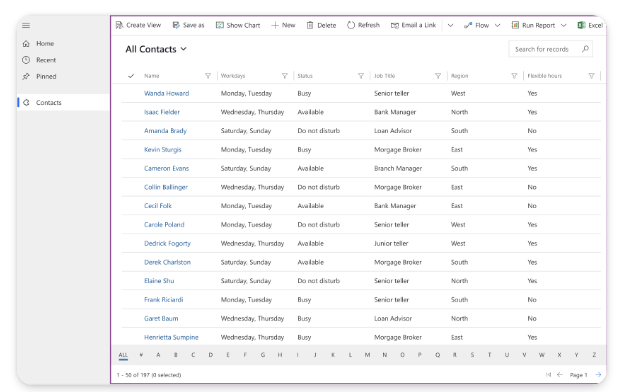
1. You get a view, which displays the rows and columns of the table.
2. You also get a form, which lets people interact with the table by editing existing rows, or by creating new ones.
Select the “Account” from the screen and click “ADD”. (Refer to the above screenshot).
Then new model driven app will be created in design mode:
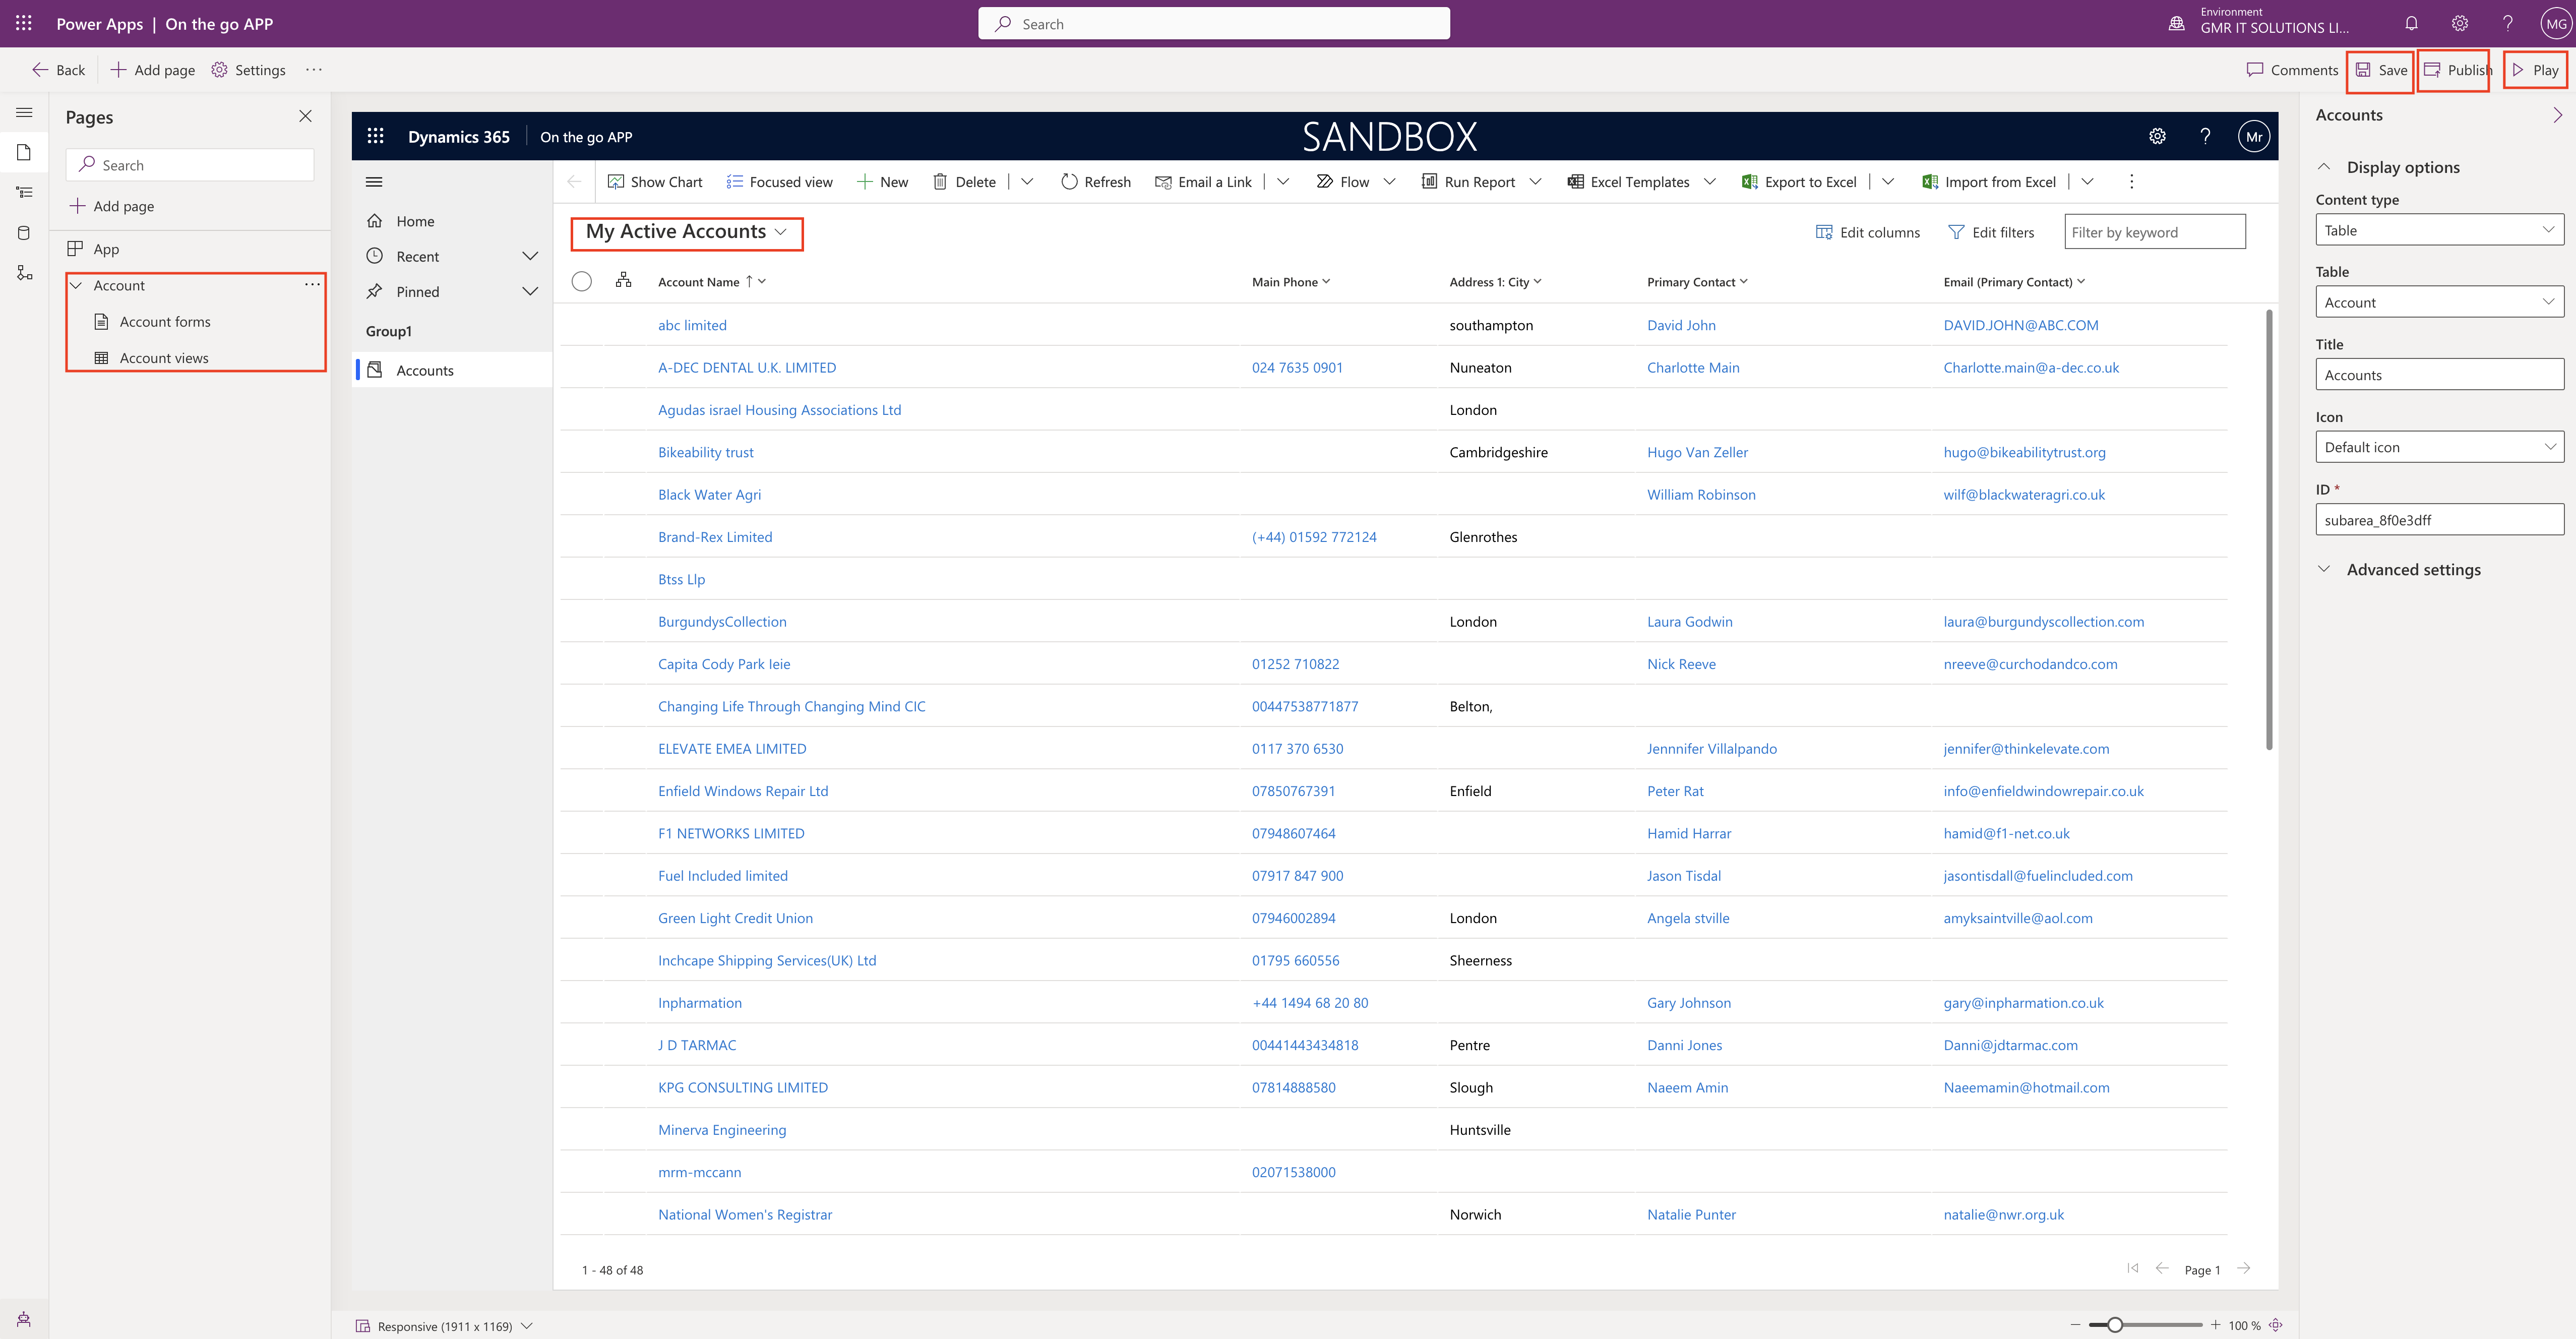
Now you can see the two pages on the left hand side of the model driven app.
1. Account forms
2. Account views
You can change the view from the ” My Active Accounts” DROPDOWN.
Click on Save, and the Publish and then PLAY.
Then MODEL DRIVEN APP will be in play mode.
You can create a new account by clicking on the +NEW button on the site map.

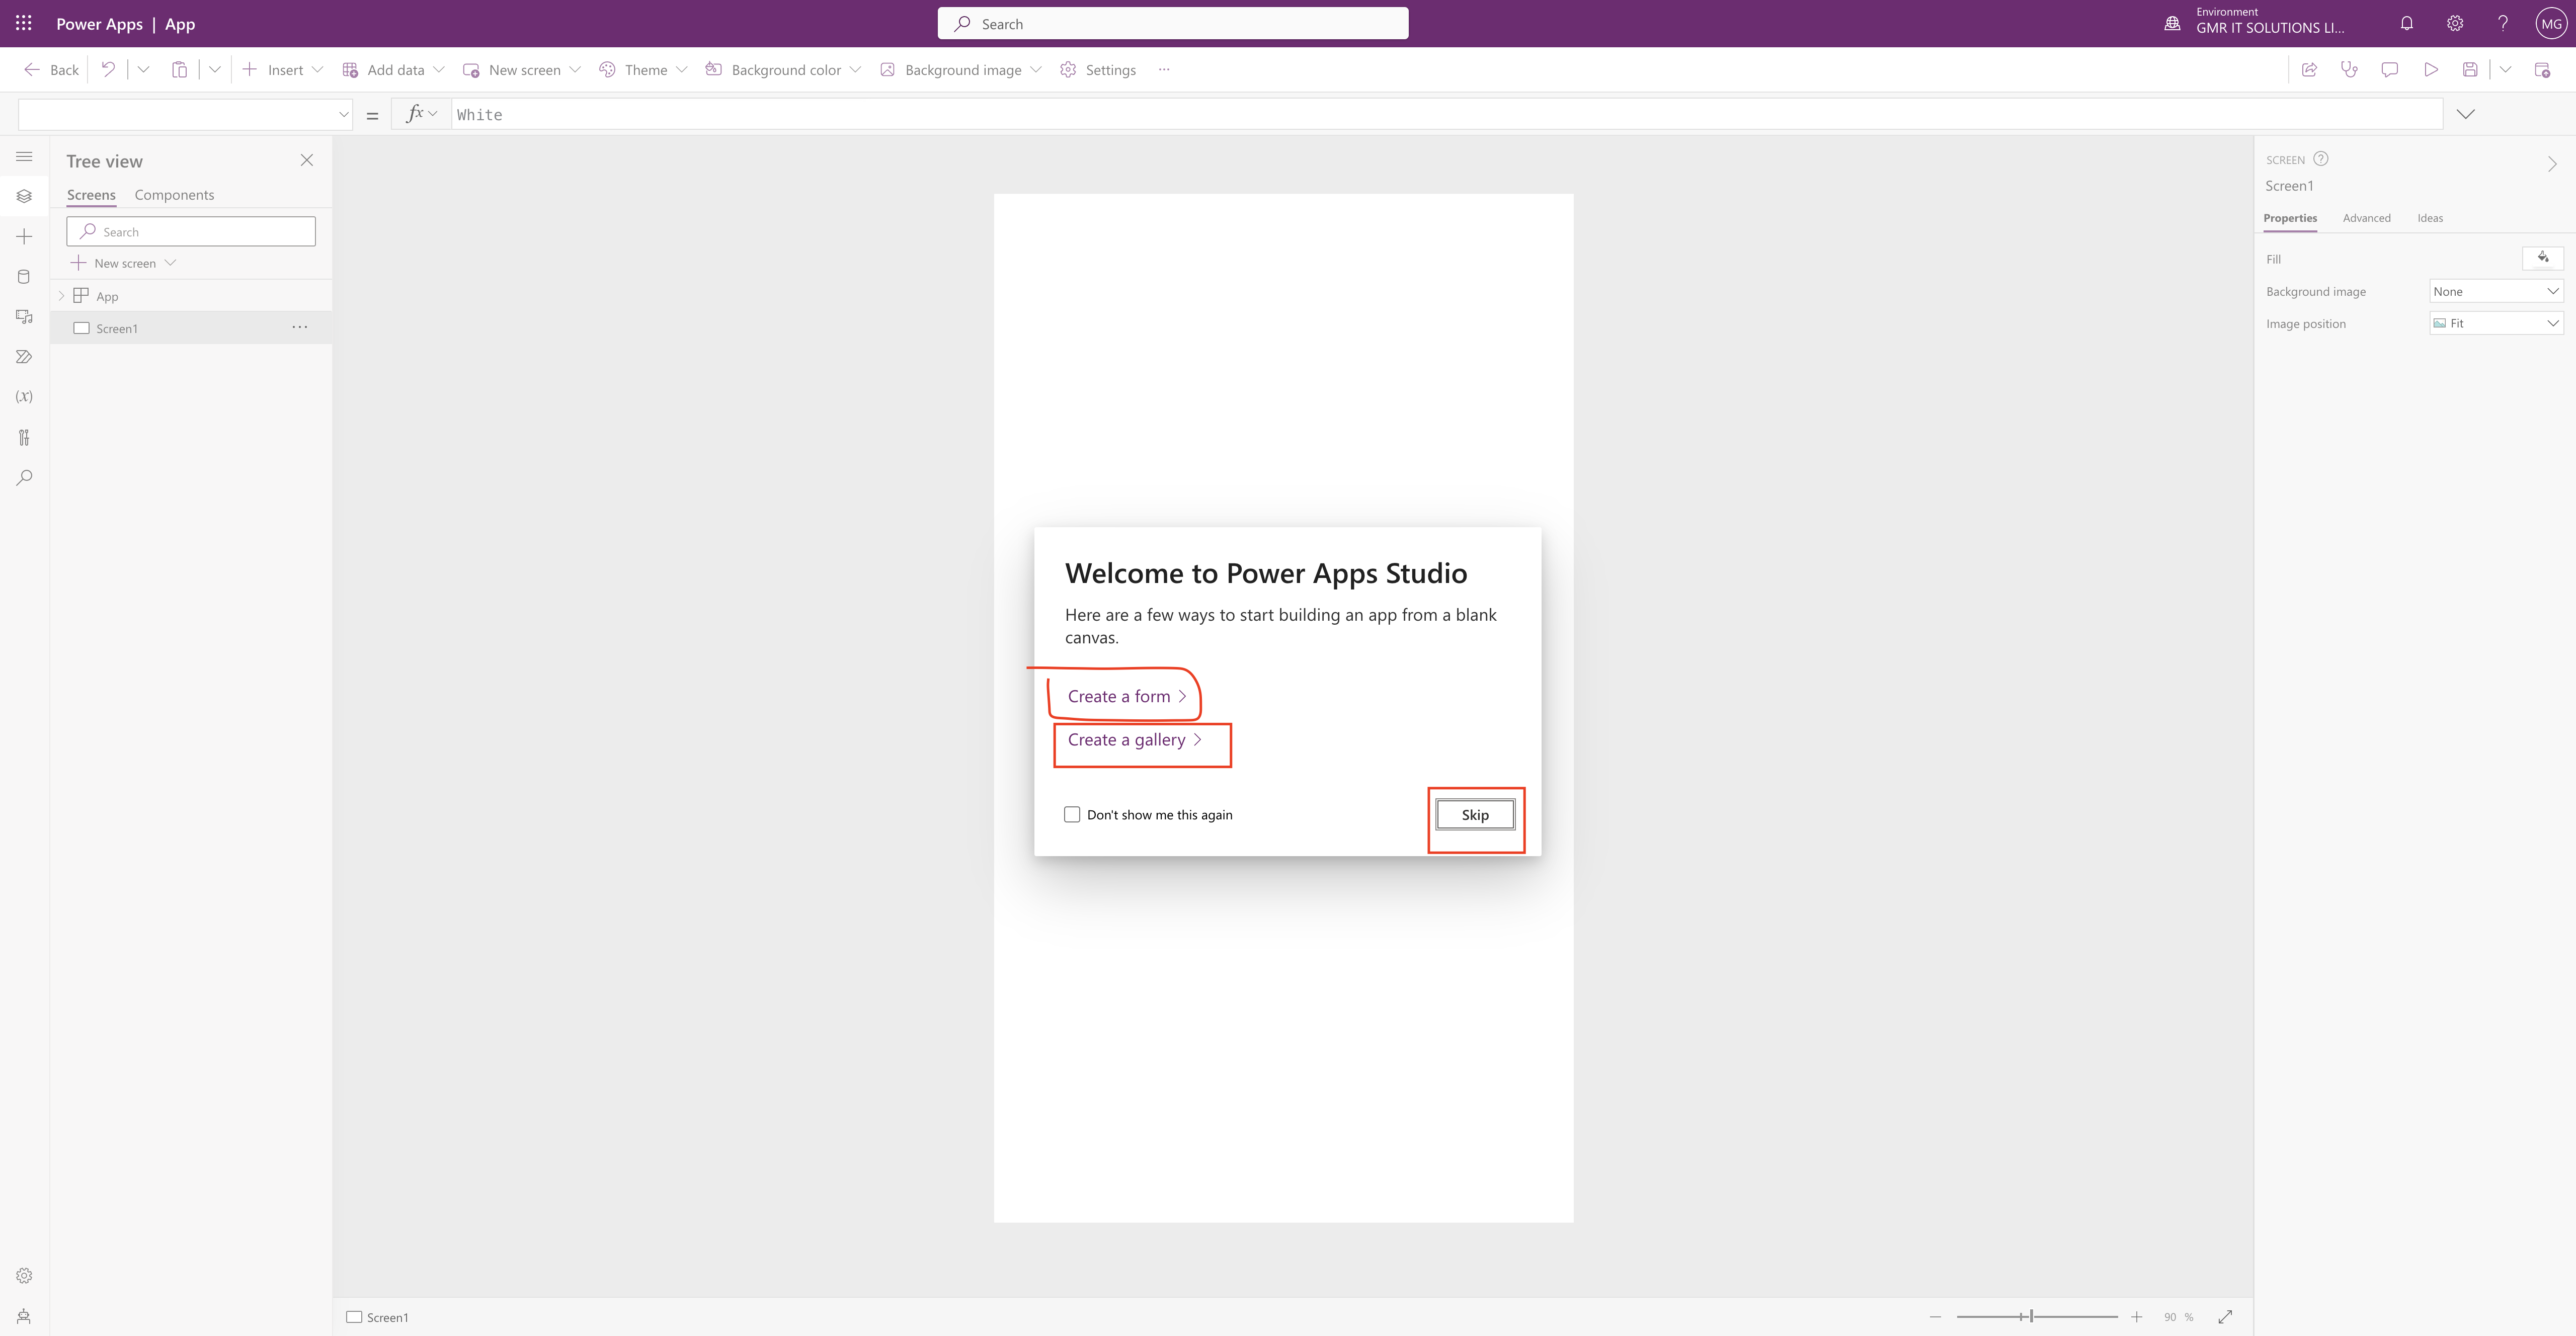
Thats it for today.
I hope this helps.
MallaReddy(@UK365GUY)
#365BlogPostsin365Days