Menu Close

Tag: #londonmallareddy

{Do you know} Where do they store customer information when a customer register for an event on Dynamics 365 Marketing

Hello Everyone,

Today I am going to share my thoughts on event registration, When a customer register for an event and where do they actually store customer information on Dynamics 365 Marketing.

Let’s get’s started.

When a customer registers for an event on Dynamics 365 Marketing, the records are stored in the Event Registration section.

Here’s how it works:

1. Event Registration Records: Each time someone fills out an event registration form, their email address is checked to see if they already exist in Dynamics 365 as a Contact.

If not, a new Contact record is created for them, and an Event Registration is linked to that new Contact.

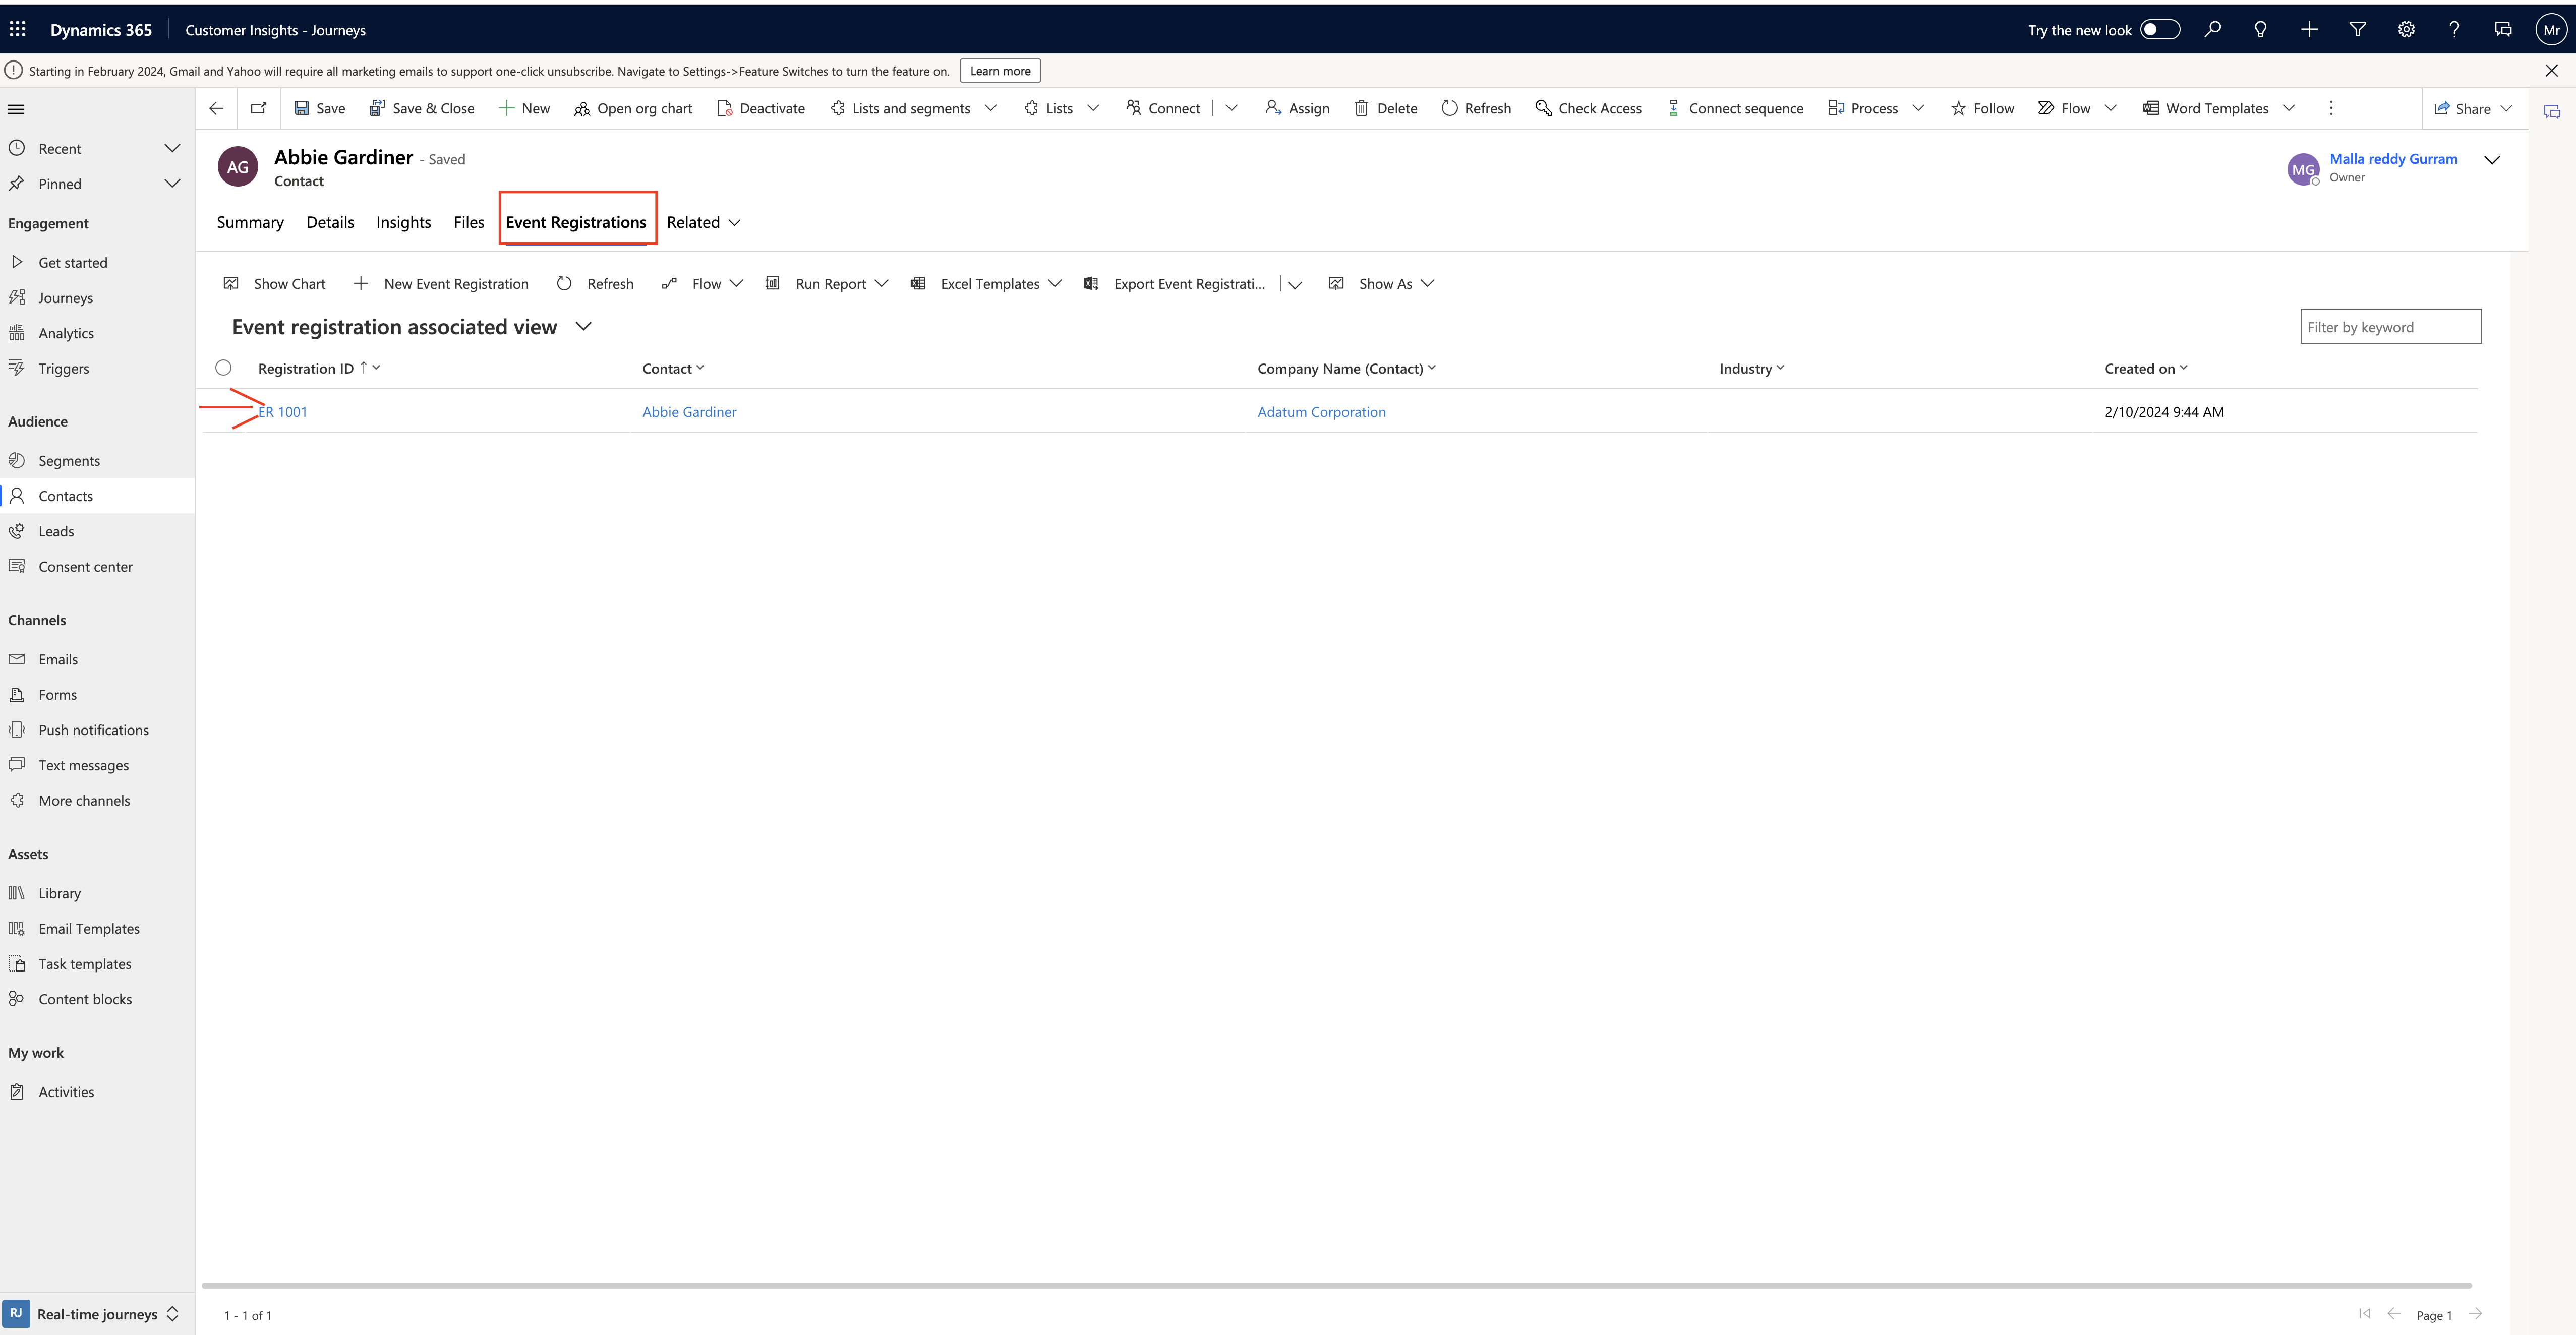
2. Event Management Work Area: To view all current registrations and pass assignments and to create them manually in the system, you can work in either of the following entities within the Events work area:

a) Events > Event > Event Registrations: Here: you can view and create registrations for all events.

b) Events > Event > Events: Open an event record and go to the Registration & Attendance tab to view and create registrations for the selected event.

To view or create individual session registrations, navigate to the Agenda tab of the event record and open a session listed there.

Remember, this process helps event managers evaluate resource needs, session capacities and attendees preferences. It ensures that attendees have reserved seats for the sessions they want to attend!.

That’s it for today.

I hope this helps.

Malla Reddy Gurram(@UK365GUY)
#365BlogPostsin365Days

Share this:

{How to} Create Lead Scoring Matrix on Dynamics 365 Marketing

Hello Everyone,

Today I am going to share my thoughts on how to create lead scoring on Dynamics 365 Marketing.

Let’s get’s started.

Suppose you have a requirement to create a brand new lead scoring matrix on Dynamics 365 Marketing.

How do you do that?

In Dynamics 365 Marketing, Lead scoring helps you prioritize and qualify leads based on their interactions and attribites. Let’s dive into hoe you can set up lead scoring models:

1. Navigate to Scoring Models:

Go to Outbound marketing > Lead management > Scoring Models.

Here, you’ll find a list of existing models. You can create, delete, search, sort or filter items in the list.

To create a new model, select New.

2. Design Your Scoring Model:

When creating a new model, you’ll be taken to the Design tab.

Use a combination of condition/action tile pairs to build your scoring models.

Conditions define the criteria for scoring(e.g email opens, webiste visits, form submissions).

Actions determine how points are assigned based on interactions(e.g.. +10 points for clicking an email link).

Actions determine how points are assigned based on interactions (e.g., +10 points for clicking an email link).

Connect these tiles to create a flow that calculates scores for leads.

3. Set Threholds:

Each scoring model includes a sales-ready threshold.

When a lead’s score surpasses this threshold, it’s marked as sales-ready.

This can trigger other events within Dynamics 365, such as advancing the lead through its business process or alerting salespeople.

4. Privacy Considerations:

Automatic lead scoring can introduce data privacy issues.

Ensure compliance with relevant data privacy regulations when using lead scoring features.

Remember, lead scoring is a powerful tool, but thoughtful design and testing are essential for effective lead management.

That’s it for today.

I hope this helps.

Malla Reddy Gurram(@UK365GUY)
#365BlogPostsin365Days

Share this: