Hello Everyone,
Today i am going to share my thoughts on pipeline, we can do more with it.

Let’s get’s started.
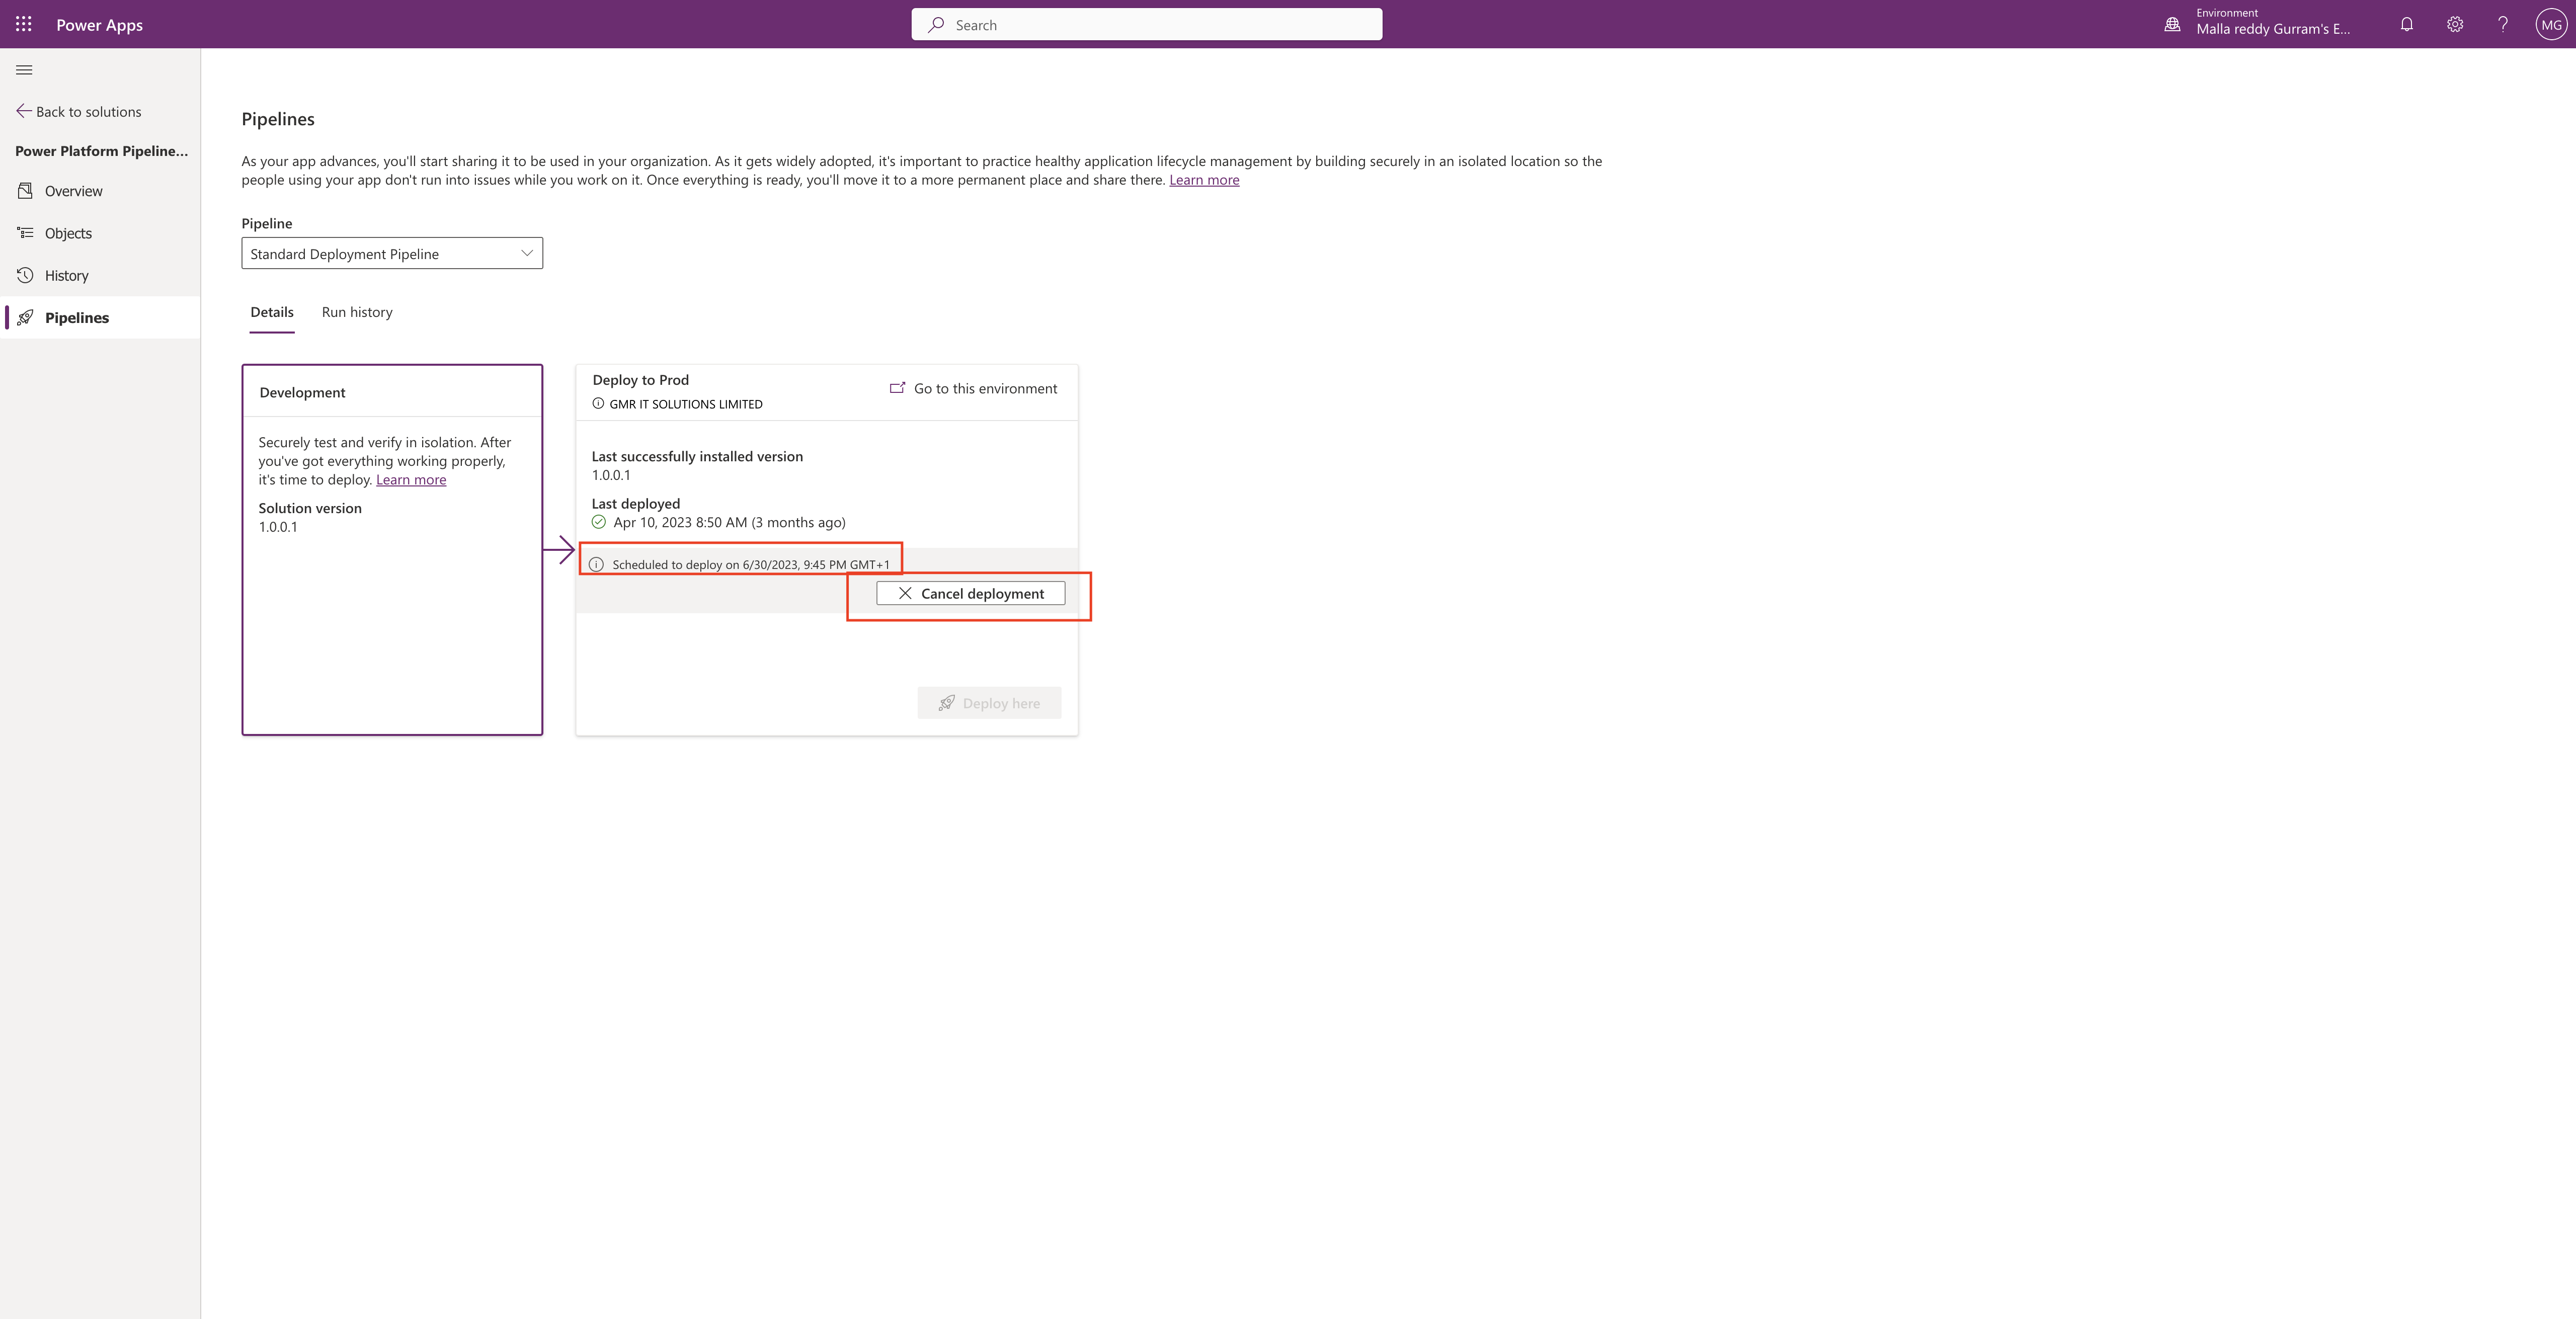
Pipeline in Power Platform typically refer to data integration pipeline created using Power Automate or Power Apps. These pipelines allow you to automate workflows and integrate data across various Microsoft and third party applications. To do more with Pipelines in Power Platform, you can explore the following advanced capabilities and best practices.
1. Advanced Data Transformations:
Use Power Query in Power Automate to perform complex data transformations when moving data between systems.
Utilize custom expressions and functions to manipulate data within pipelines.
2. Parallel Processing:
Implement parallelism in your pipelines to improve performance by processing multiple tasks simultaneously.
Split large data sets into smaller chunks for parallel processing.
3. Error handling:
Implement robust error handling and retry mechanisms in your pipelines to handle failures gracefully.
Send notifications or log errors to a centralized system for monitoring and troubleshooting.
4. Conditional Logic:
Use conditional statements and branching logic to create dynamic workflows that respond to specific conditions.
Combine conditions with loops and iterations to handle various scenarios.
5. Custom Connectors:
Build custom connectors to connect to external systems or APIs not supported out of the box.
Publish and share custom connectors with your organisation or the power platform community.
6.Integration with Azure Services:
Integrate Power Platform pipeline with Azure services such as Azure Logic Apps, Azure Functions, and Azure Service Bus for Advanced automation and scalability.
7. Monitoring and Analytics:
Set up monitoring and analytics tools like Power Platform Analytics, Azure Monitor or Power BI to gain insights into pipeline performance and usage.
8. Data Security and Compliance:
Implement security measures like role based access control and data encryption to ensure data security and compliance with regulatory requirements.
9. Scheduled and Triggered Pipelines:
Create pipelines that run on schedule or are triggered by events like changes in a database or a new email arriving in your inbox.
10. Documentation and Version Control:
Maintain proper documentation for your pipeline, including descriptions, data flow diagrams and dependencies..
Use version control systems like Azure DevOps or GitHub to track changes to your pipeline workflows.
11. Performance Optimization:
Optimize your pipelines for performance by reducing unnecessary data transfers and minizing resources usage.
Montitor execution times and resources consumption to identify bottlenecks and areas for improvement.
12.Governance and lifecycle management:
Improvement governance policies to manage the lifecycle of your pipelines, including development testing and production environments.
Enforce naming conventions and standards to maintain consistency.
13.User Training and Adoption:
Provide training and support to users and developers to ensure they can effectively create and manage pipelines in Power Platform.
14. Community and knowledge sharing:
Engage with the Power Platform community through forums user groups, and online resources to learn from others and share your knowledge.
That’s it for today.
I hope this helps
Malla Reddy Gurram(@UK365GUY)

