Menu Close

Tag: #mallareddygurram

How to capture azure service bus queue and send email from Dynamics 365 Marketing

Hello Everyone,

Today I am going to share my thoughts on how to capture azure service bus queue and send email from Dynamics 365 Marketing.
Let’s get’s started.

Suppose there is a requirement to send emails from Dynamics 365 Marketing by capturing queues from Azure Service Bus Queue.

Where would queues coming from ? They will come from a Web App.

How do you do that integration of Azure Service Bus with Dynamics 365 Marketing.

Certainly! To capture Azure Service Bus Queue messages and send emails from Dynamics 365 Marketing, you can follow these steps:
1. Azure Service Bus Setup:

Set up an Azure Service Bus Queue.

Obtain the connection string for the Service Bus.

2.Power Automate Flow:

Create a Power Automate Flow.

Use the “When a message is received in a queue(Azure Service Bus)” trigger .

Configure the connection using the Service Bus Connection String.

Define actions to process the message, e.g extract relevant information.

3. Dynamics 365 Marketing Integration:
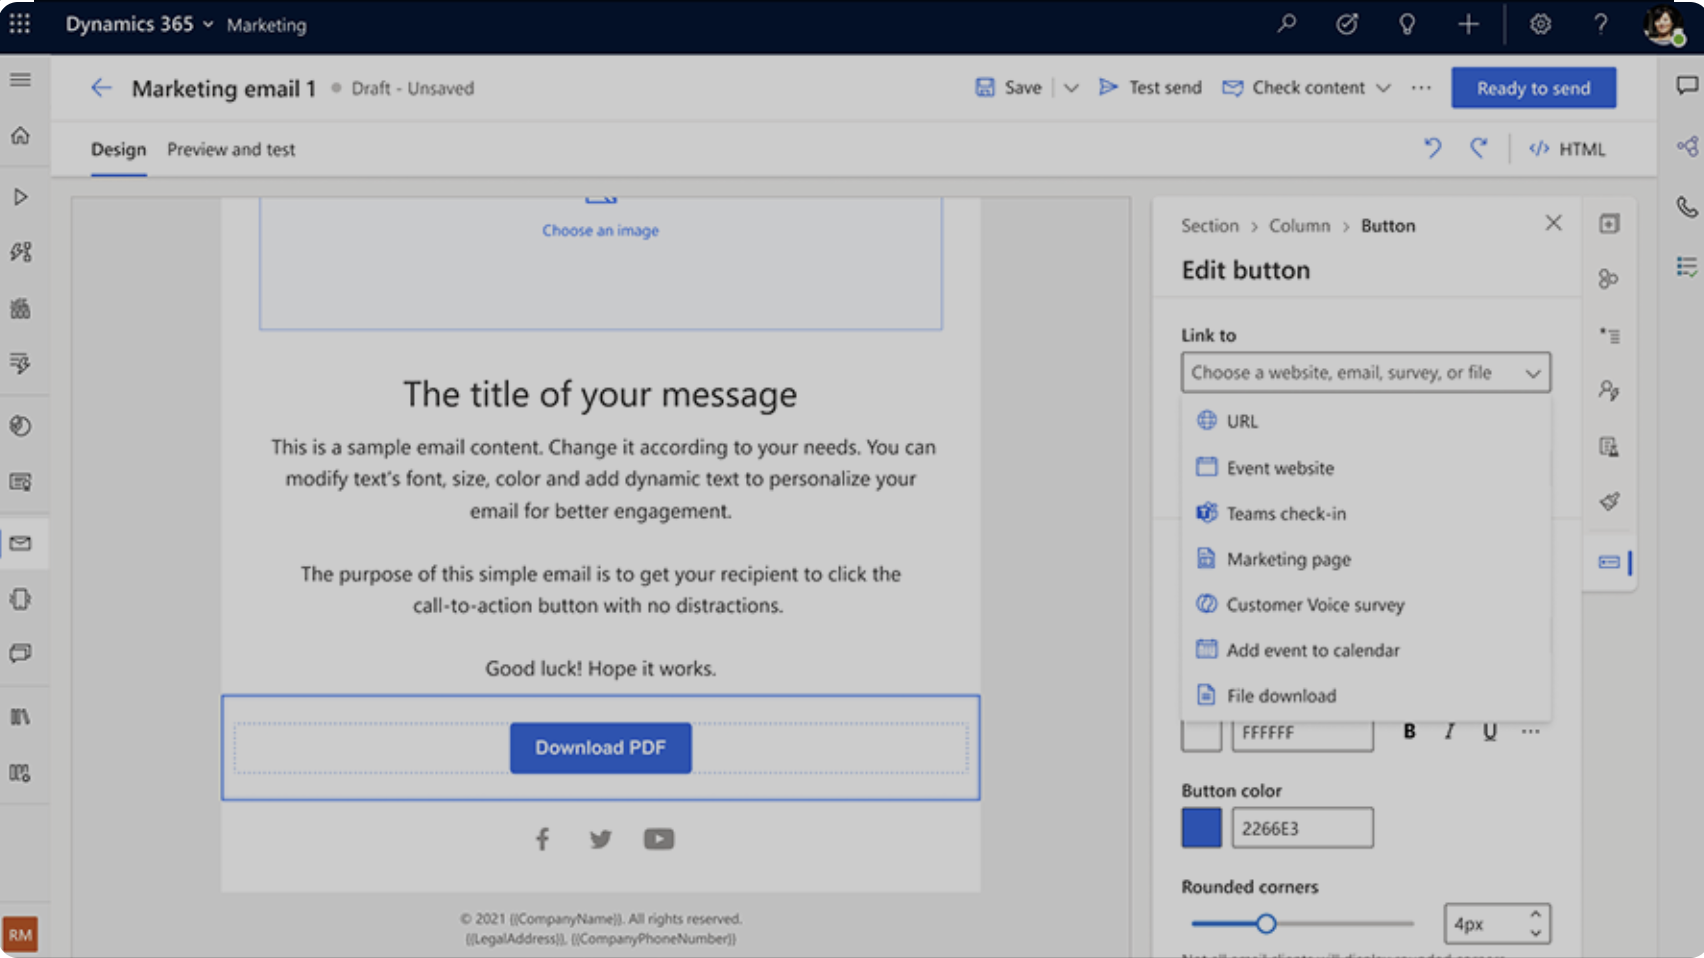
Add an action in the Power Automate flow to create or update a record in Dynamics 365 Marketing.

Use the “Create a record” or “Update a record” action based on your requirements.

Populate the necessary fields with data from the Azure Service Bus message.

4. Send Email in Dynamics 365 Marketing:

Add another action to the Power Automate flow to trigger the email sending process in Dynamics 365 Marketing.

You may use the “Send an Email(V2)” action or a similar one depending on your Dynamics 365 Marketing version.

5. Authenticate and Permissions:

Ensure that the authentication between Azure Service Bus, Power Automate, and Dynamics 365 Marketing is set up securely.

Grant the necessary permissions to the service accounts or users involved in the integration.

6. Testing and Monitoring:

Test the end to end flow to ensure that messages from the Azure Service Bus Queue trigger the desired actions in Dynamics 365 Marketing.

Implement monitoring and logging to track the flow execution and handle any errors.

By following these steps, you can create a seamless integration between Azure Service Bus Queue and Dynamics 365 Marketing, allowing you to capture messages and trigger email sending processes.

That’s it for today.

I hope this helps.

Malla Reddy Gurram(@UK365GUY)
#365BlogPostsin365Days
Share this:

Build new segments using Copilot in Dynamics 365 Customer Insights

Hello Everyone,

Today I am going to show how to build new segment using Query Assist in Dynamics 365 Customer Insights.

Let’s get’s started.

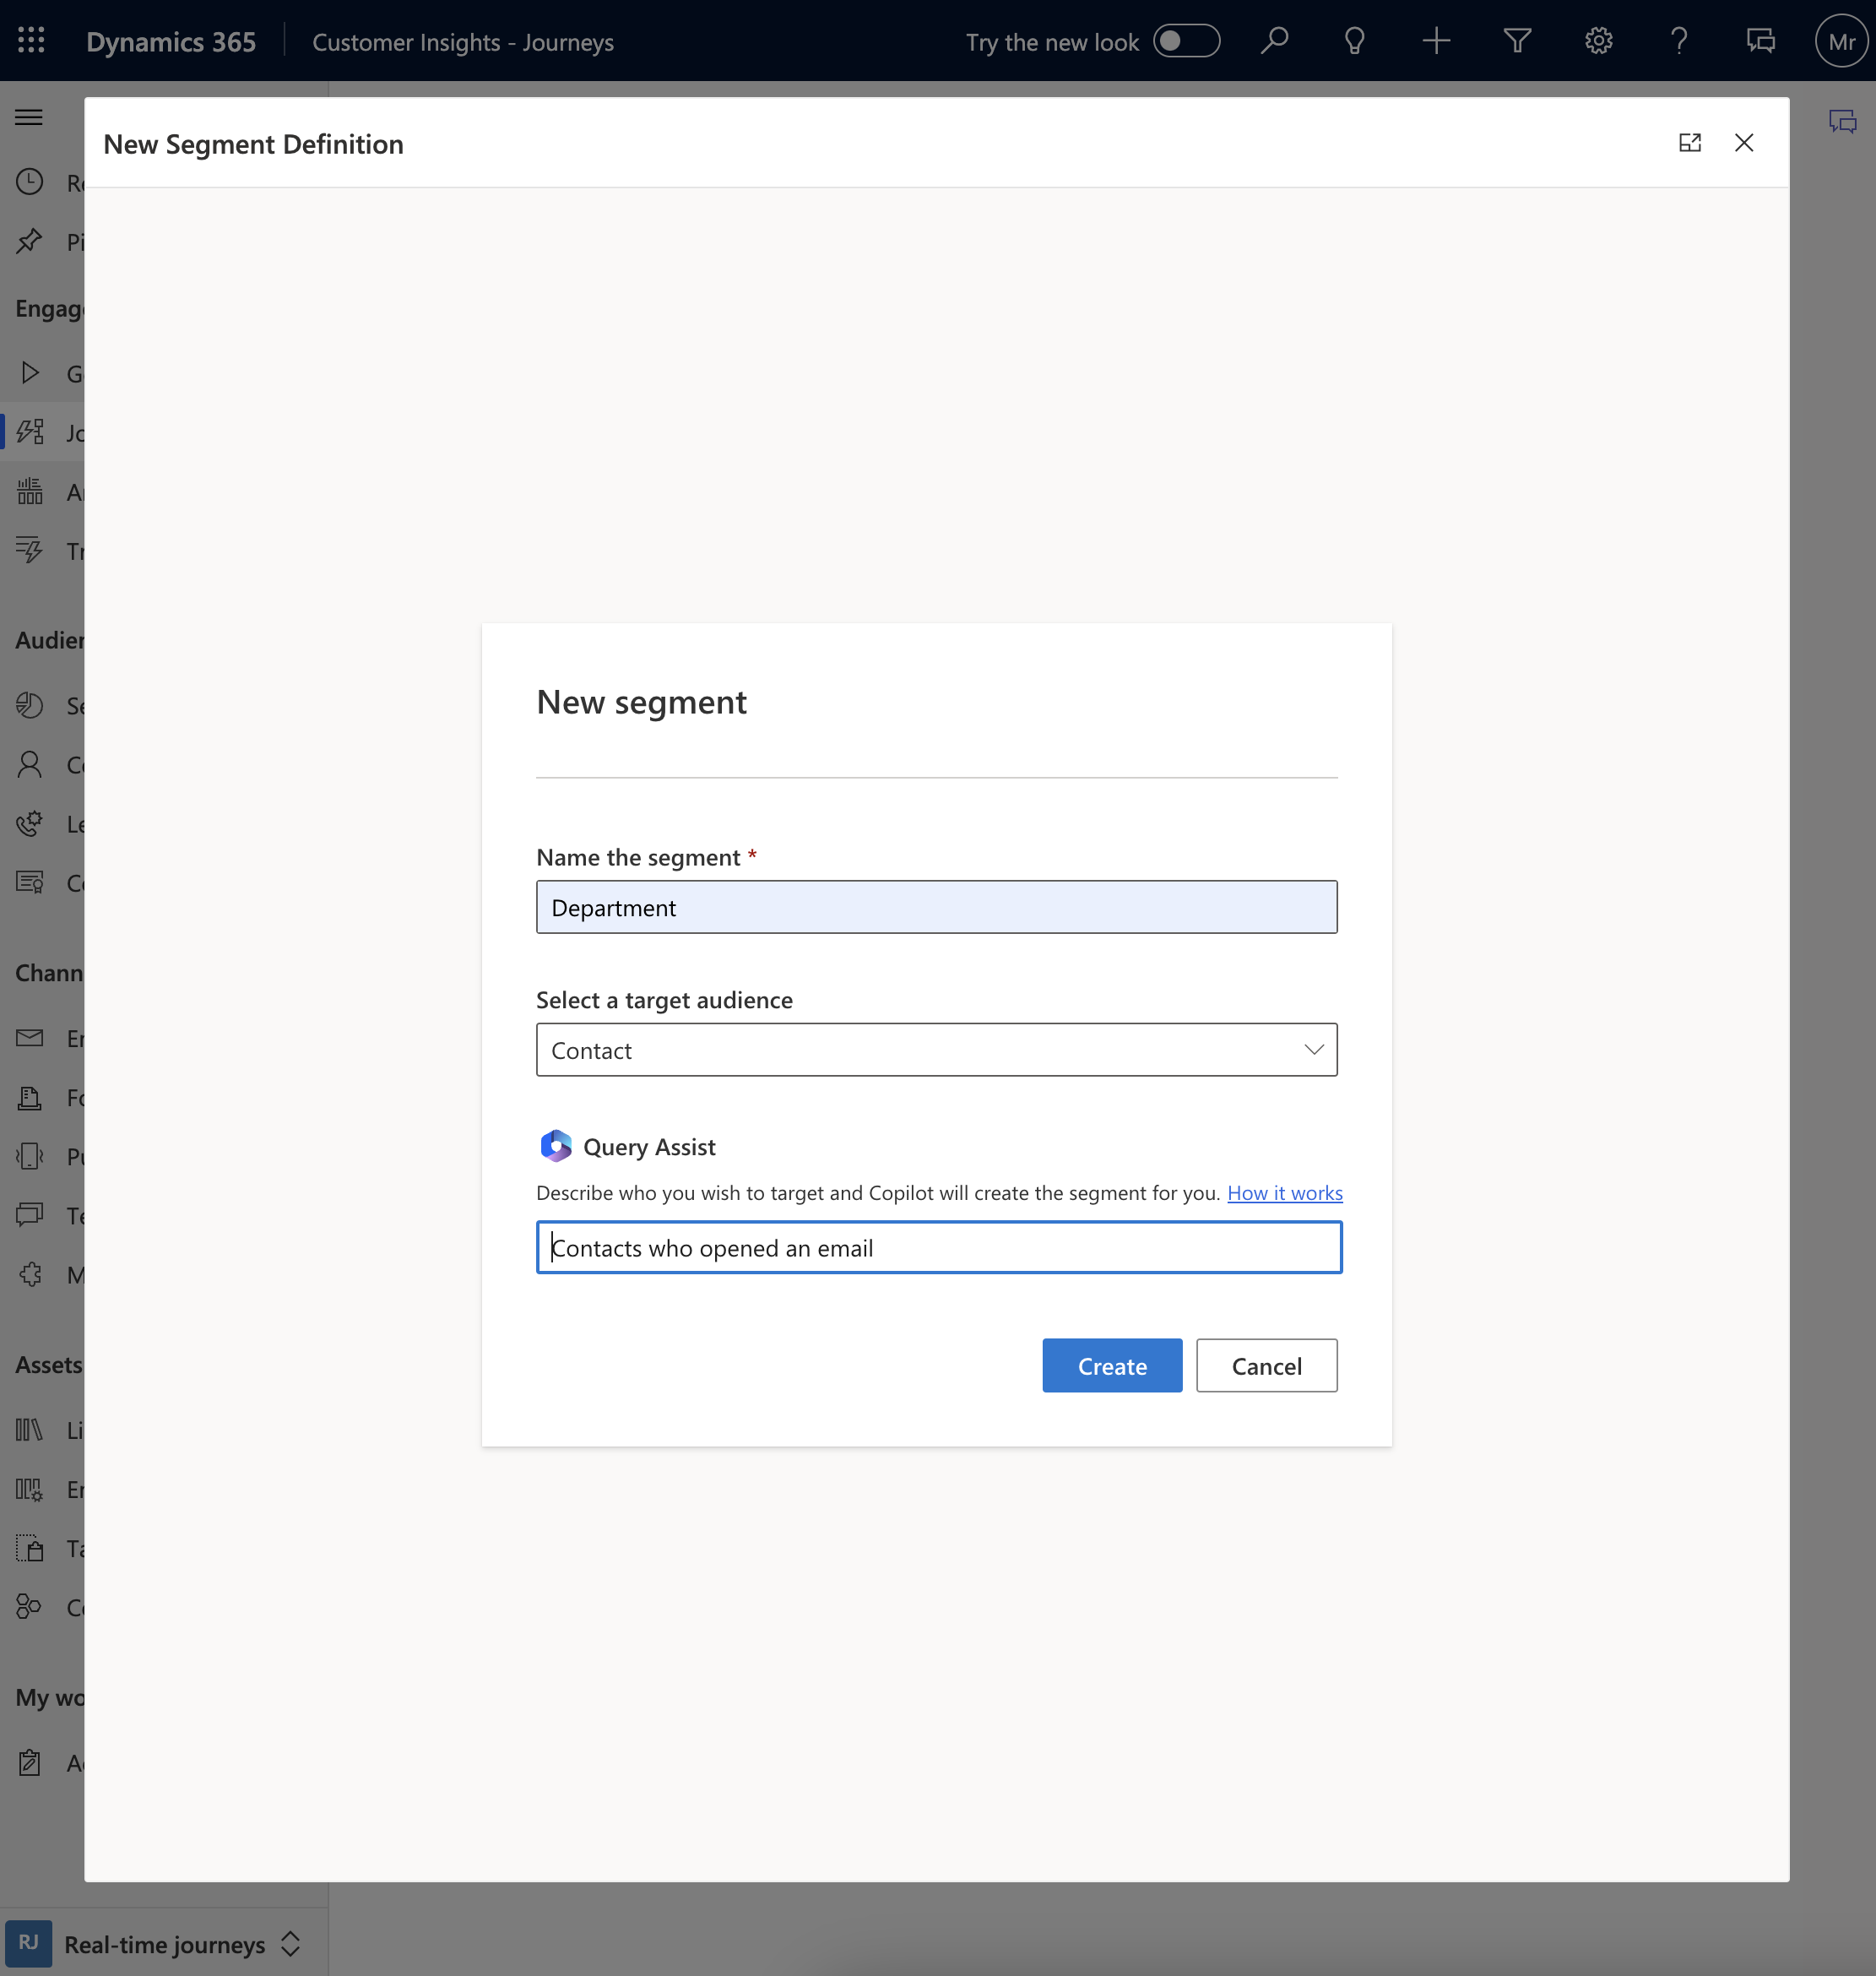
When you start creating a new segment, you need to define three things:

1.Name of the segment: All contacts who opted in.

2.Select a target audience: Contacts, Lead

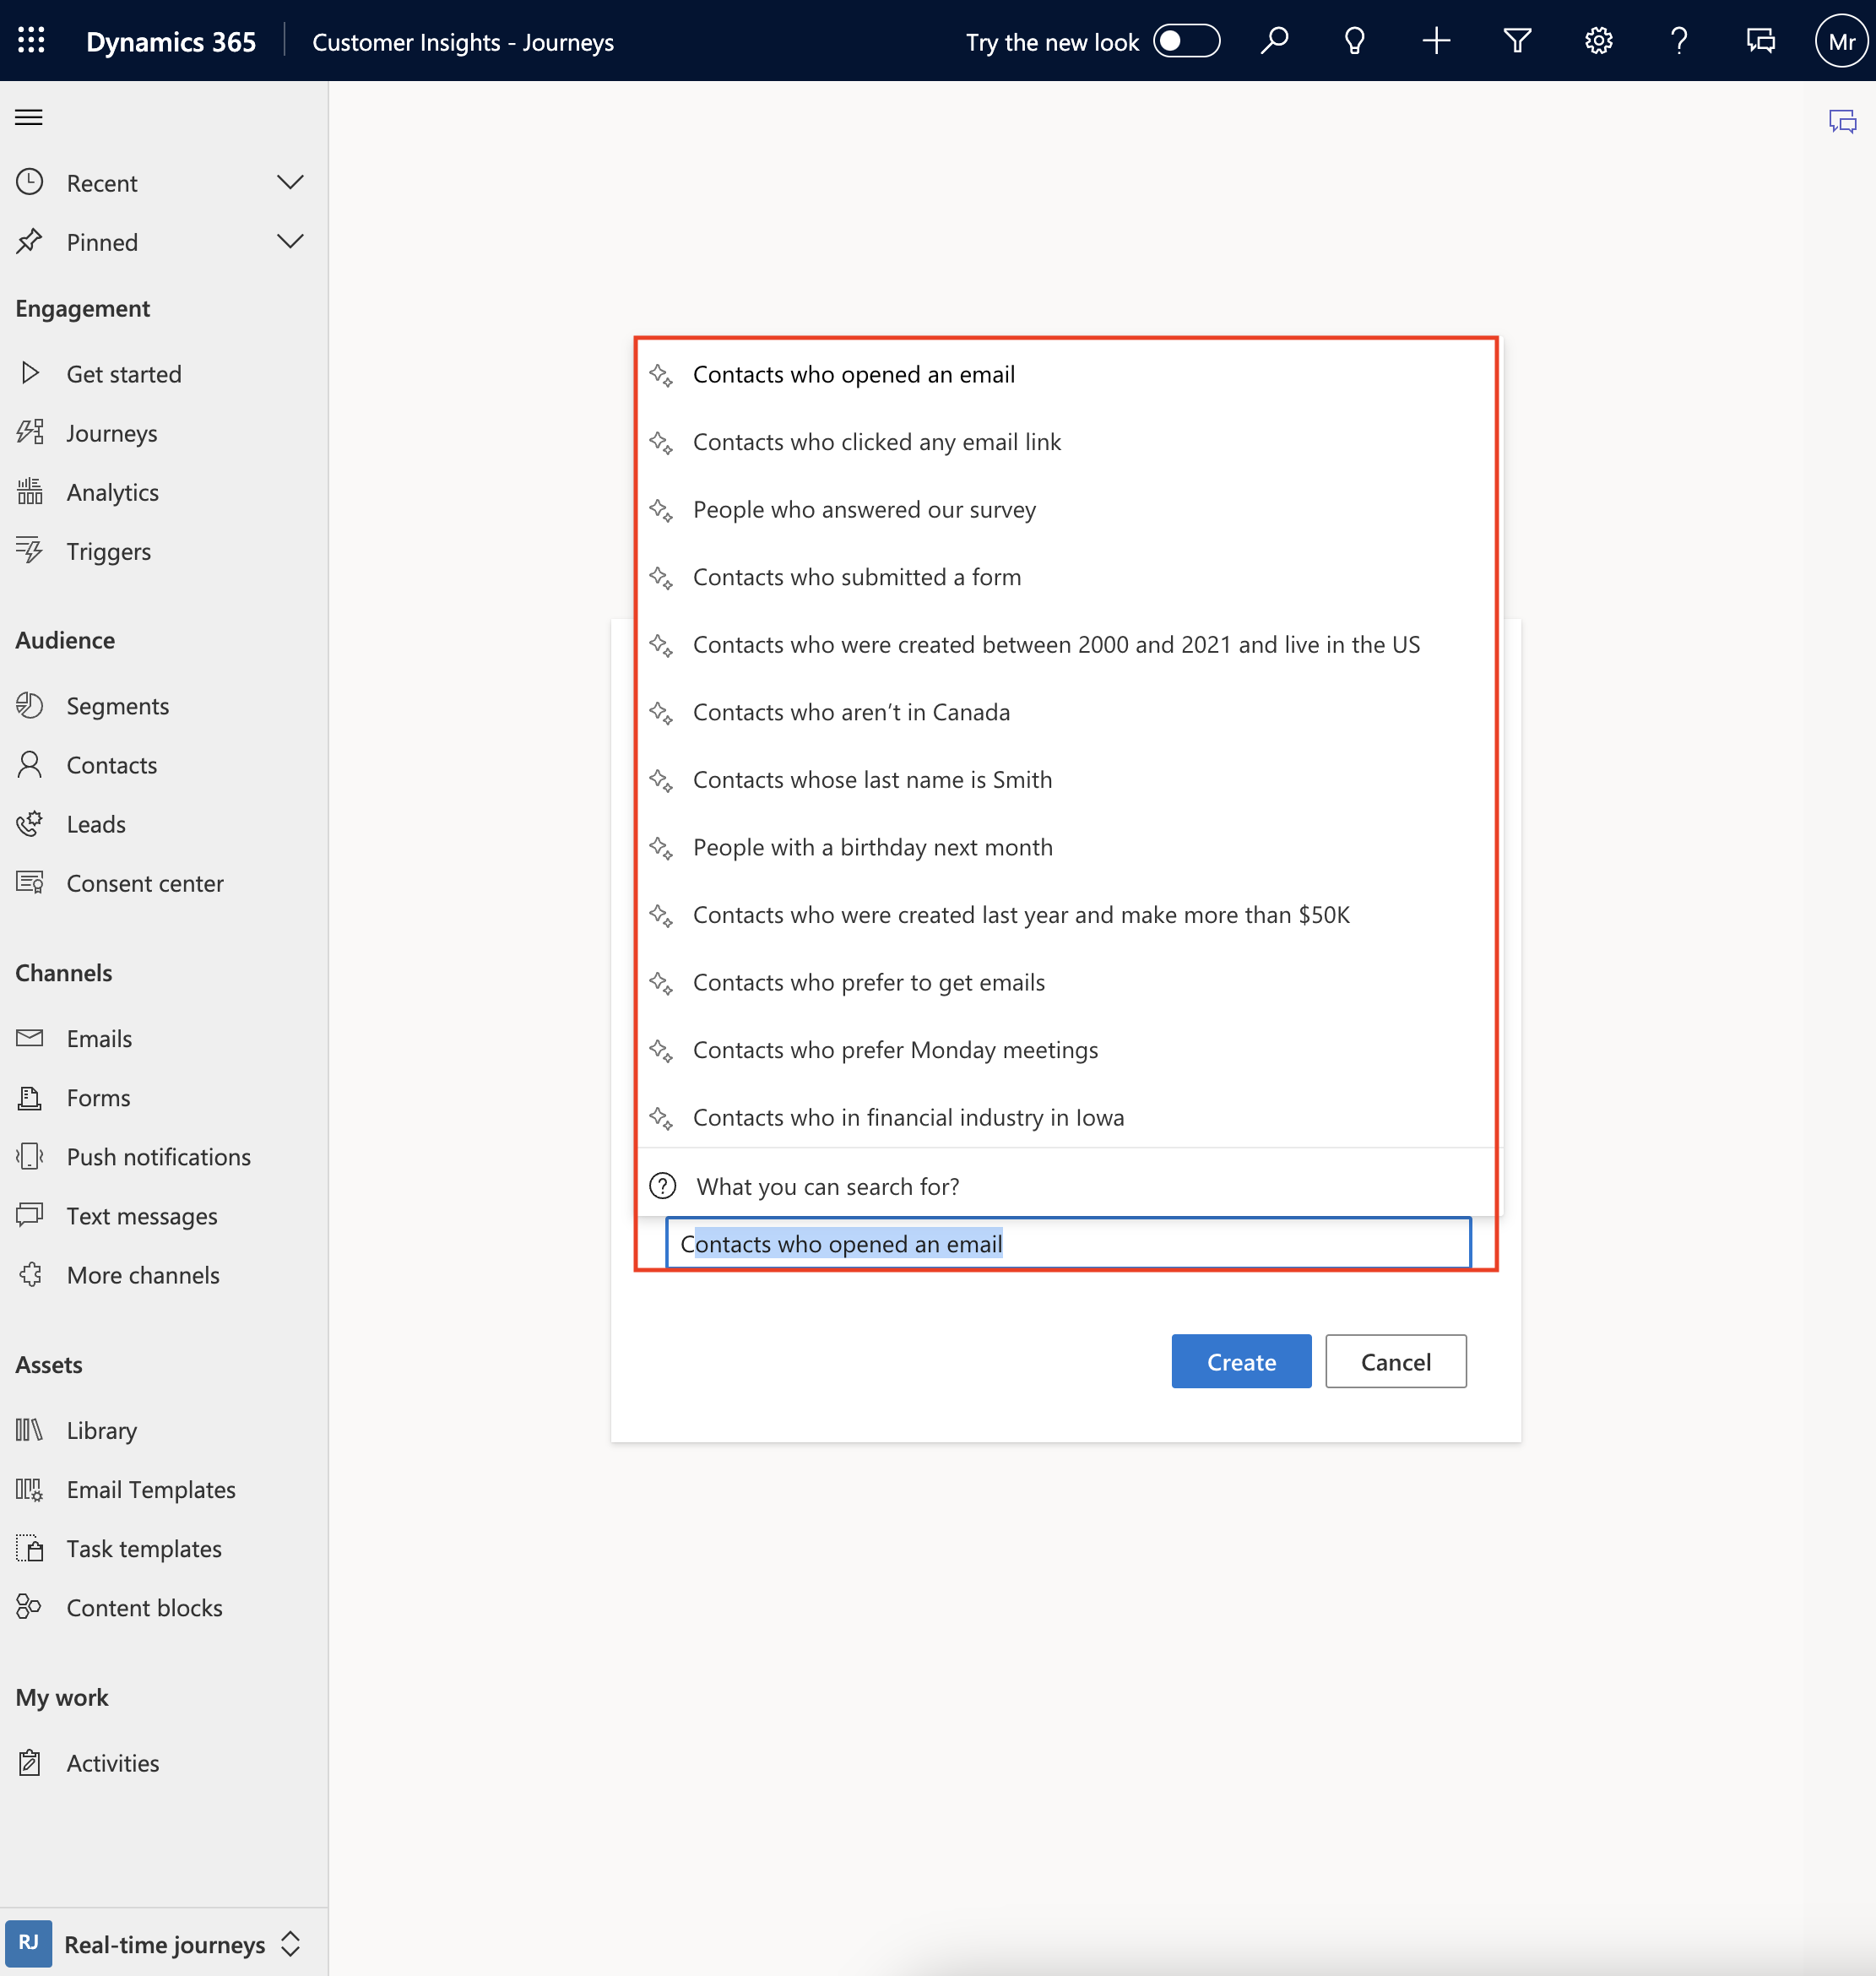
3.Query assist: Can give you suggestions to pick options from them too.

It describes who you wish to target and Copilot will create the segments for you.

Then click on Create.

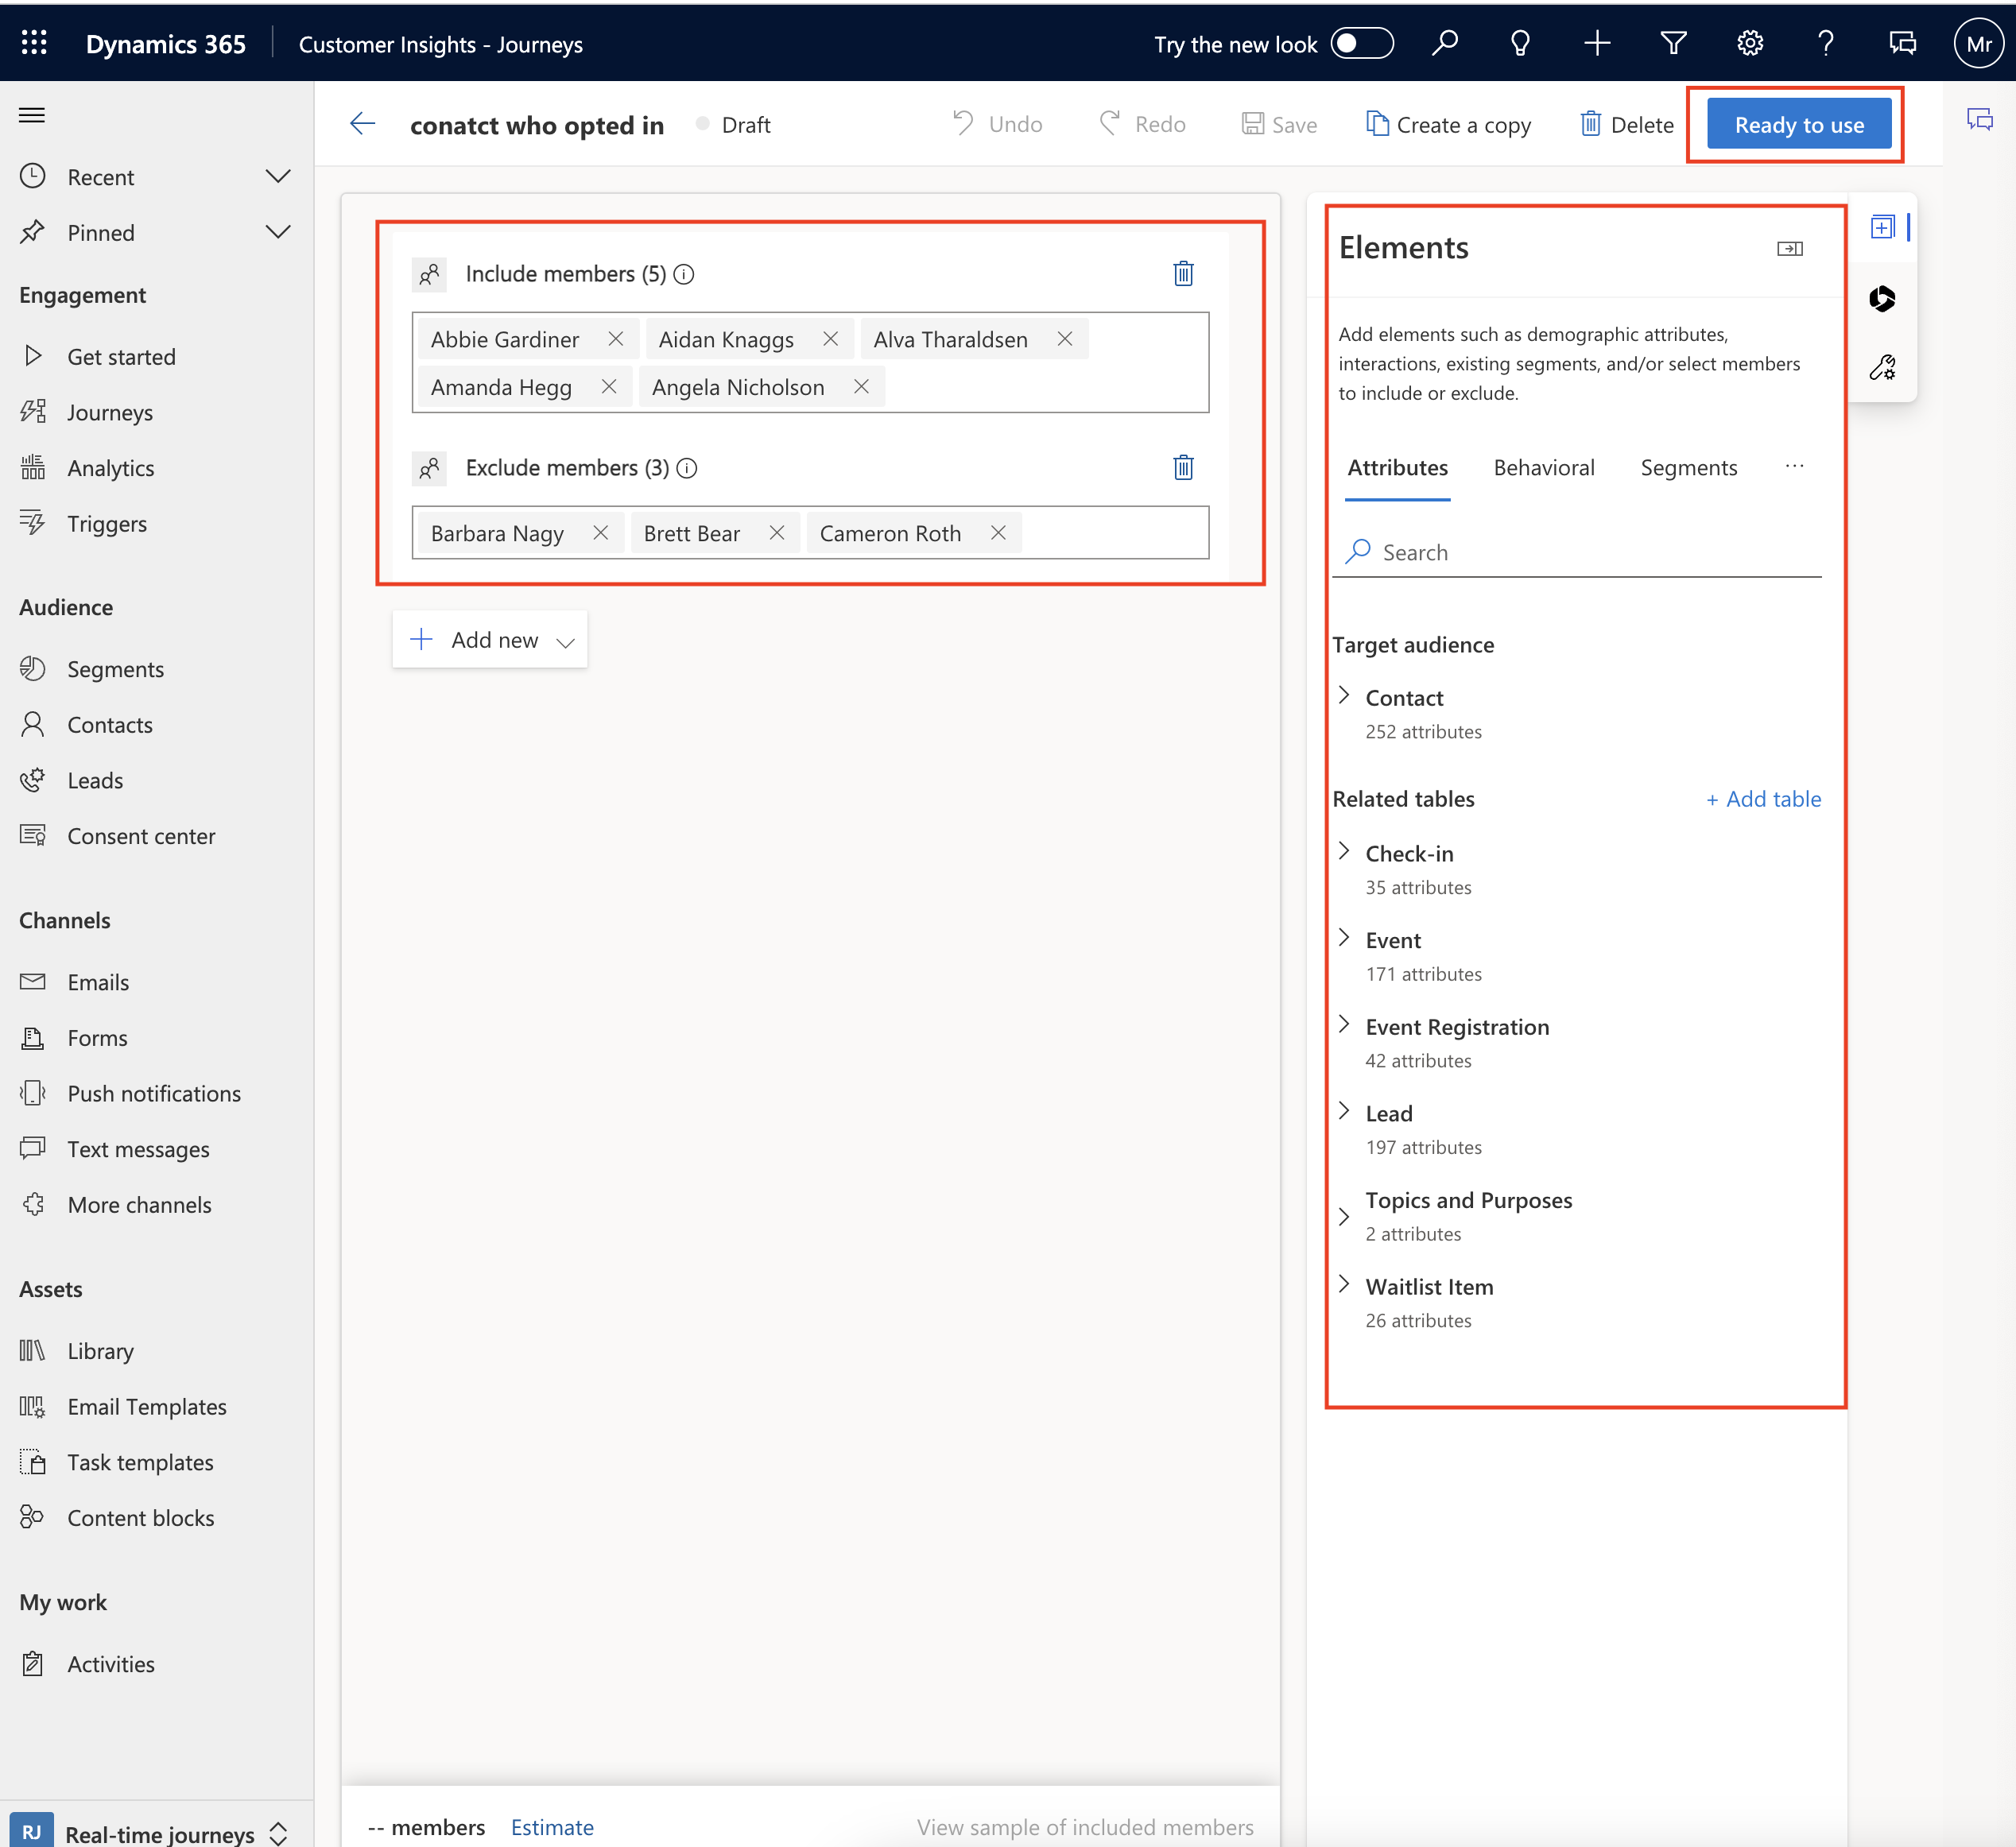
Then you can continue with the segment creation.

That’s it for today.

I hope this helps.

Malla Reddy Gurram(@UK365GUY)
#365BlogPostsin365Days
Share this:

{Do you know} how many ways you can refresh an environment in Dynamics 365 Marketing

Hello Everyone,

Today I am going to show how many ways you can refresh a Dynamics 365 Marketing environment.

Let’s get’s started.

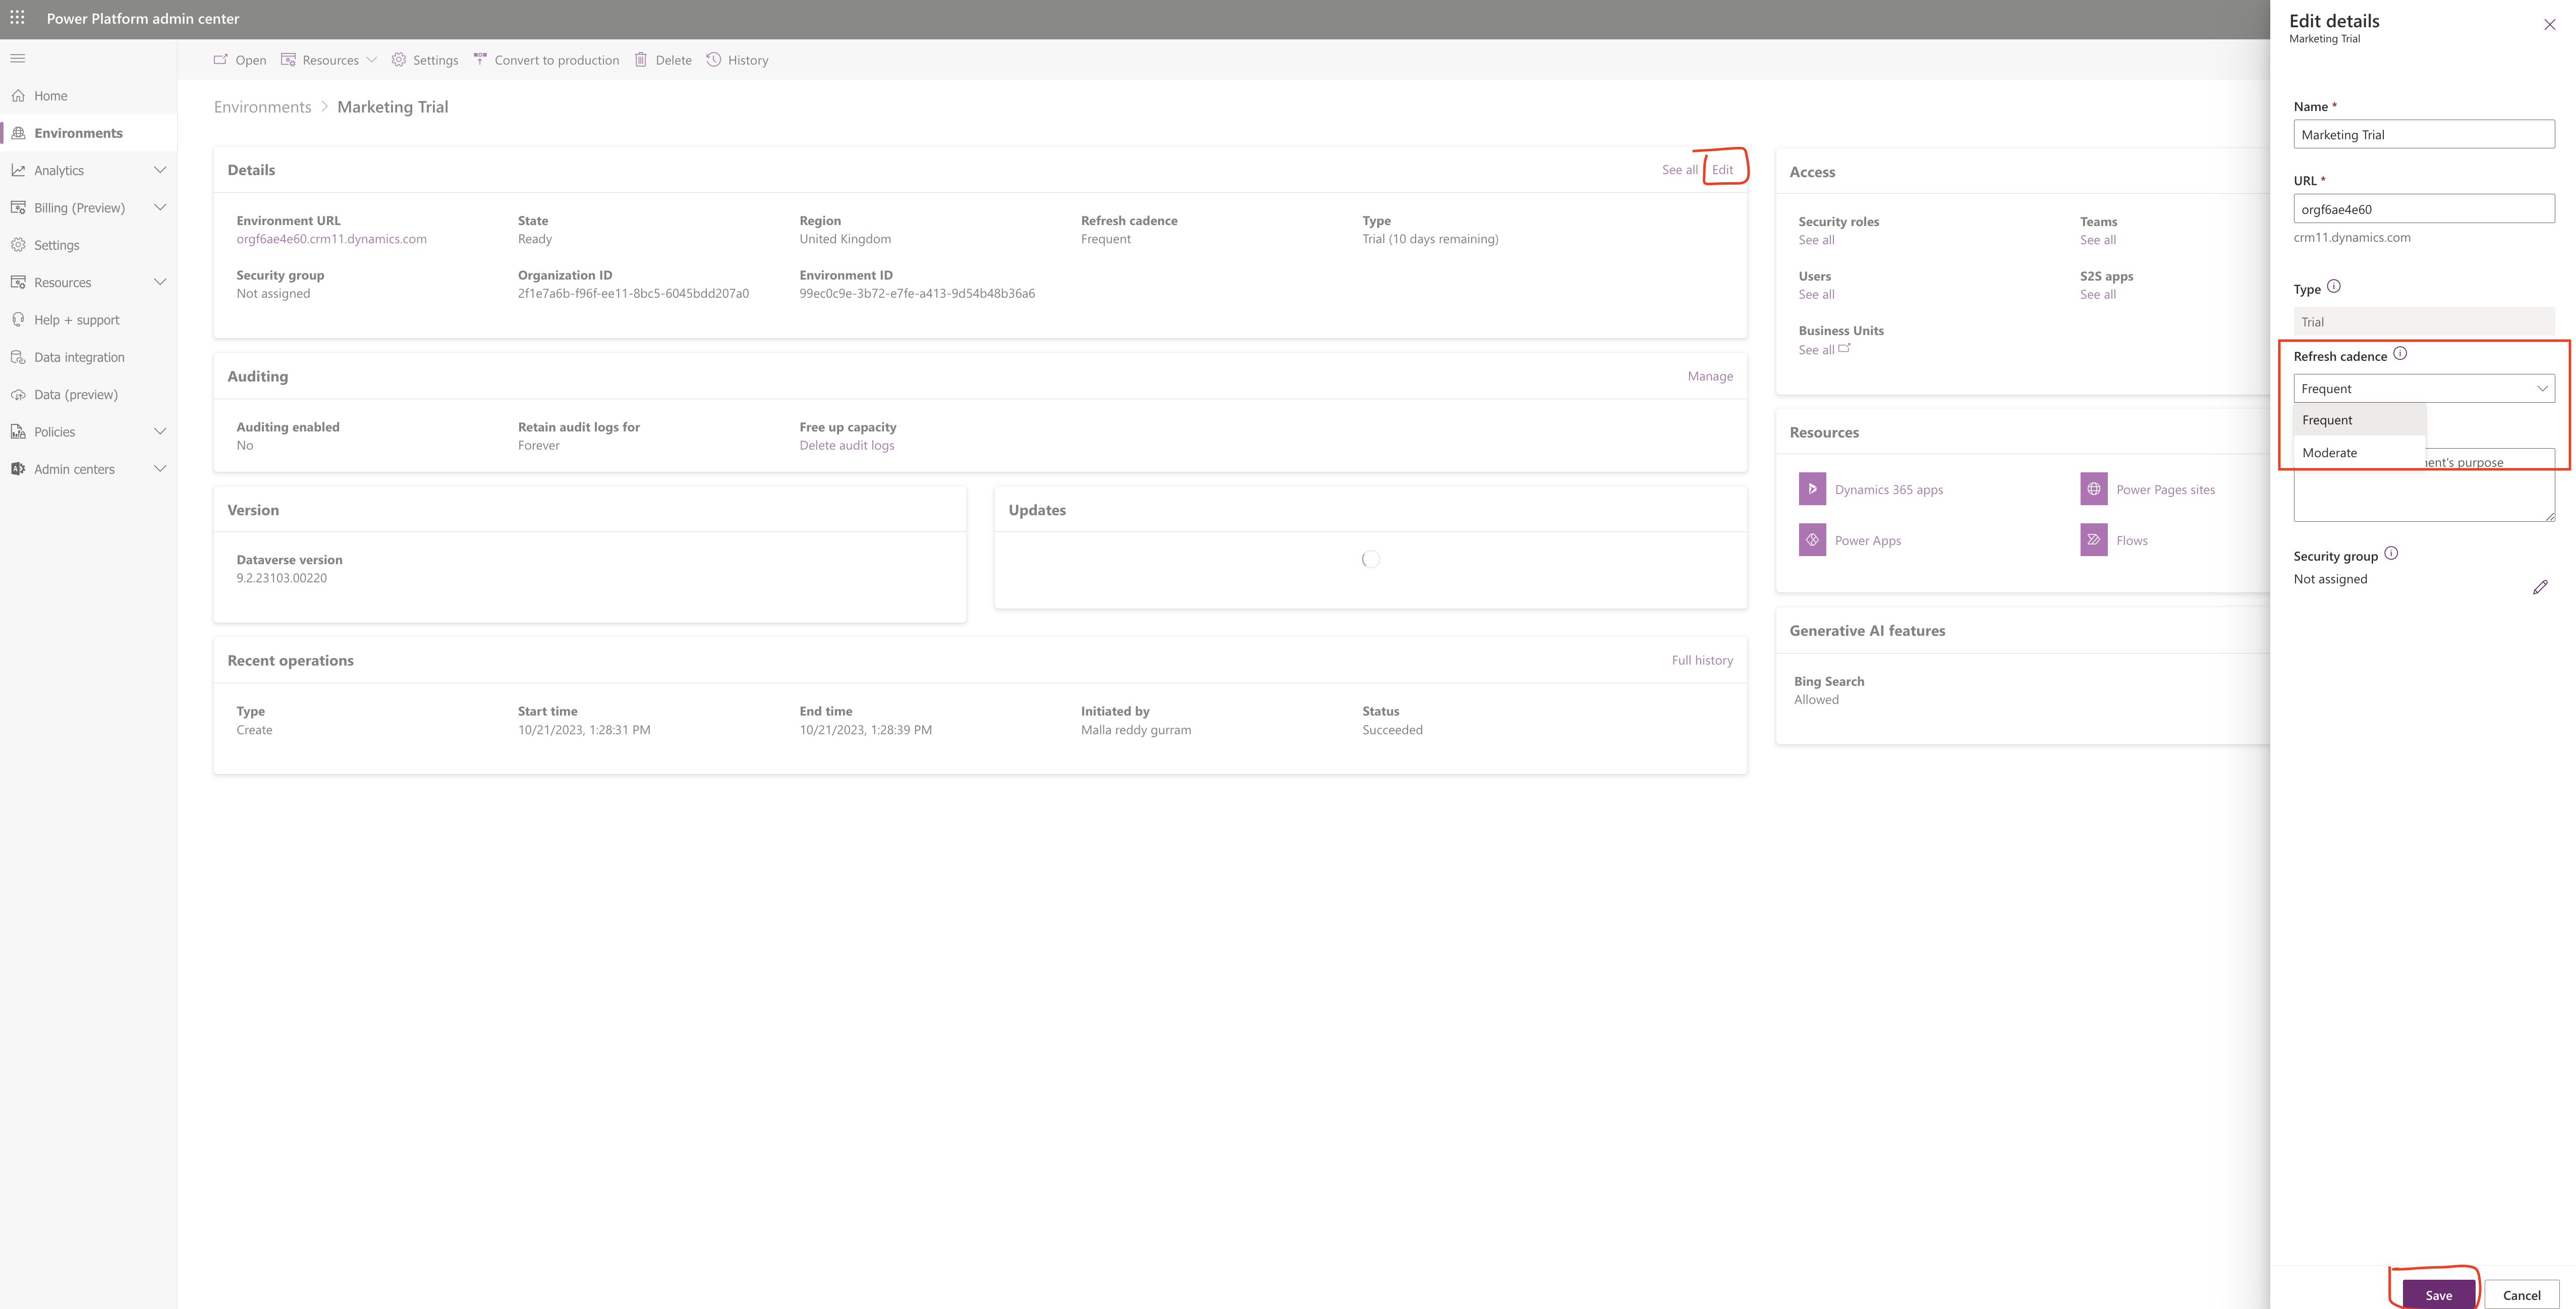
1.Login into Power Platform Admin Center.

2. Choose the environment and click on edit.

There are two ways you can refresh the Dynamics 365 App,

Refresh Cadence: Indicates how often you would like Power Platform updates for your environment.

1. Frequent: Regular update

2. Moderate: Quarterly as an example

That’s it for today.

I hope this helps.

Malla Reddy Gurram(@UK365GUY)
#365BlogPostsin365Days

Share this:

Build Segments using everyday words with Copilot in Customer Insights

Hello Everyone,

Today i am going to share my view on building segments using everyday words with copilot in Customer Insights.

Let’s get’s started.

To build segments in Dynamics 365 Customer Insights using Copilot, you’ll want to follow these steps:

1. Access customer insights:

Log in to your Dynamics 365 Customer Insights account.

2. Navigate to segments:

Once logged in find the segments section, its usually in the main menu or dashboard.

3. Start a new segment:

Look for an option to create a new segment. This might be a New or Create button.

4.Use Everyday words:

Instead of technical jargon, try to describe your segment using everyday language. Copilot can understand natural language, so express your criteria in a way that makes sense to you.

5. Specific Criteria:

In the segment creation process, you’ll come across fields to specify criteria. Copilot can assist by suggesting relevant criteria based on the data available. For example you might say, “Show me customers who made a purchase in the last 30 days.

6. Refine and Review:

Copilot can help refine your segment by offering suggestions. if it suggests something you didn’t think of, go ahead and incorporate it into your criteria.

7. Save and Test:

Once you’re satified with your segment definition, save it some platforms allow you to test your segment if it captures the right audience.

8. Deploy:

If everything looks good, deploy your segment. this could involve using it for targeted marketing, analysing data, or any other relevant business process.

Remember the key is to communicate your criteria in a way that makes sense to you, and Copilot will assist in translating that into the necessary technical details.

If you have specific criteria in mind. feel free to share and we can work on expressing it in everyday languagae.

That’s it for today.

I hope this helps.

Malla Reddy Gurram(@UK365GUY)
#365BlogPostsin365Days

Share this: