Menu Close

Tag: #mallareddygurram

{How to} Create an Preview environment for free to test Preview Features on Power Apps

Hello Everyone,

Today i am going to share new feature where we can create a new environment which is completely free of cost.

How do you do that?

Lets see that in action.

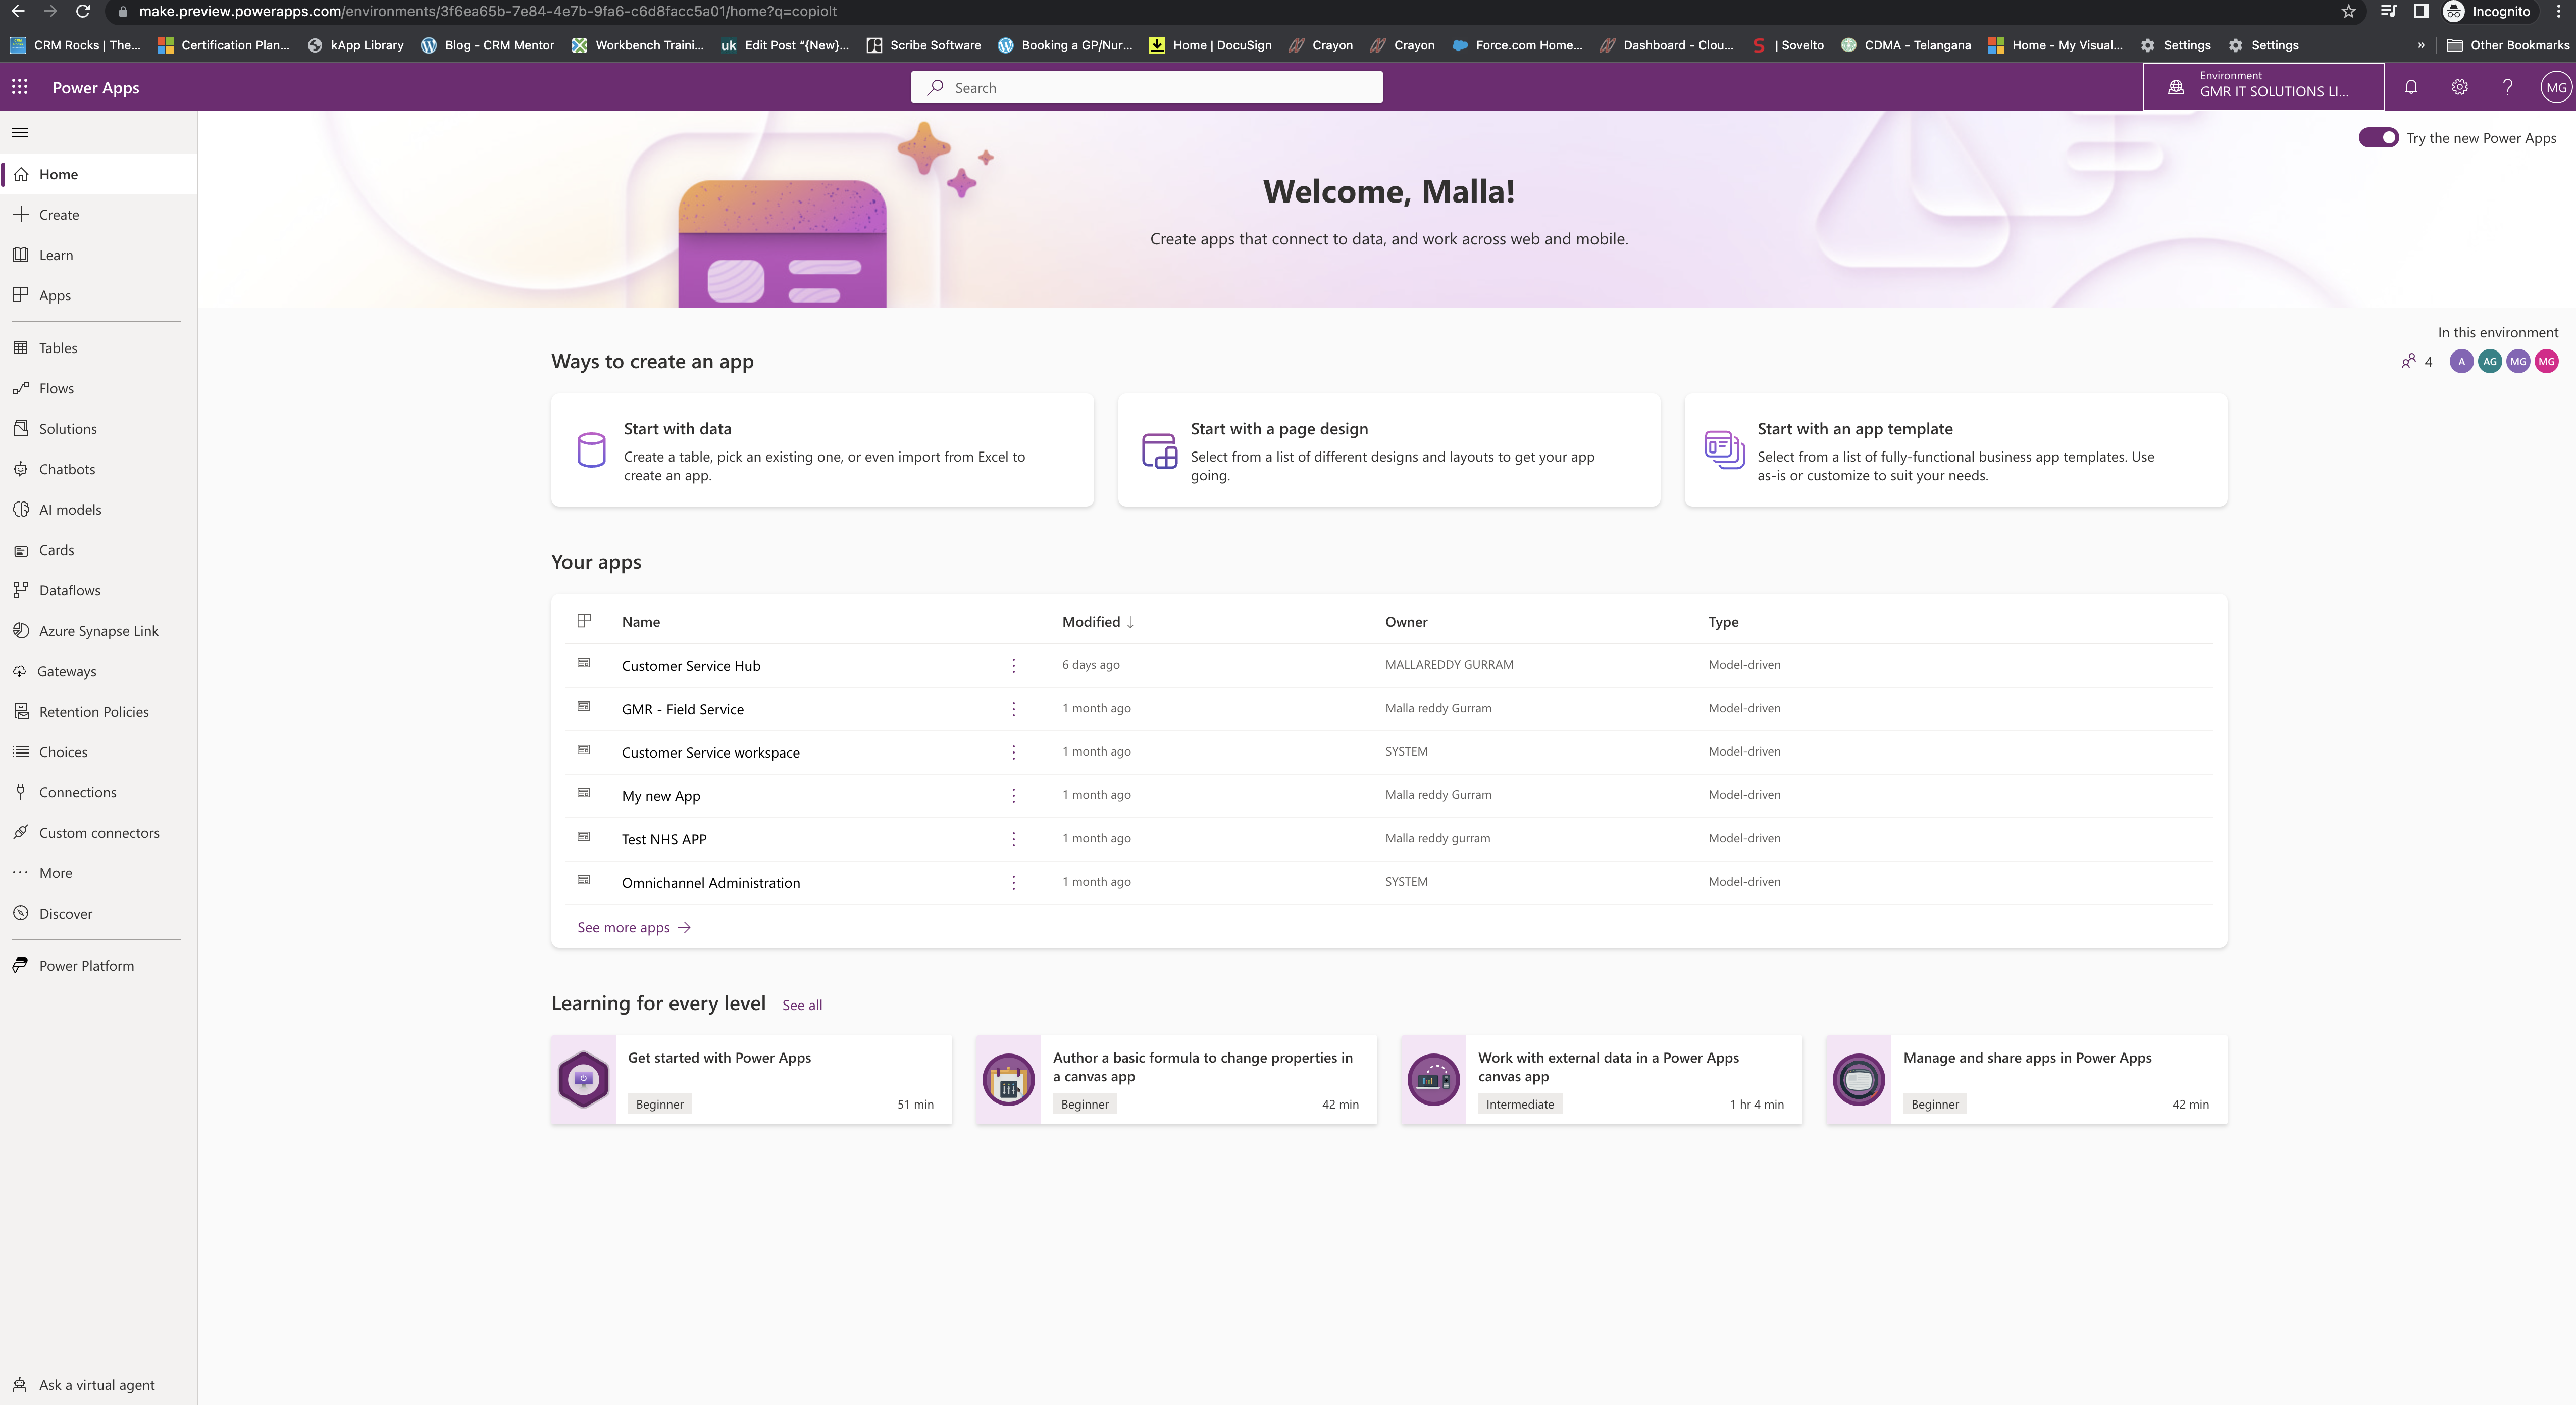
I was exploring new features using preview url: make.preview.powerapps.com

Make sure you turn ON the “Try the new Power Apps”, refer to the below screenshot.
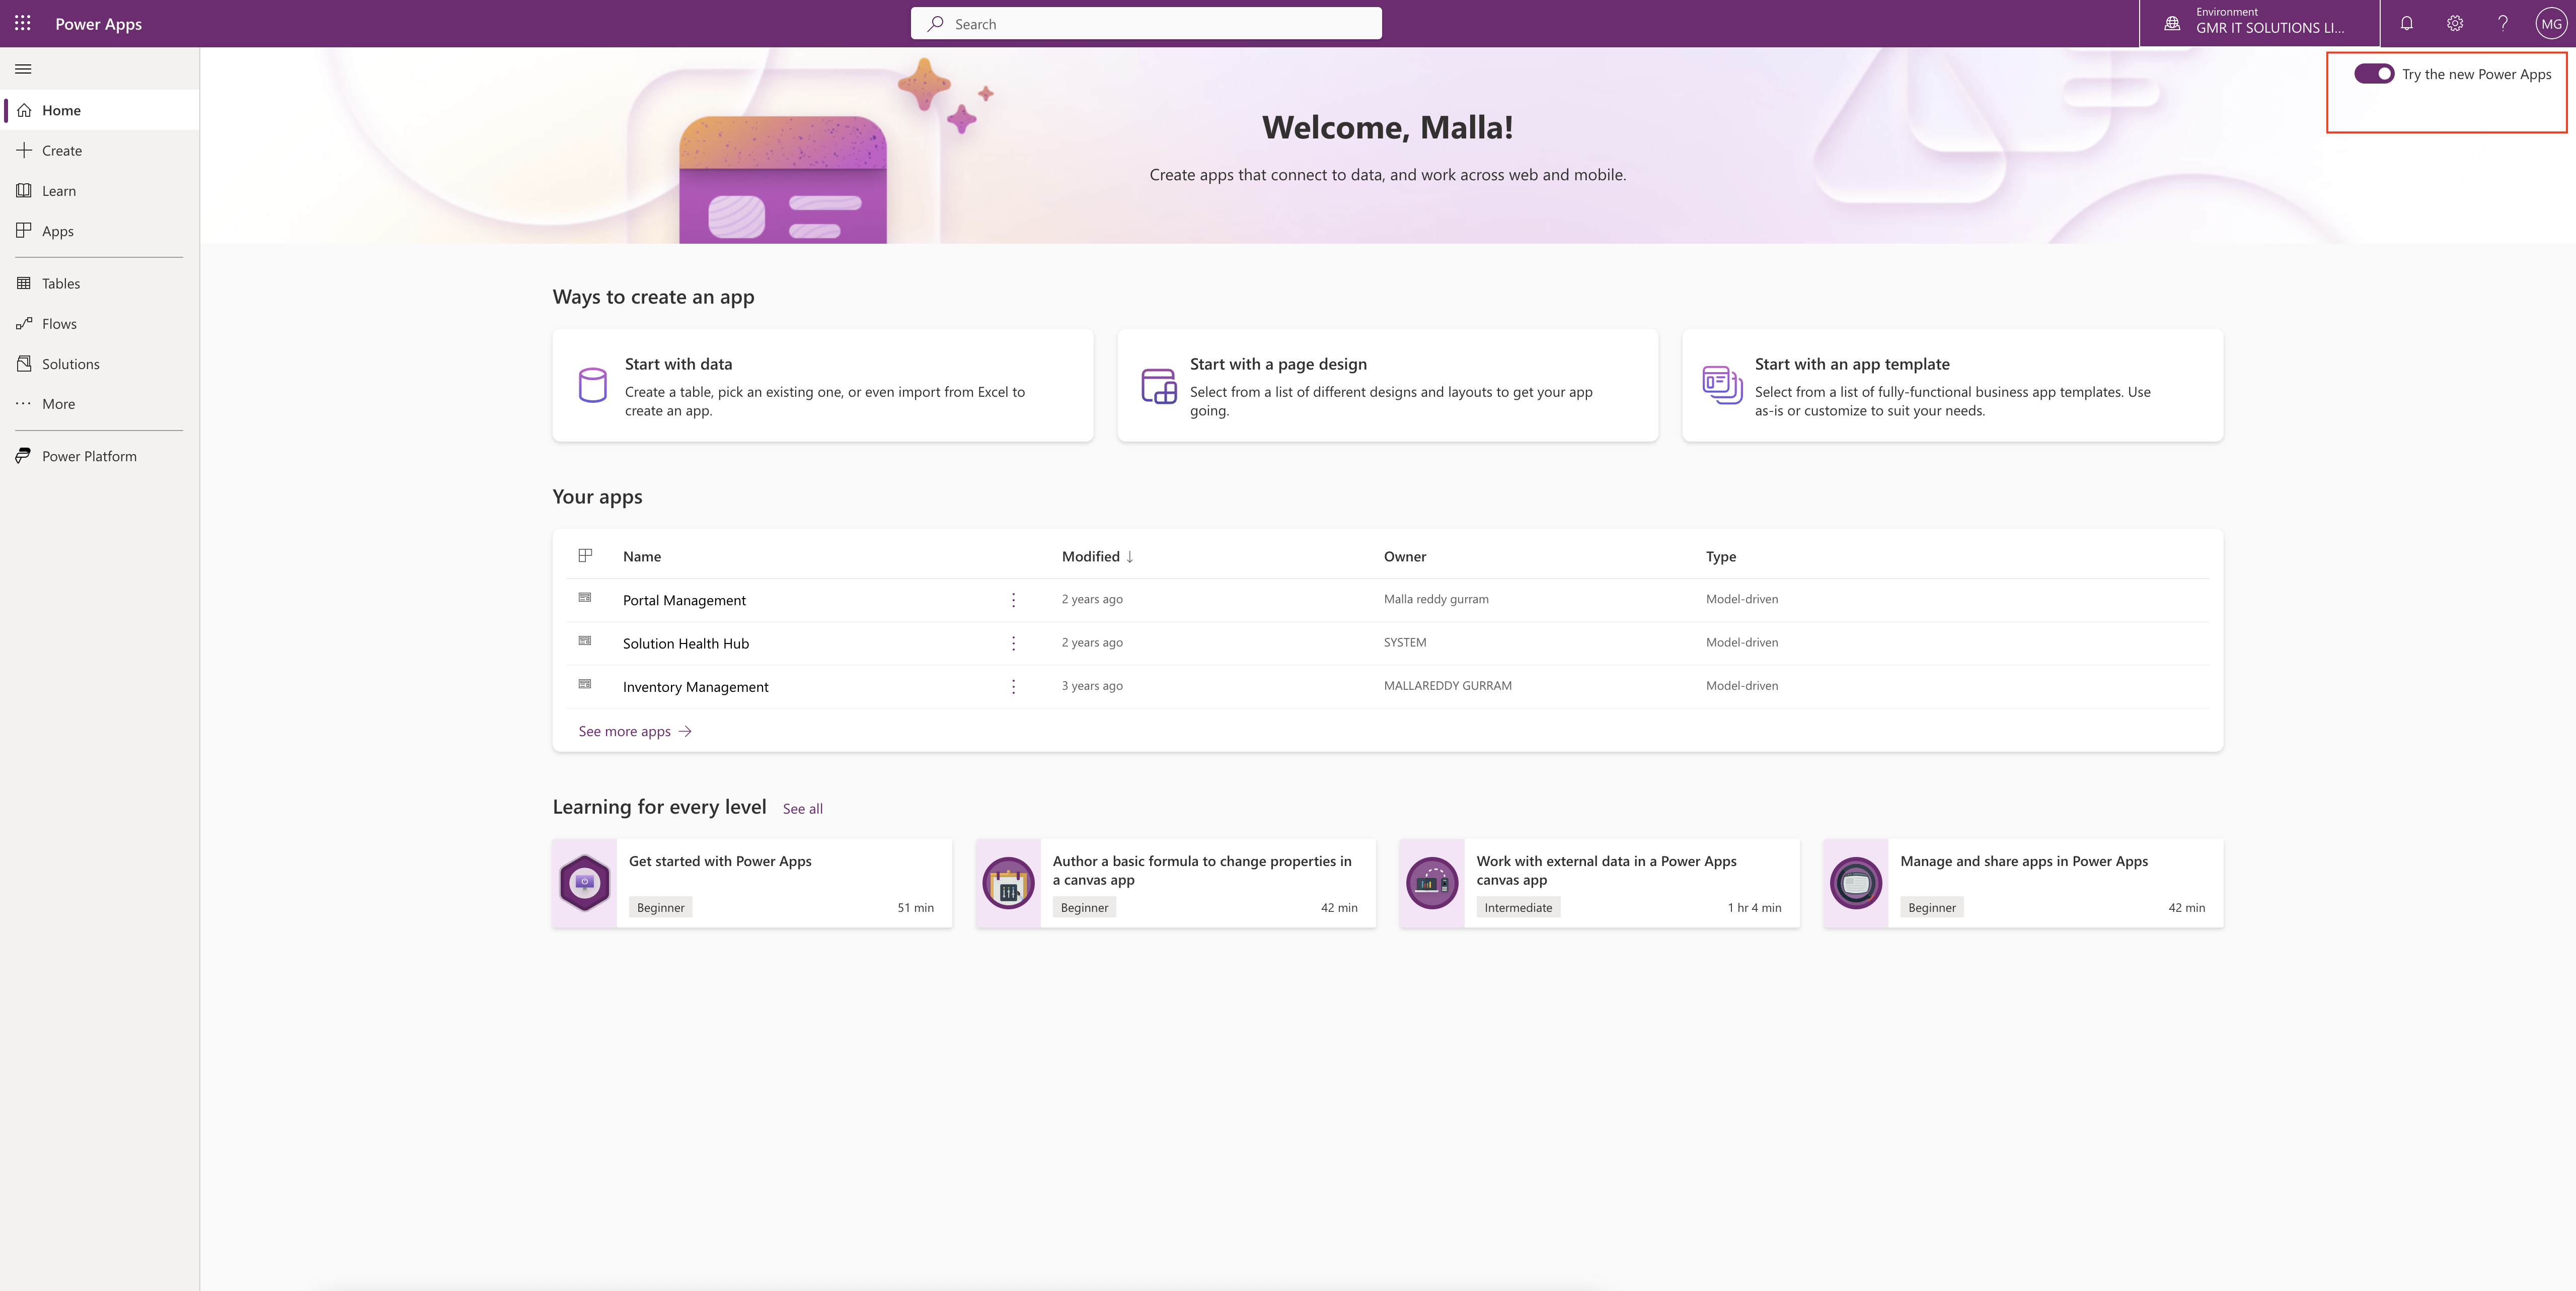
Now you want to create new environment for free to test the latest features now as Microsoft releases very often.

We can access preview features in 2 ways.

1. Preview environments: Upcoming changes are rolled out to preview environments 1-2 weeks before they’re available to all other regions.

2. Sandbox environments: If you already have sandbox environment in your organisation then simple access the following url: www.make.preview.powerapps.com

PREVIEW ENVIRONMENT:

So if you want to create Preview environment then you need to click on your environment
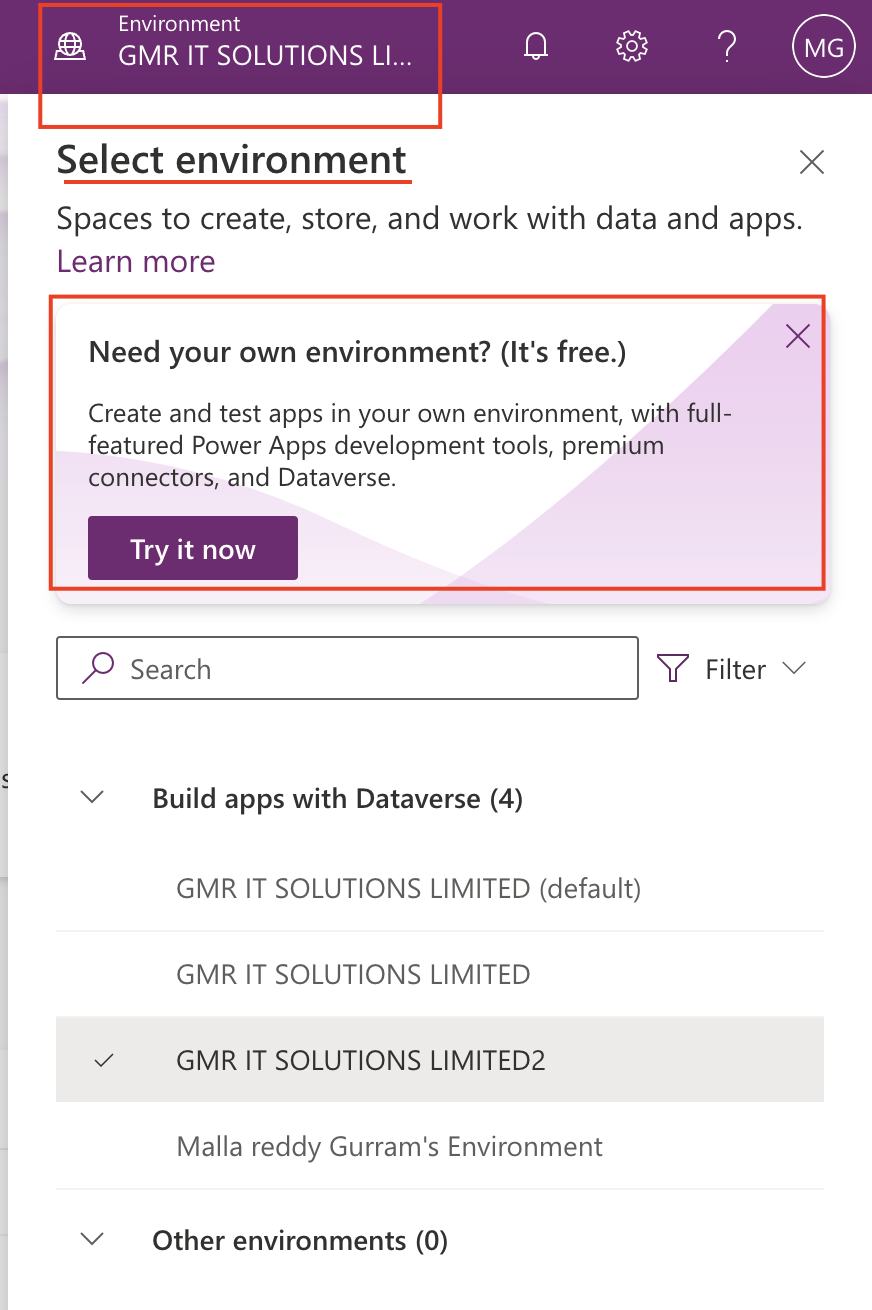
Then Try it now appears on the page, refer to the above screen shot.

Its completely free you can create and test apps in your environment, with full featured Power Apps development tools, premium connectors, and Dataverse.

Click on Try it now, then a new page will appear.

Then

Enter : Environment name and select the “region” carefully as the PREVIEW features first available in USA region so you need to select the “Preview(United States)” as your region and “Accept” the changes.

Note: Once you select the region and accepted it can’t be rollback to any other region, so select which region you want to be inn.

Thats it for today.

I hope this helps.
Malla Reddy(@UK365GUY)
#365BlogPostsin365Days
Share this:

{How to} enable ideas button for the canvas apps

Hello Everyone,

Today i am going to share how to enable IDEA Button turn on for Canvas App.

Lets gets started.

Suppose you start creating a canvas app.

First we need to enable this feature from the settings area of the environment:

Login into PPAC

select the Environment and then Settings > Products > Features

Then lets see the idea tab on the maker portal.

Login into www.make.powerapps.com

Create an Canvas App.

Then new blank canvas will be displayed and select the screen to create your canvas app then you will see the ideas button beside the components tab.

Going forward this ideas tab you can’t see instead when you select the something and if there is any ideas we will see them on the menu.

I hope you know what the idea tab is all about tada…

I hope this helps
Malla Reddy(@UK365GUY)
#365BlogPostsin365Days
Share this:

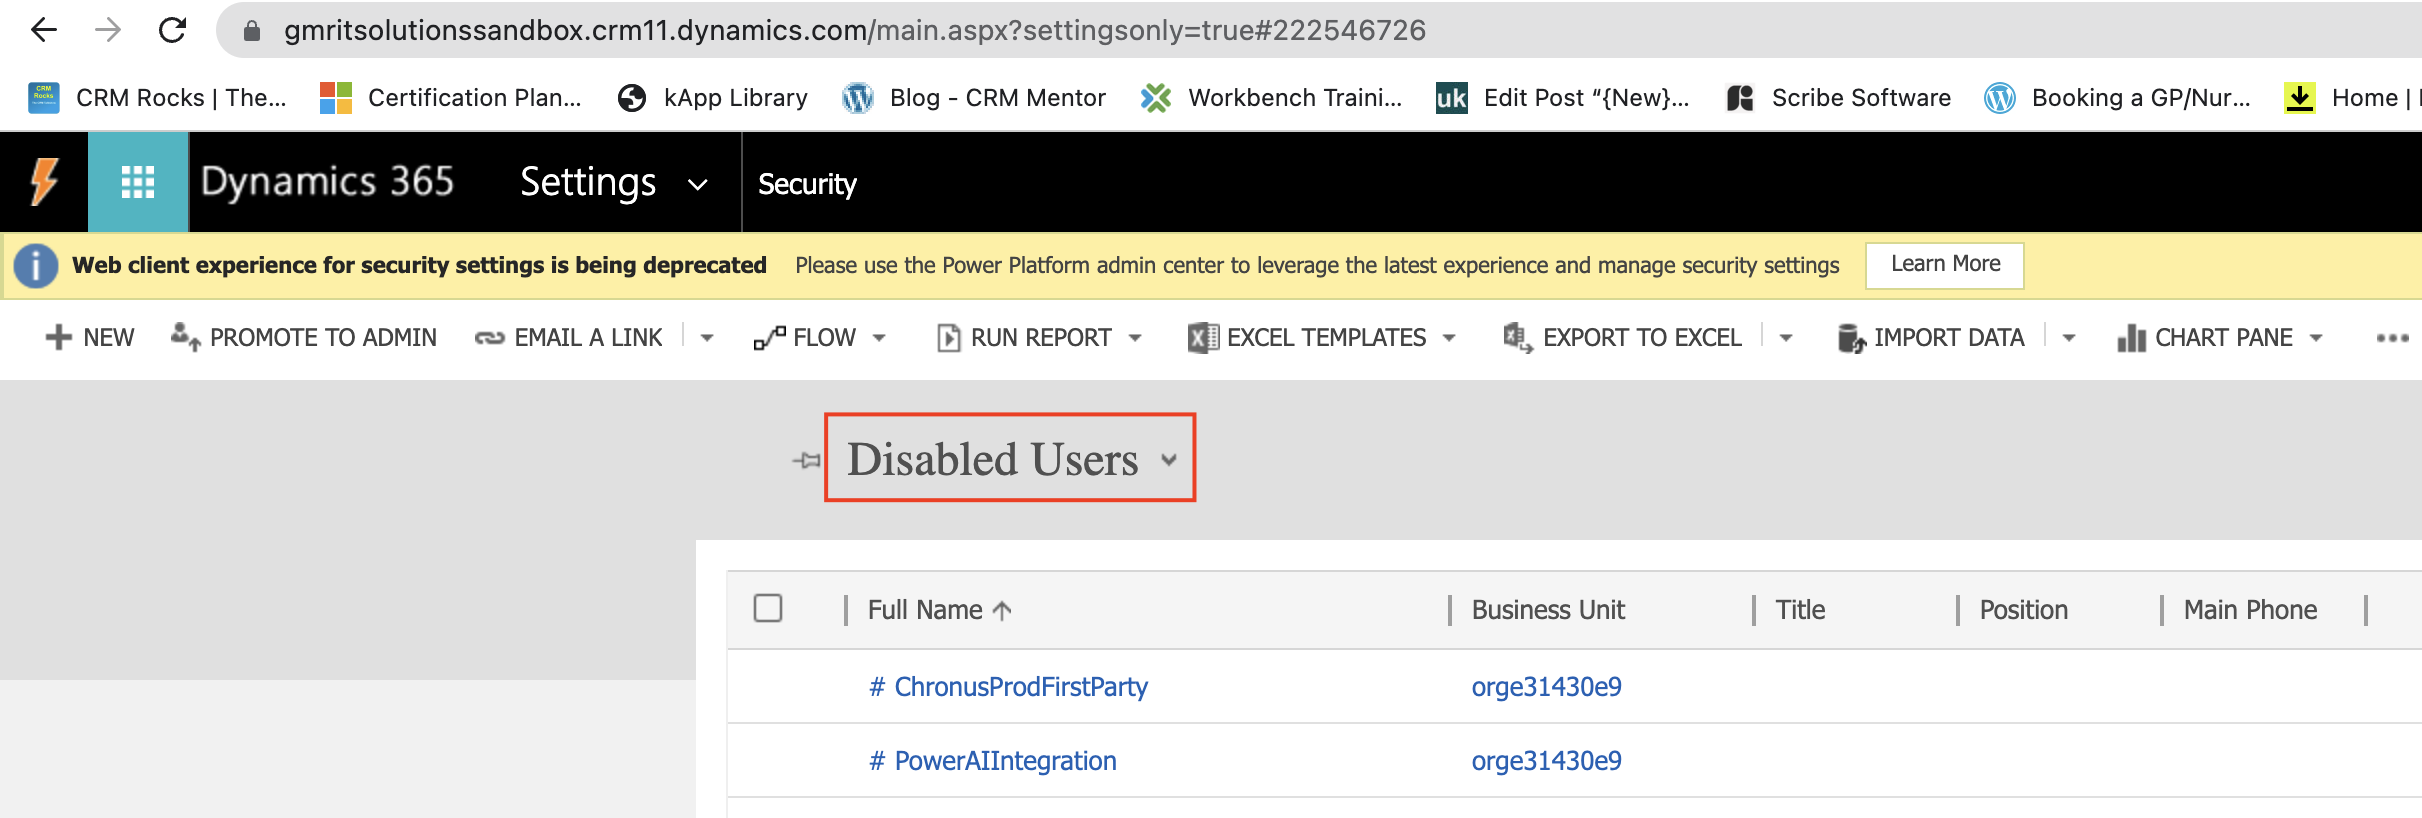
{How to} delete disabled users from Dynamics 365 CE Environment Permanently

Hello Everyone,

Today i am going to show how to turn on settings of delete disabled users on Dynamics 365 CE Environment.

Lets gets started.

Normally you can see the disabled users on the users view:

Dynamics 365 > Settings > Security

In order to delete the disabled users you need to enable the delete disabled users from the Power Platform Admin Center.

Steps:

1. Login into PPAC

2. Open the environment

3. Click on the Settings

4. Products > Features

Save the changes.

Once you enabled this option you can permanently delete them from your environment.

I hope this helps.
Malla Reddy(@UK365GUY)
#365BlogPostsin365Days

Share this:

{How to} turn on Asynchronous merge Dynamics 365

Hello Everyone,

Today i am going to show how to turn on asynchronous merge through Power Platform admin center.
First of all what is Asynchronous Merge?
Transcations can be configured to cascade across all related records. so if changes on parent record made will be effect on the all child records too.
So cascading relationships are configured at the table level.
Sychronous versus asychronous:
With the sychronous cascading transaction, all impacted records are identified by the system and when the records are processed and locked by the system. Once all the changes happened then they are unlocked.
Whereas asychronous transcation will be run in the background.
How do you enable that from PPAC
Login into PPAC
select the environment and click on settings > Products > Features


Asychronous Merge : Turn on.


Finally “save” the changes.
When enabled, records merged through the unified client interface will be merged asychronously in the background.
Note: Allow records to be merged asychronously.
I hope this helps
Malla Reddy(@UK365GUY)
#365BlogPostsin365Days
Share this: