Menu Close

Blog

Microsoft Business Applications Blogposts, YouTube Videos and Podcasts

Helping Businesses with Technology

Microsoft Business Applications Blogposts, YouTube Videos and Podcasts

Helping Businesses with Technology

Microsoft Business Applications Blogposts, YouTube Videos and Podcasts

Helping Businesses with Technology

previous arrow
next arrow
Slider

{Do you know} Use generative AI Insights and other analytics enhancements to improve your copilots

Hello Everyone,

Today I am going to share my thoughts on the preview feature on significance of using generative AI insights and other analytics enhancements to improve your copilots.

Let’s get’s started.

With the use of the generative AI insights you can immediately begin to improve the effectiveness of your chat by leveraging enhanced analytics to understand where your copilot and is not helping your users and how it can be improved.

Copilot admins and makers can see new and improved analytics directly in the Microsoft Copilot Studio app.

They can instantly take actions to address low customer satisfaction(CSAT) and improve the deflection rate.

That’s it for today.

I hope this helps.

Malla Reddy Gurram(@UK365GUY)
#365blogpostsin365days

Share this:

{Did you know} Deploy copilots to WhatsApp, Azure Communication Services Chat and SMS channels

Hello Everyone,

Today I am going to share my thoughts on the deploy copilots to WhatsApp, Azure Communication Services Chat and SMS channels.

Let’s get’s started.

Microsoft Copilot Studio allows creators to connect with their consumer and enterprise audiences across various channels. In collaboration with Azure Communication Services, Copilot Studio is introducing support for the following channels:

1. WhatsApp: WhatsApp channel support in Microsoft Copilot enables customers in many markets to access a large audience previously unavailable.

2. SMS through Communication Services: This brings native SMS support to Microsoft Copilot Studio copilots.

3. Communication Services Chat: A multipoint chat service that enables bot support for custom, multipoint chat-based solutions.

These channels represent some of the largest addressable audiences for copilots, and they enhance the reach and engagement capabilities of Copilot Studio.

Creators can provision and Azure Communication Services resource, and then connect their copilots to these new channels. Whether it’s reaching users of WhatsApp, engaging via SMS, or providing chat-based solutions, Copilot Studio is expanding its capabilities to meet diverse communication needs.

Note: This is still preview functionality.

That’s it for today.

I hope this helps.

Malla Reddy Gurram
#365blogpostsin365days

Share this:

{How to} Use copilot easily in canvas app

Hello Everyone,

Today I am going to share my thoughts on the use of copilot easily in canvas app.

Let’s get’s started.

Copilot functionality is turned on, by default in canvas app that connect to Dataverse data.

So no special configuration is needed to use copilot.

It is available when a user asks a question and can help them better understand their data.

Microsoft is bringing copilot to more apps and more users.

Note: Copilot is already turned on in canvas apps that connect to Dataverse data so there’s no special configuration needed by makers or administrators.

Copilot is available right away when users ask questions and help them better understand their data.

Example: users can ask which employee has lowest sales or which warehouse is out of stock for a certain SKU.

Copilot queries Dataverse tables to find answers.

That’s it for today.

I hope this helps.

Malla Reddy Gurram(@UK365GUY)
#365blogpostsin365days

Share this:

{How to} Use the Power Platform Settings app

Hello Everyone,

Today I am going to share my thoughts on the preview feature use of power platform environment settings app.

Let’s get’s started.

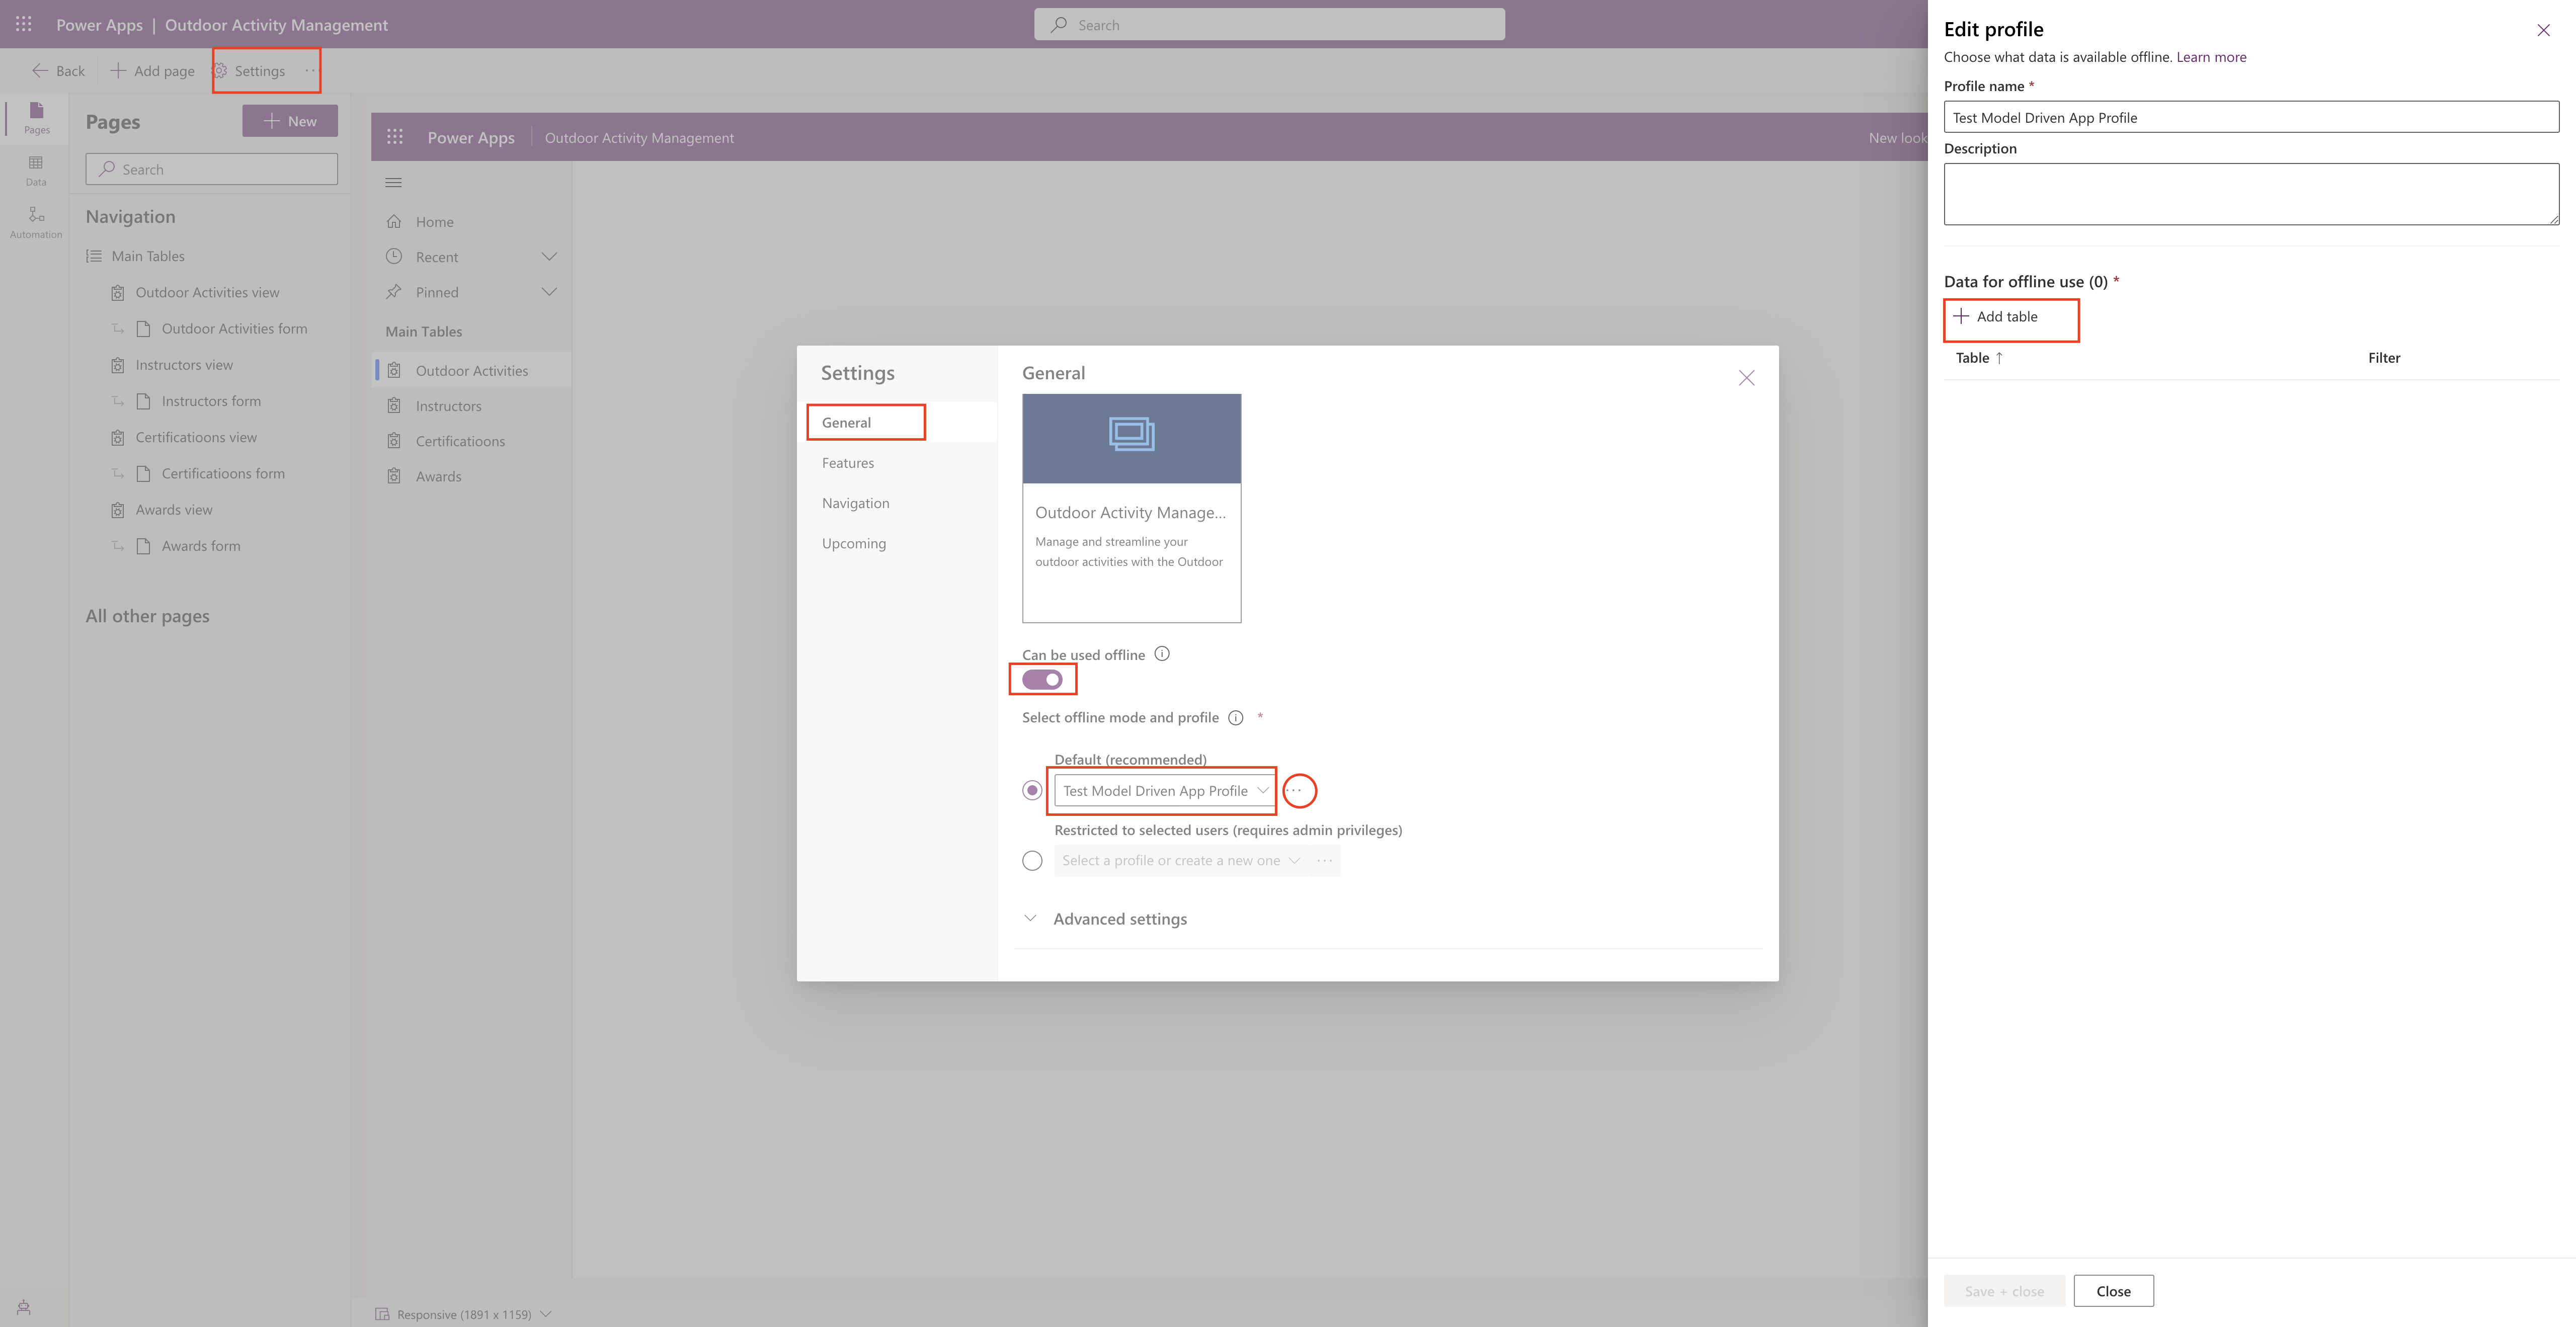
Certainly! The Power Platform Environment Settings app is a powerful tool that replaces the legacy web client experience.

It provides a modern, performant, accessible, secure and extensible settings management experience for application developers. Here are the key details:
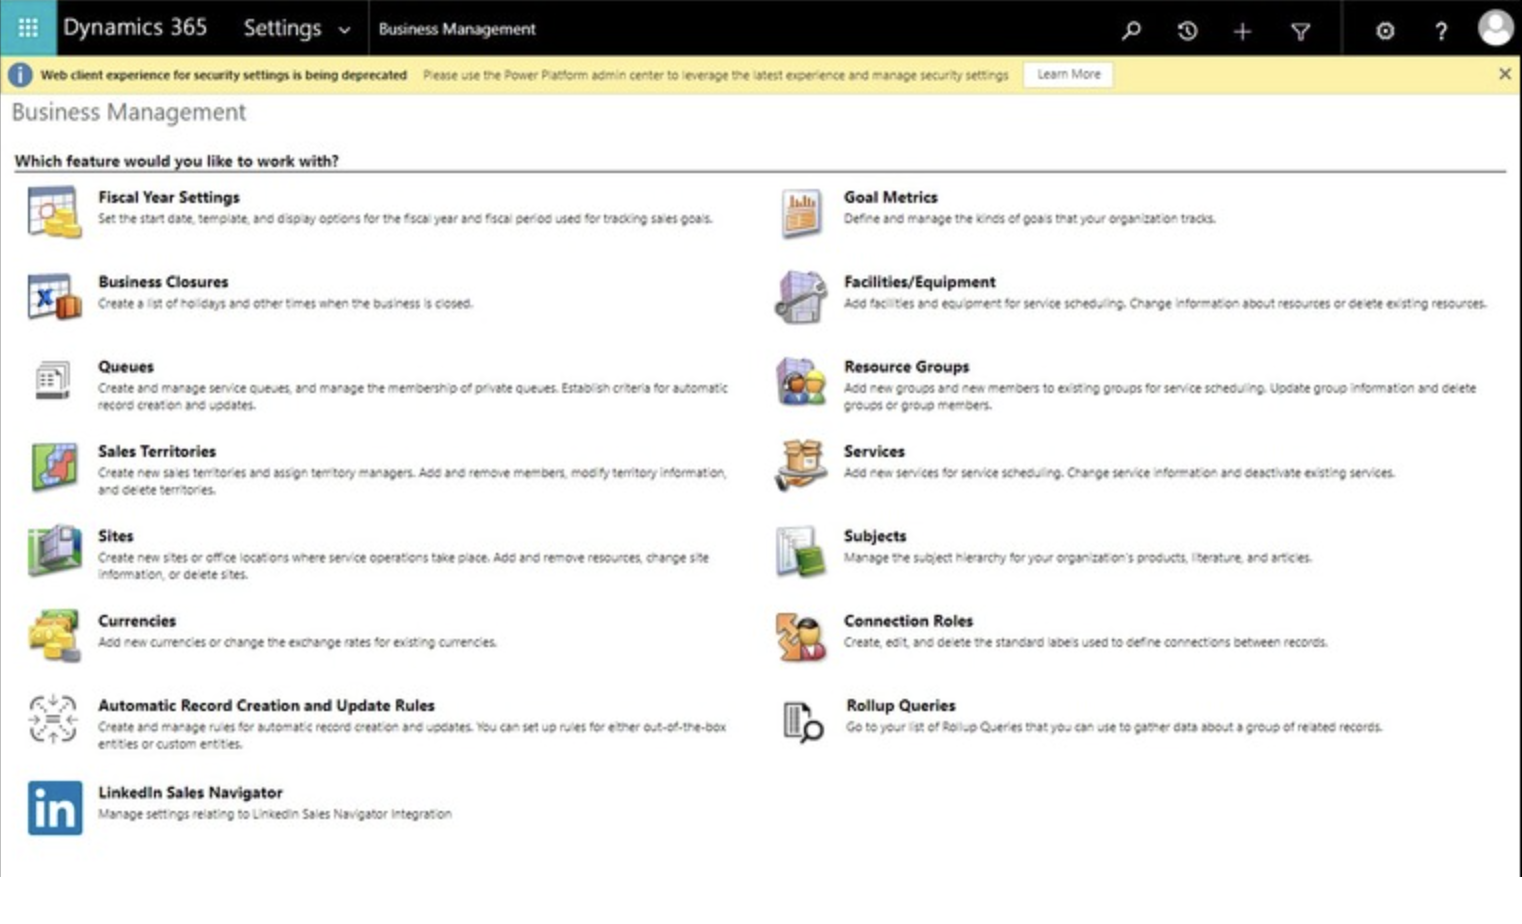
Legacy settings:

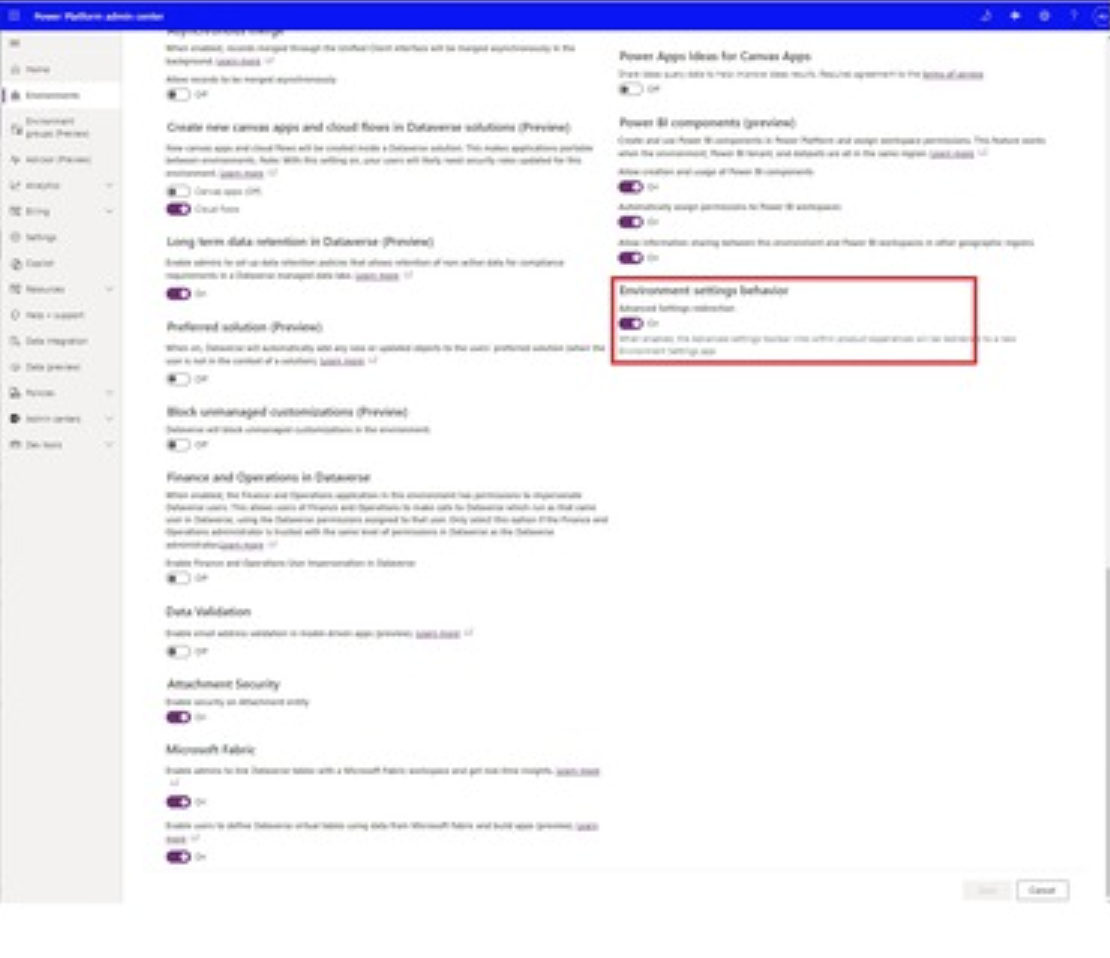
Modern advanced settings:

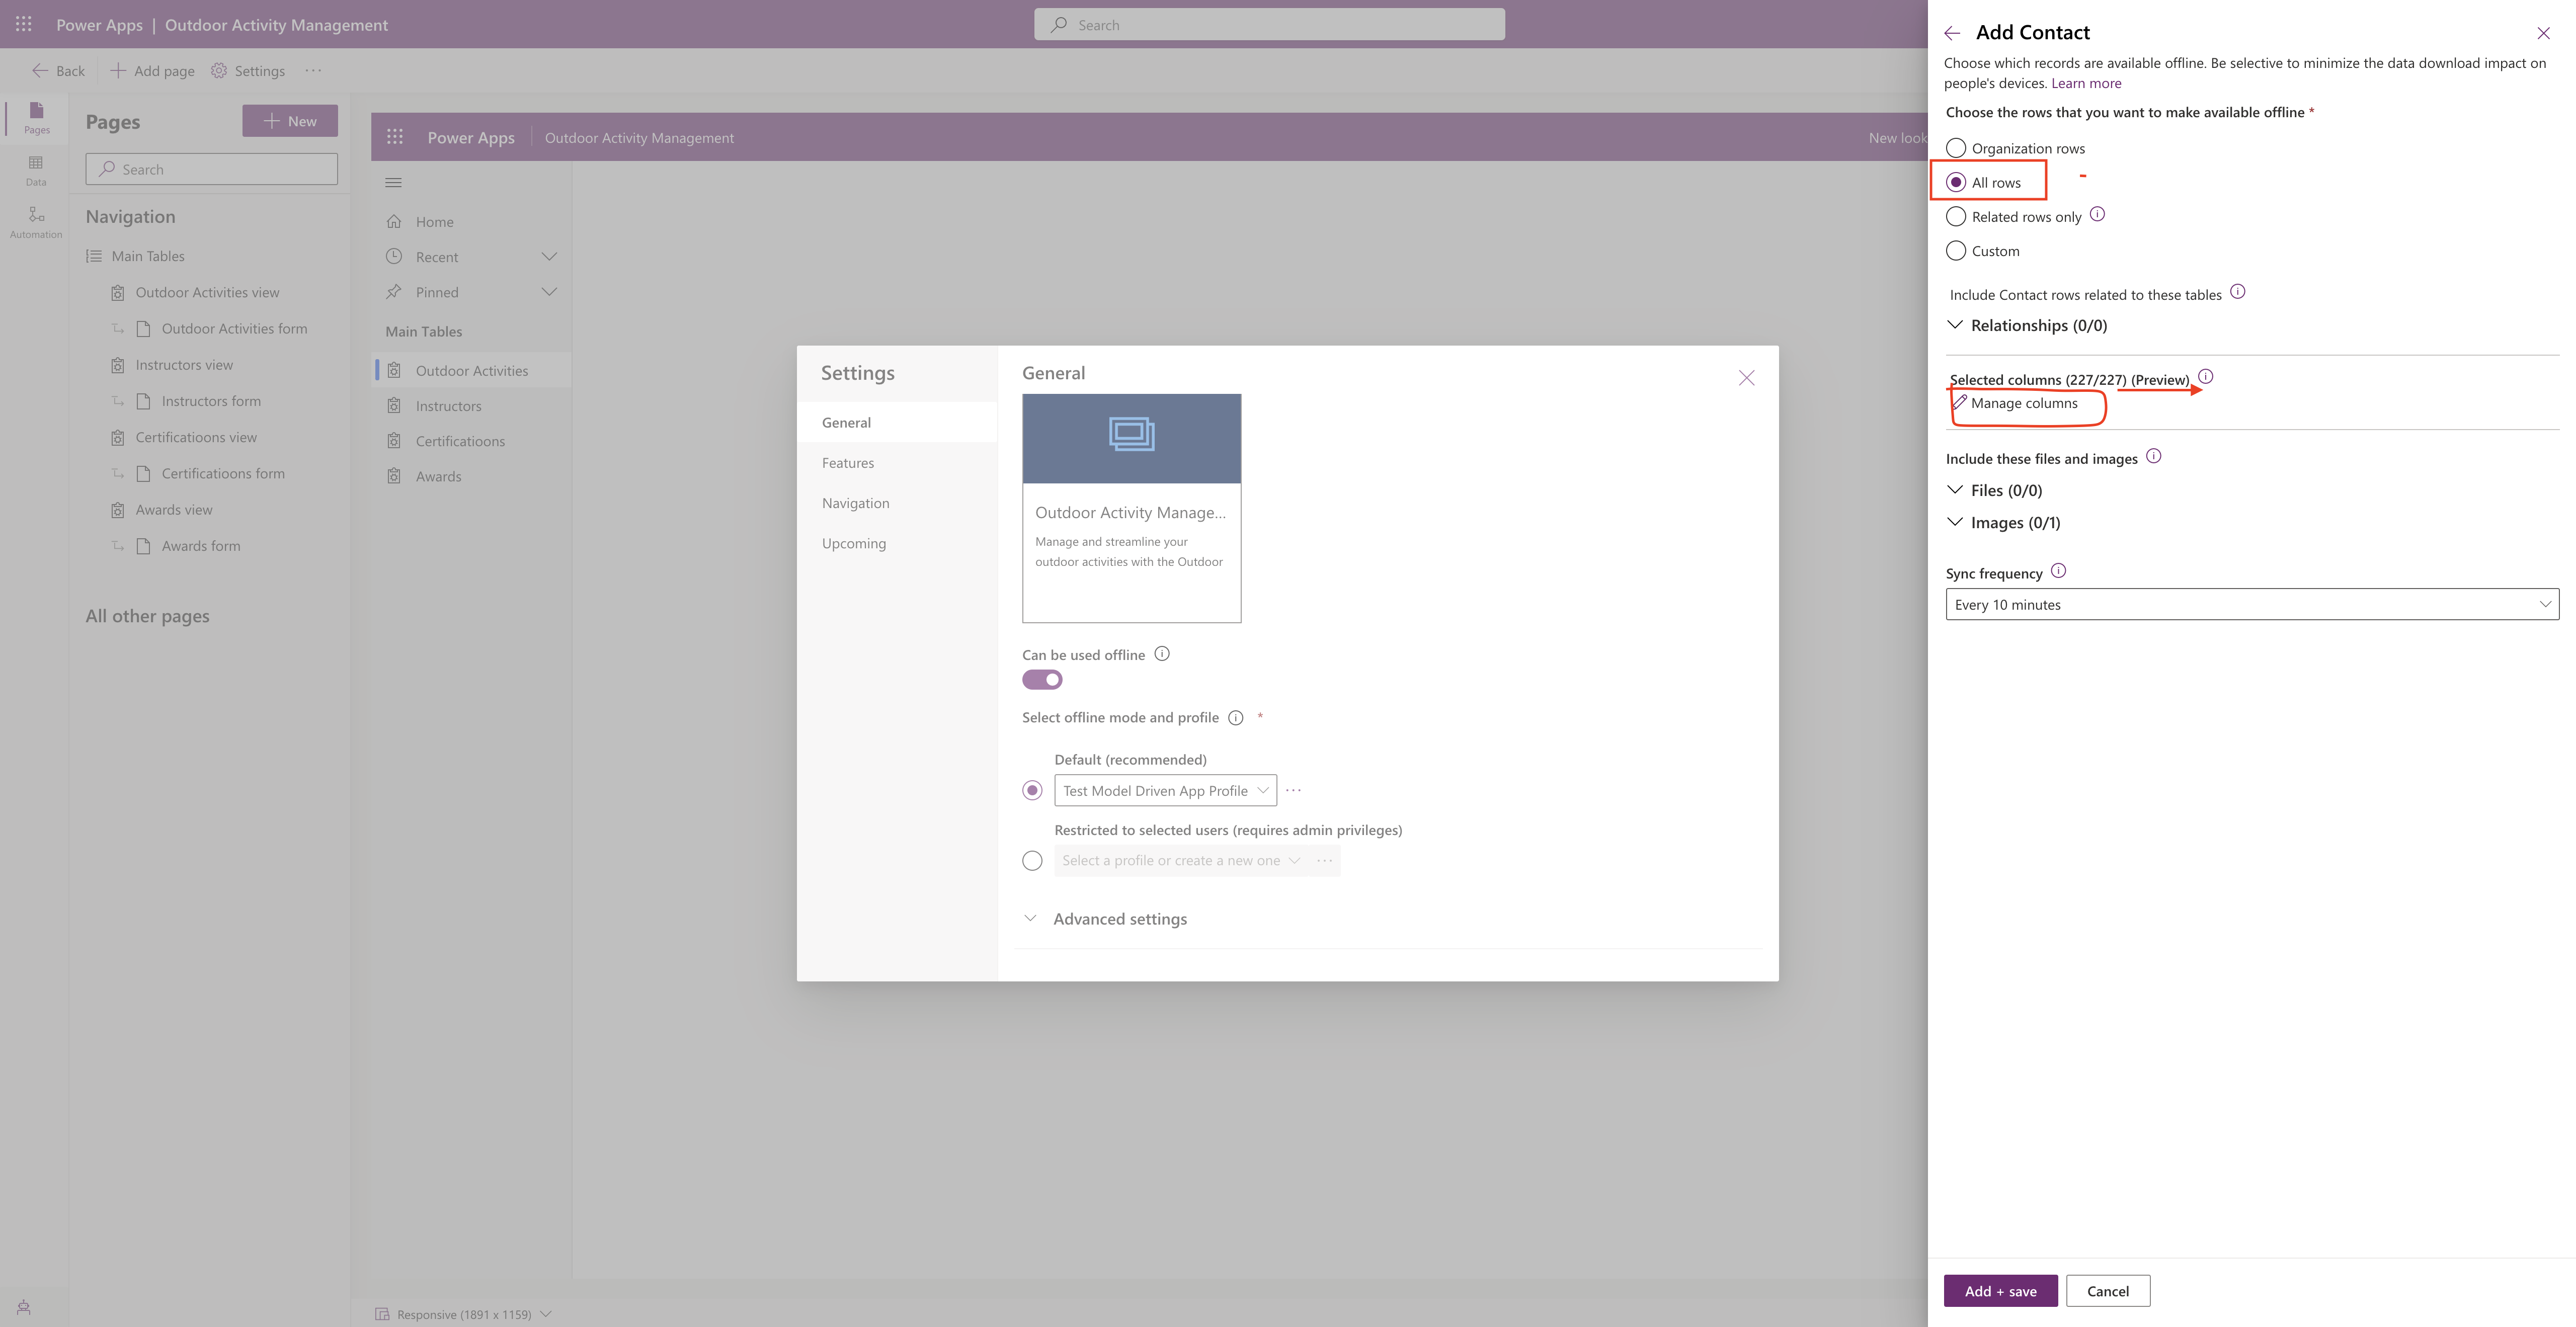
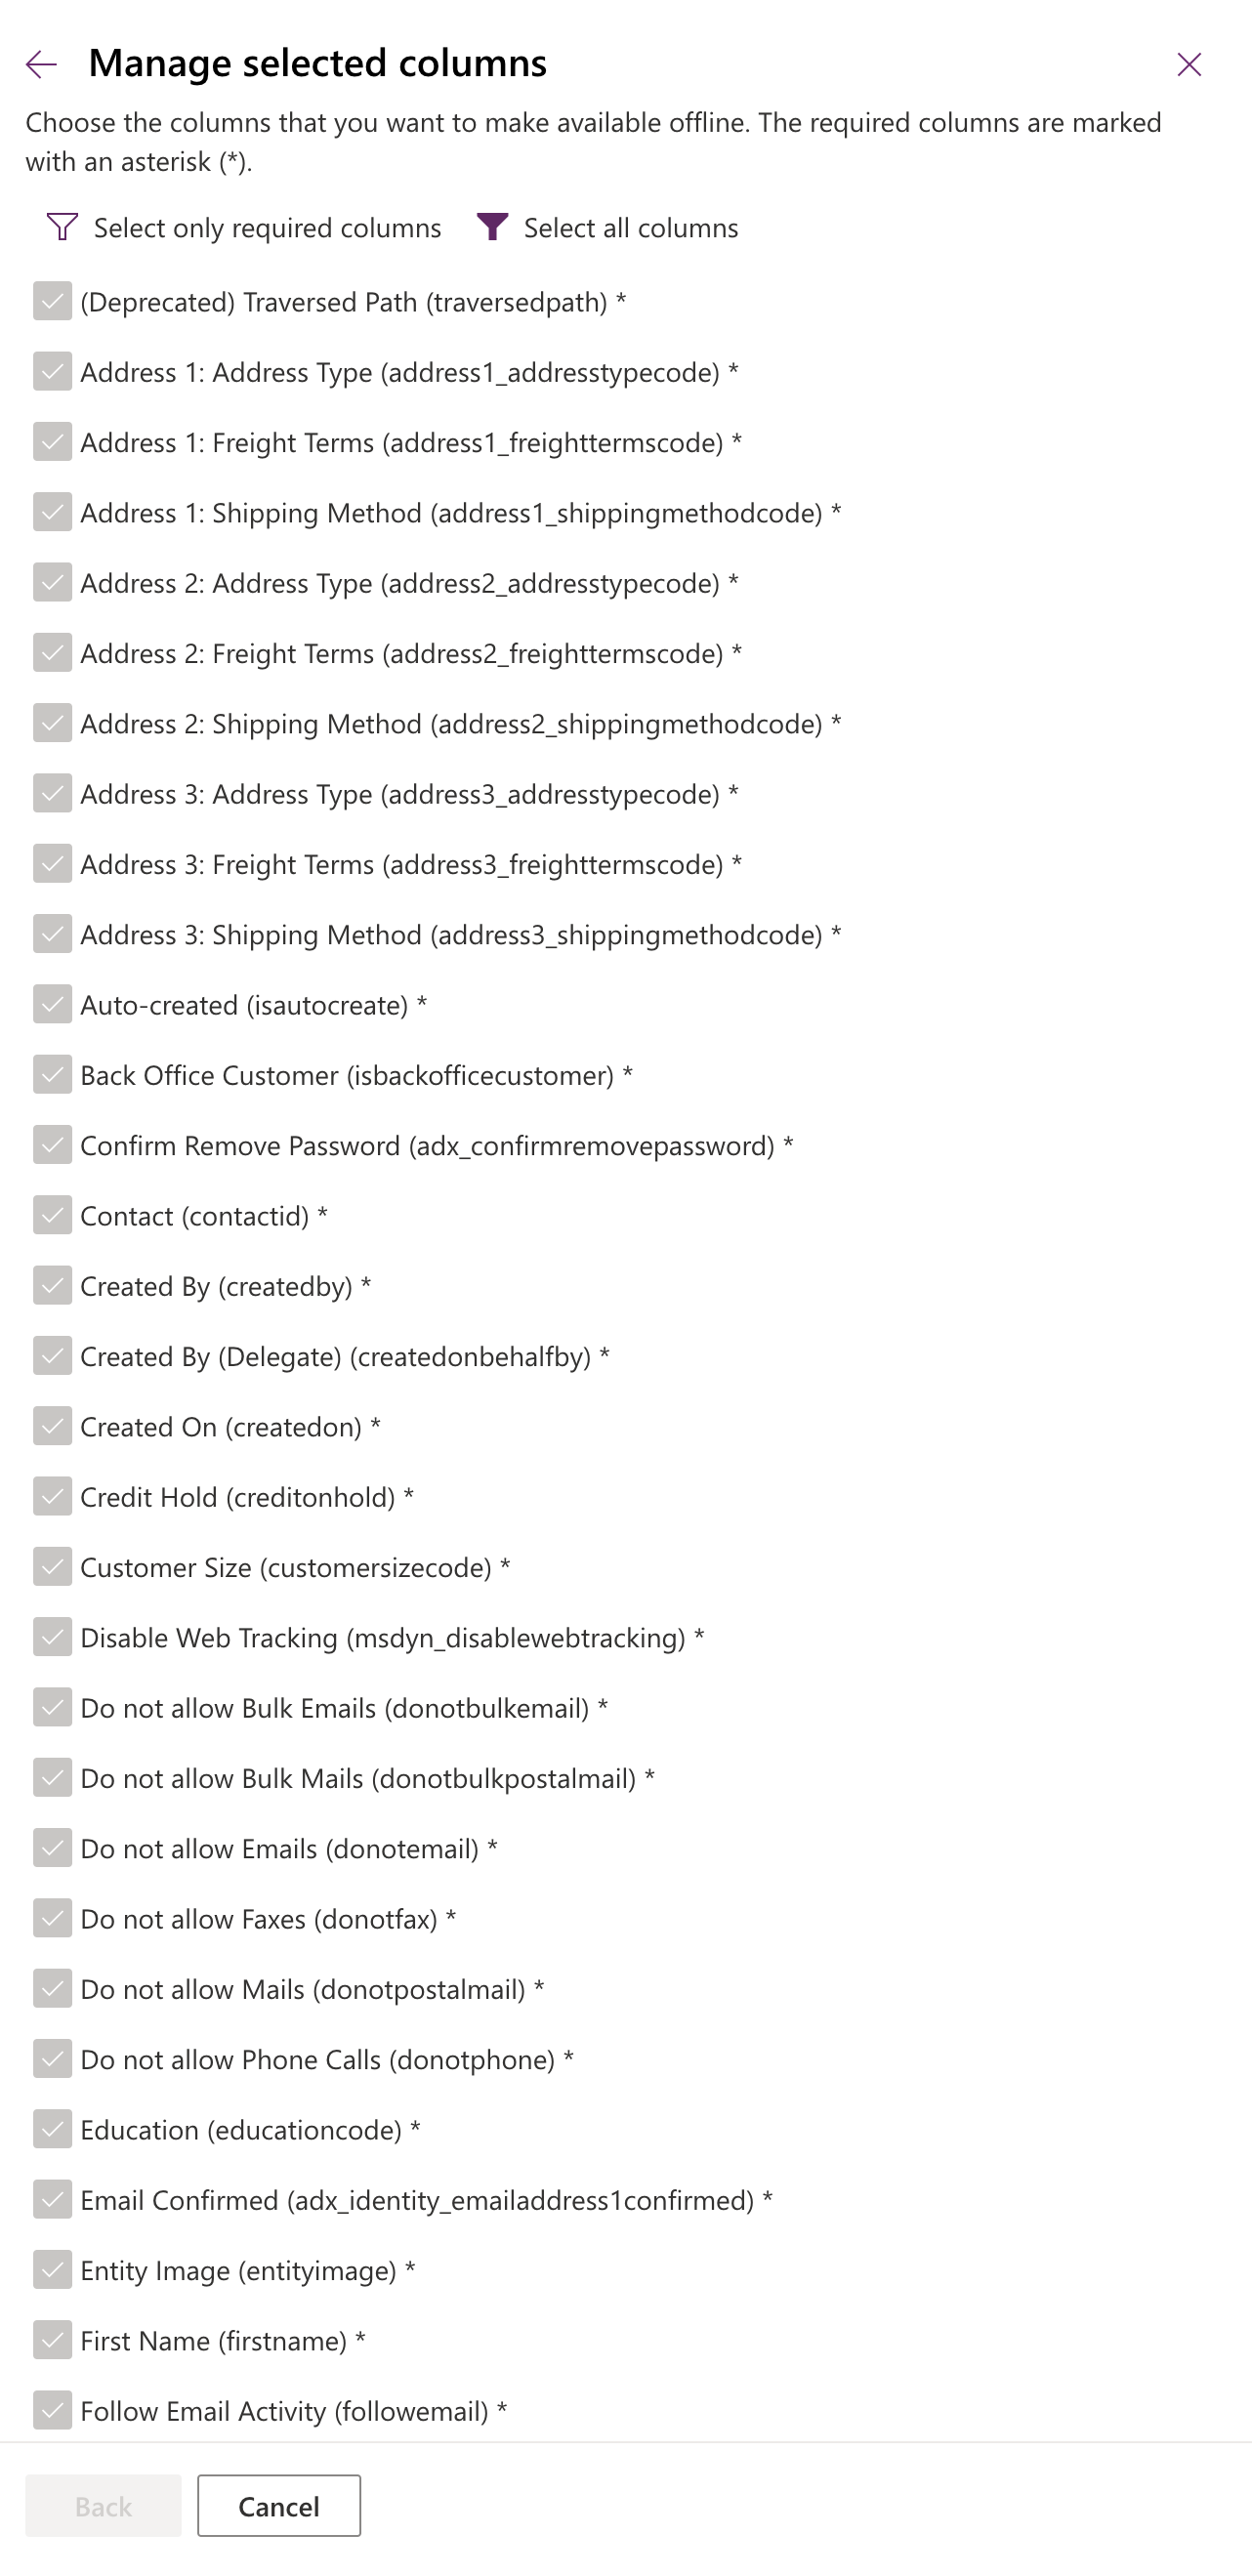
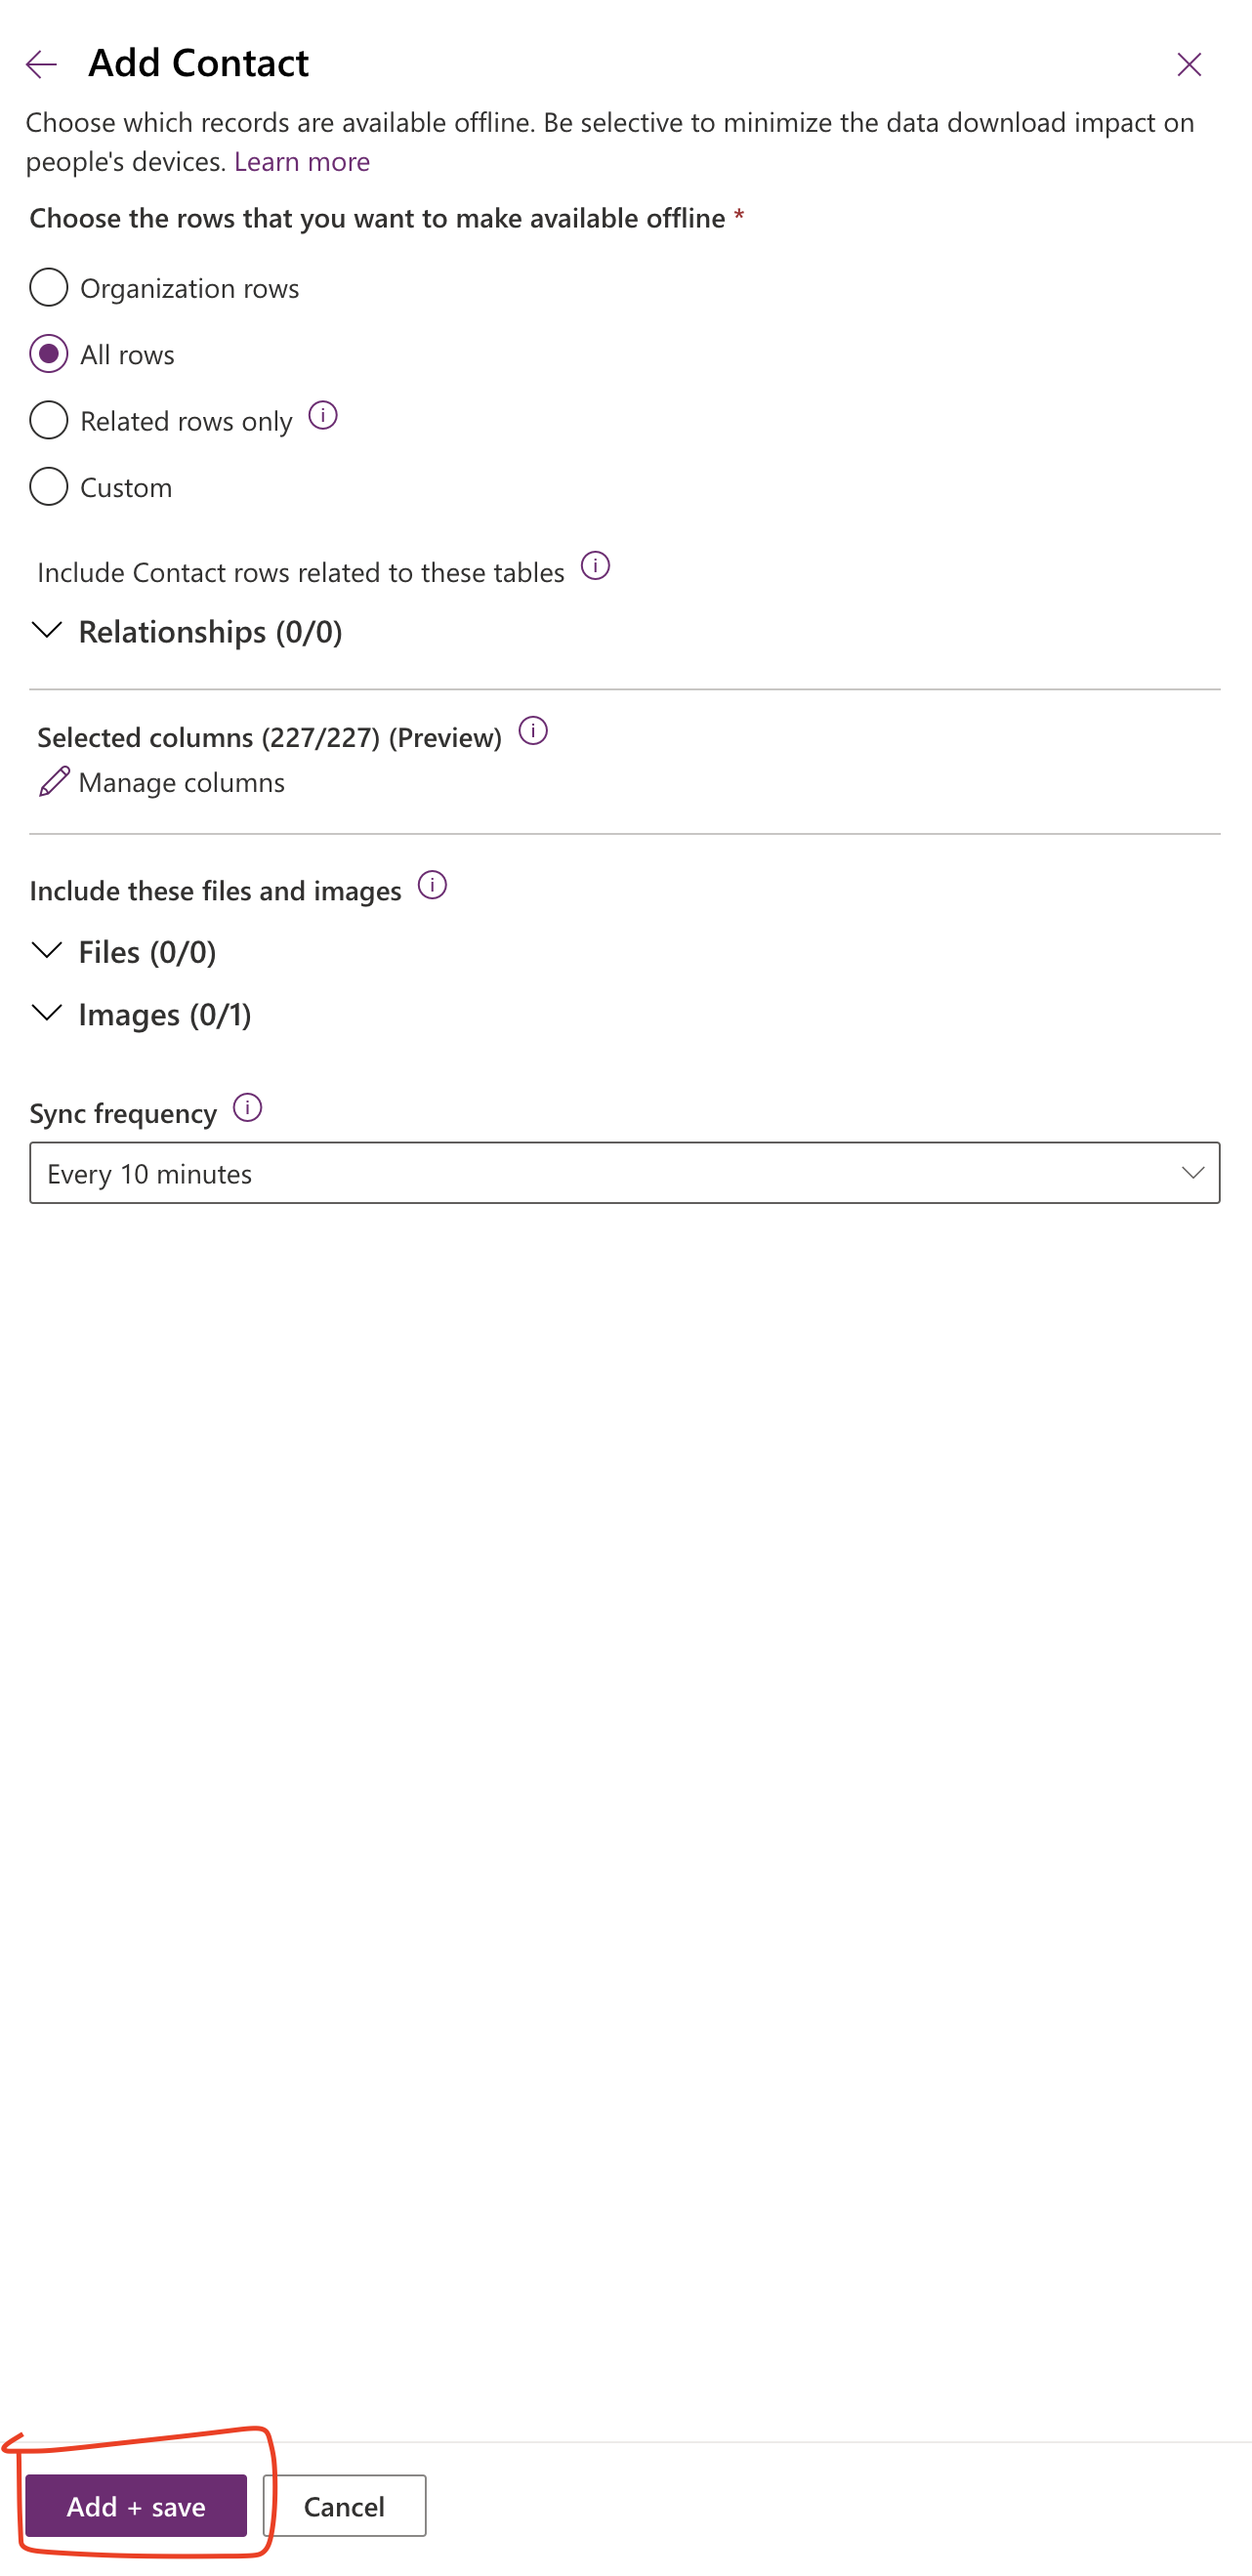
1. Unified Experience: The Power Platform Environment Settings app offers a single, unified interface for application developers to create settings for their applications. It streamlines the process and ensures consistency.

2. Security and Access Control: Just like the existing legacy experience, the new app provides robust security features. Developers can configure access control settings and manage during the transition.

3. Extensibility: The app suppports extensions, allowing developers to customize and extend settings as needed. Any existing extensions created by customers will be preserved during the transition.

4. Advanced Setting Redirection: Initially, existing links for advanced settings from various locations in Power Platform will be redirected from the legacy settings web client to the new Power Platform Environment app. However, administrators have the flexibility to turn off this redirection until the feature reaches general availability.

That’s it for today.

I hope this helps.

Malla Reddy Gurram(@UK365GUY)
#365blogpostsin365days

Share this:

{How to} Select columns downloaded on mobile devices on model driven apps

Hello Everyone

Today I am going to show how to select columns downloaded on mobile device while offline from maker portal for model driven apps.

Let’s get’s started.

Now you can select the columns of a table that are downloaded on mobile devices for offline use. The fewer columns you select the faster the app downloads the data on the device for usage without conncectivity.

How do you do that from maker portal.

Login into www. make.powerapps.com

Edit the Model driven app and click on the settings:

Go to general then on the select offline mode and profile > Default > select your model driven app >

Then click on “….” and click on edit selected profile : a new window will be opened on the right hand side where you can select the table and fields.

Then select the contact table and all rows then manage columns, all columns or required rows only or custom or organization rows will be appeared and then select the columns you want to add the app.

Then add + save.

Then save + close.

Finally Save and Publish.

That’s it for today.

I hope this helps.

Malla Reddy Gurram(@UK365GUY)
#365blogpostsin365days

Share this: